Transform simple yarn into an irresistibly cute companion with this crochet bunny pattern. From its charming floppy ears to its perfectly stitched face, this design is bound to bring joy to anyone who creates it. Imagine holding in your hands a soft plush bunny with every stitch made with care and creativity – perfect as a heartfelt gift, a delightful addition to your decor, or a keepsake for yourself.
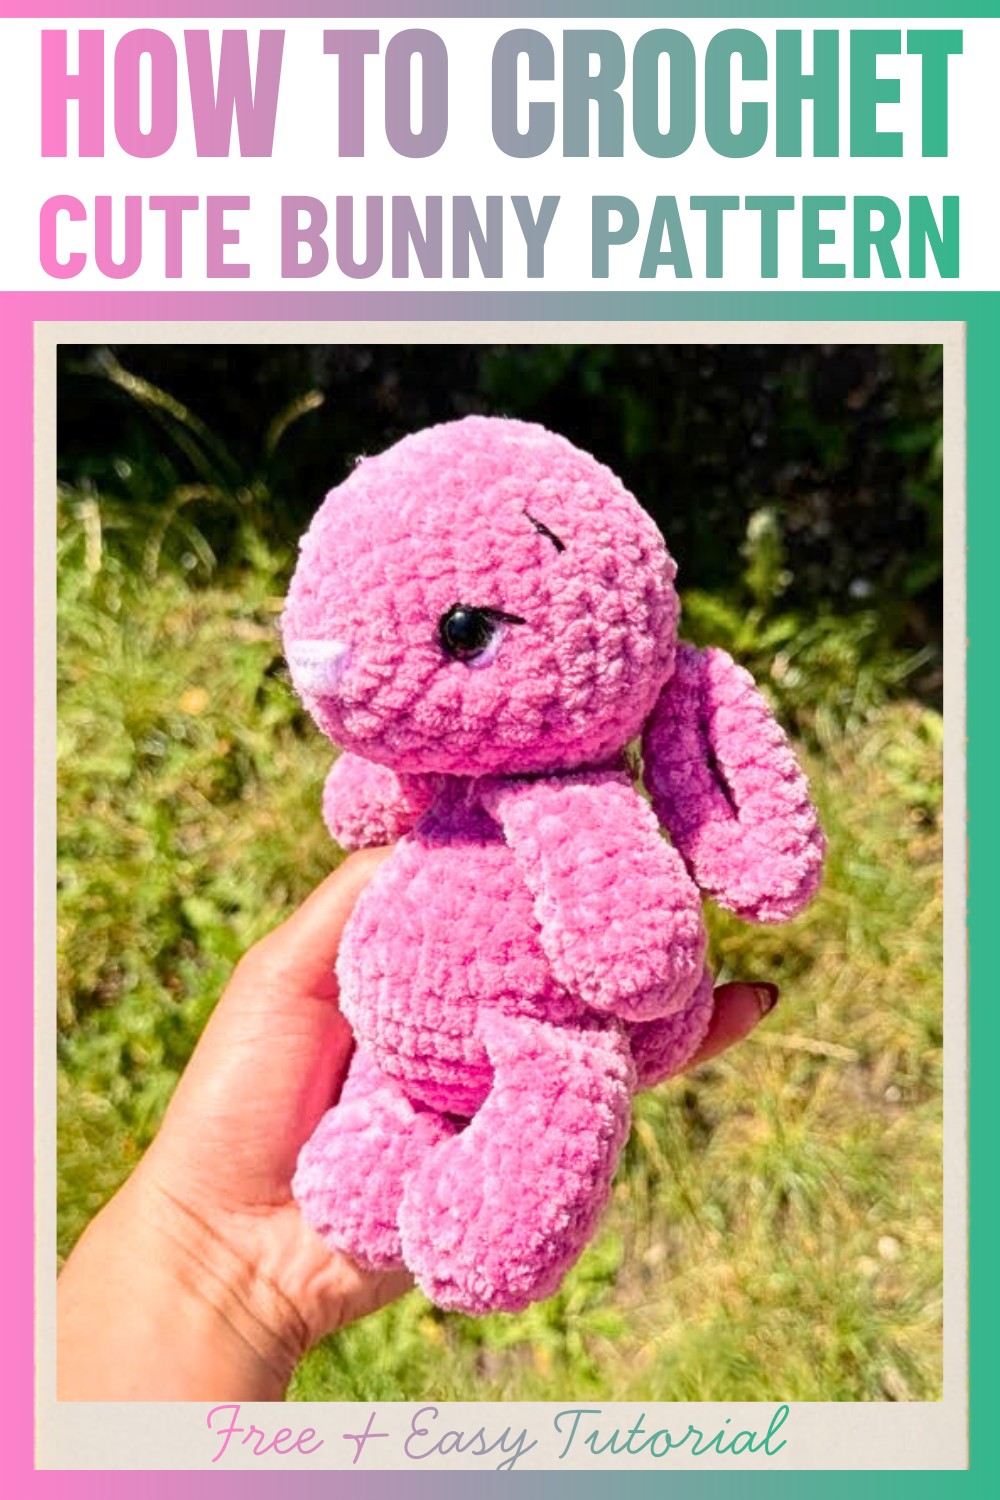
What makes this bunny truly special is its tailored simplicity. Crafted to suit beginners while also offering room for customization, this pattern uses foundational stitches like single crochets, increases, and decreases. Its fabric comes to life with sewn-on limbs, a playful tail, and engaging details such as customizable safety eyes and embroidered accents. Its timeless design merges softness with personality, giving you endless opportunities to add your unique touch, whether through different colors or personalized features.
Credit Raeesaart
1. Materials & Tools Needed
- Yarn:
- Pink double-knit yarn
- White double-knit yarn
- Black double-knit yarn
- Hook: 4.5mm crochet hook
- Notions:
- Stitch marker
- Scissors
- Needle for sewing pieces together
- 12mm safety eyes
- Stuffing
2. Finished Size
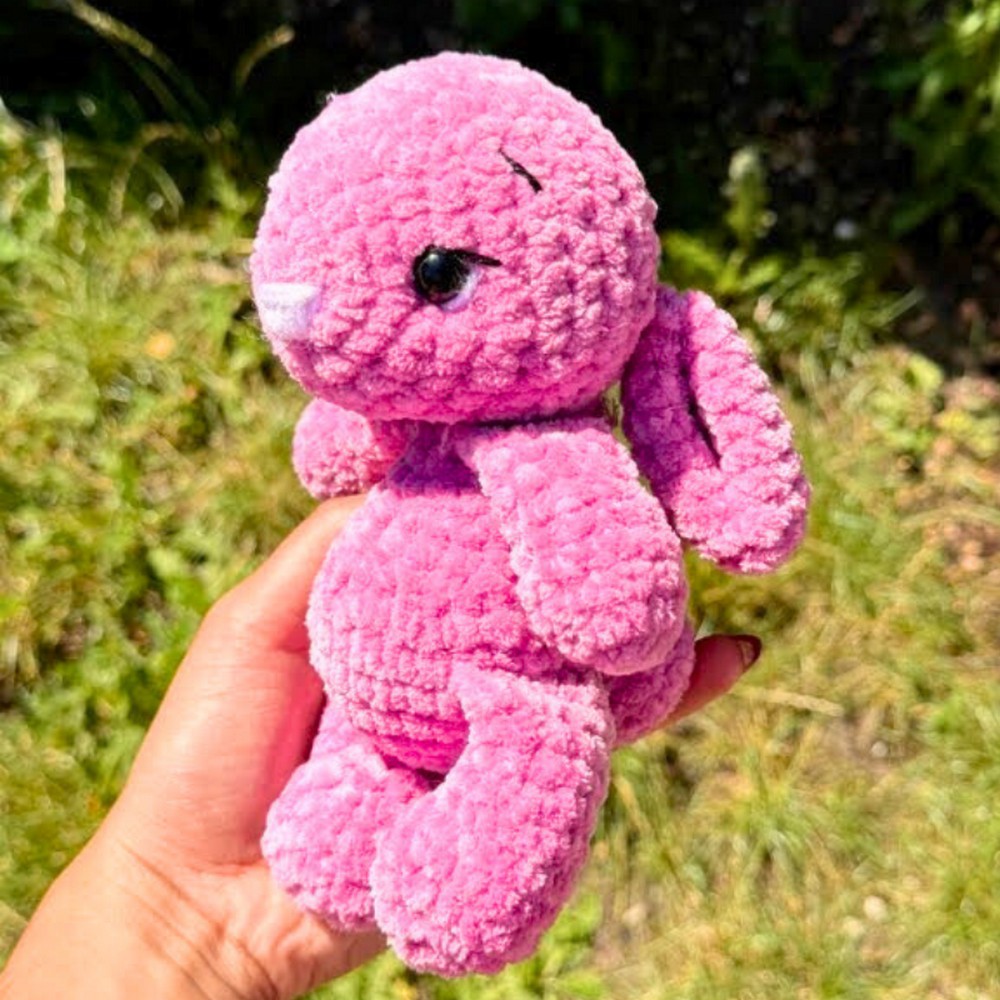
The finished bunny will be small and plushy, perfect for gifting, decorating, or using as a toy. The exact size varies based on tension and yarn thickness, but with double-knit yarn and a 4.5mm hook, expect the bunny to stand about 4–6 inches tall.
3. Customization Ideas
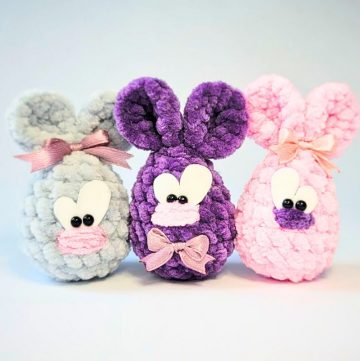
- Use different yarn colors for a unique look (e.g., pastel tones for a spring bunny or bright colors for fun).
- Add accessories like a bow, scarf, or a small flower.
- Experiment with yarn textures like velvet or chenille for a plushier bunny.
- Embroider details such as whiskers or a mouth for added expression.
4. Step-by-Step Instructions
Below are detailed instructions for crocheting the bunny broken into individual parts. Use stitch markers to track the beginning of each round.
A. Bunny’s Head
- Round 1: Begin with a magic ring. Make 6 single crochet (sc) into the ring. (6 sts)
- Round 2: Increase in each stitch (2 sc in every stitch). (12 sts)
- Round 3: (Increase, sc) repeat 6 times. (18 sts)
- Round 4: (Increase, 2 sc) repeat 6 times. (24 sts)
- Round 5: (Increase, 3 sc) repeat 6 times. (30 sts)
- Round 6: Single crochet in each stitch around. (30 sts)
- Round 7: (Increase, 4 sc) repeat 6 times. (36 sts)
- Rounds 8–10: Single crochet in each stitch around. (36 sts)
- Round 11: (Decrease, 6 sc) repeat 4 times. (34 sts)
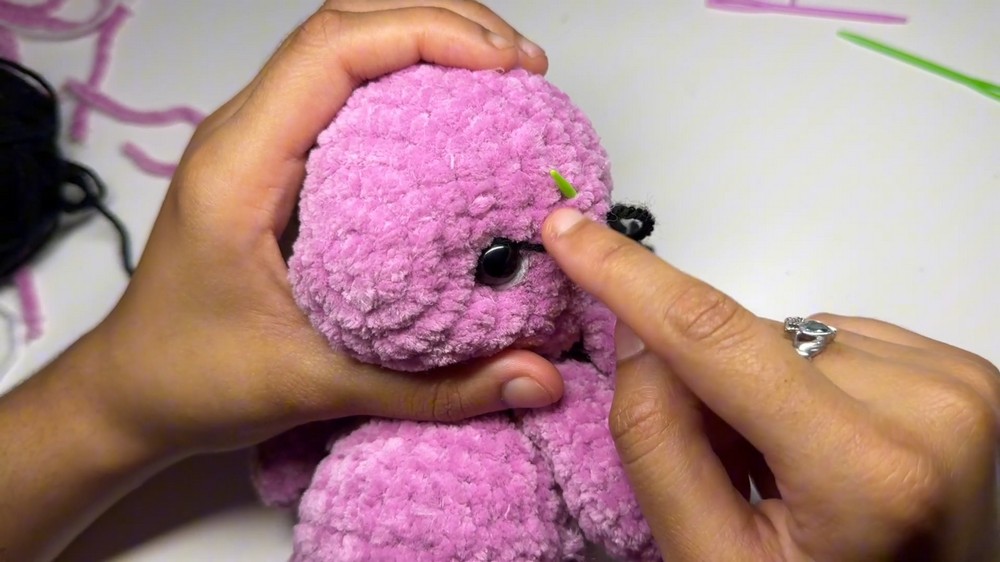
- Insert the safety eyes between rounds 5 and 6, approximately 11 stitches apart. Adjust placement to ensure symmetry.
- Round 12: (Decrease, 3 sc) repeat 6 times. (24 sts)
- Round 13: (Decrease, 2 sc) repeat 6 times. (18 sts)
- Round 14: (Decrease, sc) repeat 6 times. (12 sts)
- Round 15: Decrease 6 times to close the circle completely. Pull tight and finish off, leaving a long tail for shaping later.
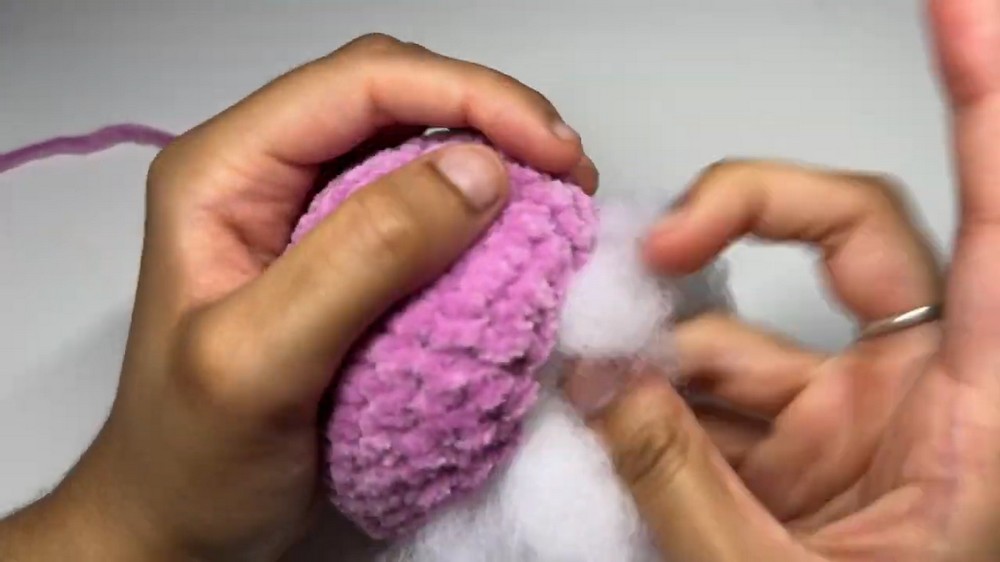
- Stuff the head with fiberfill before fully closing.
B. Bunny's Body
Repeat rounds 1–5 from the head. Then:
- Rounds 6–8: Single crochet in each stitch around. (30 sts)
- Round 9: (Decrease, sc) repeat 6 times, then sc for 12 more stitches. (24 sts)
- Round 10: Single crochet in each stitch around. (24 sts)
- Round 11: (Decrease, 2 sc) repeat 6 times. (18 sts)
- Round 12: Single crochet in each stitch around.
- Round 13: (Decrease, 4 sc) repeat 3 times. (15 sts)
- Round 14: Single crochet around. (15 sts)
Stuff the body firmly and leave a long tail for sewing the head to the body.
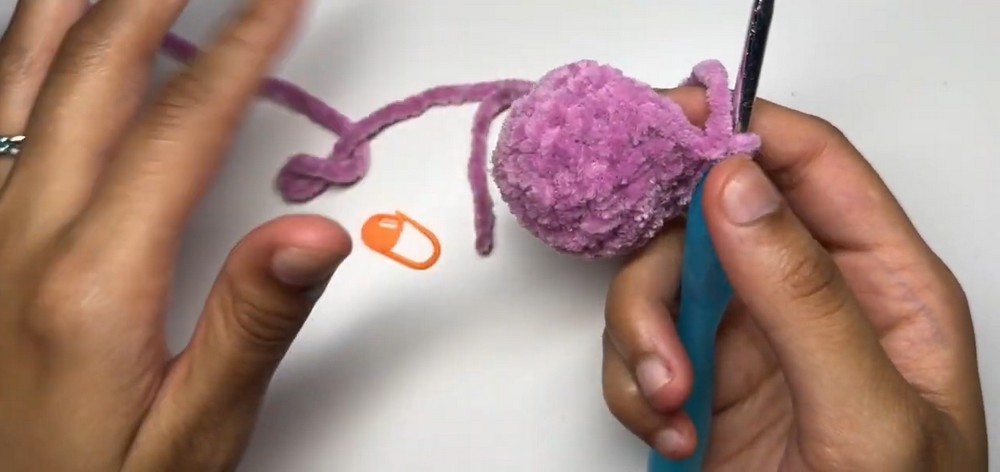
C. Ears (Make 2)
- Round 1: Create a magic ring with 6 sc.
- Round 2: (Increase, sc) repeat 3 times. (9 sts)
- Round 3: (Increase, 2 sc) repeat 3 times. (12 sts)
- Round 4: (Increase, 3 sc) repeat 3 times. (15 sts)
- Rounds 5–9: Single crochet around. (15 sts)
Close the piece flat by crocheting through opposite stitches to seal the top of the ear. Leave a long tail for sewing the ears onto the head.
D. Arms (Make 2)
- Round 1: Create a magic ring with 6 sc.
- Round 2: Increase in each stitch. (12 sts)
- Rounds 3–4: Single crochet in each stitch. (12 sts)
- Round 5: (Decrease, 2 sc) repeat 3 times. (9 sts)
- Rounds 6–9: Single crochet in each stitch. (9 sts)
Lightly stuff the arms and close the tops flat in the same way as the ears. Leave a long tail for attaching.
E. Legs (Make 2)
- Round 1: Create a magic ring with 6 sc.
- Round 2: Increase in each stitch. (12 sts)
- Round 3: (Increase, sc) repeat 6 times. (18 sts)
- Rounds 4–5: Single crochet around. (18 sts)
- Round 6: (Decrease 4 times, 10 sc). (14 sts)
- Round 7: (Decrease 2 times, 10 sc). (12 sts)
- Rounds 8–10: Single crochet around. (12 sts)
Stuff lightly and close flat. Leave a long tail for sewing onto the body.
F. Tail
- Round 1: Create a magic ring with 6 sc.
- Round 2: Increase in each stitch. (12 sts)
- Round 3: (Increase, sc) repeat 6 times. (18 sts)
- Rounds 4–5: Single crochet around.
Stuff slightly, fasten off, and attach to the back of the body.
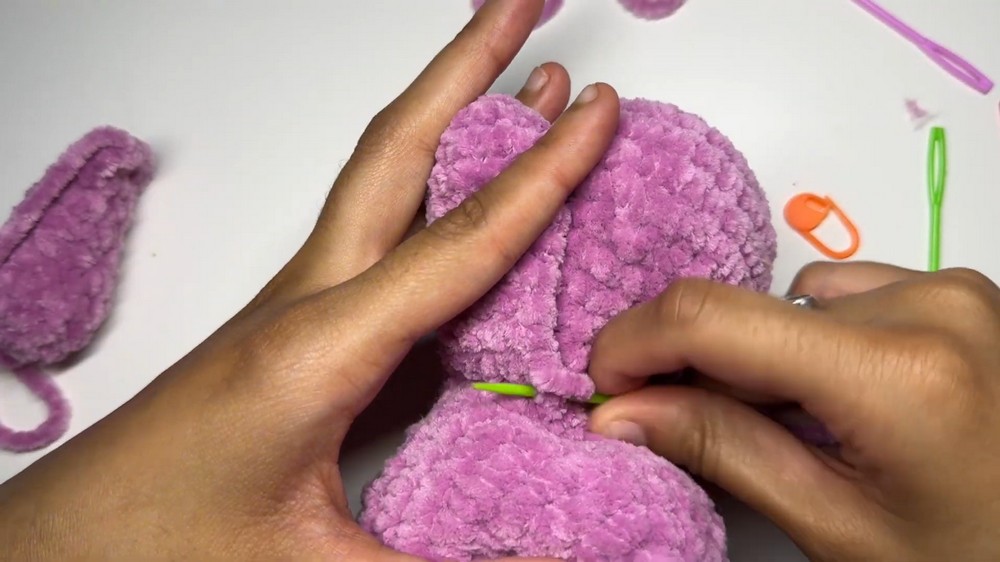
5. Assembly
- Attach the head to the body: Sew in place using the long tail from the body. Use pins or stitch markers to help align the placement.
- Attach arms: Sew them at either side, just below the head.
- Attach legs: Position between rounds 5–6 at the bottom of the body. Ensure they’re symmetrically aligned.
- Attach ears: Position slightly to the back of the head and sew on using the long tail.
- Attach tail: Affix to the back of the body.
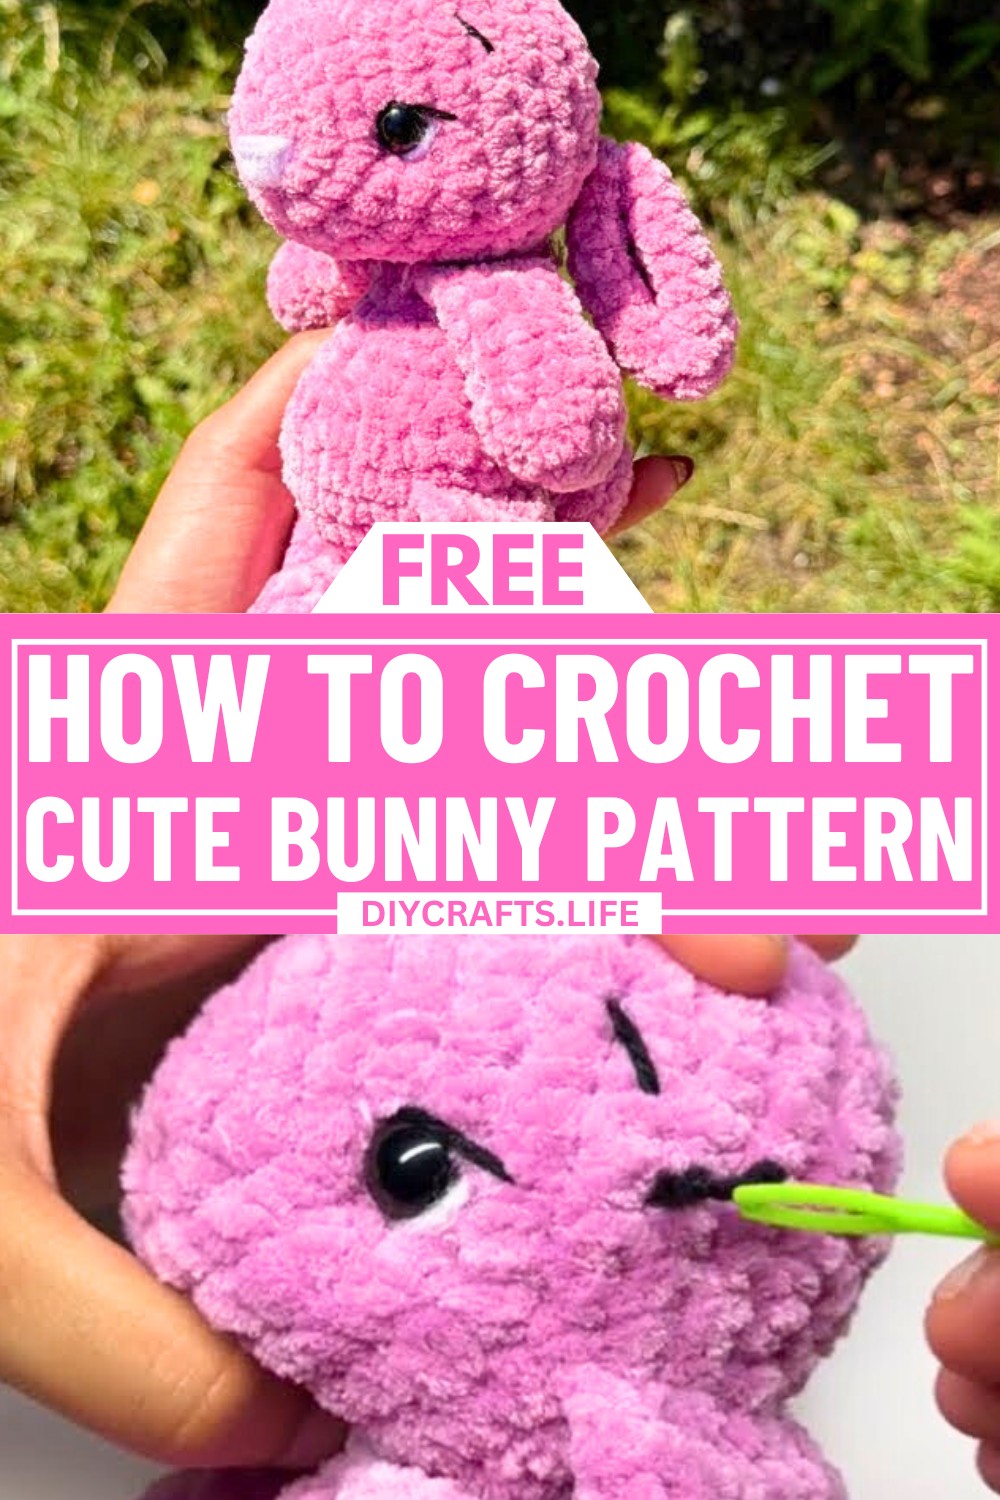
6. Custom Features
- Face detailing: Use black yarn to add eyebrows, eyelashes, or a mouth.
- Nose: Use white yarn to embroider a triangle nose on the front of the face. Fill in the triangle with vertical or horizontal stitches.
- Optional blushing effect: Add subtle blush using a light blush powder or fabric paint near the cheeks.