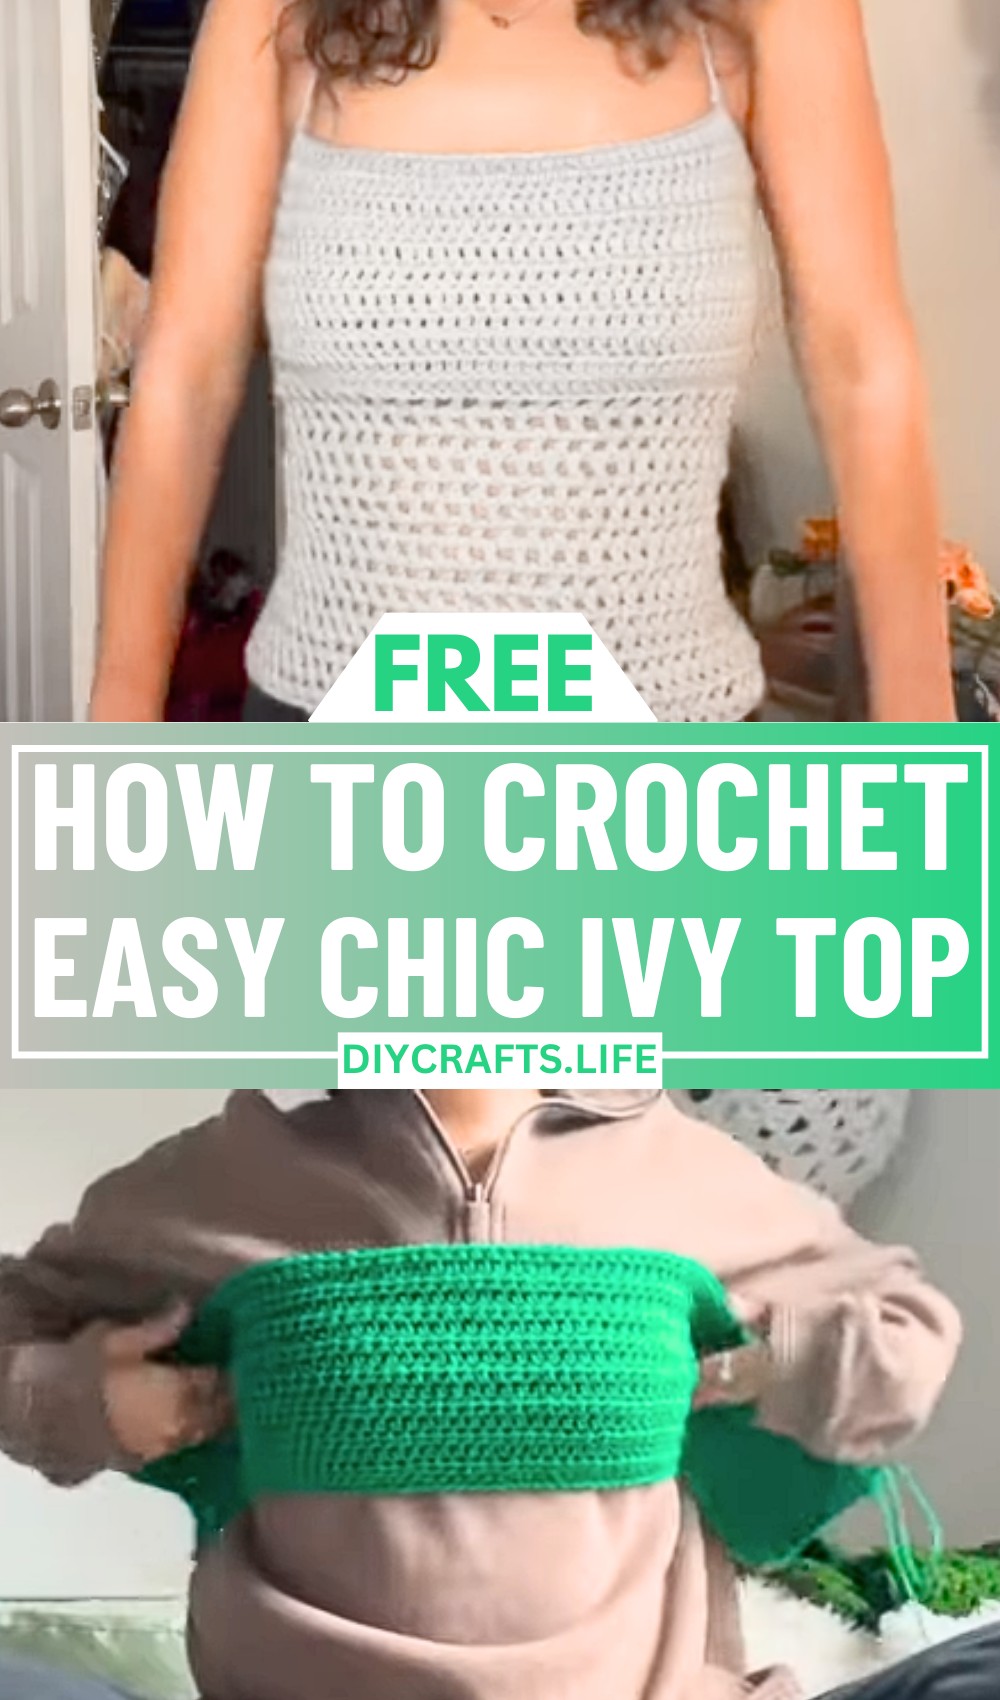
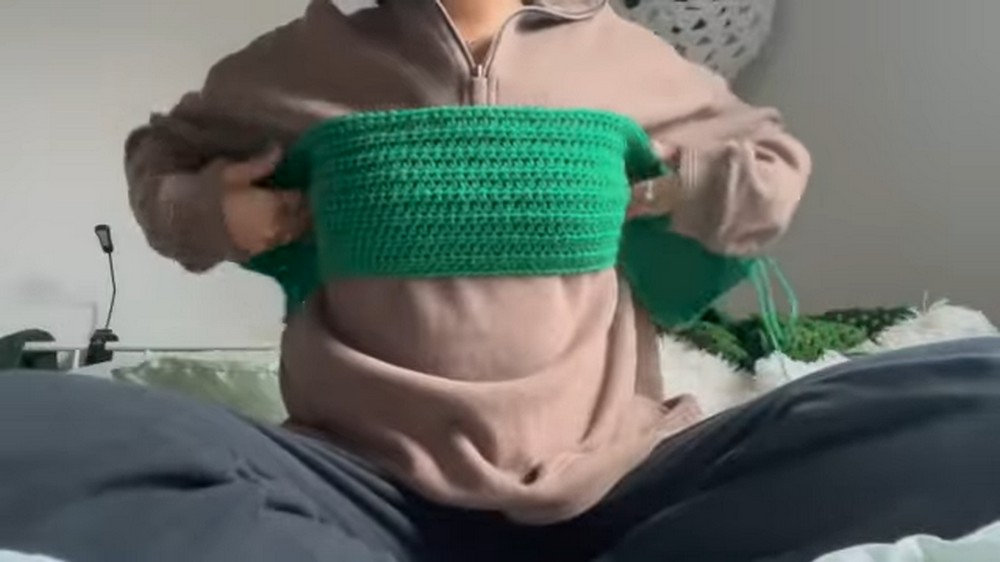
A soft touch of nature meets the art of crochet in the stunning Ivy Top design. With its lightweight texture and graceful essence, this pattern embodies the timeless charm of handcrafted wearables. Whether you’re looking to create a statement piece for your wardrobe or a thoughtful handmade gift, the Ivy Top offers a balance of natural beauty and stylish flair.
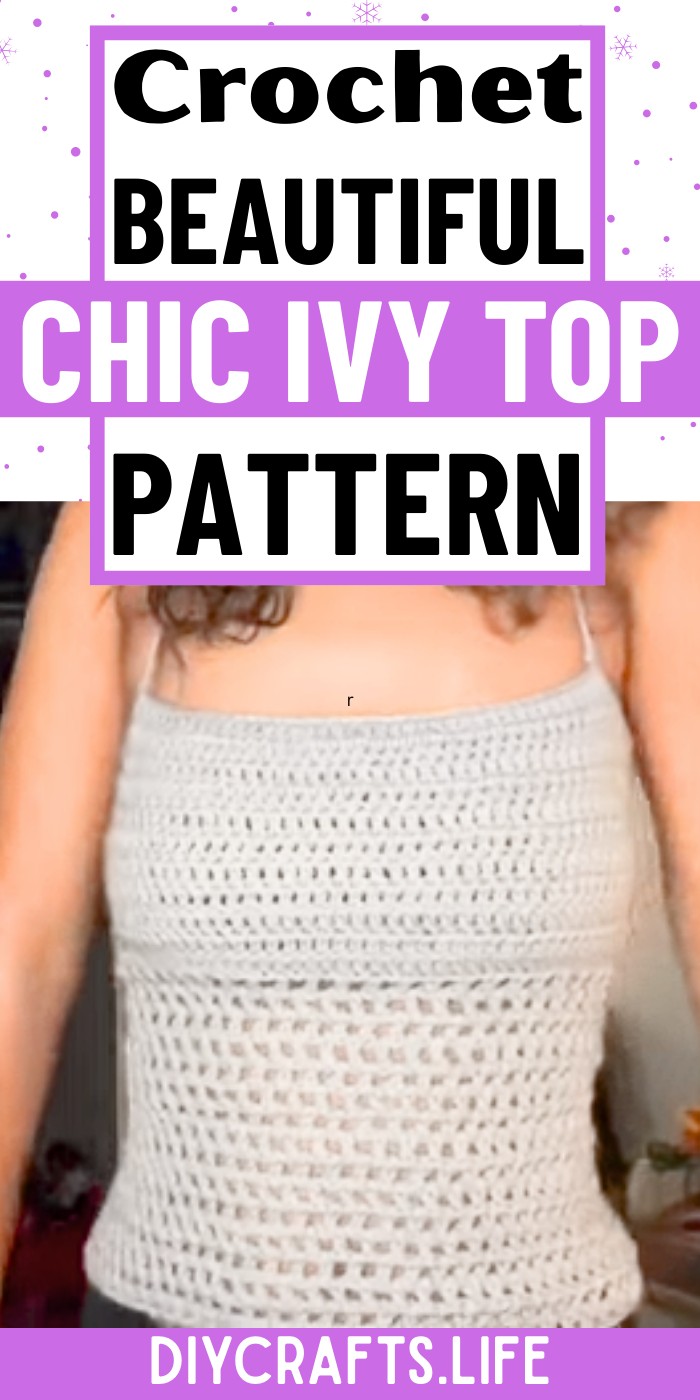
Chic Crochet Ivy Top
The Ivy Top stands out with its intricate leaf-like details, giving it a fresh and organic aesthetic. Its versatile, airy design makes it easy to layer for any season, adding sophistication to casual outfits or a touch of elegance to special occasions. This pattern is perfect for those seeking creativity, comfort, and an opportunity to elevate their crochet skills while making something truly beautiful to wear.
Credit Kamryn Cain
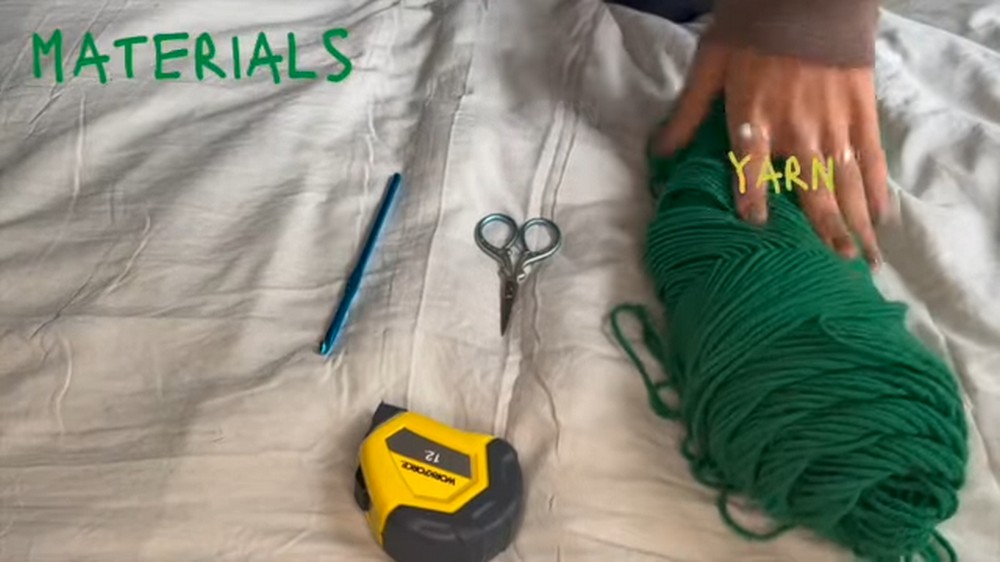
Materials & Tools Needed
- Yarn:
- Type: Red Heart acrylic yarn or any medium-weight (Category #4) yarn.
- Considerations: You can swap for lighter or heavier yarn depending on desired texture and customization.
- Crochet Hook:
- Size: 5.0 mm crochet hook (or adjust to match your yarn’s recommended hook size).
- Scissors:
- For cutting yarn during finishing and strap creation.
- Tape Measure (optional):
- Use to measure your bust or the distance from shoulder blade to shoulder blade for accurate sizing.
- Stitch Markers (optional):
- Helpful for marking where straps will attach.
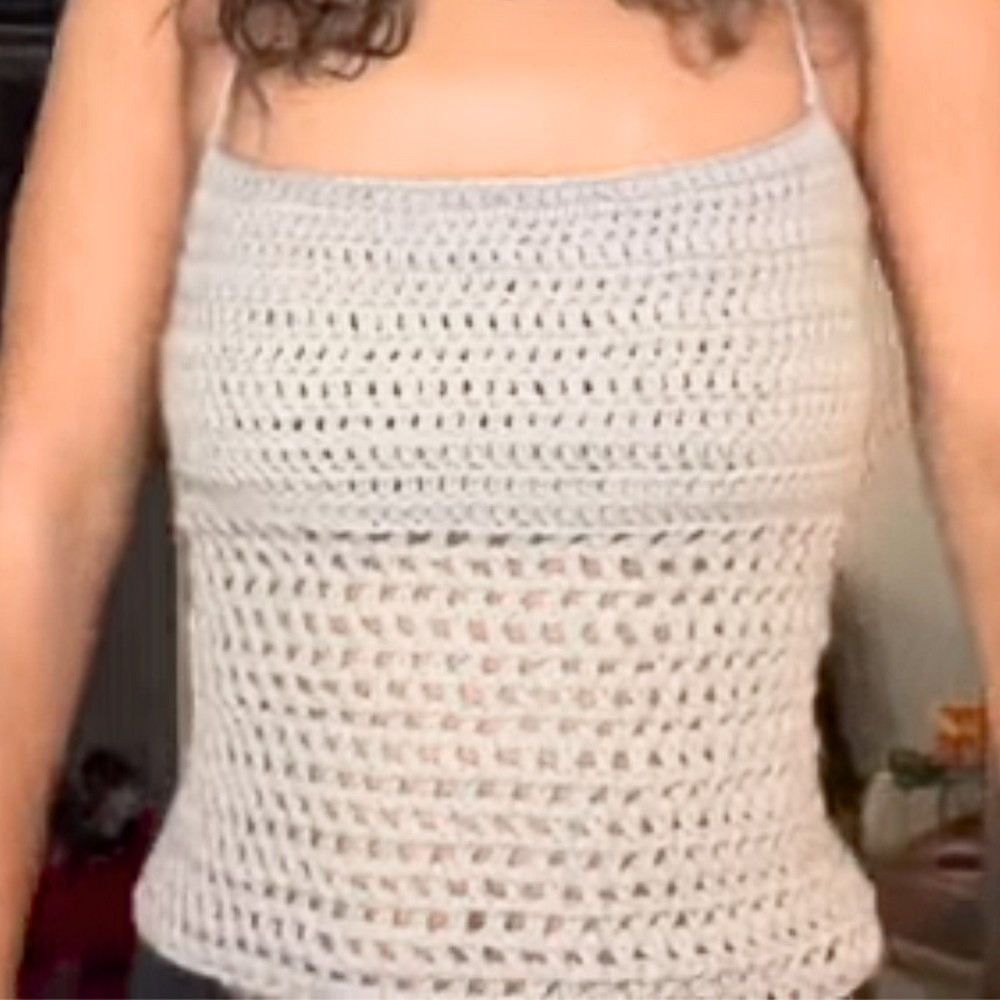
Finished Size & Customization Ideas
Approximate Size:
This top is customizable for any bust size. The bandeau-style base is designed to fit shoulder blade to shoulder blade with an open-back concept. Mesh rows and straps allow for stretch and easy tying.
Customization Ideas:
- Size Adjustments:
- Make more or fewer rows of the mesh stitch depending on desired length.
- Adjust the width of the bandeau by adding or reducing half-double crochet rows for fuller or minimal coverage.
- Different Yarn Weights:
- Opt for a light cotton yarn for summer, or chunkier yarn for a more textured, cozy look.
- Strap Length:
- Customize strap length based on preference. Chain anywhere between 130–200 chains to achieve desired ties.
- Color Changes:
- Create a gradient effect by using multiple yarn colors. For extra contrast, use a different color for the mesh rows or straps.
Pattern Abbreviations & Terminology
- ch: Chain
- hdc: Half Double Crochet
- dc: Double Crochet
- sc: Single Crochet
- st(s): Stitch(es)
- skip: Skip stitch
- fasten off: Secure yarn to finish a section.
Step-by-Step Crochet Instructions
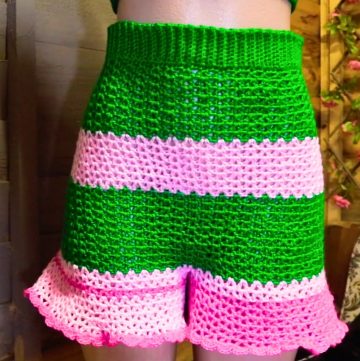
Part 1: Bandeau Base
- Create a Slip Knot:
Start with a slip knot and attach your yarn to the hook. - Chain:
- Chain the length of your bust measurement (shoulder blade to shoulder blade). For a snug fit, measure the bust or wrap the chain around yourself for accurate sizing.
- Once your desired chain length is achieved, add 1 additional ch.
- Half Double Crochet Row:
- Begin in the second chain from the hook. Work hdc across the row, one hdc in each chain.
- At the end of the row, ch 1, turn your work.
- Repeat Rows:
- Work hdc rows until the bandeau base covers the bust vertically (approximately top to bottom of the chest).
- Adjust coverage as needed by increasing or decreasing the number of rows.
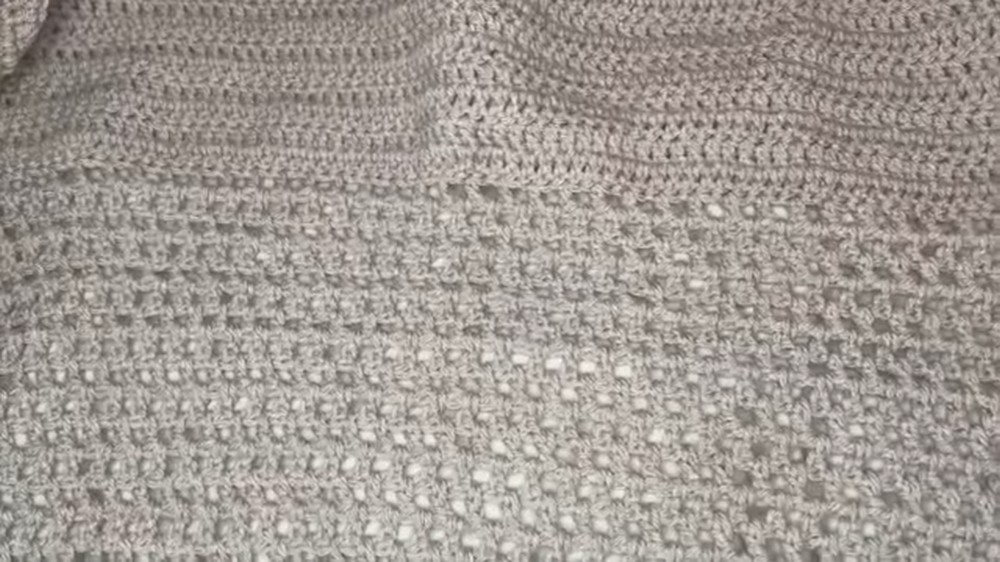
Part 2: Mesh Rows
- Setup Mesh Pattern:
- At the end of your hdc rows, ch 3 to begin the mesh stitch.
- Skip 1 st, then work dc in the next. Ch 1, skip a st, and repeat the pattern (dc + ch 1 in every alternate stitch) until the row ends.
- Alternate Between Gaps:
- Chain 3 at the end of the row, turn your work.
- Work dc into each gap created by the chain-1 spaces in the row below.
- Ch 1 between each gap for the mesh effect. Repeat this row until your desired length is achieved.
- Recommended Rows:
Work around 17 mesh rows for full top length, or adjust according to height.
Part 3: Strengthen Edges & Create Back Ties
- Single Crochet Border:
- After completing mesh rows, fasten off and reattach yarn to the bottom edge of the bandeau (where hdc rows were worked).
- Work sc into each stitch along the edge to strengthen it.
- Add Tie Holes on Edges:
- At the top edge (bandeau portion), work single crochets evenly across the row.
- Chain 3, skip 3 sts, then sc into the fourth stitch to create a tie hole. Continue across the edge until 3 tie holes are evenly spaced.
- Turn work and repeat sc rows into each chain gap for stability.
- Finish Loose Ends:
- Once tie holes are done, fasten off and weave in loose ends with a yarn needle or crochet hook.
Part 4: Straps
- Attach Yarn for Straps:
- Mark where you want the straps to begin (use stitch markers or hold against yourself for placement).
- Attach yarn to each marked spot with a double knot.
- Chain Strap:
- Create a long chain (~130–200 chains) for each strap.
- Adjust length by trying on the top to ensure straps are long enough for tying around your back.
- Finish Straps:
- Once the chain is complete, fasten off and repeat for the other strap on the opposite side. Ensure both straps are identical in length and placement.

Final Steps:
- Finish Loose Ends:
- Weave in any remaining loose ends to secure your work.
- Try It On:
- Place the top on and adjust the straps to fit snugly. Enjoy the open-back mesh design!
Pro Tips for Styling:
- Pair the Ivy Top with high-waisted jeans or skirts for a chic summer look.
- Use metallic or sparkly yarn for special occasions for an added wow factor.
- Experiment with strap variations (crisscross or halter straps) for unique styles.