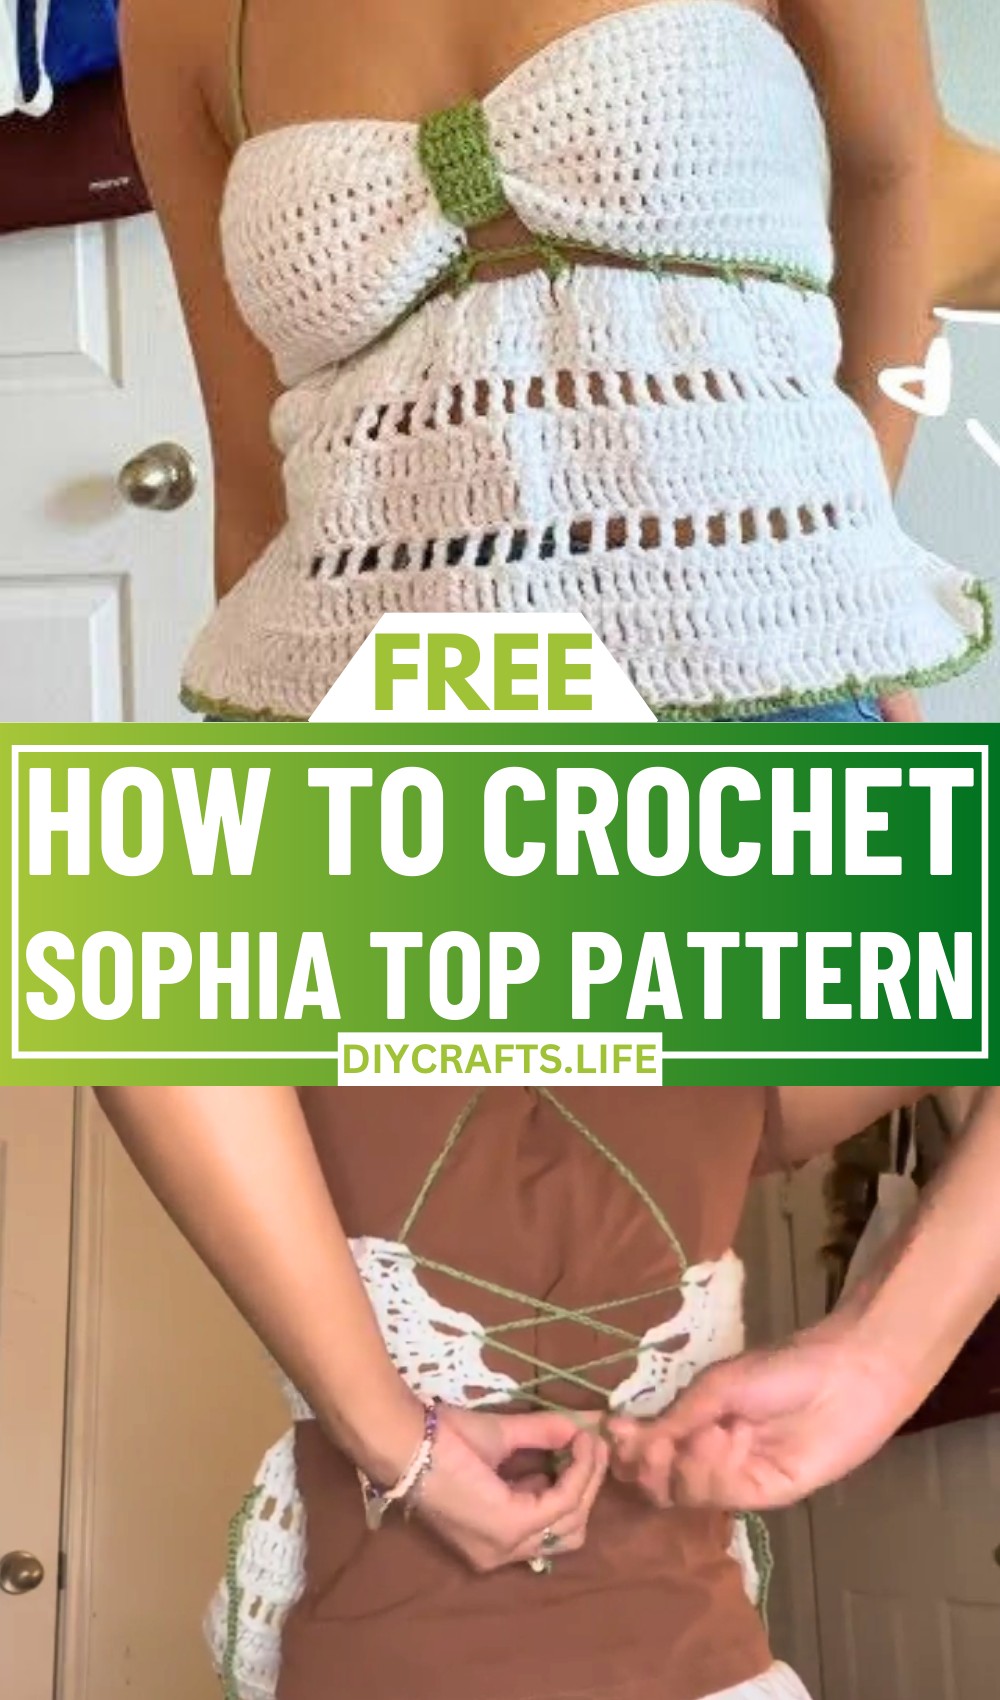
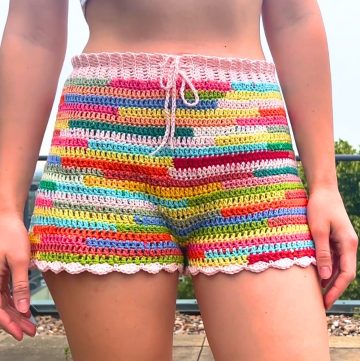
Step into handmade beauty with the Sophia crochet top, a design where texture meets charm in every stitch. Perfect for creating light fashion, this unique pattern brings a touch of elegance and personality to any wardrobe. Whether you’re heading to a casual outing or dressing up for an evening affair, this design will effortlessly add a stylish, handcrafted detail to your outfit.
Crochet Sophia Top Pattern
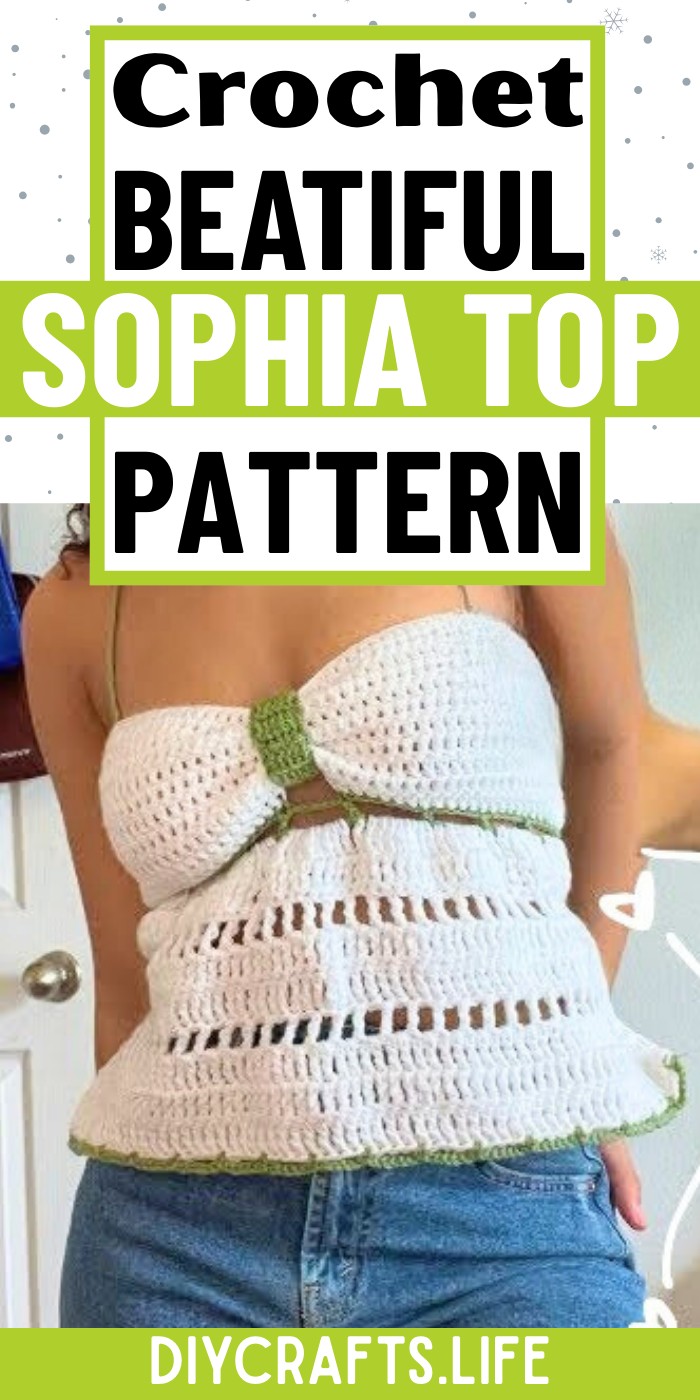
The Sophia crochet top stands out with its simple yet intricate pattern that builds layers of warmth and style. The design celebrates comfort with its breezy feel, while its careful stitching adds a refined, artistic edge. Pair it with skirts, jeans, or layered pieces – its versatility lets you create a statement fit for every occasion. Let this pattern inspire your creativity and bring fresh, wearable art to life with your own sense of style.
Credit Kamryn Cain
Materials & Tools Needed
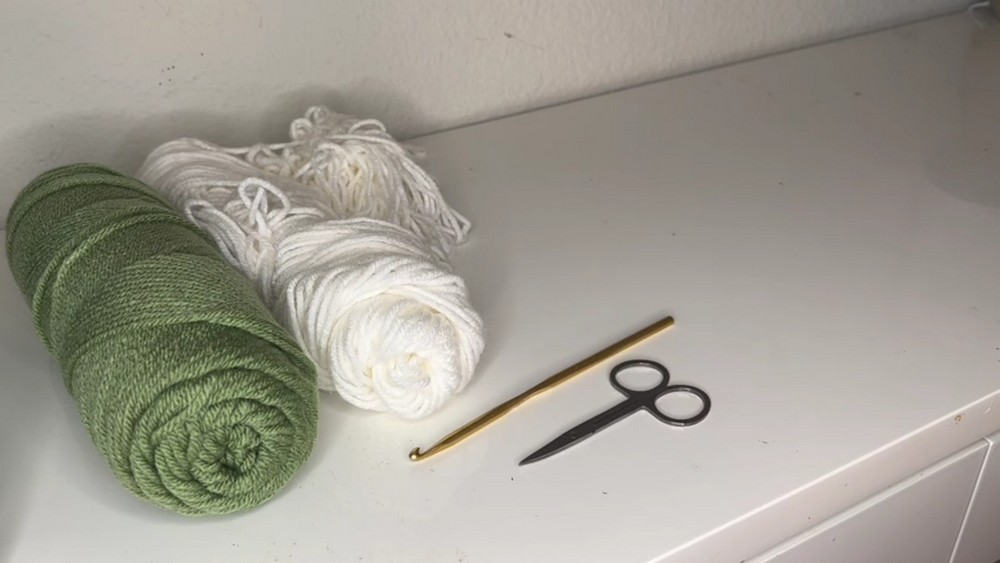
To complete the Sophia Top, you’ll need the following materials:
- Yarn:
- Two colors of yarn.
- Main color (MC): Requires a significant amount (e.g., light green in the video).
- Contrast color (CC): Only a small amount is needed (e.g., white in the video).
(Exact quantities are not specified, you may estimate based on your project progress.)
- Crochet hook:
- Hook size: 4.25 mm crochet hook (or size recommended for your yarn weight).
- Scissors: For trimming ends.
- Other tools:
- Stitch markers: To help with marking the center or positioning.
- Tapestry needle: For weaving in ends.
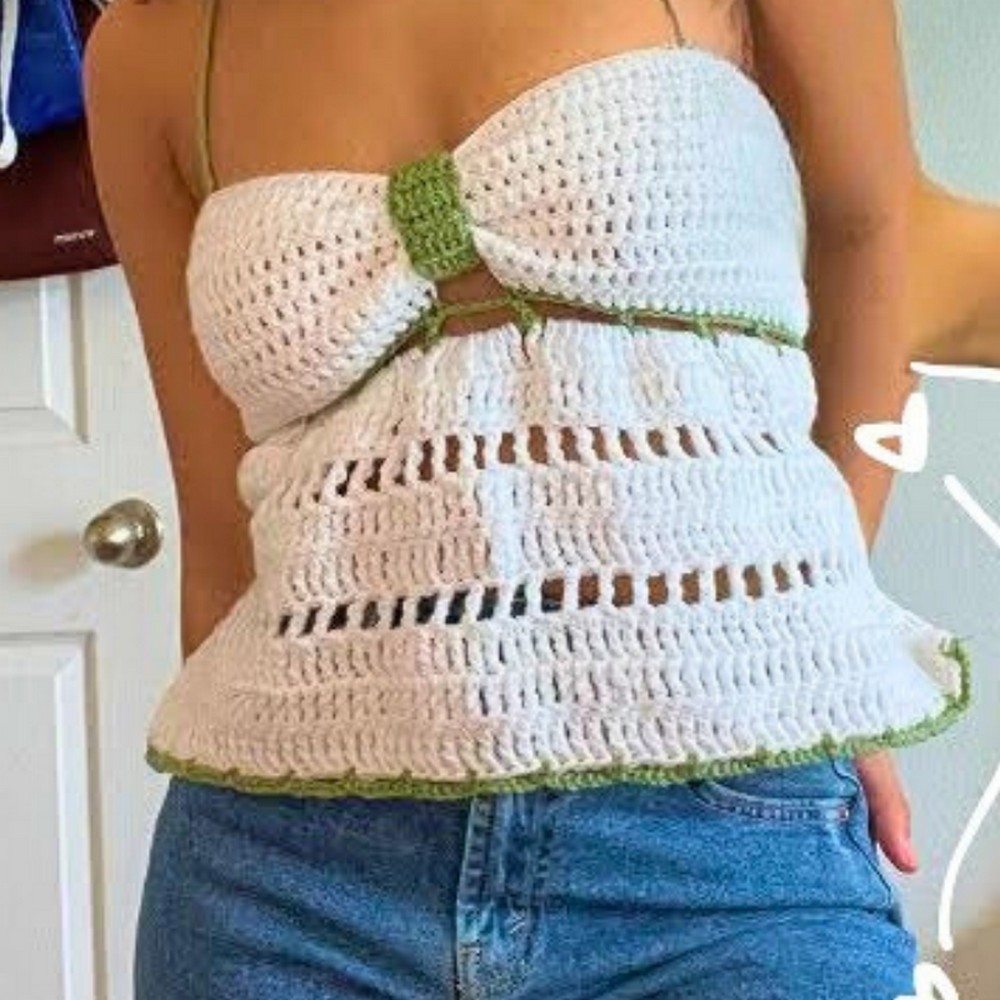
Finished Size & Customization Ideas
Approximate Size:
- The tutorial demonstrates how to adjust the pattern to your body’s measurements, with the main piece wrapping snugly around your chest.
- Base chain size: The example chain starts with 70 stitches, which is adjustable based on individual measurements.
Customization Options:
- Size Adjustments:
- Main Body: Modify the starting chain to fit your ribcage or chest size. Adjust the number of rows for the desired height.
- Ruffle Lengths (Straps or Trim): Increase or decrease chain length to customize the ruffles or straps as needed.
- Yarn Weight:
- Experiment with different yarn weights, such as DK or worsted, for varying texture or thickness. Use the appropriately sized hook for the yarn.
- Strap Length:
- For longer straps, chain more (e.g., start with chains of 200+ instead of 185).
- Color Changes:
- Explore playful color combinations to reflect your style or the season (e.g., pastels for spring or bold tones for summer).
Pattern Abbreviations & Terminology
Here are the abbreviations and stitches used in the pattern:
- ch - Chain
- dc - Double Crochet
- sc - Single Crochet
- tr - Treble/Triple Crochet
- sl st - Slip Stitch
Other terms:
- Front loop only: Working your stitch into the front loop of the stitch only (for ribbed texture).
- Fasten off: Securely finishing your work at the end of a section.
- Skip stitches: Move over a specified number of stitches without working into them.
Pattern uses standard US crochet terms.
Step-by-Step Detailed Crochet Instructions
Main Body (Rectangle Wrap):
- Start with the main color (MC).
- Chain (ch) to fit one side of your ribcage.
- Example: For size shown in video, chain 70, then chain 1 more for the turning stitch (total of 71).
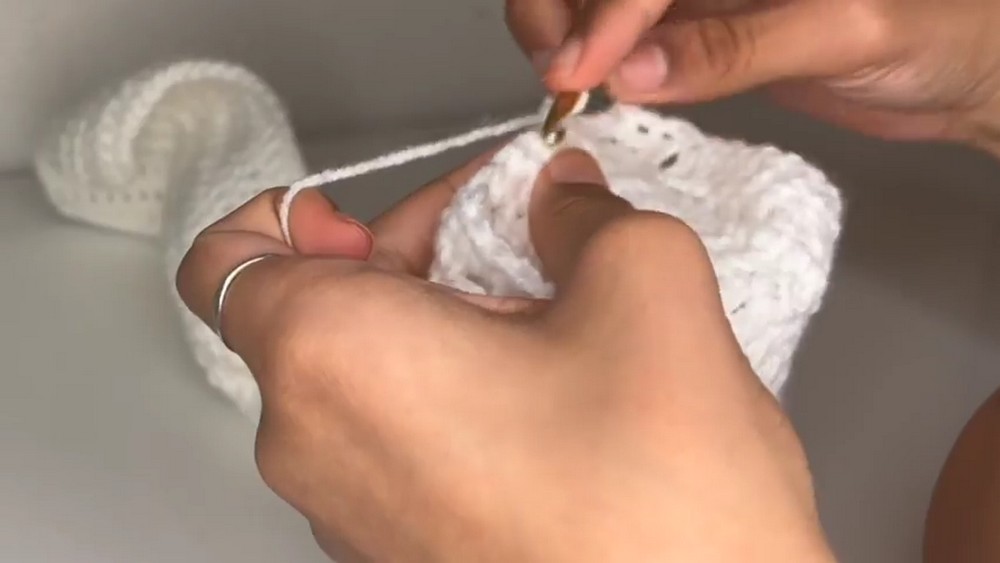
- Row 1: Work 1 double crochet (dc) into the second chain from the hook. Continue working dc across the row.
- Row 2+:
- Chain 1 at the end of each row.
- Turn, and work dc into each stitch across the row.
- Repeat this until the rectangle wraps around your chest snugly. (Exact rows vary depending on your size).
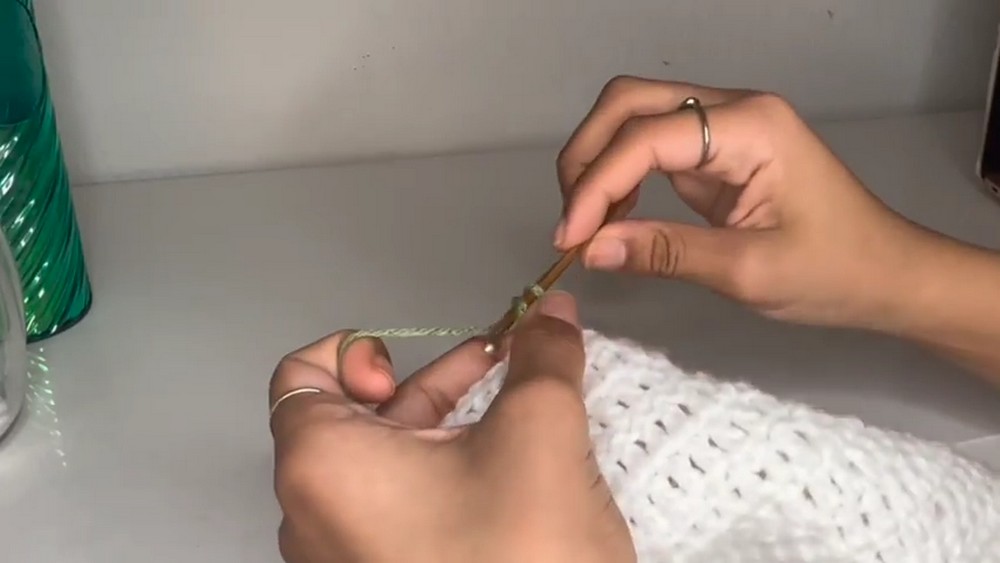
The Green Accent Band (Ribbed Pattern):
- Attach the contrast color (CC) with a slip stitch.
- Chain 7 (6 for the width, plus 1 turning chain).
- Row 1: Work 1 sc into the stitches along the edge of the band.
- Row 2+:
- Work the first stitch of each row into both loops.
- For the ribbed texture, work subsequent stitches into the front loop only.
- Continue until the piece can wrap around the main body of the top.
- Attach the ribbed band around the main rectangle using slip stitches. Adjust the fit as needed before securing.
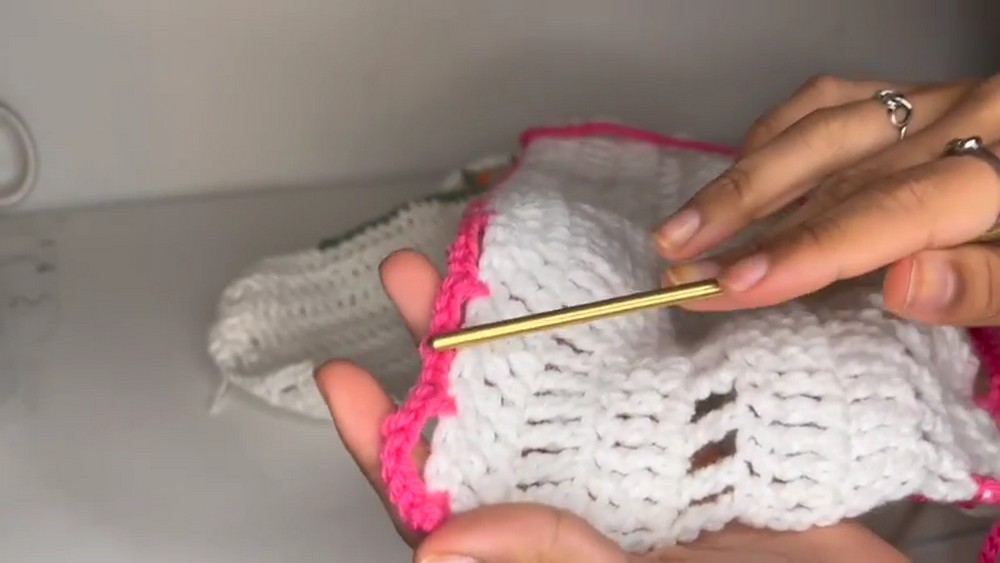
Loops for Ties:
- On each side of the top, chain 1 and work sc evenly along the vertical edges.
- Example: Work 18 sc along the edge.
- Create tie loops:
- Chain 3, skip 3 stitches, and work 1 sc into the 4th.
- Repeat this pattern for evenly spaced tie holes along the edge. You can customize this for more or fewer loops.
- Add a second row of sc to reinforce the edge and tie loops.
Straps:
- Position the top where you want the straps to attach. Mark with stitch markers.
- For each strap:
- Attach yarn using a double knot.
- Chain 185 (or longer if needed for tying).
- Repeat on the other side.
- Use the position of the first strap to find the placement of the second strap, ensuring symmetry.
Flared Bottom Ruffle:
- Determine where the bottom portion of the top should start. (Example: Begin under the armpit.)
- Attach yarn and work sc evenly along the row (adjust based on your desired length).
- Create the first row of gaps:
- Chain 6, skip four stitches, and work dc into the 5th stitch.
- Repeat this pattern to the end of the row.
- Add rows of trebles:
- Row 1: Chain 4, work treble crochets into every stitch and gap from the previous row.
- Row 2+: Repeat treble crochets to build up the flare.
- Create a decorative gap row:
- Chain 4, work gaps by skipping 1 stitch and working a treble into the next.
- Continue alternating gap rows and treble rows until the ruffle is of the desired length.
Final Lacy Hem:
- Switch to contrast color (CC) and create a decorative lacy hem.
- Chain 6, skip 3 stitches, sc into the 4th.
- Repeat to the end of the row.
- Work finishing treble rows over the lacy edges for additional texture or leave as-is.
Finishing Touches
- Weave in all loose ends with a tapestry needle.
- Adjust ties and secure the fit by lacing straps through the loops (crisscross and tie in the back).
- Try it on, and adjust strap lengths or ties if necessary.
Notes:
- The top is adjustable throughout, so feel free to try it on at various stages to ensure a proper fit.
- Don’t worry if your stitch count isn’t identical to the tutorial. Focus on symmetry and fit.