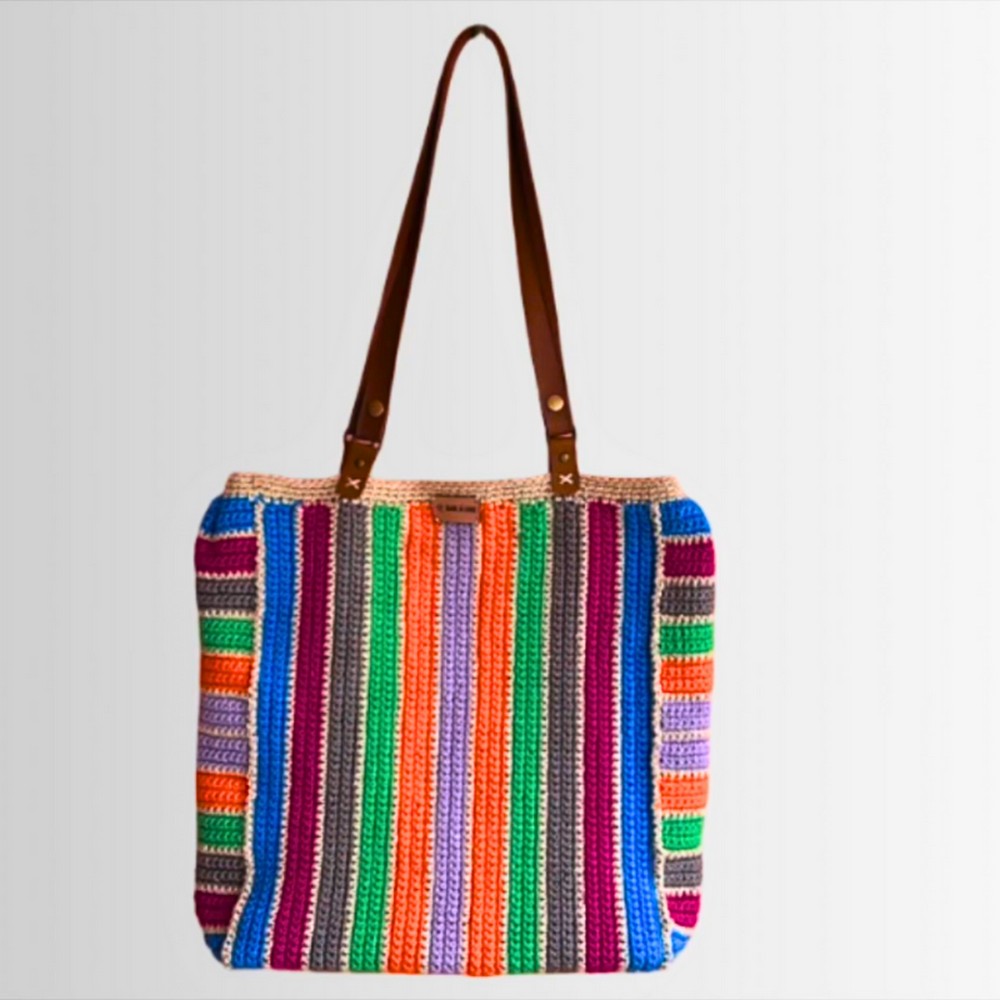
Brighten your day with a crochet tote bag that’s not just functional but also full of personality! This colorful design brings both structure and flexibility to your accessories collection. Suitable for errands, beach days, or casual outings, it’s roomy enough to hold all your essentials while showcasing a cheerful and handmade aesthetic.

What makes this tote bag truly unique is its bold stripes created with six vibrant colors, balanced by a sturdy base. Simple single crochet stitches form the foundation, ensuring durability and a clean finish. The bag also includes thoughtful details like a firm bottom for added support and the option to line it with fabric for extra sturdiness. With opportunities to personalize—whether adding pockets, decorative handles, or your label—this tote bag bridges style with practicality.
Credit Hook & Loop Crochet Tutorials
Required Materials
- Yarn: 6 different colors of 100% cotton yarn + 1 extra color for the base.
- Crochet Hook: 3.5 mm hook.
- Tools:
- Tapestry needle
- Scissors
- Measuring tape
- Pins
- Thread
- Binder clips (optional, but helpful)
- Additional Optional Materials:
- A sturdy piece of fabric (for lining)
- Bag accessories (e.g., rings, handles, buttons)
- Hard bottom material: leather, hard plastic, or similar.
Important Notes
- Foundation Chain Measurement: Ensure it measures 77 cm (30.3 inches) when completed.
- Stitches Used: This pattern uses single crochet (sc) stitches exclusively for simplicity.
- Color Changes: Alternate yarn colors with the base color in between for the body and sides.
- Joining Technique: Slip stitch + chains for seamless edges.
- Adding Sturdiness: Adding a hard bottom is optional but ensures durability.
- Lining Instructions: Leave room (allowances) on the fabric edges for sewing, add a pocket if desired, and sew either by hand or machine.
Step-by-Step Detailed Crochet Instructions
Part 1: Foundation Chain
- Step 1: Create a slipknot and chain (ch) 131; measure to ensure the chains reach 77 cm (approximately 30.3 inches).
- Step 2: Turn your work and prepare for the next row.
Part 2: Crochet Rows for the Body
- Row 1:
- Insert hook into the second stitch from the hook.
- Work 1 single crochet (sc) into each stitch across (130 sc in total).
- Rows 2–5:
- Chain 1 (ch 1), turn the work, and work 1 sc into each stitch across.
- Repeat this for a total of 5 rows.
- Cut the yarn tail.
- Row 6: Switch to the base color:
- Chain 1, turn and 1 sc into each stitch across. Cut the yarn tail again.
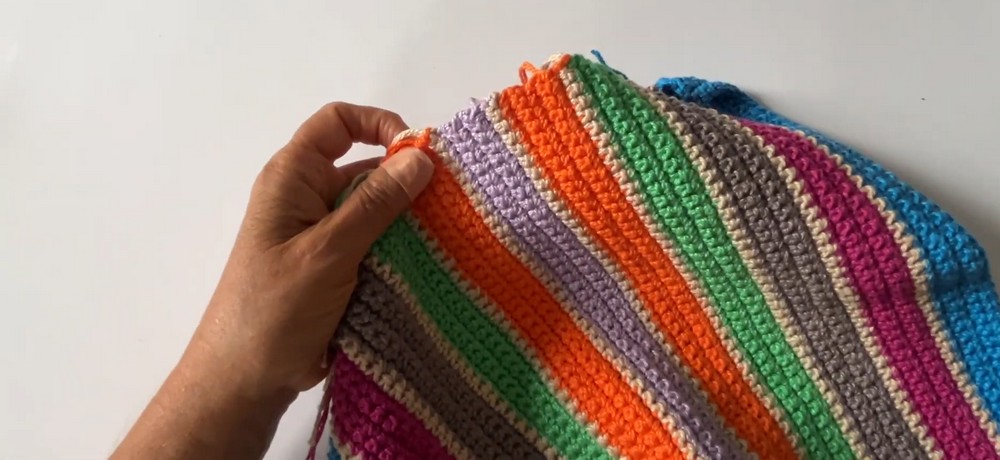
- Color Alternating Rows:
- Switch to your second color and work 5 rows of 1 sc in each stitch.
- Continue alternating between the base color and additional yarn colors for the length of the bag.
Part 3: Sides of the Bag
- Foundation Side Chain: Begin with a chain of 19 stitches.
- Side Rows:
- Create rows using 18 single crochet (sc) stitches across (work 5 rows total).
- Continue the Pattern:
- Alternate between colors and the base color for the side pieces.
- Repeat until the side piece measures 38.5 cm (about 15.2 inches), which is half the size of the bag’s body.
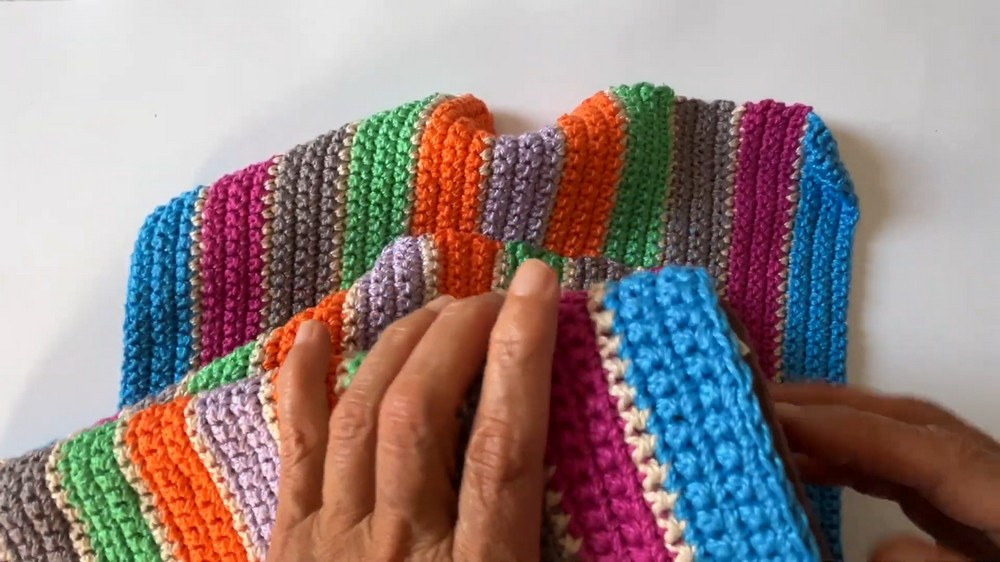
Part 4: Joining the Sides to the Bag
- Positioning Side Piece:
- Measure the 38.5 cm side of the bag and place the piece in the middle.
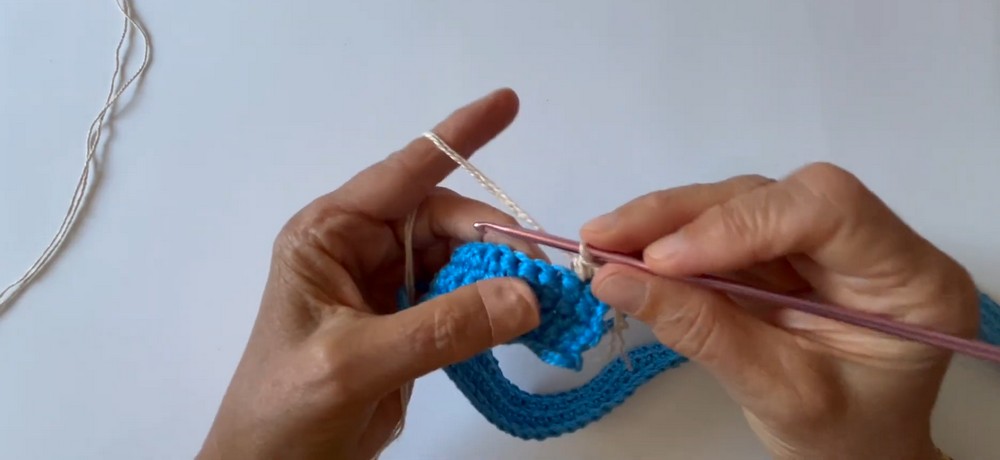
- Joining the Pieces:
- Work ch 1, slip stitch into the next stitch.
- Continue alternating ch 1 and slip stitch across to achieve a seamless join.
- Weave in Tails: Use a tapestry needle to weave in yarn ends for a cleaner look.
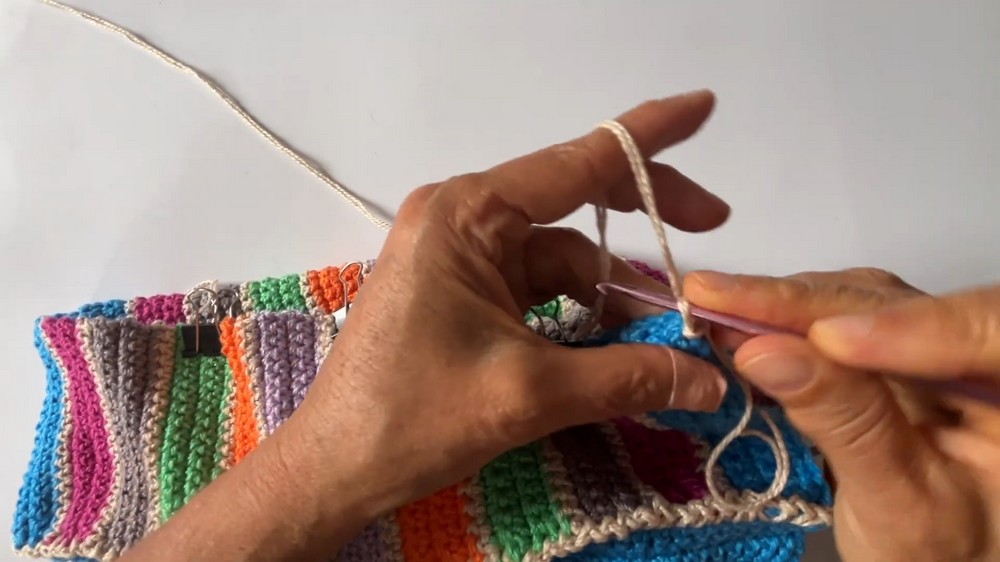
Part 5: Adding the Border
- Creating Border:
- Insert the hook into the side and work 1 sc into each stitch.
- Folding the Layers:
- Fold the edge of the bag and crochet through both layers for extra sturdiness.
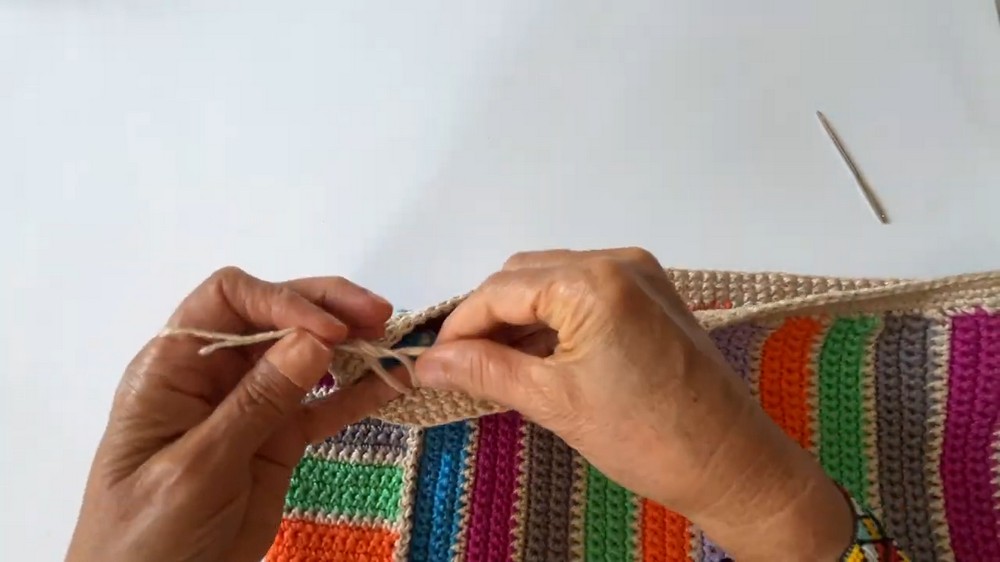
- Rounds:
- Repeat for 4 rounds of single crochet stitches.
- Finishing:
- Weave in all remaining yarn ends using a tapestry needle.
Part 6: Adding the Lining and Hard Bottom
- Prepare Lining:
- Cut the fabric with 1 cm allowances on each side and 2 cm at the top.
- Optional Pocket:
- Sew a pocket onto the lining fabric (helpful for storing items like a phone).
- Attach Lining:
- Place the lining inside the bag and sew along the edges.
- Hard Bottom (Optional):
- Add a sturdy bottom using materials like leather or hard plastic for durability.
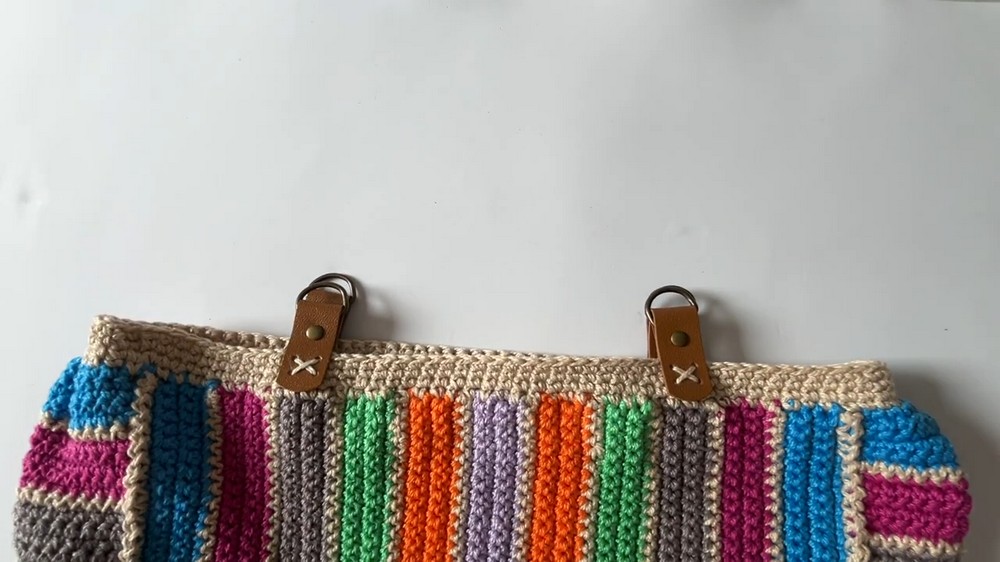
Part 7: Adding Accessories (Optional)
- Handles:
- Attach rings to the bag for handles using sewing thread.
- Buttons:
- Sew buttons if you want a closure on your tote bag.
- Label (Optional):
- Personalize your bag with a label.
Finishing Steps
- Check for any loose yarn ends and weave them in carefully.
- Give the bag a final once-over to ensure everything is securely attached.
Your colorful crochet tote bag is now ready! 🎉