This cute crochet bat is ideal for Halloween decor or as a fun accessory. Its charming design and versatility make it stand out. Whether you use it to accent your seasonal decor or gift it to someone, this handmade piece is both eye-catching and functional.

This crochet bat is perfect for decorations, toys, or festive embellishments. Its sturdy stitches ensure long-lasting durability, while its adorable design appeals to all ages. Lightweight and versatile, it can be used as home decor, a gift, or a cheerful seasonal ornament.
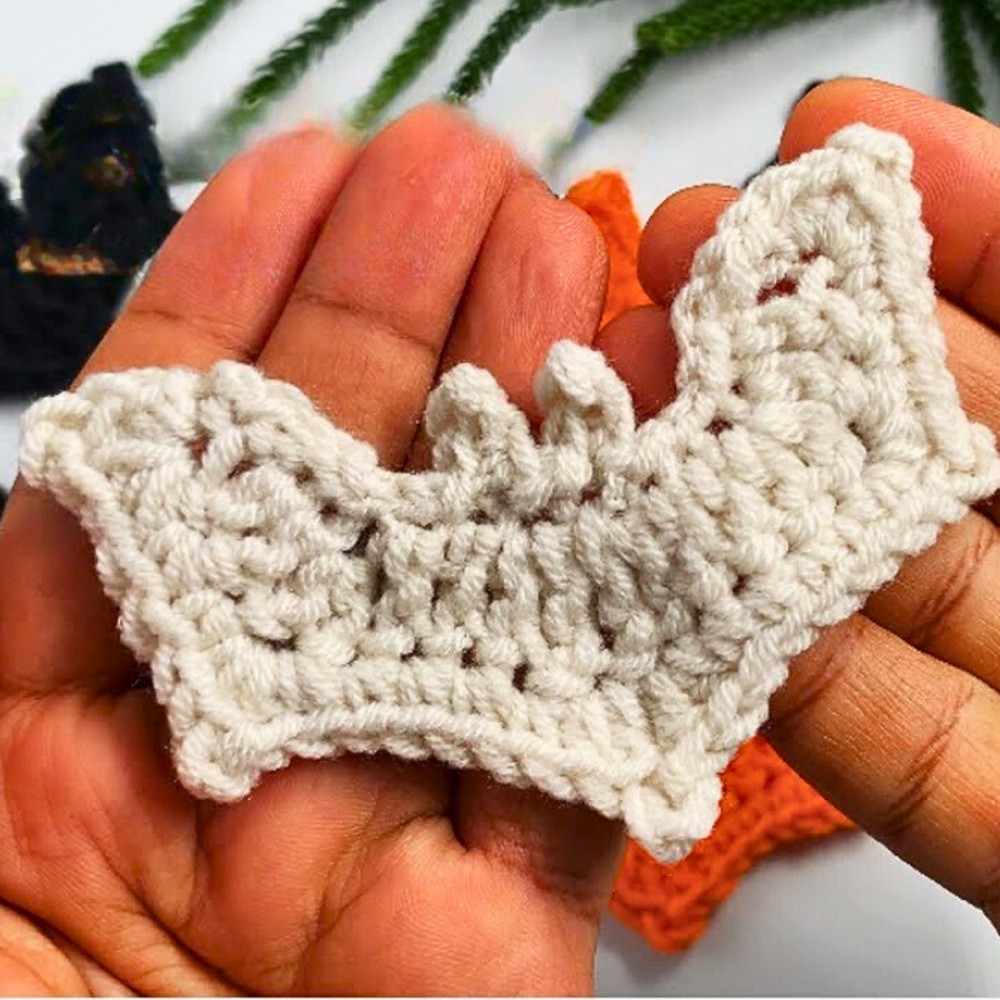
Crochet Halloween Bat
This bat pattern is beginner-friendly and easy to follow, offering creative freedom to adjust sizes or colors. It's a great project for crocheters of all levels to enjoy. With simple stitches, this handmade piece allows you to add fun custom touches while creating something festive and unique.
Materials and Preparation
To create this adorable crochet bat, you will need:
- Yarn: Black or dark-colored yarn; medium-weight yarn recommended (e.g., worsted weight – size 4).
- Hook: Size 3.75 mm crochet hook (or suitable hook size for your chosen yarn).
- Additional Tools: Yarn needle for weaving in ends, scissors.
- Optional: Stitch markers to help with counting stitches.
Tip: Choose yarn that holds its shape well, as this will help define the bat's wings and body.
Abbreviations and Notes
Here are the crochet abbreviations used in this pattern:
- CH: Chain
- SC: Single Crochet
- DC: Double Crochet
- HDC: Half Double Crochet
- TC: Treble Crochet
- INC: Increase (work 2 stitches into the same stitch)
- SL ST: Slip Stitch
Notes:
- For this project, sections of stitches are repeated to create symmetrical bat wings.
- Pay close attention to points and increases that define the bat's wings.
- Beginner-friendly but requires careful stitch counting for accuracy.
Gauge, Approximate Size, and Pattern Notes
Gauge:
Gauge swatch is not necessary for this project, as the bat is decorative.
Approximate Size:
Finished bat is approximately 6 inches wide from wingtip to wingtip and 3 inches tall from top to bottom.
Special Techniques:
- Picot Stitch: Used to add points to the bat's wings.
- Treble Crochet: Included for sharper wing edges.
Step-by-Step Pattern
Step 1: Create a Slip Knot and Foundation Chain
- Create a slip knot on your hook.
- Chain 15 stitches for the foundation chain.
Step 2: Row 1 – Starting the Body
- Skip the first 3 chains.
- Work DC into the 4th chain from the hook.
- Continue working DC in the next chain.
- DC INC: In the following chain, work 2 DC stitches into the same stitch to create an increase.
- Work 1 DC into each of the next 2 chains.
- TC: In the next chain, work 1 TC. Follow this with another TC in the same stitch.
- Work DC into the next chain, followed by another DC in the same chain (DC INC).
- Continue with 1 DC for the next 2 chains.
- In the final chain of this row, work DC INC (2 DC stitches).
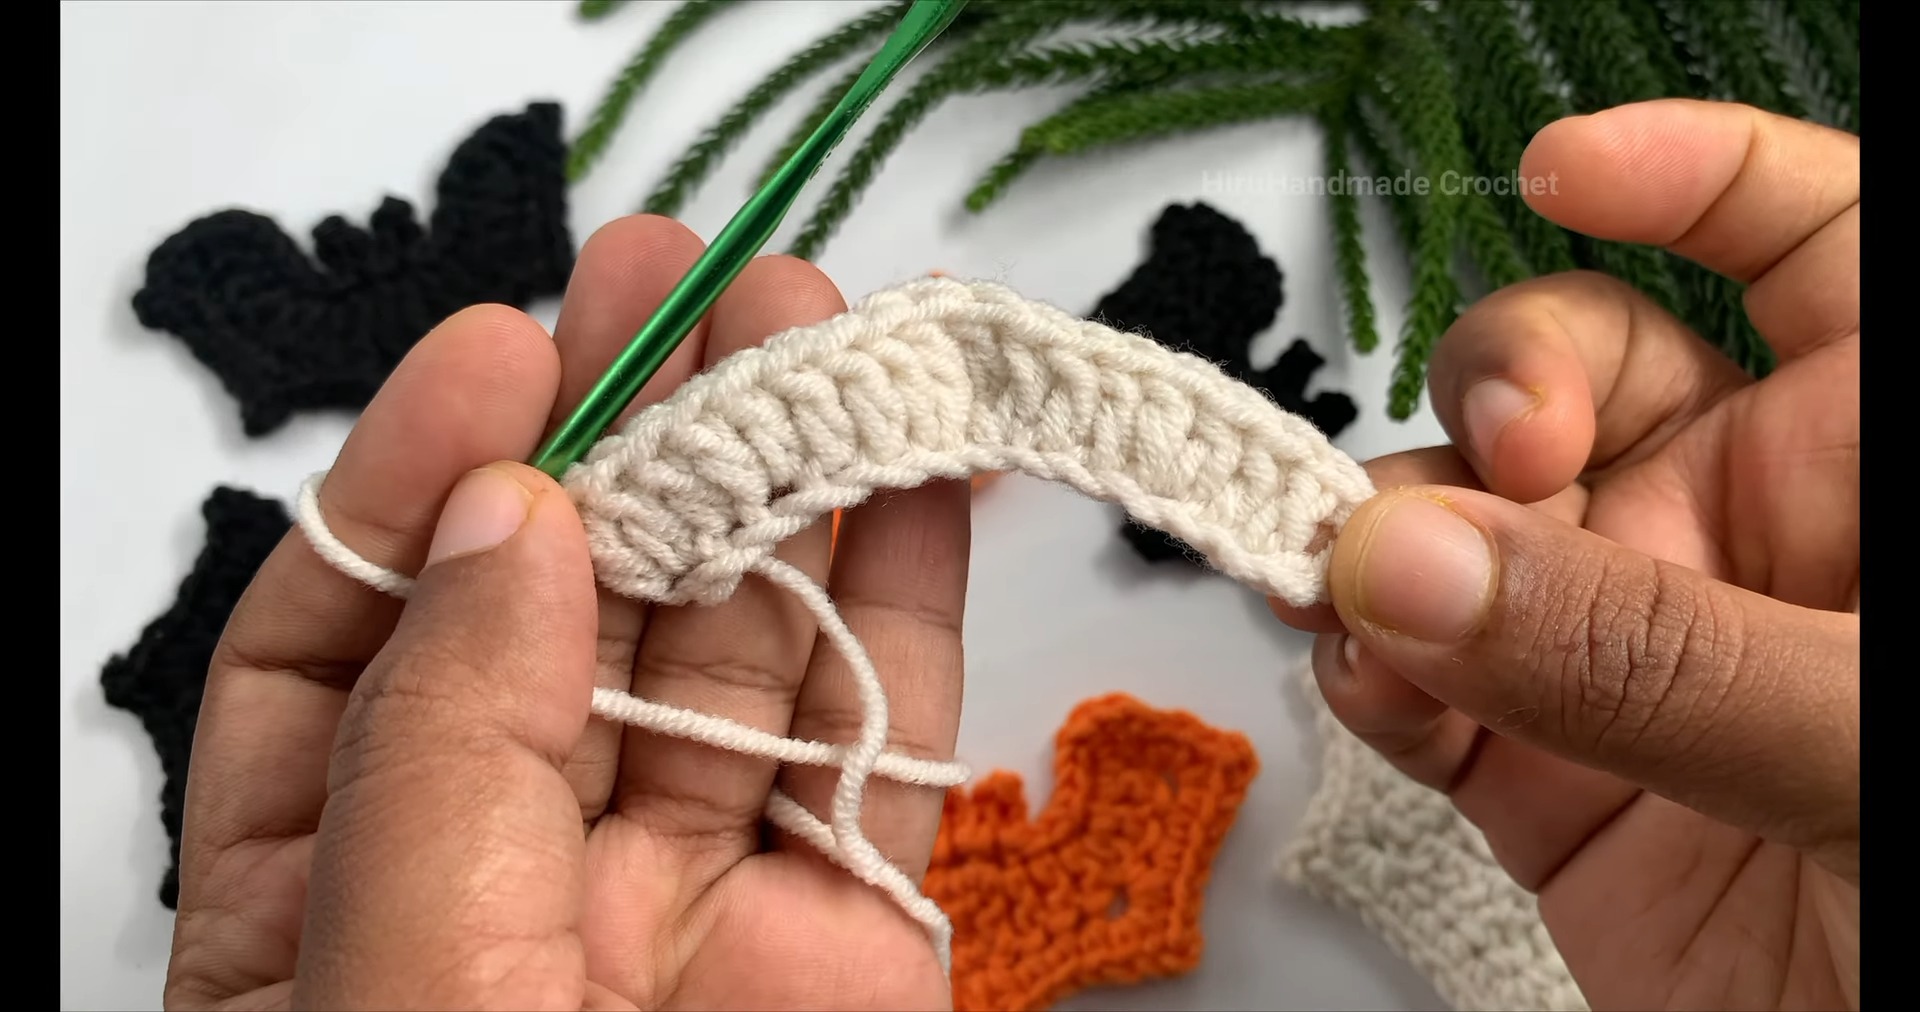
Turn your work.
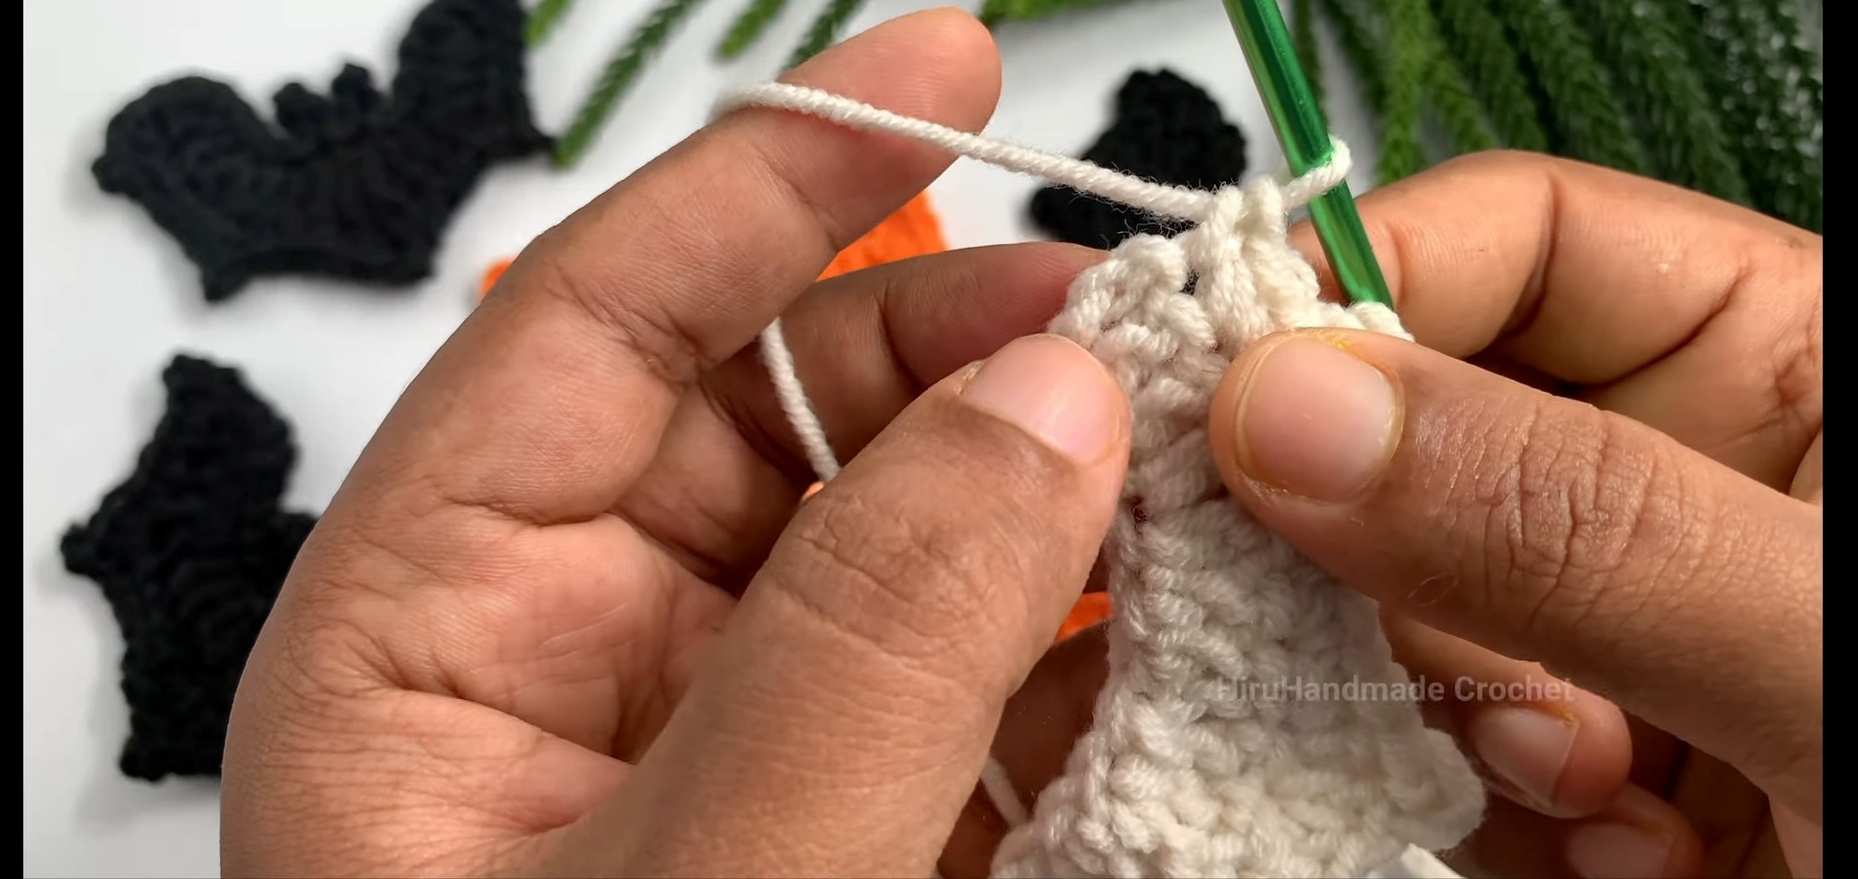
Step 3: Row 2 – Creating Wing Points
- CH 1 to turn.
- In the first stitch, work SC, followed by HDC.
- Picot Stitch: Chain 2, insert hook into the base of the HDC, and work 1 SL ST. This creates a point.
- Work another HDC and SC into the same stitch where the first Picot was made.
- Work 1 SC into each of the next two stitches.
- Repeat the above Picot Stitch process into the next stitch, forming the second wing point.
- Work 1 SC into the next 4 stitches.
Step 4: Continue with Wing Shaping
- In the next stitch, work HDC followed by DC.
- Picot Stitch: Chain 3, insert hook into the base of the DC, and work 1 SL ST. This forms the sharpest wing point.
- In the next stitch, repeat the above sequence (DC and HDC).
- Work 1 SC into the next 4 stitches.
Continue this section carefully to recreate symmetrical points for the second wing.
Step 5: Finishing Edge Work
- When reaching the outermost stitches on the edge, work SL ST into each stitch for a clean finish.
- Chain 3, skip the first chain, and begin working SC into the 2nd and 3rd stitches.
- Attach with SL ST to the starting point. Continue edging with SL ST in the next 5 stitches to neaten the bat’s outline.
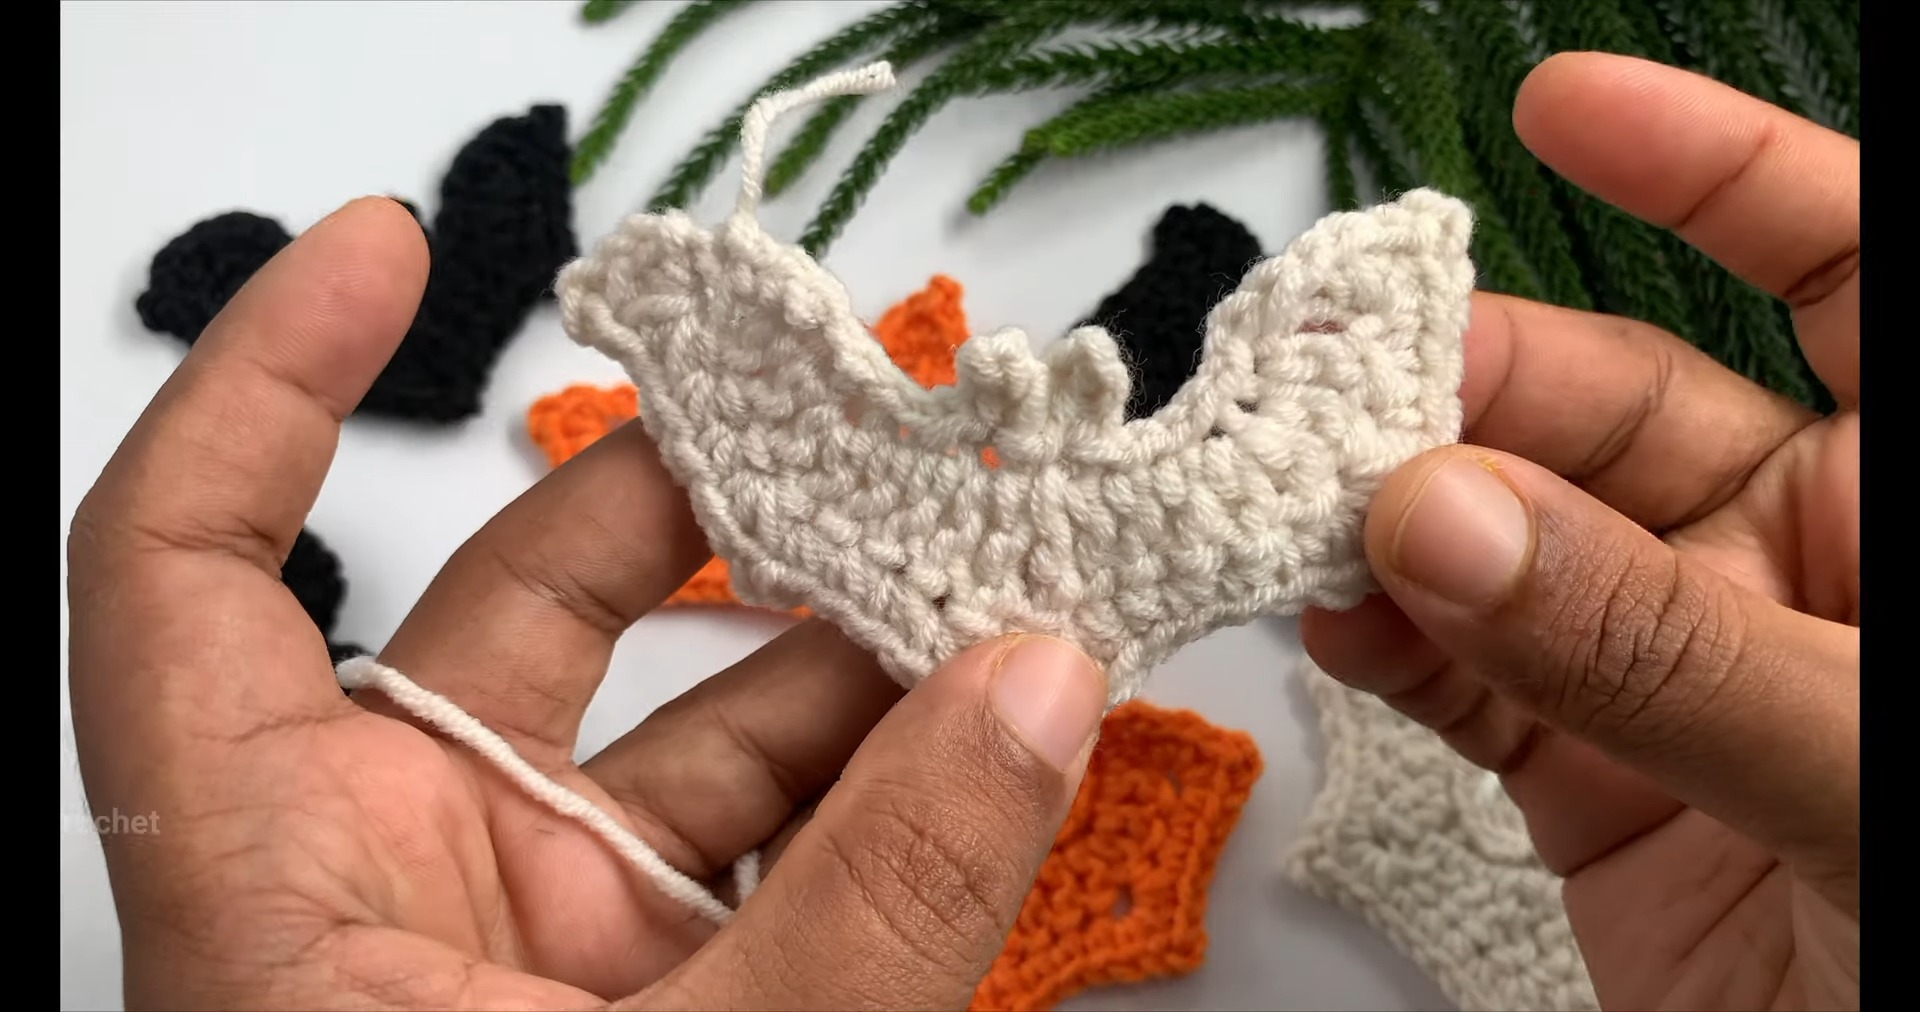
Step 6: Fasten Off and Weave Ends
- Chain 1, leave a tail, and cut the yarn.
- Use the yarn needle to weave in any loose ends.
Congratulations! You’ve created a charming Halloween bat.

Pattern Question
Q: Can I adjust the size of the bat by changing the yarn?
A: Yes, using thicker yarn and a larger hook will create a bigger bat, while finer yarn and a smaller hook will make a smaller one.
Conclusion
Crocheting a Halloween bat is both fun and rewarding. Its charm and practicality make it a delightful addition to your holiday crafts. Whether as decor or a gift, this easy-to-follow project is enjoyable and worth trying for a festive touch.