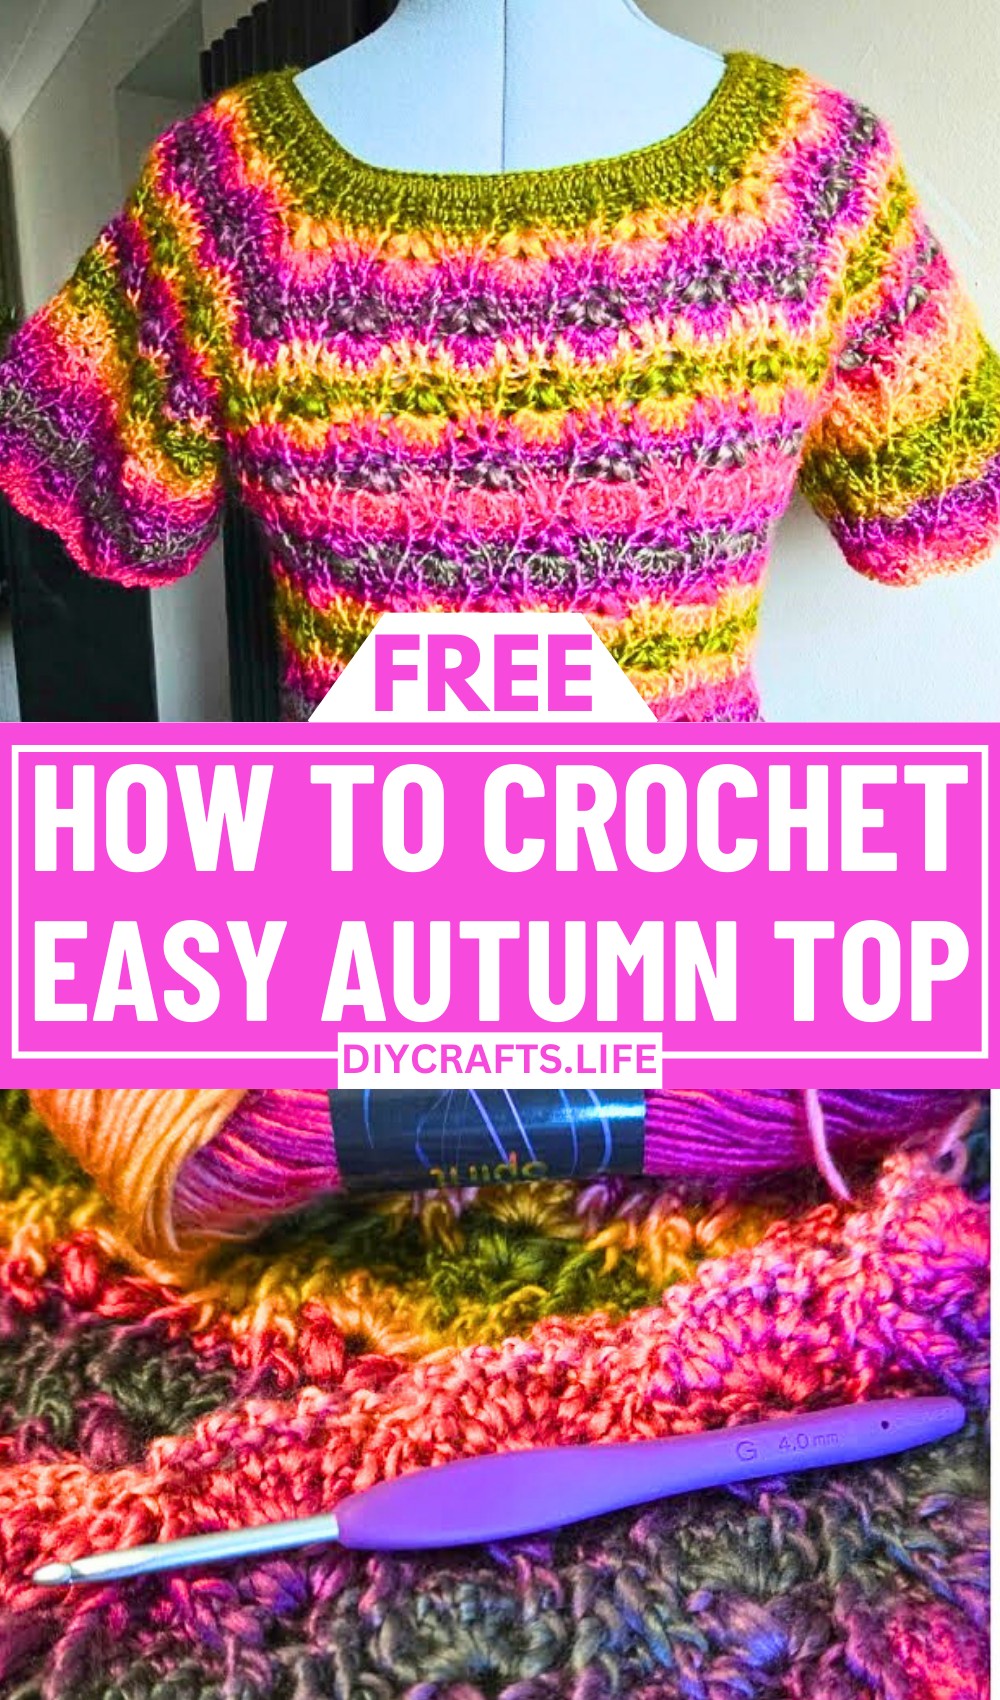
Wrap yourself in the warmth and style of the season with an autumn crochet top that connects coziness and fashion like never before. This design effortlessly captures the essence of fall, with its earthy textures and timeless charm, making it the perfect addition to your seasonal wardrobe. Whether you're stepping out for a crisp autumn stroll or layering up for chilly evenings, this crochet top redefines seasonal styling.
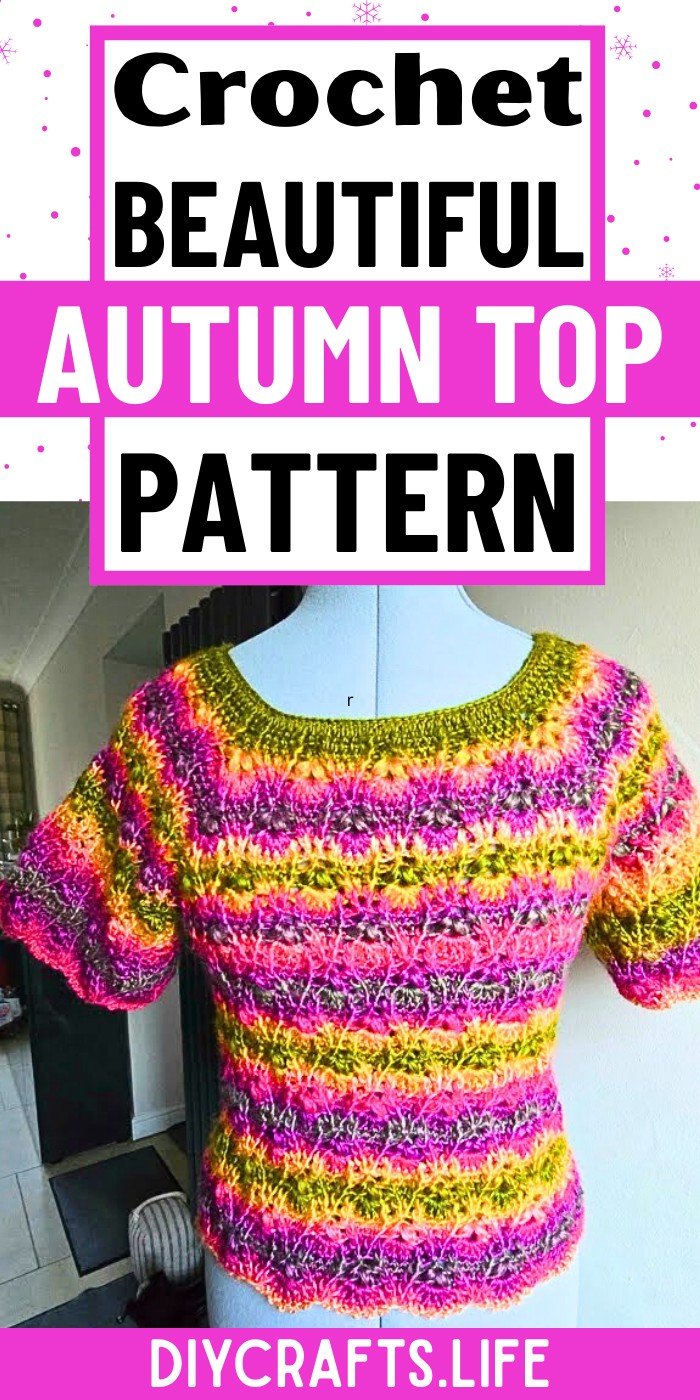
Crochet Autumn Top
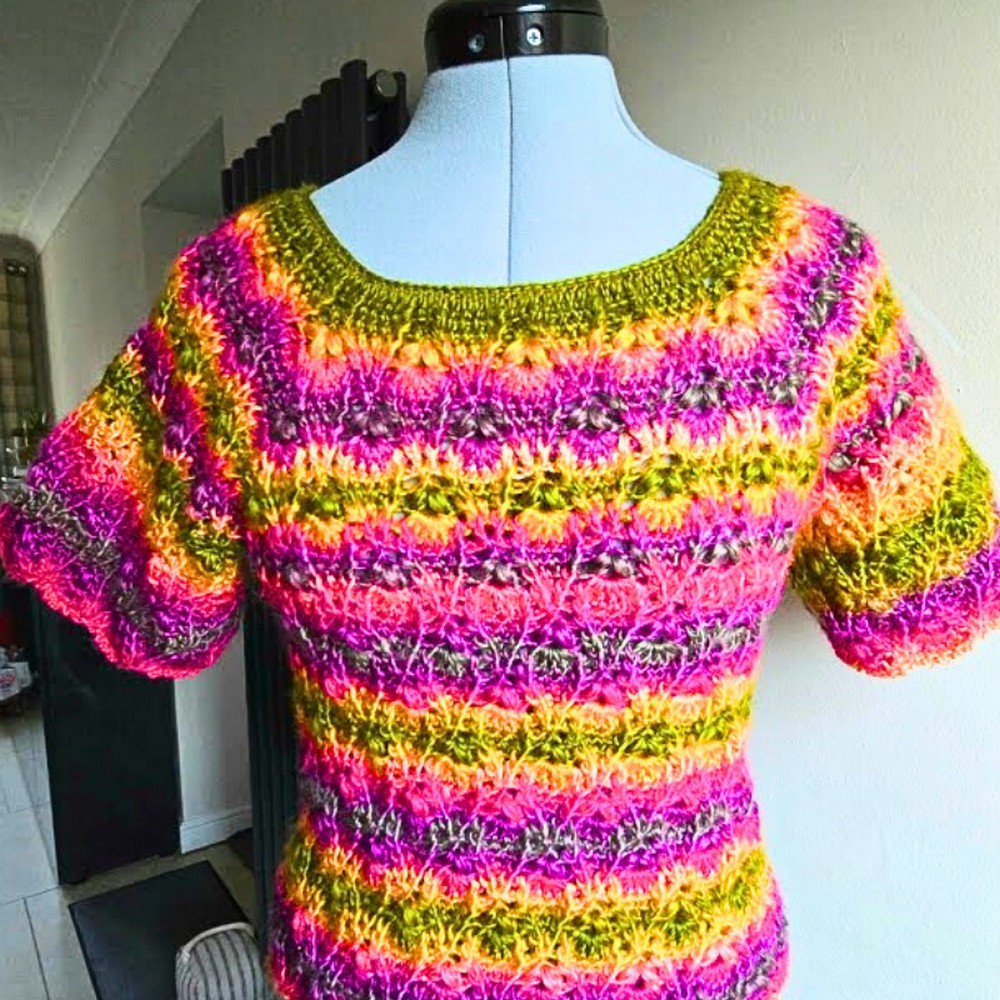
This crochet pattern stands out with its intricate details, blending classic stitching techniques with modern elegance. The flow of the design allows for personalization, letting you choose colors and accents that suit your unique taste. Its lightweight, breathable structure makes it comfortable for layering, while the texture adds dimension to your outfit. Whether you pair it with jeans, skirts, or your favorite trousers, this design exudes subtle sophistication with every stitch.
Materials & Tools Needed
- Yarn:
- Use medium-weight yarn (Category 3 or 4) for the tutorial pattern. Choose autumn-themed colors like burnt orange, mustard yellow, or earthy tones for a seasonal look.
- Recommended fiber: cotton or cotton-blend yarn for a breathable finish. Adjust weight for a looser or tighter fabric.
- Crochet Hook:
- Recommended size: 4mm crochet hook. Adjust the hook for different yarn weights (e.g., larger hook for chunky yarn).
- Stitch Markers:
- Use them to mark corners or pattern sections for consistency.
- Scissors:
- For cutting yarn neatly.
- Tapestry Needle:
- To weave in ends after finishing.
Finished Size & Customization Ideas
- Approximate Size:
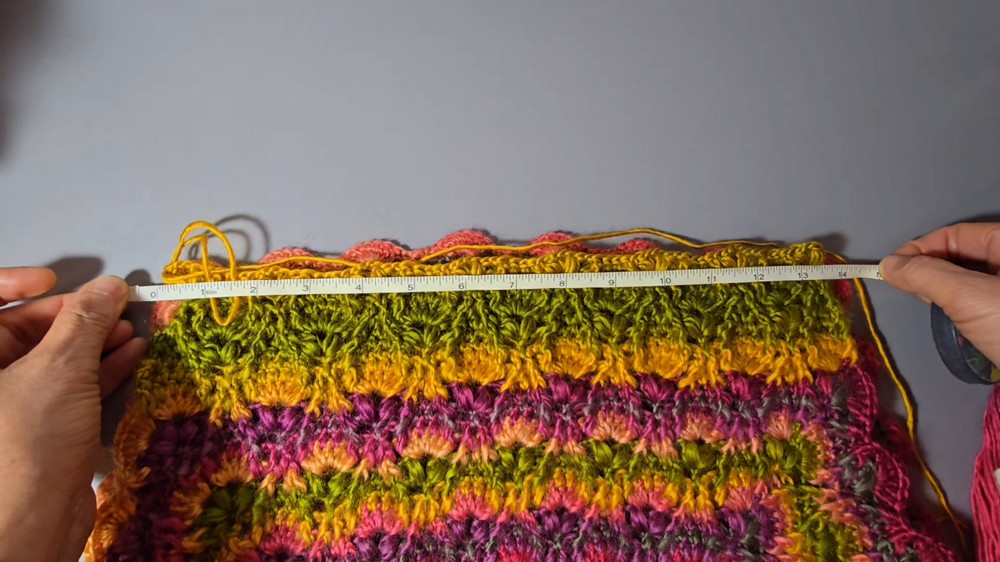
- The base neckline starts with chains totaling 128 stitches for a chest circumference of approximately 32 inches.
- Measurements from the top of the shoulder to under the arm are about 8 inches for the tutorial's default size.
- Customization Ideas:
- Adjusting Size:
- To increase or decrease size, modify the foundation chain in multiples of 8 (as one pattern section equals 8 chains).
- Measure your desired chest size and adjust the chain length accordingly to ensure it fits over your head.
- Yarn Weight:
- Use thinner yarns for a more delicate, lacy finish or thicker yarns for a cozy, bulky effect.
- Color Changes:
- Add stripes, block colors, or use gradient yarn for a more visually dynamic top.
- Straps or Crop Style:
- Shorten the bottom rounds to create a cropped version.
- Add decorative straps or remove the sleeves for a sleeveless tank-top style.
- Adjusting Size:
Pattern Abbreviations & Terminology
- ch: Chain
- sl st: Slip stitch
- dc: Double crochet
- fpdc: Front post double crochet
- hdc: Half double crochet
- puff stitch: Cluster of double crochet stitches with loops pulled closed
- st/sts: Stitch/Stitches
Step-by-Step Detailed Crochet Instructions
This gorgeous autumn top is crocheted from the top down, starting at the neckline and working toward the body and sleeves. Below is a breakdown of each component.
Step 1: Foundation Chain (Neckline)
- Crochet a foundation chain in multiples of 8. Example: For the tutorial size, begin with 128 chains.
- Measure the chain to ensure it fits comfortably over your head as the neckline.
- Join the chain into a circle using a sl st into the first chain (be cautious not to twist).
Step 2: Start the Yoke Section
- Round 1:
- Setup stitches for the neckline:
- Begin with ch 3, counting as the first dc.
- Work dc across each chain until the end of the round.
- Finish with a sl st into the top of the ch 3.
- Setup stitches for the neckline:
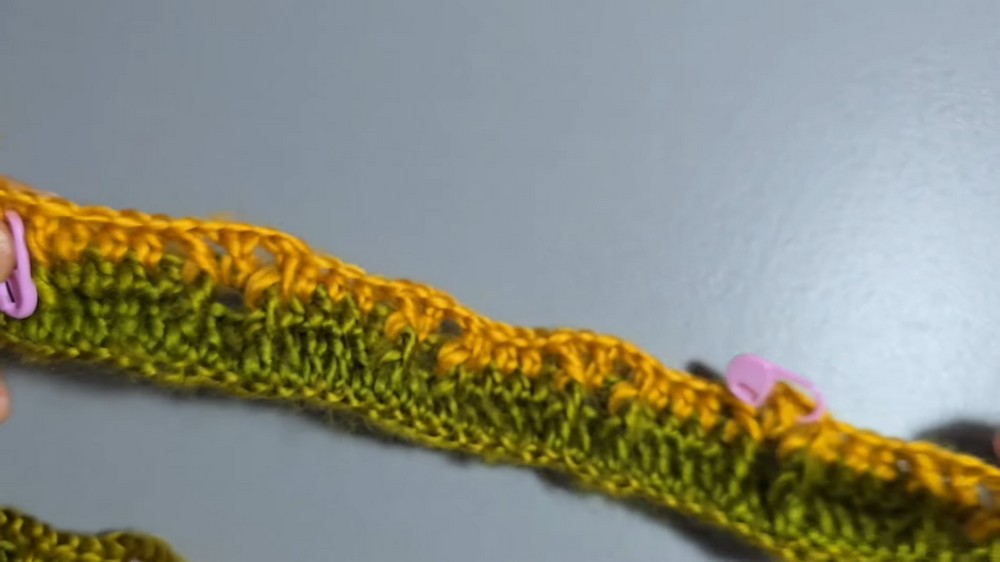
- Round 2:
- Begin post-stitch detailing:
- fpdc into the first stitch.
- Following the pattern: Work 4 hdc, then a fpdc.
- Skip 2 stitches and work chain 2, followed by another fpdc.
- Repeat this pattern all the way around: (4 hdc + fpdc + chain 2) until the end of the round.
- Finish by joining with a sl st.
- Begin post-stitch detailing:
- Rounds 3-4: Continue repeating the established pattern, adding front post stitches and chain spaces as necessary for texture and corners.
Step 3: Main Body Section
- Crochet rounds to lengthen the body, measuring from the top of the shoulder to under the arm (tutorial suggests 8 inches, adjust as desired).
- Continue the established pattern, repeating previous rows.
- Make sure to mark corners and maintain symmetry.
- Optional Customization:
- If the width of the body needs increasing at the bottom, add a few more chain spaces under each arm.
- Join additional chain patterns by crocheting in multiples of 8 at both sides if required.
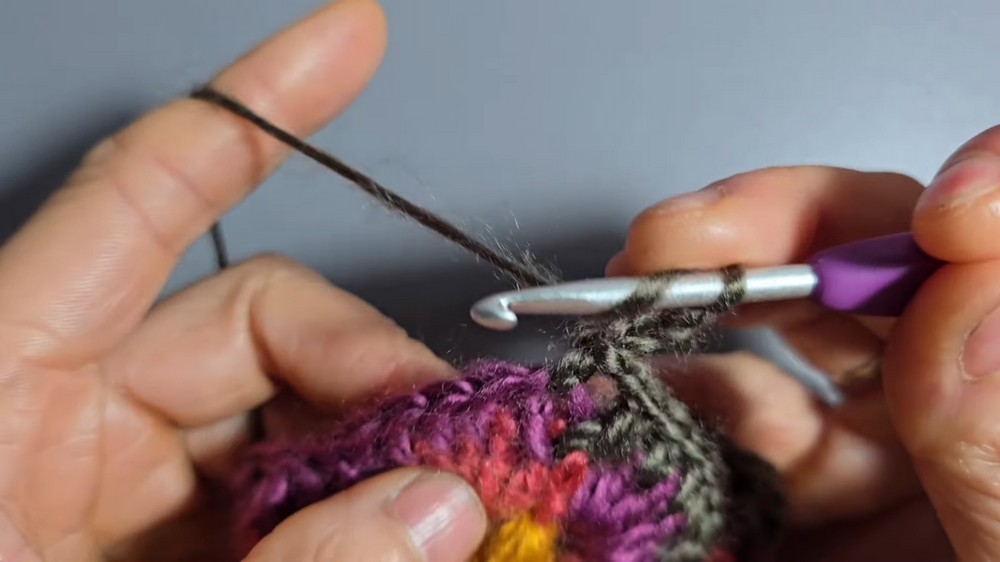
Step 4: Sleeves
- Setup Sleeve Section:
- Join the yarn at the arm opening.
- Work evenly around the armhole in the established stitch pattern (front post stitches, double crochets, and chain spaces).
- Length:
- Adjust the sleeve length by working more or fewer rounds.
- Decrease (tighten) the stitches slightly near the cuff for a fitted look, or leave it looser for balloon-style sleeves.
- End sleeves with a textured finish (e.g., chain-3 slip stitch detail) similar to the bottom edge of the body.
Step 5: Bottom Finish
- Add the textured edging:
- Begin at any corner of the body.
- Work a repeat of chain 3, sl st back into the same stitch, sl st into next stitch, chain 3, sl st back into stitch for a polished finish.
- Continue all the way around the bottom edge.
Step 6: Final Touches (Optional)
- Neckline:
- Work a round of single crochets around the neckline for a clean finish.
- Weaving Ends:
- Use a tapestry needle to securely weave all loose ends.
Finishing Tips
Once completed, block the garment if necessary by gently wetting and shaping it to even out stitches and enhance the fit.
Enjoy showcasing your cozy autumn-themed crochet top!