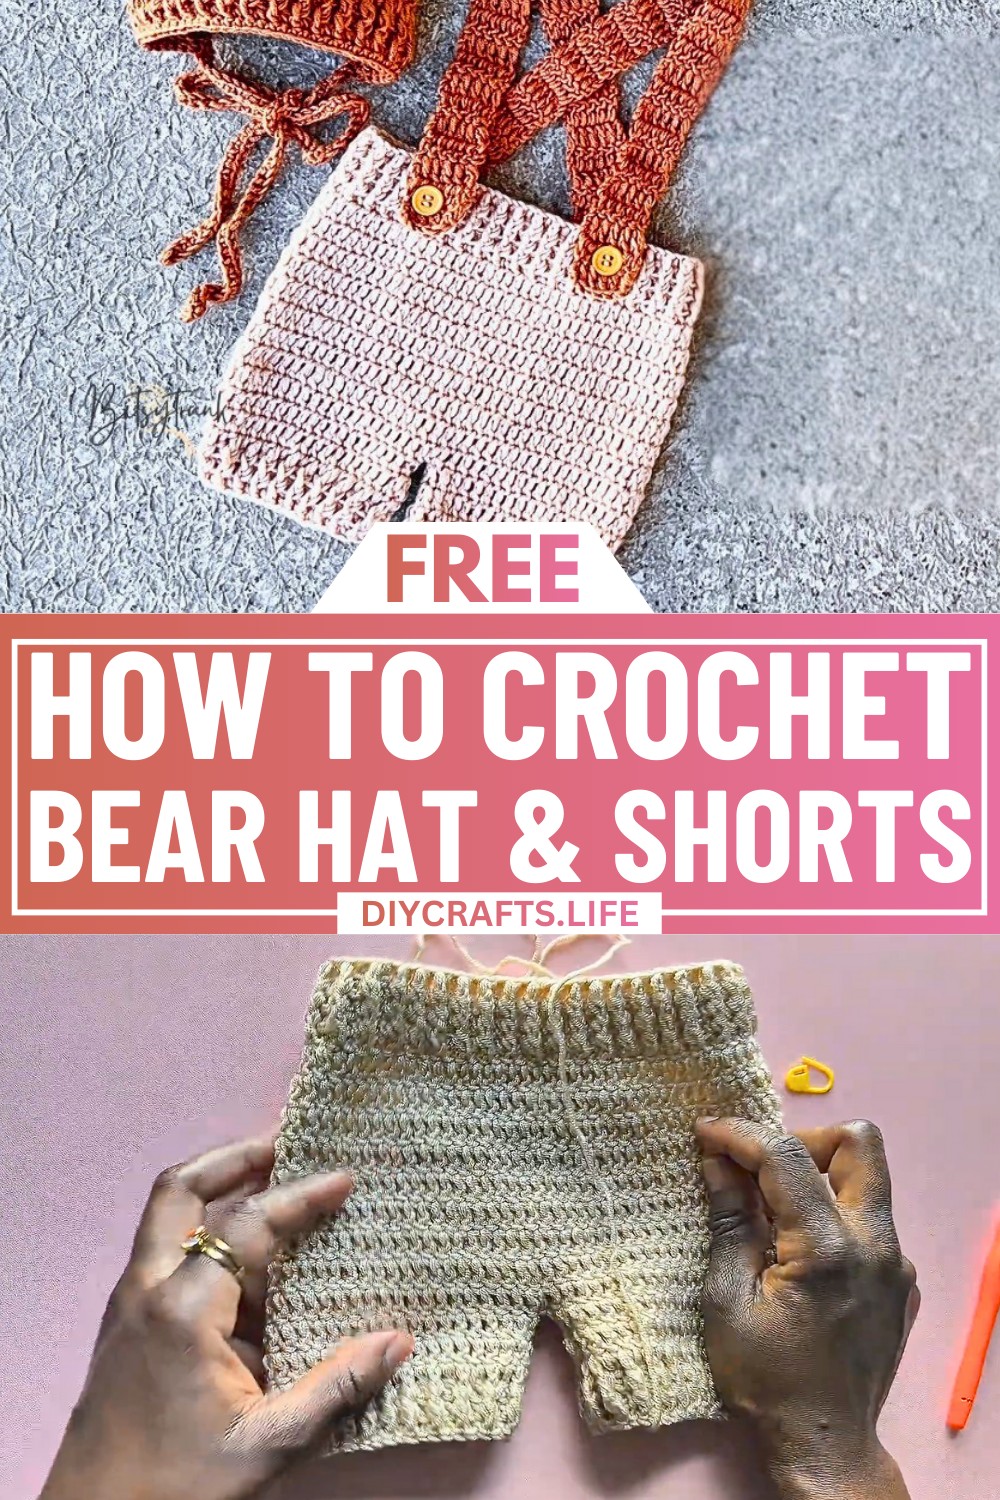
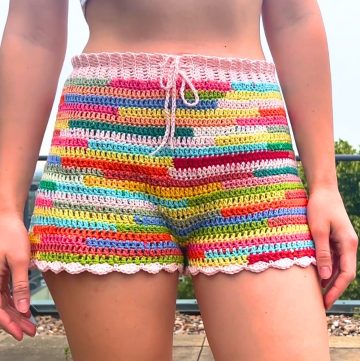
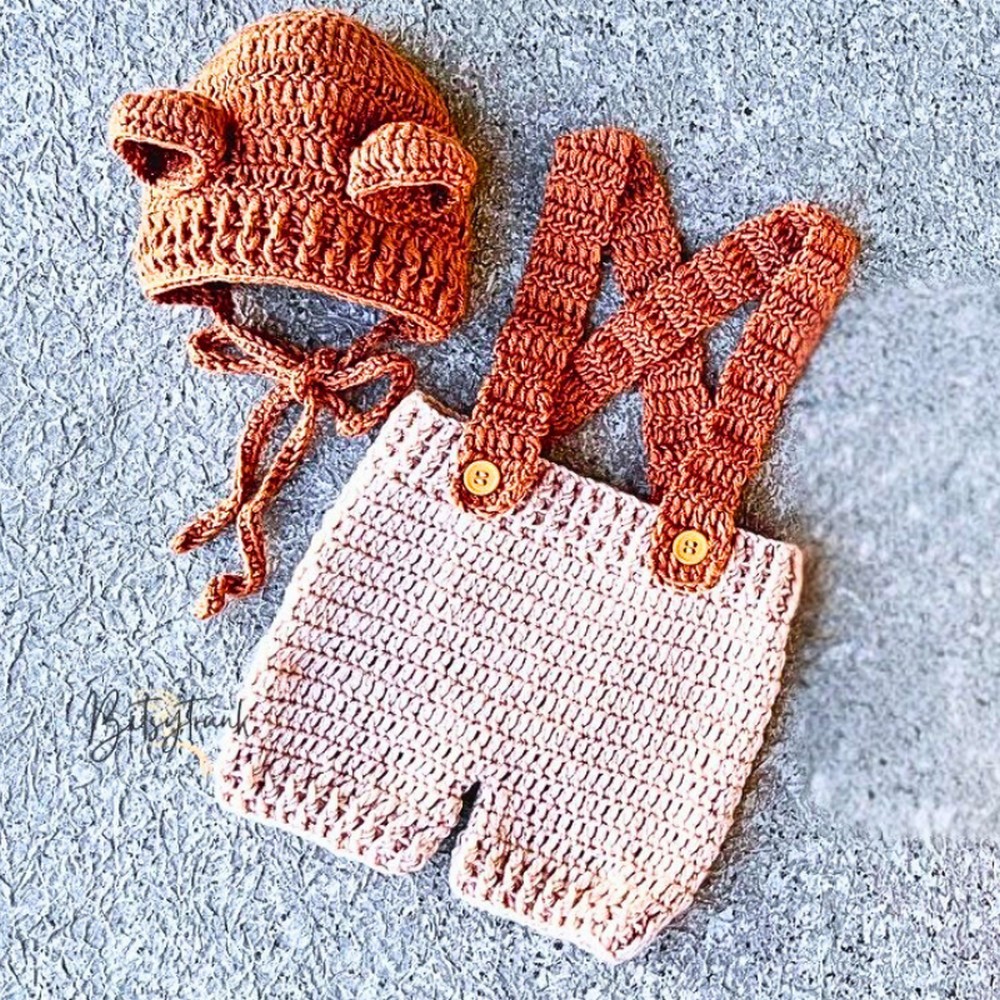
Transform your crochet skills into a delightful creation that will melt hearts. This adorable Baby Bear Hat and Shorts set is the perfect accompaniment for any little one's wardrobe. Soft textures combined with earthy hues give this set an irresistible charm, perfect for baby photo shoots or as a handcrafted gift for a special new arrival.
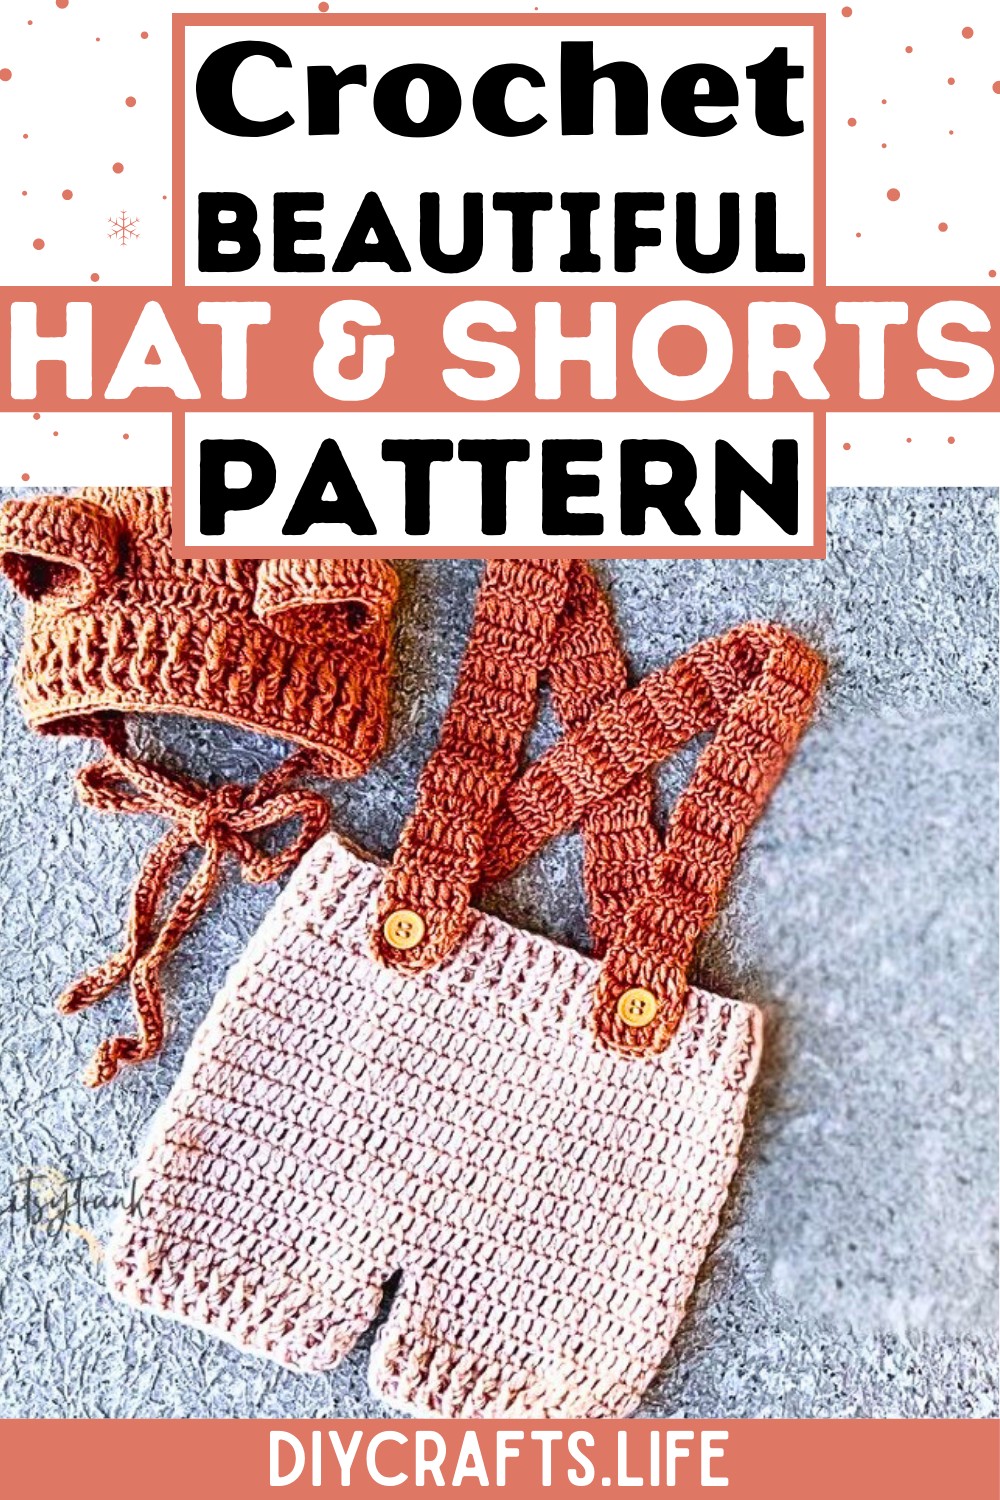
Crochet Baby Bear Hat & Shorts Set
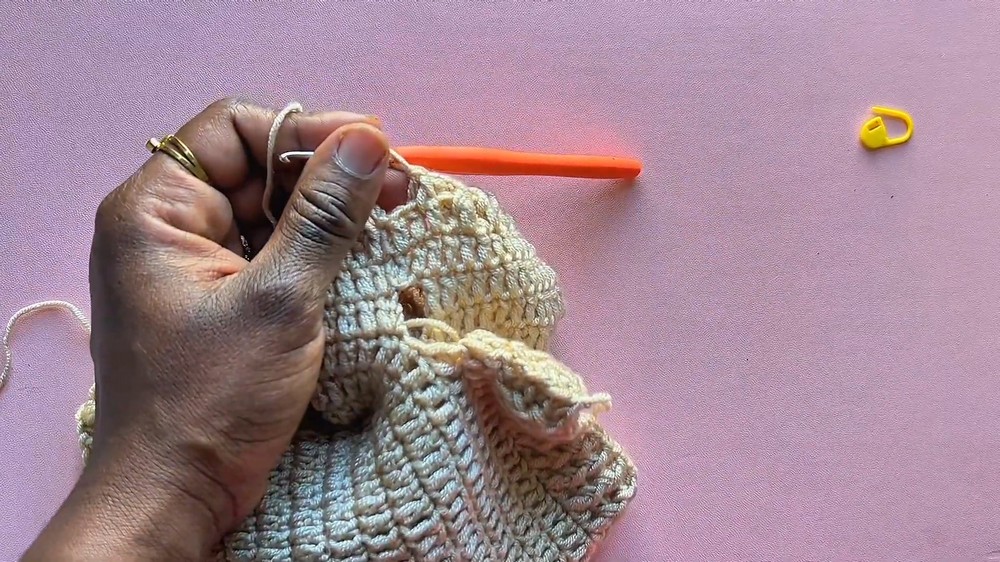
The design marvelously blends a whimsical bear-themed bonnet with cozy shorts that include charming suspenders. Light chocolate brown and beige yarns create a soothing palette. The use of front post and back post double crochets not only provides a snug fit but adds an elegant texture, ensuring the outfit is as fashionable as it is functional. Let your imagination run free with this unique pattern that artfully blends style with creativity, providing endless possibilities for personalization.
Credit 1YUMAKLAGELENLER
Materials Needed
- Lightweight acrylic yarn in chocolate brown and beige colors (e.g., Lama Baby Boom).
- 2.5 mm crochet hook.
- Yarn needle.
- Tape measure.
- Scissors.
- Stitch markers.
- Buttons (4).
Step By Step Pattern
Waistband
- Foundation Chain: Make a slip knot and chain to a length measuring 14.5 inches (adjust accordingly for one-month-size). Slip stitch to the first chain to form a ring.
- Round 1:
- Chain 2 (does not count as a stitch).
- Make 1 double crochet (DC) into each stitch around.
- Slip stitch to the first DC to close the round.
- Round 2:
- Chain 2.
- Alternate front post double crochet (FPDC) and back post double crochet (BPDC) in each stitch all around.
- Repeat this pattern until completing the round. Slip stitch to the first FPDC.
- Repeat the pattern from Round 2 for Round 3 and Round 4.
Body of Shorts
- Round 5:
- Chain 2.
- Make 1 double crochet (DC) into each stitch around.
- Slip stitch to the first DC at the end of the round.
- Repeat Round 5 until the shorts measure 5.5 inches from the waistband (to the crotch).
- Mark the beginning and measure each round using the tape measure.
Dividing for Leg Holes
- Count all stitches in the last round (e.g., 78 stitches).
- Divide by two to determine stitches for each leg (e.g., 39 stitches per leg).
- Use stitch markers to separate the stitches for the two legs.

First Leg
- Round 1 (Leg):
- Chain 2, and make 1 DC in the same space as the chain.
- Continue making 1 DC into each stitch until reaching the second stitch marker.
- Slip stitch to the first DC to close the leg hole.
- Round 2 (Leg):
- Chain 2 and make 1 DC in each stitch around, including into the chain 2 spaces from the previous round.
- Slip stitch to the first DC at the end of the round.
- Round 3: Repeat Round 2.
Leg Edging
- Round 4:
- Chain 2, and alternate FPDC and BPDC in each stitch around.
- Repeat FPDC-BPDC for two rounds to create ribbed edging.
- Cut off yarn and weave in the ends.
Second Leg
- Repeat steps for the First Leg on the second half of stitches set aside for the second leg.
- Add FPDC & BPDC ribbing as edging like the first leg.
Finishing the Shorts
- Turn shorts inside out and sew the crotch area securely with the yarn needle.
- Turn the shorts back to the right side.
Straps
- Foundation Chain:
- Using chocolate brown yarn, chain 7 for the width.
- Row 1:
- Make 1 DC into the 3rd chain from hook.
- DC across the remaining chains (5 DC total).
- Row 2 and Beyond:
- Chain 2 and turn.
- Make 1 DC into the same stitch as chain 2, then DC across the row.
- Repeat until straps measure 9.5 inches.
- Weave in ends and attach buttons on shorts and straps. Ensure proper alignment of buttons for secure attachment.
Bear Bonnet Pattern
Crown Increases
- Foundation Round:
- Make a slip knot. Chain 3.
- Slip stitch to the first chain to form a ring.
- Round 1:
- Chain 2 (does not count as a stitch).
- Make 10 DC into the ring. Slip stitch to the first DC.
- Round 2:
- Chain 2 and make 2 DC into each stitch all around (total = 20 stitches).
- Slip stitch to the first DC.
- Round 3:
- Chain 2.
- Alternate 2 DC in the next stitch and 1 DC in the next stitch. Repeat pattern all around.
- Slip stitch to the first DC.
- Round 4:
- Chain 2.
- Alternate 2 DC in the next stitch and 1 DC in the next 2 stitches.
- Repeat pattern all around. Slip stitch to the first DC.
- Round 5:
- Chain 2.
- Alternate 2 DC in the next stitch and 1 DC in the next 3 stitches.
- Repeat pattern all around. Slip stitch to the first DC.
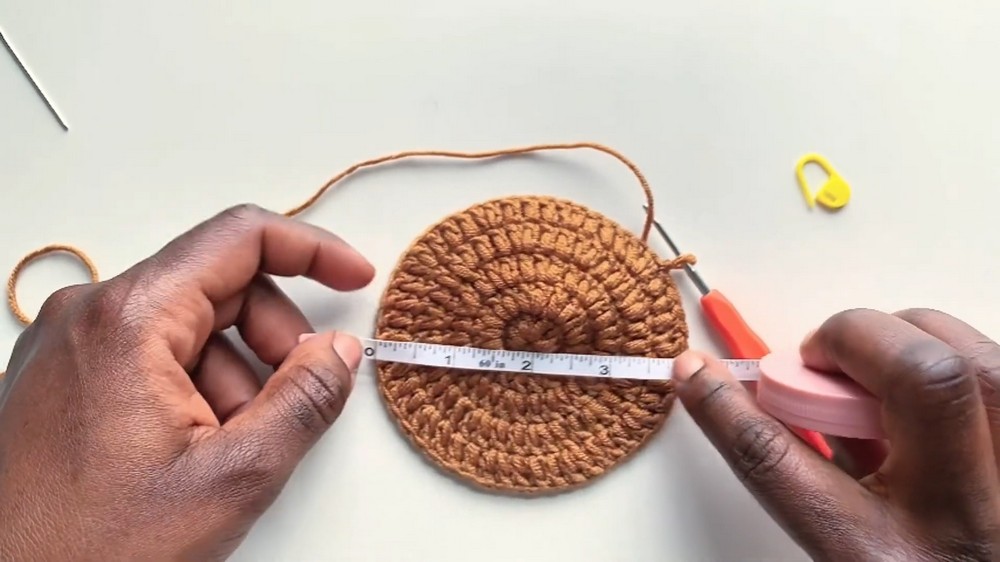
- At this point, the crown’s diameter should measure 4 inches.
Shaping Bonnet
- Row 1 (Shaping):
- Measure 1.5 inches down from the last round and mark.
- Chain 1, make 1 single crochet (SC), 1 half double crochet (HDC), and continue with DC until 2 stitches remain.
- End with 1 HDC and 1 SC.
- Row 2:
- Turn and chain 2.
- DC across every stitch.
- Row 3: Repeat Row 1.
- Row 4: Repeat Row 2. Alternate Row 1 & Row 2 patterns until the hat measures 5 inches.
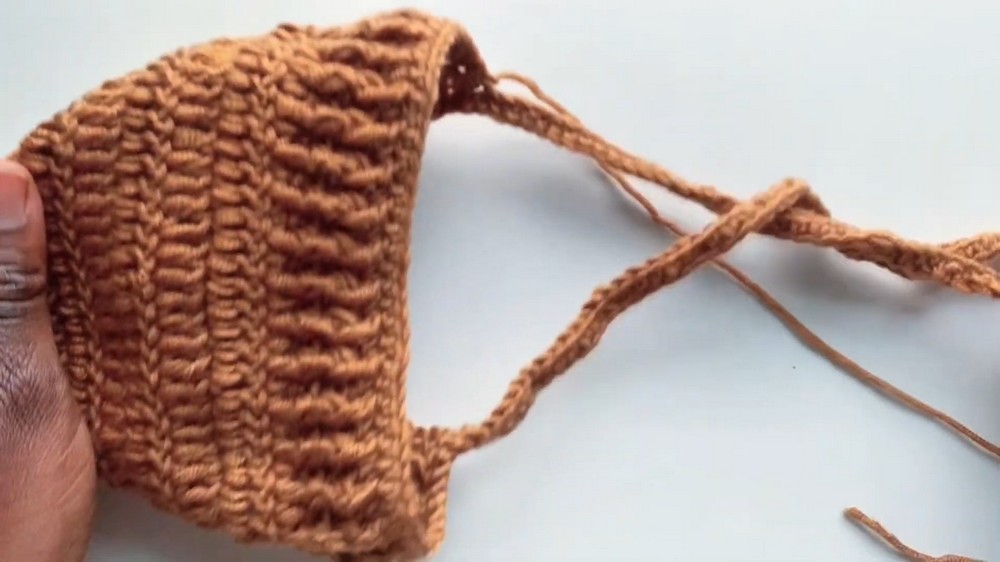
Edging
- Create a fine edge using FPDC and BPDC, alternating stitches for 2 rounds.
- Continue across the edges of the bonnet using single crochet for a clean finish.
Straps
- Chain 16 inches or any length desired for straps.
- SC in the second chain and all across the chain.
- Attach straps to edges of the bonnet securely.
Bear Ears Pattern
- Foundation Round:
- Make a slip knot. Chain 3 & slip stitch to form a ring.
- Chain 2, make 10 DC into the ring. Slip stitch to close.
- Round 2:
- Chain 2, make 2 DC in each stitch (20 stitches). Slip stitch.
- Round 3:
- Chain 2, make 1 DC, 2 DC in next stitch pattern all around. Slip stitch.
- Final Round:
- Chain 1. Make 4 SC in next stitches and 1 SC decrease in the 5th stitch.
- Repeat for round and slip stitch to exit.
- Attach ears securely to the bonnet near ribbing area.
Final Touch
- Weave in ends for both bonnet and shorts.
- Sew buttons securely for straps.
- Check alignment of bear ears and adjust if needed.