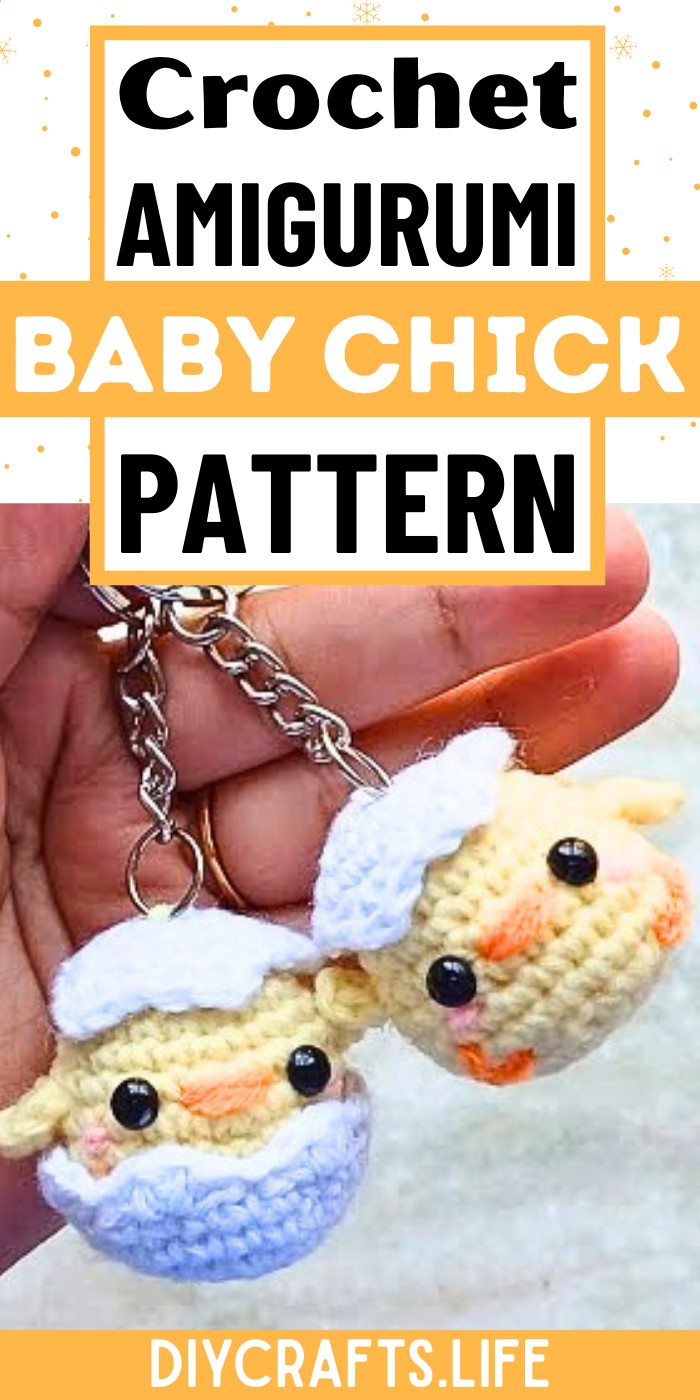
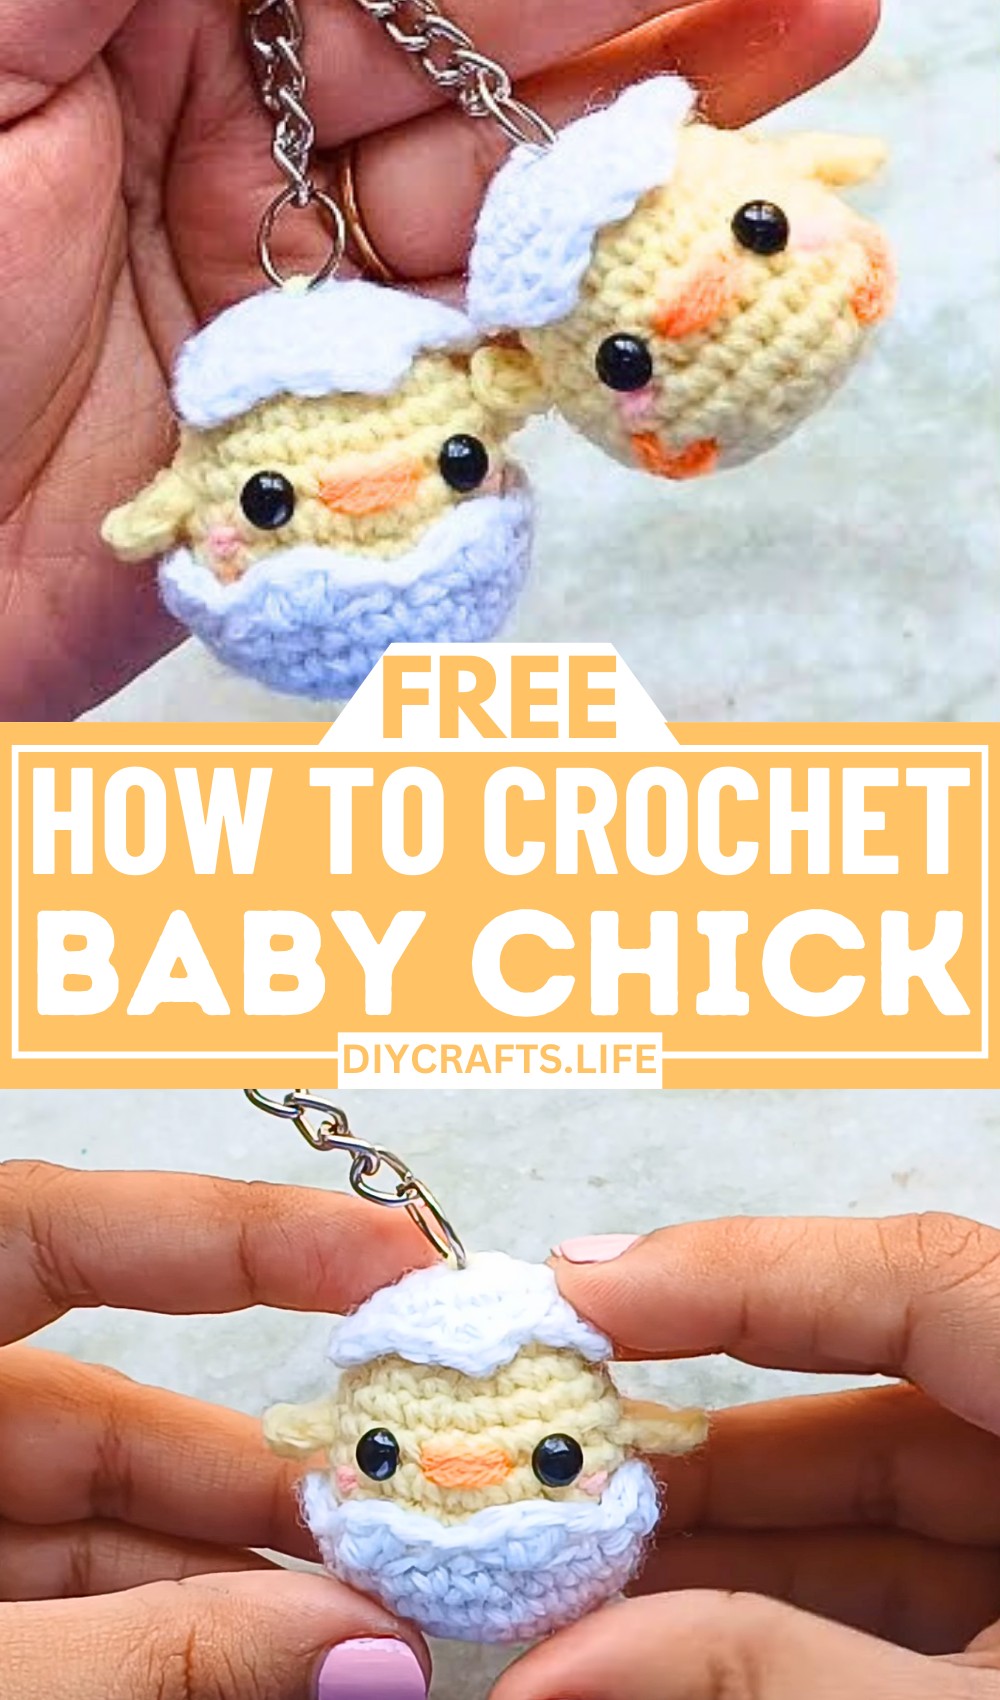
Create an adorable crochet baby chick amigurumi that hatches from a removable egg! From its snug white eggshell to its charming embroidered details, this beginner-friendly project is perfect for Easter gifts, keychains, or sweet home décor. The versatility and ease make it truly delightful to make.
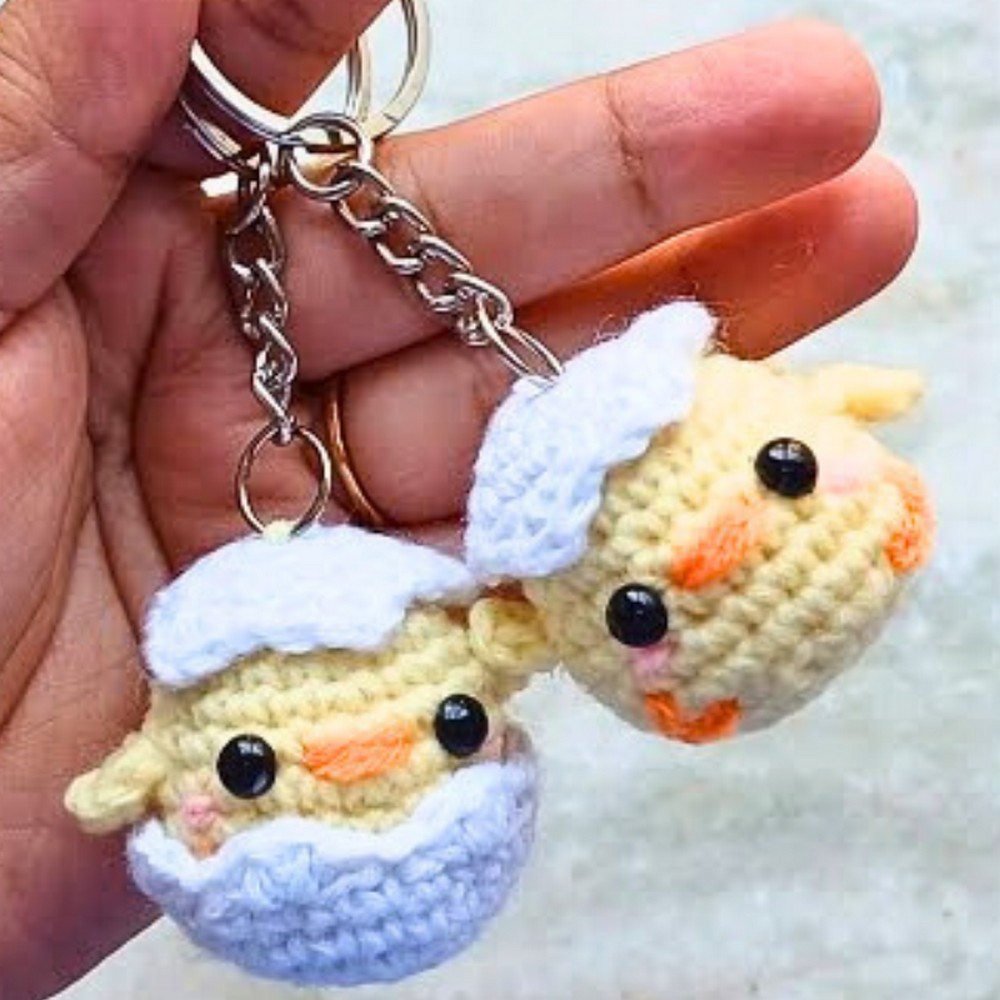
This crochet baby chick shines with practicality and charm. Its removable eggshell adds playful interactivity while the compact design fits perfectly as a keychain or holiday gift. Crafted with durable stitches, snug stuffing, and vibrant yarns, it ensures both functionality and lasting appeal.
Crochet Baby Chick Amigurumi
Crafting this baby chick amigurumi is a rewarding process, even for beginners. With helpful techniques like magic circles, invisible decreases, and detailed embroidery, this step-by-step guide ensures precision while allowing room for creativity in this fun, memorable project.
Credit elisi sevdası
Materials and Preparation
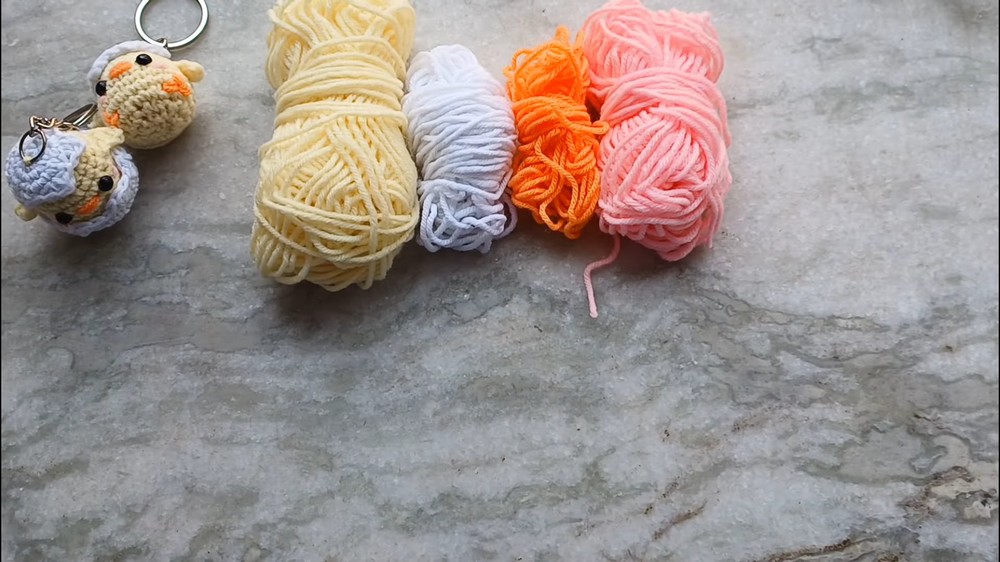
To crochet this adorable baby chick amigurumi hatching out of an egg, you will need:
- Yarn:
- Light yellow yarn (body) – 4-ply
- White yarn (eggshells) – 4-ply
- Orange yarn (beak and feet)
- Pink yarn (cheeks)
- Hook:
- 3 mm crochet hook (Use a smaller hook size than recommended for tight stitches to prevent stuffing from showing. Recommended hook size for 4-ply yarn is 4 mm, but we use 3 mm for this project.)
- Safety Eyes: 4 mm safety eyes (black)
- Keychain accessories (optional): Blank keychain and jump rings
- Stuffing: For filling the body of your amigurumi
- Tools:
- Yarn needle
- Stitch markers (or substitute, e.g., paperclips)
- Scissors
Abbreviations and Notes
Here’s a list of crochet abbreviations used in this pattern:
- CH: Chain
- SC: Single Crochet
- HDC: Half Double Crochet
- DC: Double Crochet
- INC: Increase (two SCs in the same stitch)
- DEC: Decrease (two stitches combined into one)
Notes and Tips:
- Magic Circle: This pattern begins with a magic circle. Be sure to cinch it tightly to ensure no gaps form.
- Continuous Rounds: Amigurumi is worked in continuous rounds without joining. Use stitch markers to mark the last stitch in each round for accurate counting.
- Invisible Decreases: These blend into your amigurumi more seamlessly compared to regular decreases. They are worked into the front loops of the two stitches.
- Eggshell Creation: The jagged edge is made using a combination of slip stitches, half double crochets, and double crochets.
Gauge, Approximate Size, and Pattern Notes
- Gauge: Not critical for this project, but the smaller hook ensures tight stitches.
- Finished Size: Approximately 2–3 inches tall (perfect size for a keychain).
- Special Techniques:
- Magic Circle
- Embroidery (beak, blush, and feet)
Step-by-Step Pattern
Chick Body
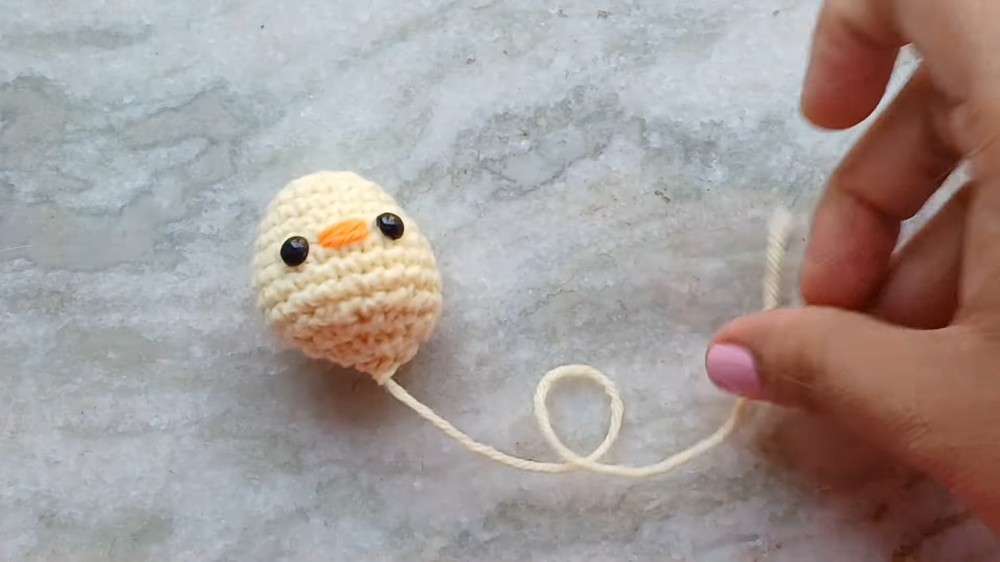
Round 1: Start with a magic circle using light yellow yarn. Chain 1 (does not count as a stitch) and make 6 SC into the magic circle. Pull the tail to tighten. (6 SC)
Round 2: Increase in each stitch (place 2 SCs in each stitch). (12 SC)
Round 3: SC into the first stitch, then INC into the next stitch. Repeat this sequence: SC, INC all the way around. (18 SC)
Round 4: Place one SC in each stitch around. (18 SC)
Round 5: SC into the first 5 stitches, then INC in the next stitch. Repeat: SC 5, INC all the way around. (21 SC)
Round 6: SC into each stitch around. (21 SC)
Round 7: SC into the first 6 stitches, INC into the next stitch. Repeat the sequence: SC 6, INC all the way around. (24 SC)
Rounds 8–9: SC around for 2 rounds, keeping the stitch count constant at 24. (24 SC)
Face Details:
- Embroider the Beak: Use orange yarn. Place the beak between rounds 6 and 7. Make a few stitches to shape the beak. Tie off and tuck excess yarn inside the body.
- Insert Safety Eyes: Insert 4 mm safety eyes on either side of the beak, about one stitch away. Add safety backings.
Round 10: SC into the first 2 stitches, then DEC using invisible decreases. Repeat: SC 2, DEC all the way around. (18 SC)
Round 11: SC into the first stitch, then DEC. Repeat: SC 1, DEC all the way around. (12 SC)
Round 12: DEC into every stitch around. (6 SC)
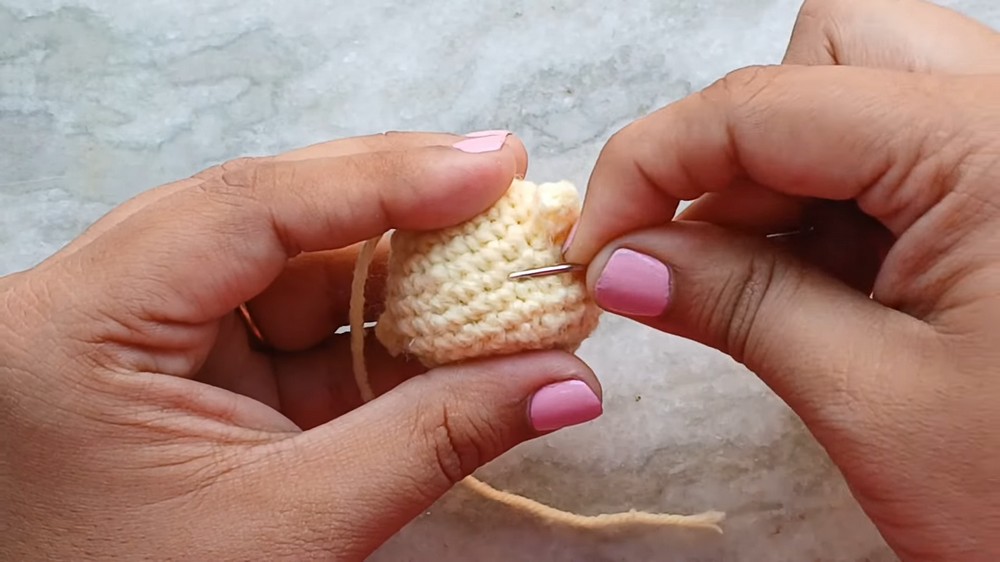
Finish: Cut the yarn, leaving a long tail. Use the yarn needle to weave the tail in and out of the front loops. Pull tightly to close the hole, weaving the tail through the body.
Wings:
- Attach light yellow yarn beside the eyes. Skip the first stitch and work into the second stitch: CH 3, make 1 HDC and 1 DC into the second chain, then another HDC. Skip the next stitch and slip stitch into the next stitch.
- Repeat on the opposite side for the second wing.Eggshells
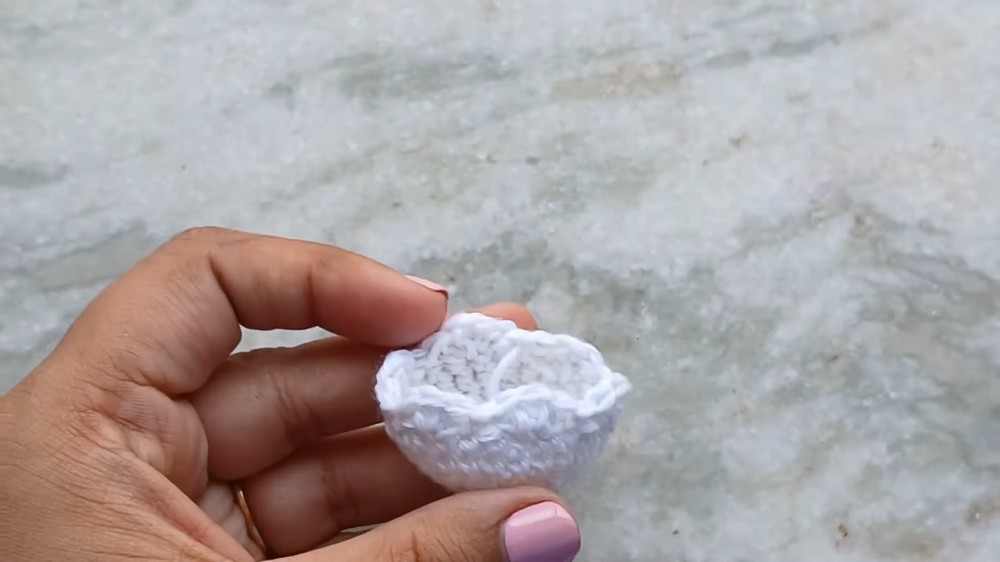
Bottom Eggshell:
- Round 1: Magic Circle. Place 6 SC into the circle. (6 SC)
- Round 2: INC in each stitch. (12 SC)
- Round 3: SC, INC. Repeat: SC, INC all the way around. (18 SC)
- Round 4: SC into 2 stitches, then INC. Repeat: SC 2, INC all the way around. (24 SC)
- Rounds 5–6: SC in each stitch around. (24 SC)
- Round 7 (Jagged Edge): Skip the next stitch, then in the following stitch make: HDC, DC, HDC. Skip the next stitch and slip stitch into the next. Repeat this sequence to form 6 "points." Fasten off, leaving a tail to weave in.
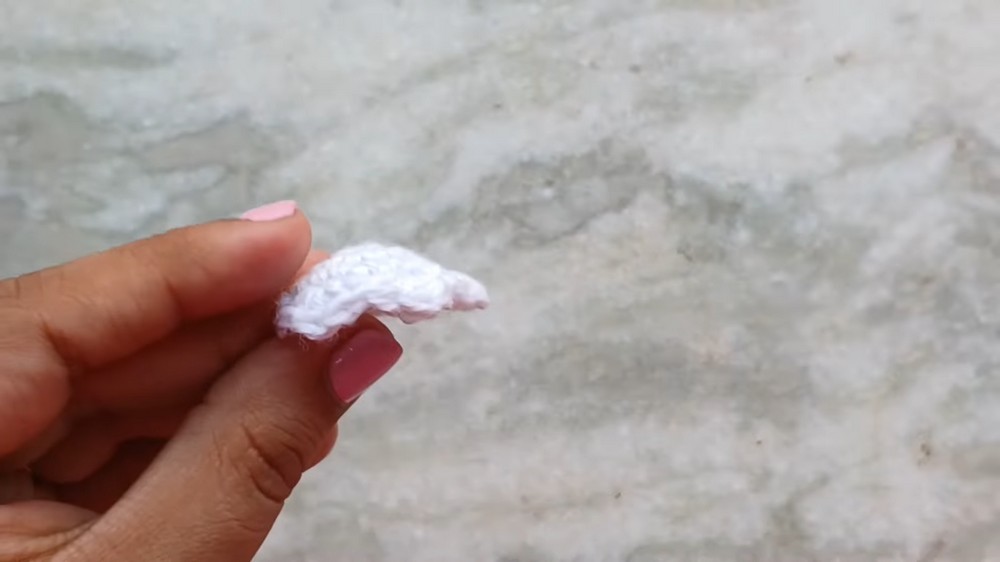
Top Eggshell:
Follow the steps for the bottom eggshell, but at Round 7, only make 5 points since the round is slightly shorter. Make the last point by working directly into the next stitch (no skips). Fasten off.
Finishing Details
- Embroider Feet: Use orange yarn. Place the feet between rounds 9 and 10, lining up with the eyes. Make three small "toes" by looping the yarn as instructed. Tie and tuck excess yarn into the body.
- Embroider Cheeks: Use pink yarn. Embroider blush beneath each eye in rounds 7–8.
- Attach Keychain: Use the top shell’s tail to loop through the keychain’s jump ring. Position the shell and secure with stitches. Tie off and weave the yarn ends into the body.
- Optional: Secure the bottom shell with stitching, Velcro, or a snap button.
Pattern Question
Question: How do I ensure the chick fits snugly into the bottom eggshell?
Answer: Ensure your stitch counts are accurate and crochet tightly to prevent gaps. If it’s loose, use Velcro, a snap button, or tack it down with small stitches.
Conclusion
This crochet baby chick hatching out of an egg is a charming, versatile design. Its adorable appearance, coupled with practical techniques and the added whimsy of the removable shell, makes it a perfect project to enjoy and share!