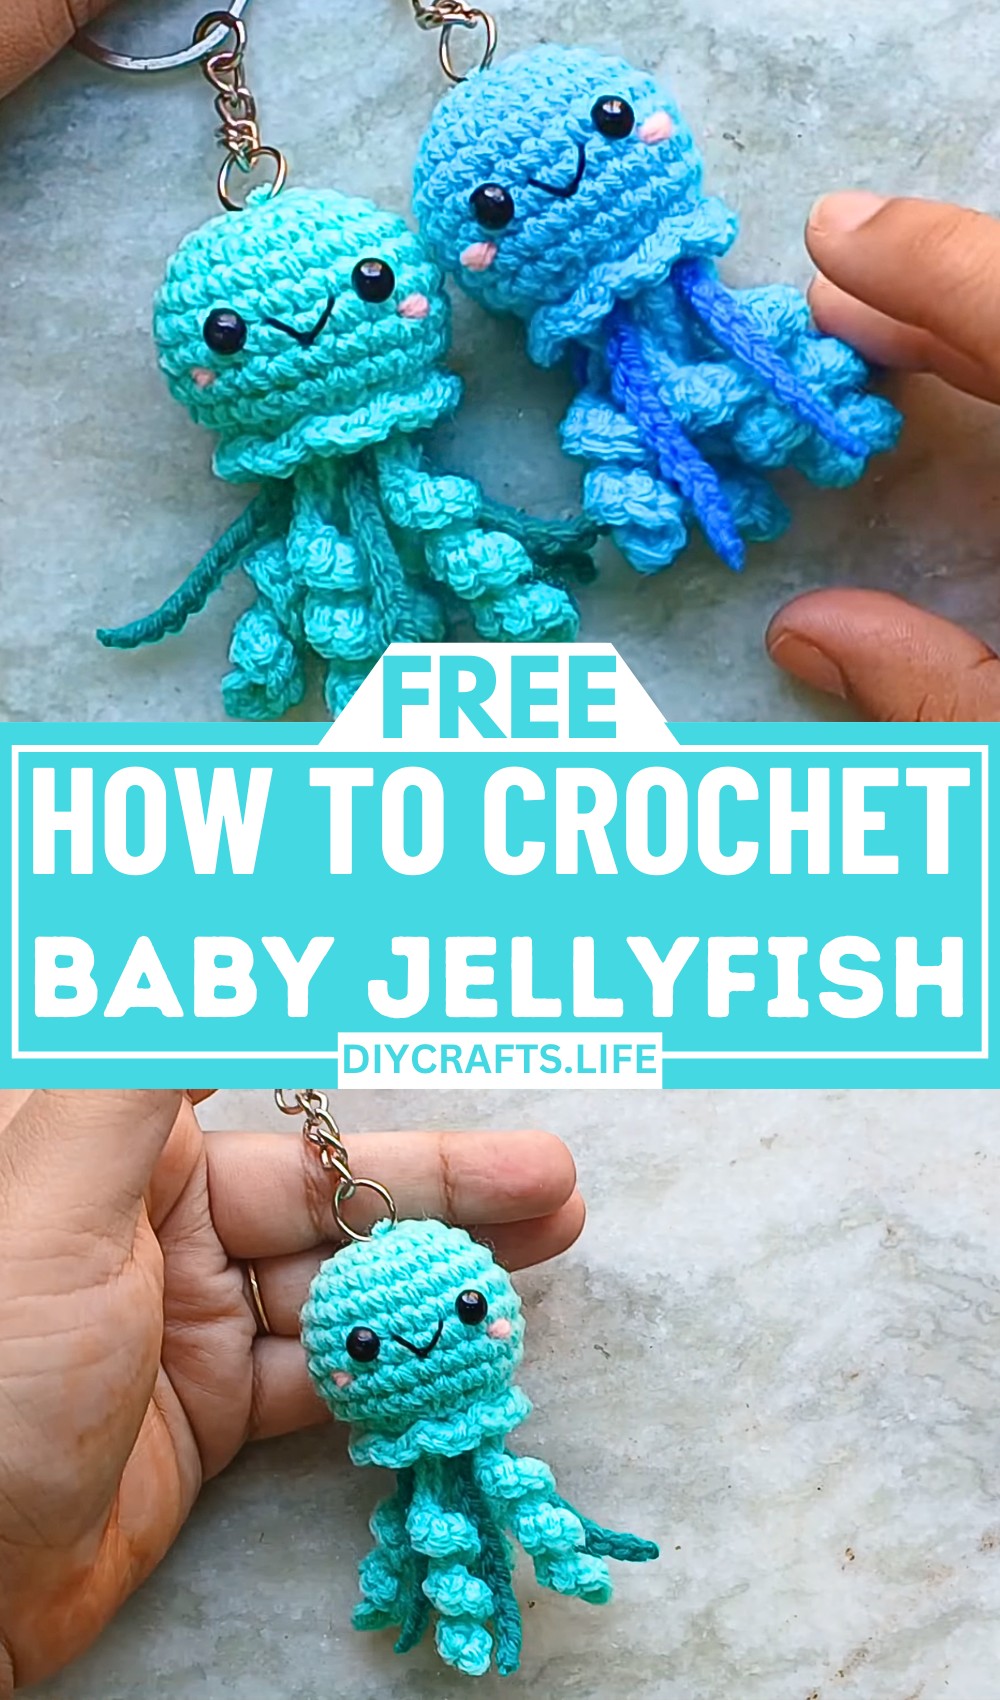
Learn how to crochet a delightful baby jellyfish amigurumi with this beginner-friendly, no-sew pattern! With its cute curls, ruffle head border, and embroidered facial features, this compact piece is ideal for keychains, toys, or decorative gifts. Perfect for enhancing your crochet skills while creating something functional.
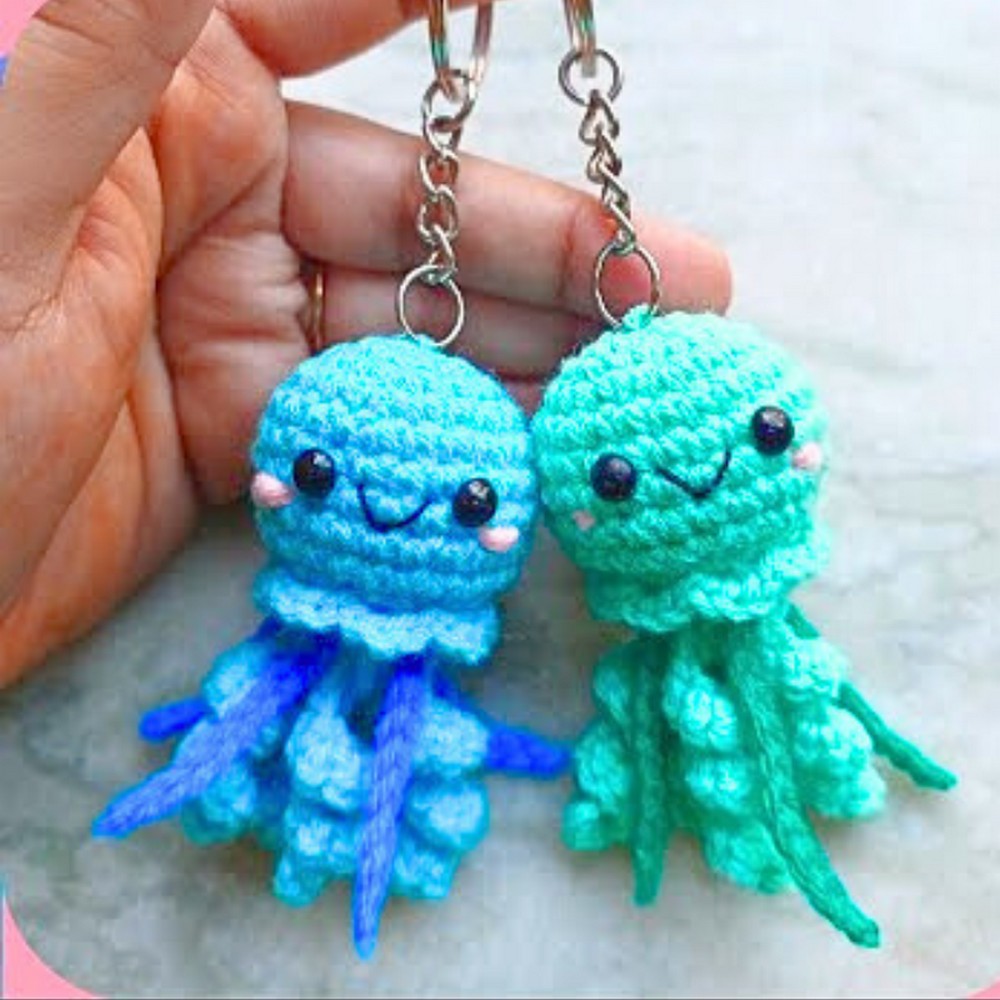
This baby jellyfish amigurumi stands out with its tightly stitched, durable design and whimsical curly tentacles. Its compact size makes it a great personalised keychain, shelf decoration, or playful toy. The added blush accents and ruffle detail make it an eye-catching, handmade item that's versatile and appealing.
Crochet Baby Jellyfish Amigurumi
This beginner-friendly tutorial guides you through magic circles, invisible decreases, and chain stitches for tentacles, all with clear instructions. From safety eyes placement to embroidered smiles and curly patterns, you’ll find crafting this jellyfish fun and approachable, resulting in a unique and charming creation.
Credit elisi sevdası
Materials and Preparation:
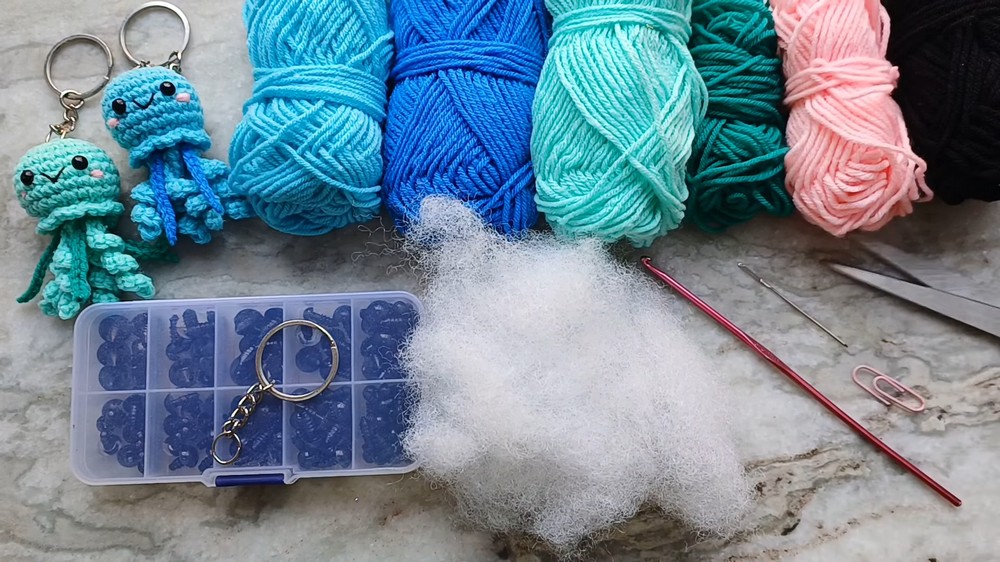
To create this adorable baby jellyfish amigurumi, you'll need the following materials:
Materials:
- Yarn:
- A light and dark version of the same color yarn (4-ply yarn recommended).
- Pink yarn for blush embellishments.
- Black yarn for facial embroidery.
- Optional: Dark green yarn for straight tentacles.
- Tools:
- Crochet hook: Size 3 mm (use a smaller hook size than the yarn's recommendation to create tight stitches and prevent stuffing from showing through).
- Yarn needle.
- Stitch marker (paper clip or scrap yarn can be used).
- Scissors.
- Extras:
- 4 mm safety eyes.
- Stuffing for the jellyfish body.
- Keychain components (optional).
Abbreviations and Notes:
Abbreviations:
- SC: Single Crochet
- Inc: Increase (two SCs in the same stitch).
- Dec: Decrease (combining two stitches into one).
- Invisible Dec: Invisible Decrease (worked through front loops only).
- Sl St: Slip Stitch
- Ch: Chain
Notes and Tips:
- This pattern is worked in continuous rounds, meaning you won’t join rounds with a slip stitch. Use a stitch marker to track the last stitch of each round.
- Tight stitches are crucial to prevent stuffing from showing through.
- Invisible decreases help maintain a neat and polished look.
- The pattern involves some embroidery—practice beforehand if you're unfamiliar with it.
Gauge, Approximate Size, and Pattern Notes:
- Gauge: Gauge is not critical for this project, but ensure your stitches are consistently tight.
- Approximate Finished Size: The jellyfish body measures about 2–3 inches, perfect for a keychain accessory.
- Extra Pattern Notes: No gauge swatch is required. Special techniques include making a magic circle for the foundation, invisible decreases, and crocheting tentacles.
Step-by-Step Pattern:
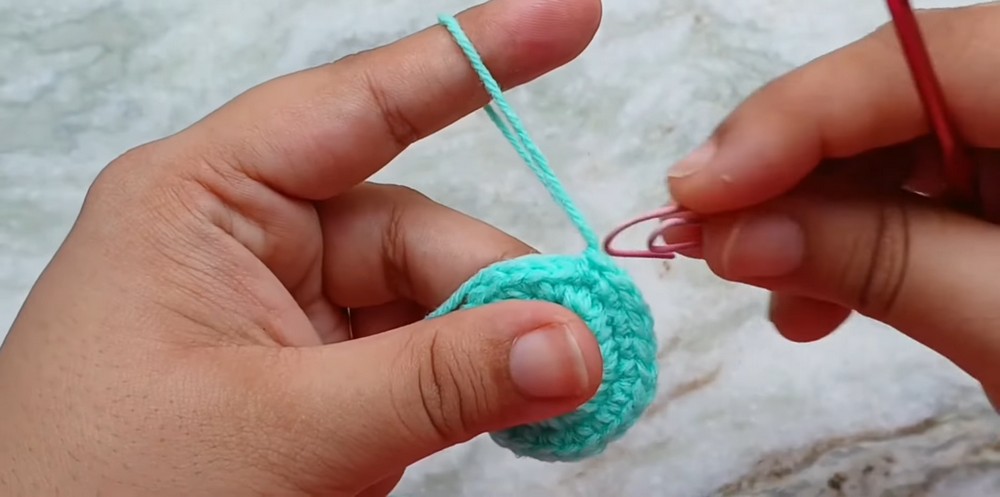
Foundation/Base:
- Magic Circle:
Wrap your yarn around your finger to form a loop. Insert the hook under the loop, pull through yarn, chain 1, and begin working into this circle. - Round 1: SC 6 into the magic circle. Pull the yarn tail to cinch the circle tightly closed. (6 sts)
- Mark the last stitch of the round.
- Round 2: Inc in every stitch around. (12 sts)
- Round 3: SC 1, Inc—repeat all the way around. (18 sts)
- Round 4: Start with SC 1, Inc, and stagger the increases: SC 2, Inc. Repeat sequence 5 times. (24 sts)
- Round 5 – Round 9: SC into each stitch around to keep the stitch count constant at 24 sts. (24 sts)
Adding Features:
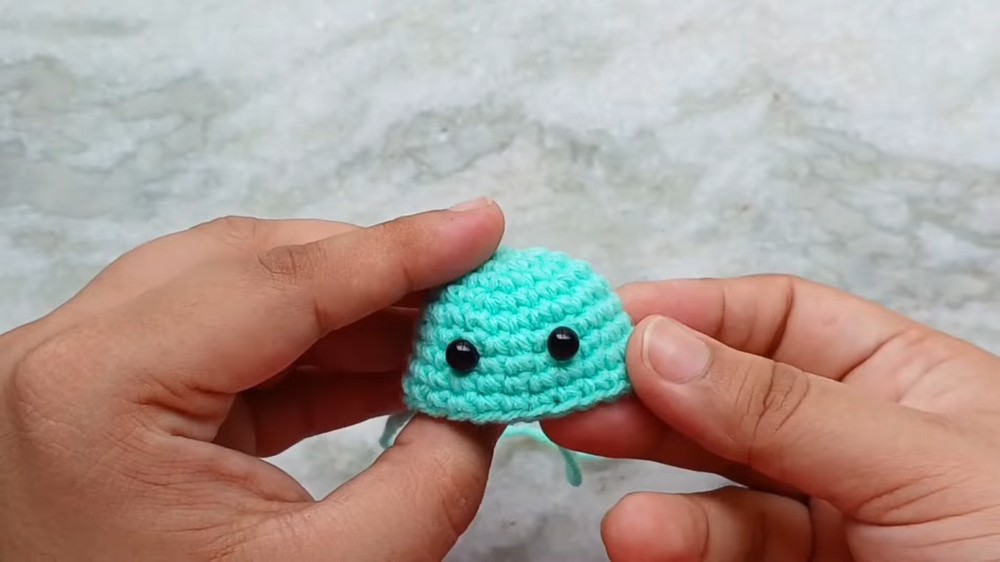
- Insert Safety Eyes:
- After Round 9, count down six rounds from the top. Place the eyes between Rounds 6 and 7, leaving three stitches between them.
- Attach safety eye backings to secure them.
- Stuffing:
- Lightly stuff the body with stuffing. Avoid over-stuffing to maintain the shape.
Shaping with Decreases:
- Round 10: Begin decreasing: SC 1, Invisible Dec—repeat this sequence 8 times. (16 sts)
- Round 11: Invisible Dec into every stitch, working through back loops. (8 sts)
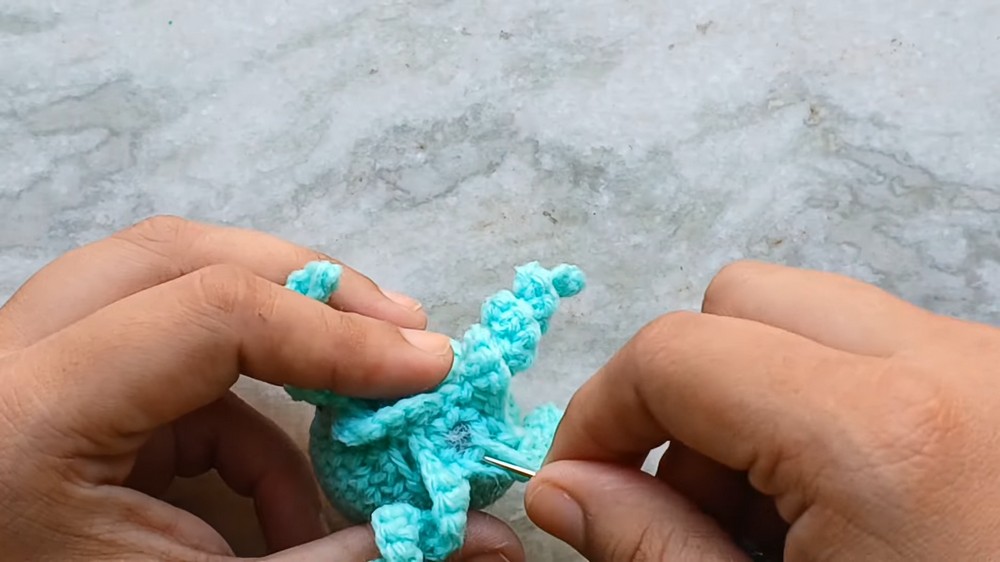
Tentacles:
- Curly Tentacles:
- Sl St into the front loop of the next stitch.
- Ch 12.
- Skip the first chain, then work 2 SC into each remaining chain.
- Sl St into the front loop of the following two stitches.
- Repeat steps above three more times for four curly tentacles in total.
- Straight Tentacles (optional):
- Use dark green yarn and Sl St into a slip stitch between two curly tentacles.
- Ch 12 and fasten off, leaving a tight knot at the chain’s end.
- Repeat until you have four straight tentacles, evenly spaced between the curly tentacles.
Embellishments:
- Ruffle Border:
- Locate front loops of Round 10.
- In the first loop, Sl St to attach head yarn. SC 3 in the next front loop, then Sl St in the following loop. Repeat around.
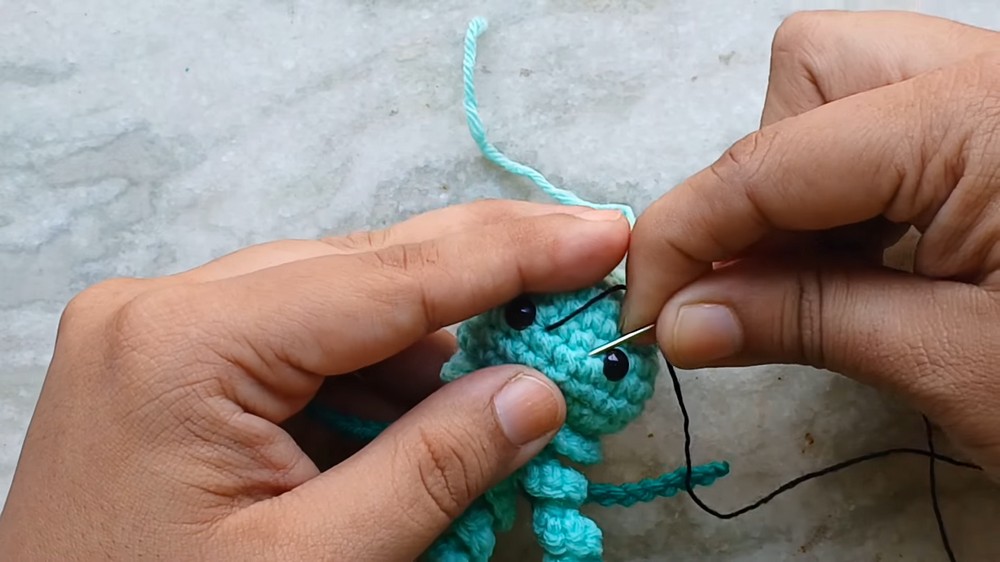
- Facial Embroidery:
- Using black yarn, embroider a simple smile between the eyes (spanning two stitches wide). Tack down the center to create a curve.
- Use pink yarn to add blush below each eye with small stitches.
Keychain Assembly:
- Using the yarn tail from closing the top of the head, sew on the keychain ring by looping yarn through the jump ring multiple times.
- Tie a knot and hide excess yarn inside the body using your needle.
Finishing Touches:
- Make sure all tails are secured and hidden inside the body.
- Adjust the tentacle curls as needed to give them a defined look.
- Enjoy your adorable baby jellyfish!
Pattern Question
Question: How can I ensure the tentacles curl properly during the crafting process?
Answer: Use two single crochets in each chain while creating the tentacles. This technique naturally forms defined curls. Twist them slightly afterward to enhance their shape.
Conclusion
The baby jellyfish amigurumi is a delightful crochet project packed with unique details. Whether as a keychain or heartfelt gift, its intricate ruffle and tentacles make it a special creation worth crafting. With clear guidance, anyone can achieve great results!