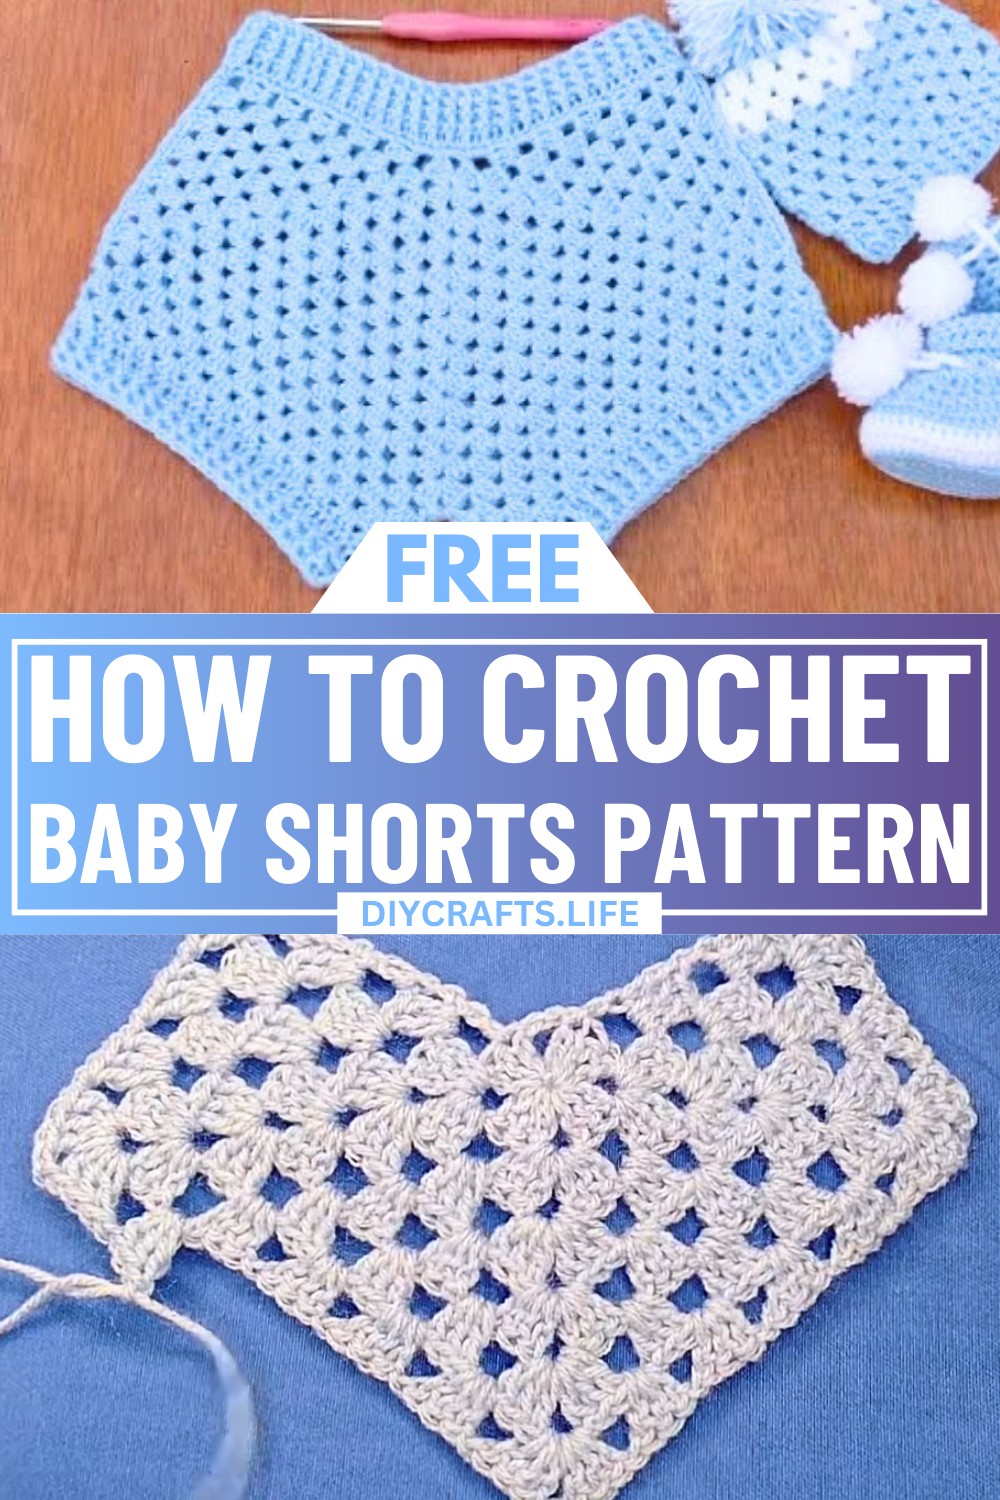
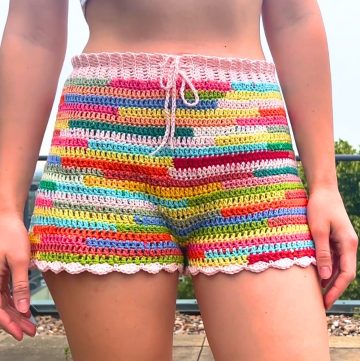
Imagine crafting a set of baby shorts so adorable and timeless that they become a keepsake cherished for years. These easy crochet baby shorts bring together charm, comfort, and creativity into one delightful design that’s perfect for little ones. Their simple yet classic look makes them an ideal handmade gift for babies, offering both style and coziness.
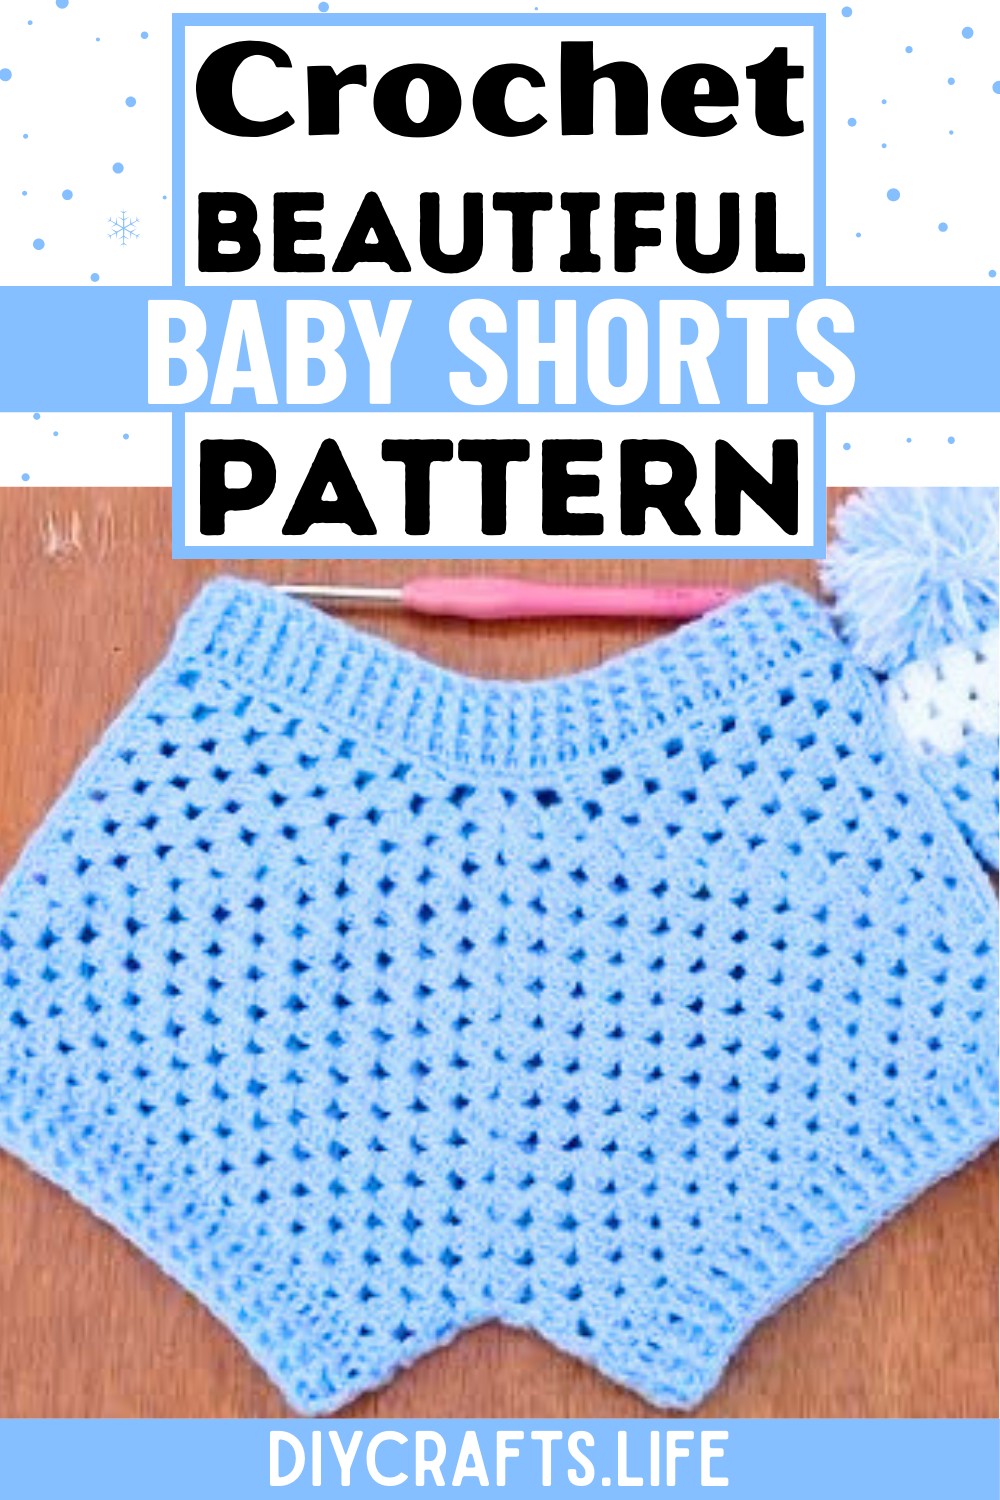
Crochet Baby Shorts Pattern
This pattern stands out with its use of granny-style details, giving the shorts a touch of vintage elegance paired with modern functionality. The design features clean lines, breathable stitches, and a snug fit that’s soft on delicate skin, making it perfect for active little movers. Whether you’re crafting for a special occasion or everyday wear, these baby shorts blend practicality and personality seamlessly, leaving ample room for customization through your choice of colors and yarns. Let your creativity shine as you craft this unique wardrobe addition!
Credit ZoeCrochet
Materials Required:
- Lightweight yarn (size depends on your preference, but a lightweight option is recommended).
- Crochet hook (3.5 mm as mentioned in the tutorial).
- Yarn needle (for sewing and weaving ends).
- Scissors.
Step-by-Step Pattern
Step 1: Start with a Slip Knot
- Create a slip knot and attach it to your hook.
Step 2: Make the Foundation Chain
- Create a foundation chain of 4:
- Yarn over, pull through. (Repeat this four times for a total of 4 chains.)
Step 3: Form the Ring
- Connect the last chain to the first chain by making a slip stitch. This forms a ring.
ROW 1 (Foundation Row): Form the Base
- Chain 3. This acts as the first double crochet (DC).
- Work into the ring:
- Make 3 double crochets.
- Chain 2.
- Make 3 more double crochets.
- Repeat until you create 4 sets of 3 double crochets (with chain 2 in between each set).
- To finish, chain 2, and make a slip stitch into the top of the initial chain 3.
At the end of this row, you should have a "granny square"-like pattern with 4 sets of double crochet clusters.
ROW 2: Build the Corners
- Chain 4.
- Into the first chain 2 space:
- Make 3 double crochets, chain 2, and 3 more double crochets. This forms the first corner.
- Chain 1, skip the next cluster, and move to the next chain 2 space.
- Repeat step 2 for all chain 2 spaces. This will create additional corners.
- At the end of the row:
- Chain 1 and make a double crochet at the top of the chain 3 that you started with.
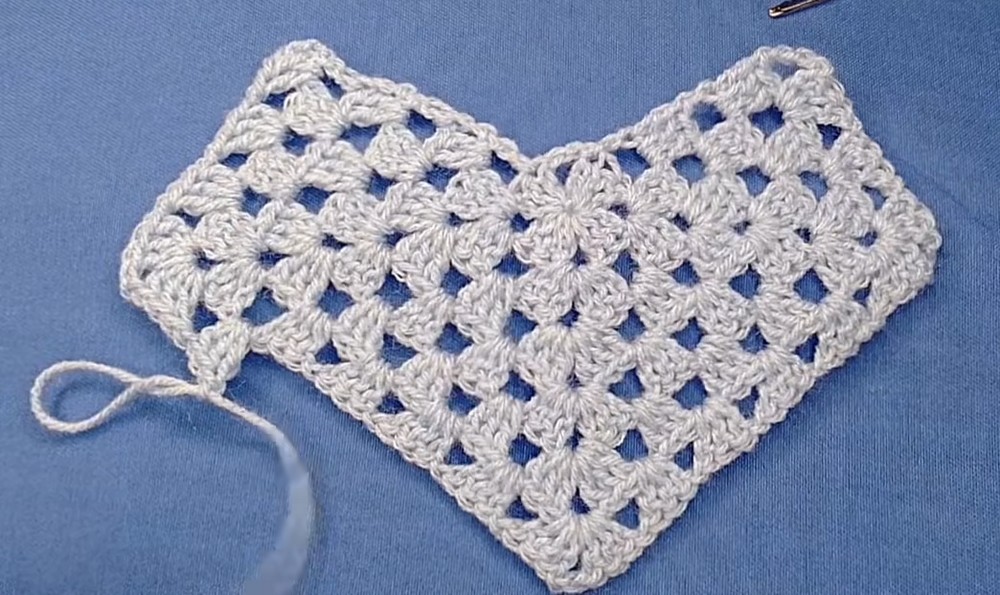
You should now have a larger square with defined corners. The 3-corners layout allows scalability.
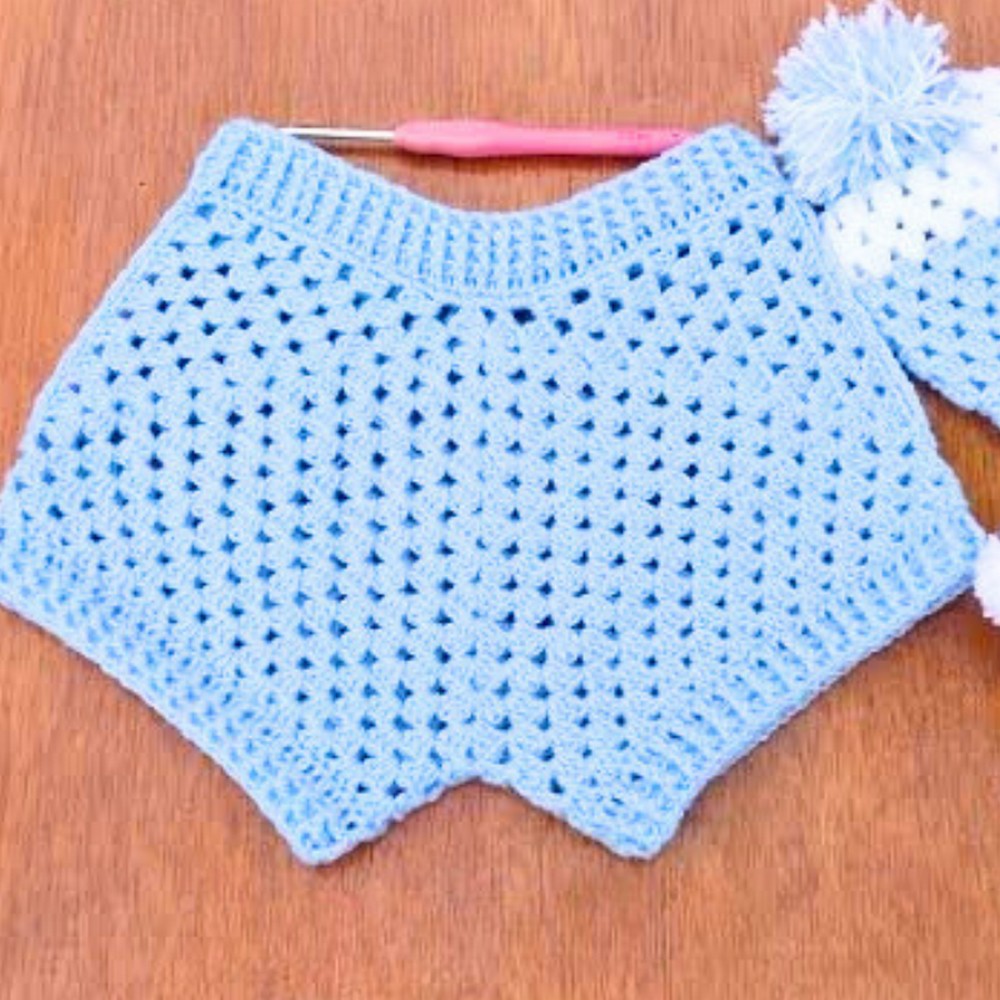
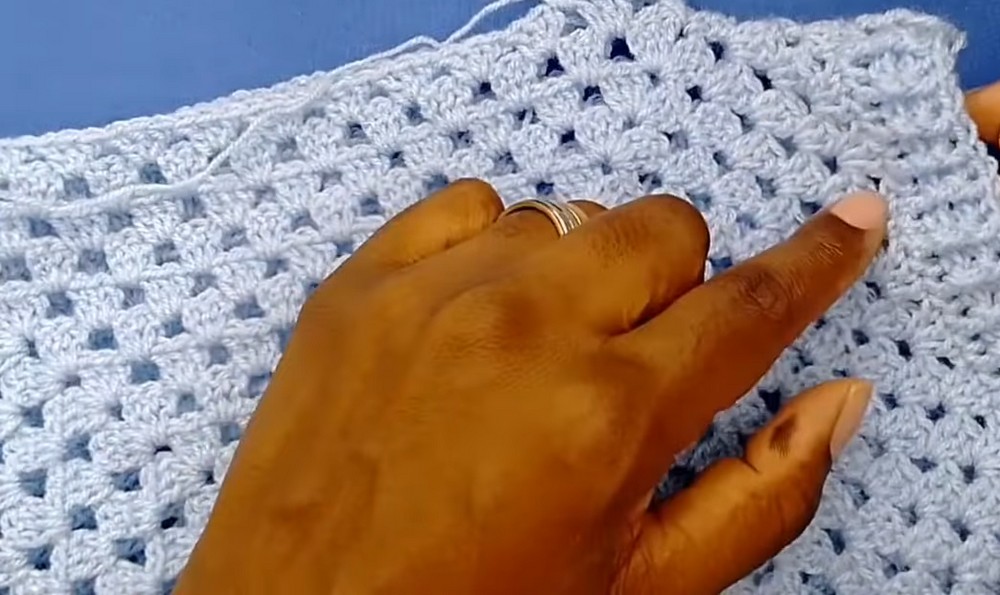
ROW 3 to ROW 12 (Create Panel Shape):
- Start the row by chaining 3 and turning your work.
- In each chain 1 space, make 3 double crochets.
- In each corner (chain 2 space), make a corner: 3 double crochets, chain 2, 3 double crochets.
- Repeat this process until you complete 12 rows or until you’ve reached about 15 cm in length.
- Once finished, fasten off and weave in the end using a yarn needle.
MAKE A SECOND PIECE
- Follow the exact same steps to create a second identical panel.
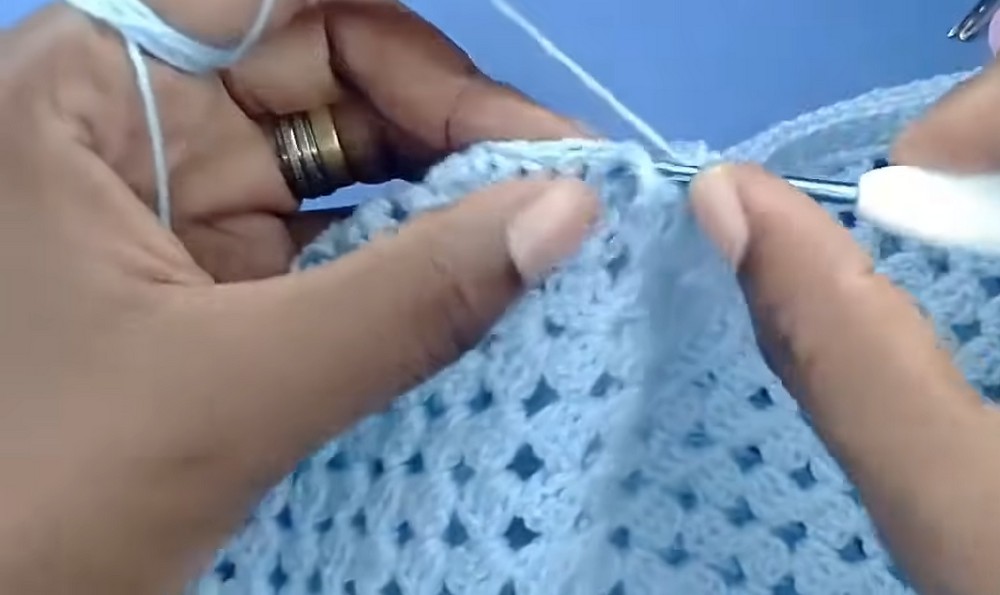
JOIN THE PANELS
- Lay both panels flat with the right sides facing up.
- Align the corners carefully and join with slip stitches or use a yarn needle for sewing.
- Start by joining the sides (flat edges) to ensure both panels are secure.
ADDING LEGS
Step 1: Begin the Right Leg
- Locate the center (crotch area) and attach your yarn at the corner space.
- Chain 3 and work 3 double crochets in each chain 1 space along the bottom edge of the panel.
- Continue until you complete the round, including the corner spaces.
- Join the round with a slip stitch at the starting chain 3.
- Repeat this for 4 rows.
Step 2: Add Rows for the Leg Cuff
- Work 1 row of double crochet in each stitch around.
- Follow this with 2 rows of front post and back post double crochets to add a ribbed texture.
- Alternate between front post and back post on each stitch.
- Fasten off and weave in the ends.
Step 3: Begin the Left Leg
- Repeat the steps for the right leg to create the left leg.
- The process is the same: 4 rows of granny clusters + double crochet row + ribbing.
WAISTLINE
Step 1: Attach Yarn at the Back
- Locate the back panel (you can choose either side as front/back since they’re symmetrical).
- Work along the waistline:
- Attach the yarn, chain 1, and make 2 single crochets in each space.
- Continue all around until you meet your starting point.
- Join with a slip stitch.
Step 2: Add Waistband Rows
- Work 1 complete row of double crochet stitches.
- Add 3 rows of front post and back post double crochets for a stretchy, textured waistband.
FINISHING
- Weave in all loose yarn ends using a yarn needle.
- Ensure all sections (crotch, legs, waistband) are securely finished.
- You now have completed the baby shorts!
Estimated Measurements
- Waist Width: About 28 cm (adjustable based on yarn and hook size).
- Length (Waist to Crotch): About 15 cm.
Final Notes:
For variations:
- Adjust the number of rows to increase or decrease size (e.g., fewer rows for smaller shorts, more rows for larger ones).
- Use thicker yarn and a larger hook for a bigger garment.
- Add decorative edging or tassels for flair.