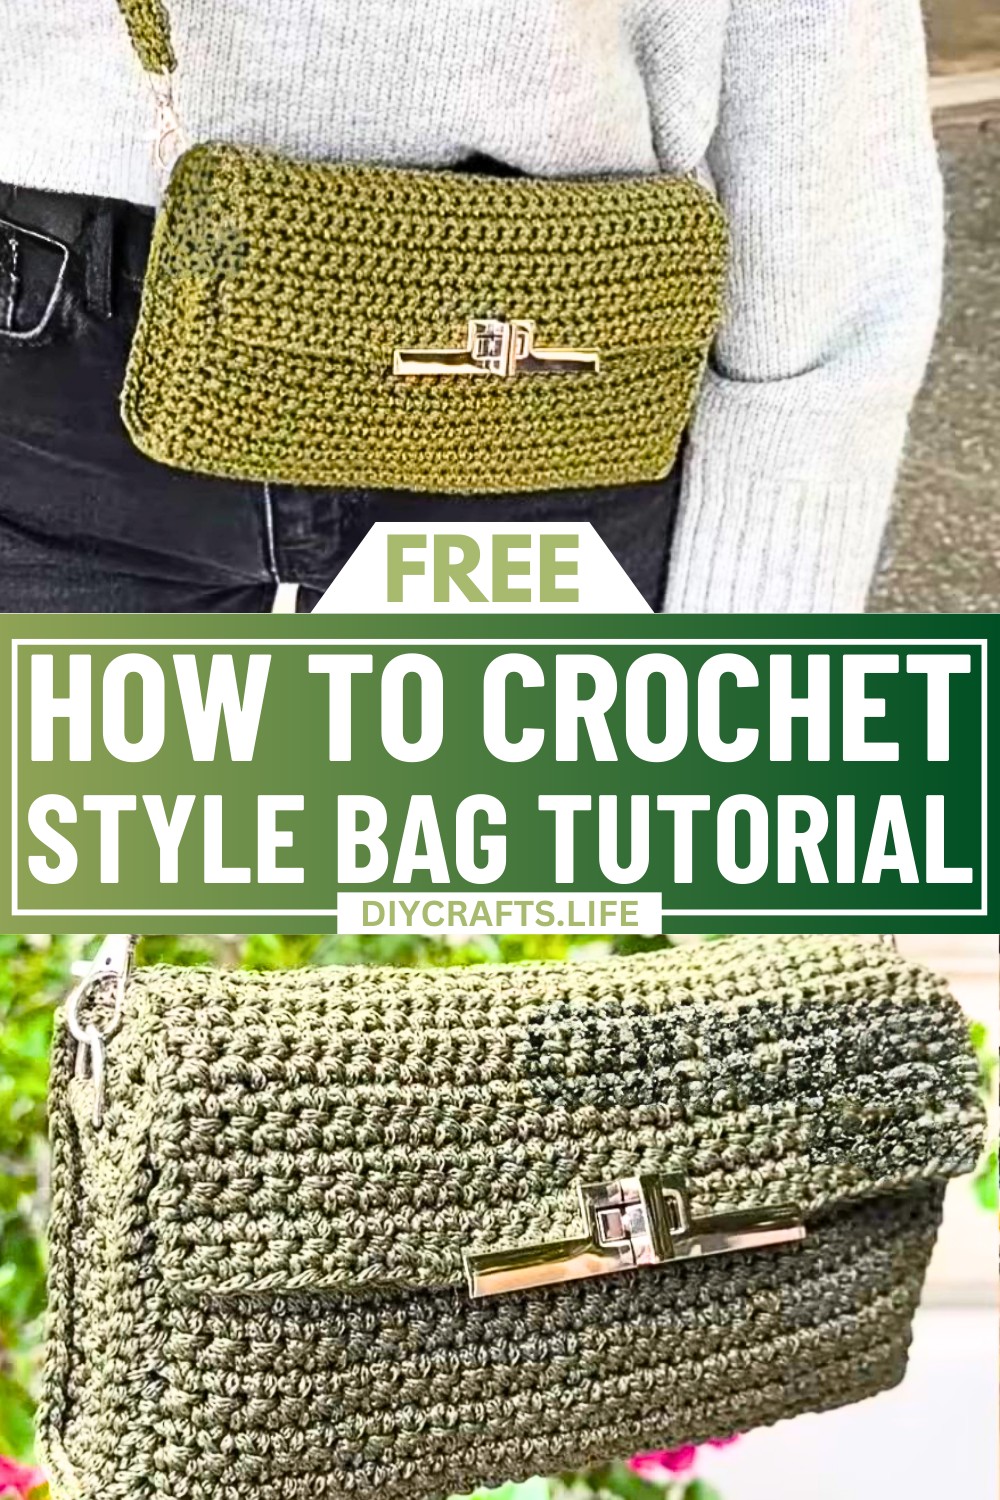
Bring your creativity to life with a crochet bag design that transforms simple threads into something stunning. This crochet bag is not just a functional accessory; it’s a statement of style and thoughtfulness. Imagine carrying a one-of-a-kind piece handmade by you—crafted with care, love, and a hint of artistry that’s sure to turn heads.
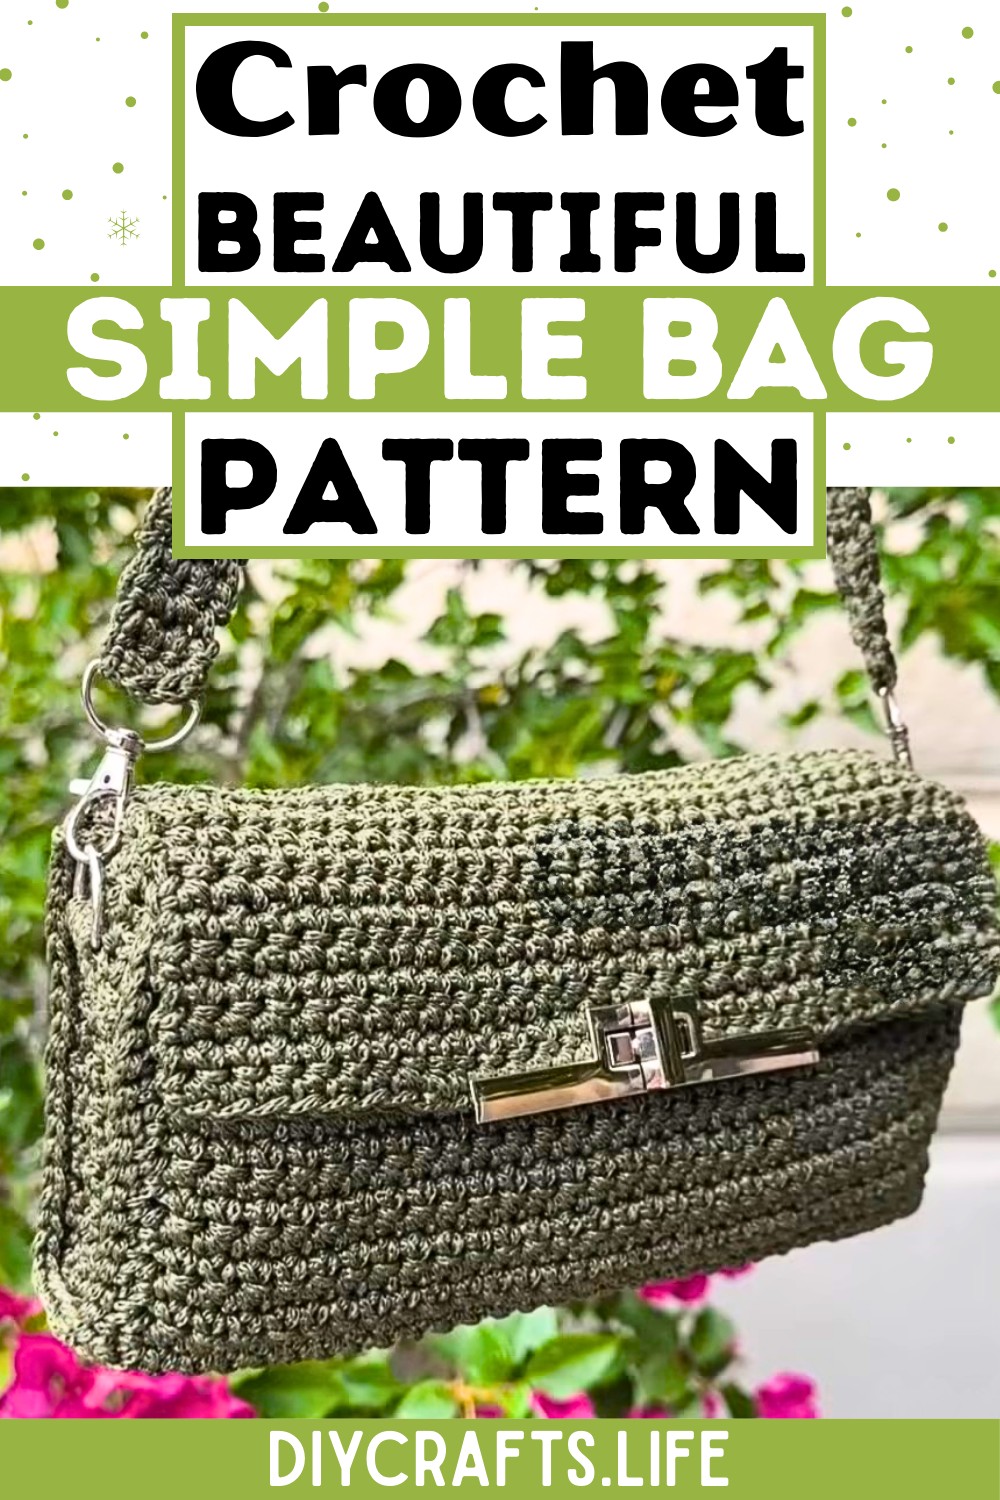
This design stands out for its elegant texture and practical size, pairing beauty with usability. Its intricate stitch patterns add depth and detail, making it much more than just an everyday bag. Whether you want to add a personal touch to your outfits or create a thoughtful gift, this crochet bag design offers endless possibilities to express your style. With just the right mix of charm and practicality, it’s the perfect balance of handmade elegance and modern fashion.
Credit madebymara
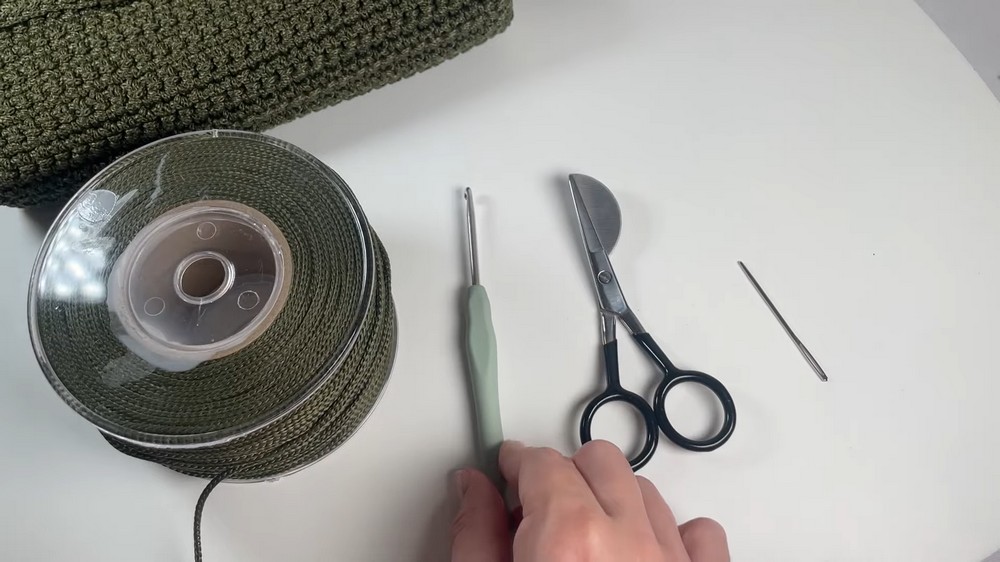
Required Materials:
To create this crochet bag, you'll need the following materials:
- Yarn: Any type of yarn will work. The tutorial uses macrame yarn for sturdiness.
- Crochet Hook: Size 4 crochet hook is recommended for the demonstrated yarn.
- Scissors
- Yarn Needle: For weaving in yarn ends.
- Optional Tools:
- Lighter: If using macrame yarn, a lighter is used to burn and secure the yarn ends.
- Stitch Markers: Helpful for marking rows or stitches for beginners.
- Accessories (Optional):
- Closure clasp (used in the tutorial).
- Small screws and a screwdriver (if your clasp requires screws).
- Other closure options such as magnet pins.
Important Notes:
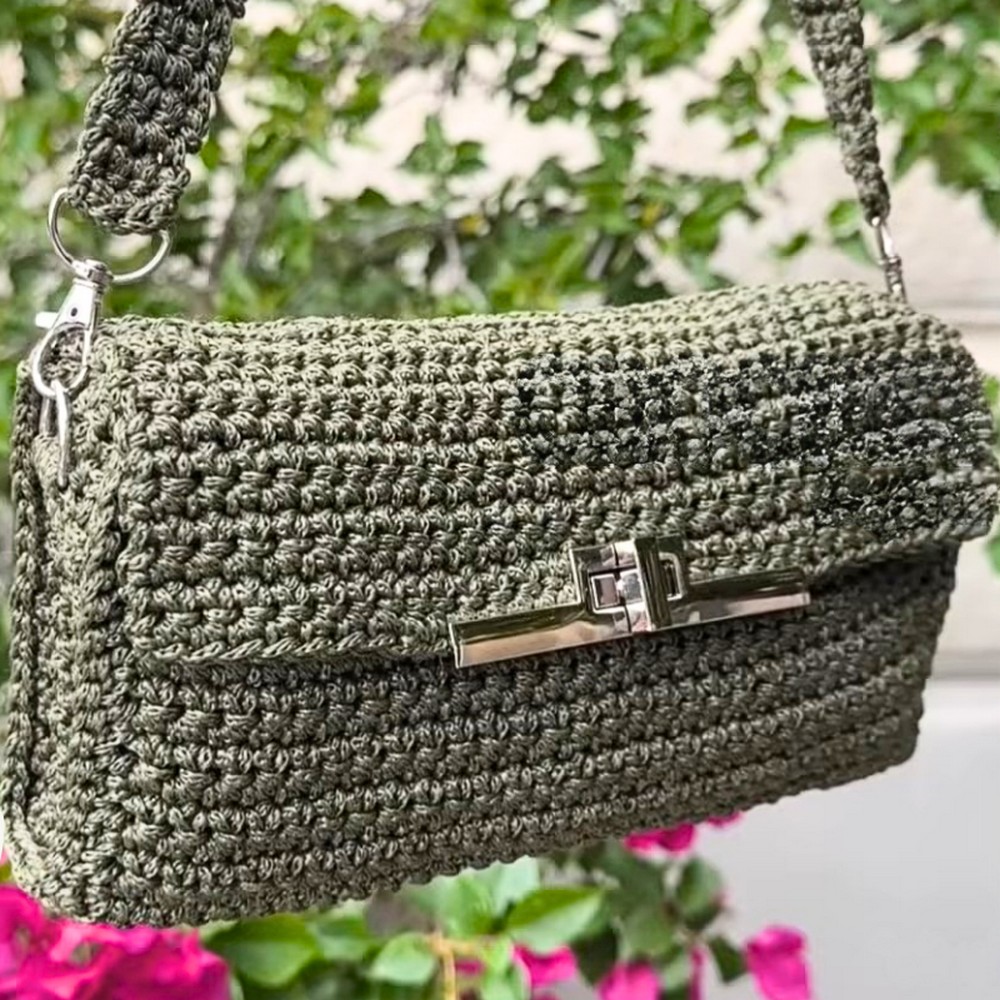
- Bag Dimensions (Example from the tutorial):
- The finished bag measures approximately 23 cm x 14 cm.
- The strap length in the tutorial was 90 cm, but it is customizable to your preference.
- Crochet Stitches Used:
- Primarily Single Crochet (SC), making this project beginner-friendly.
- Customizable Sizes:
- The number of chains for the base width and rows for height can be adjusted according to your desired dimensions.
- Optional Add-ons:
- You can customize the bag with or without a clasp or select alternative closures.
- Symmetry is Key:
- Always count your stitches to ensure symmetry throughout the bag.
Detailed Step-by-Step Instructions:
Part 1: Bag Panel
- Foundation Chain:
- Create a slip knot on your hook.
- Begin chaining based on your desired width; for the tutorial bag, create 30 foundation chains (+1 for turning).
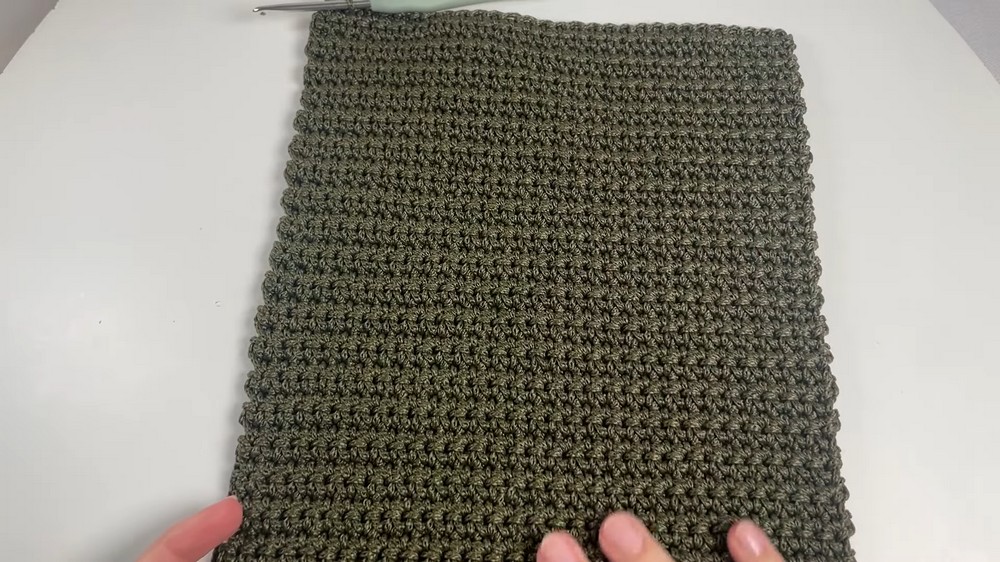
- Row 1:
- Work Single Crochet (SC) stitches in the back bumps of the foundation chain, starting from the second bump from the hook. You should complete 30 SC stitches.
- Subsequent Rows:
- Chain 1, turn, and place SC stitches across each row.
- Repeat until you reach the desired height. For the tutorial, 54 rows were completed, resulting in a 34 cm height and 22 cm width.
- Optional Clasp Section:
- If attaching a clasp with a hole in the center:
- Split the row into parts (e.g., crochet on 14 stitches for one side, leave two stitches in the middle for the clasp, and finish the other side on 14 stitches).
- Crochet the rows individually as necessary to leave a gap for the clasp attachment.
- If attaching a clasp with a hole in the center:
Part 2: The Side Panels
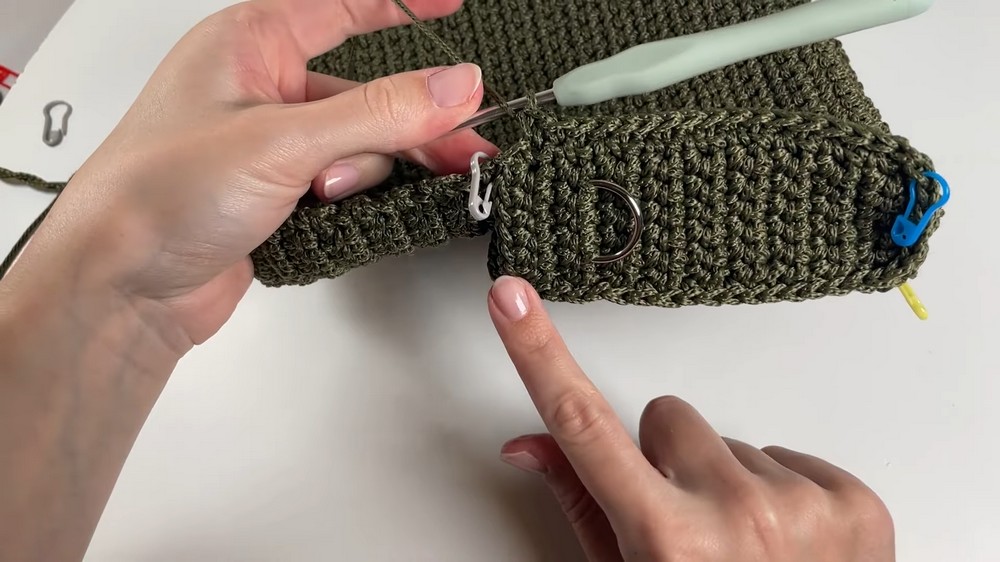
- Creating the Side Panels:
- Make a slip knot and chain enough stitches for the desired width of the side panels. In the tutorial, 6 foundation chains were made (+1 for turning).
- Repeat rows of SC stitches until the length matches your bag height and width. For the tutorial, the side panel was 18 rows long and 6 stitches wide.
- If using a clasp/loop, add it by inserting it into the row at the appropriate position and crocheting around it (as shown in the video at the 15th row, out of 18).
- Fasten Off:
- Weave in any loose ends with a yarn needle. For macrame yarn, burn the edges lightly with a lighter to secure.
Part 3: Attaching the Side Panels
- Preparing for Attachment:
- Use stitch markers to align the top and bottom of the side panels with the bag panel.
- For example:
- If the side panel is 18 rows long, count 18 rows from either end of the bag panel to ensure a proper fit.
- Mark the starting and ending stitches with stitch markers on all edges to be sewn together.
- Joining with Single Crochet:
- Begin joining along one side by picking up stitches from both panels (the bag panel and the side panel) and single crocheting through them.
- Work SC along the side of the panel first, then along the bottom, and finally assemble the opposite side panel.
- Count Stitches for Symmetry:
- Ensure you match each row and stitch on the side panel to its corresponding row or stitch on the bag panel.

Part 4: Finishing Touches
- Adding the Closure (Optional):
- If your bag features a clasp or closure, align the closure and pierce through the stitched panel to attach it. Ensure it is centered.
- Secure the clasp screws in place or attach the closure according to its instructions. Flatten any teeth/clasps for extra security.
- For other closures like pins or magnets, attach accordingly.
- Weaving in Ends:
- Use a yarn needle to weave in any loose ends from your stitching. Trim the ends after securing the yarn properly. If using macrame yarn, burn the edges to avoid unravelling.
Part 5: Creating and Attaching the Strap
- Making the Strap:
- Make a foundation chain as long as you want your strap to be. In the tutorial, a 90 cm strap was made with 3 SC stitches in each row to create a thin strap.
- Chain one, turn, and continue placing SC stitches in each row until the strap reaches your desired length.
- Attaching Clasp to the Strap Ends:
- For one side of the strap, attach the clasp to the ROW using SC stitches to crochet around the metal loop.
- Repeat the process on the other end of the strap.
- Final Assembly:
- After both ends of your strap are secured with clasp loops, attach them to the corresponding locations on the bag (or crochet the strap directly onto your bag if not using clasps).
- Secure Loose Ends:
- Weave in and secure any remaining yarn ends.
Additional Notes:
- The bag is versatile. The width, length, and strap size can all be customized.
- Macrame yarn provides durability, and its ends can easily be secured with heat from a lighter.
- Don’t forget to count your stitches regularly to avoid asymmetry or accidental skipped stitches.
Now your custom crochet bag with a strap is ready to use or gift! 🎉