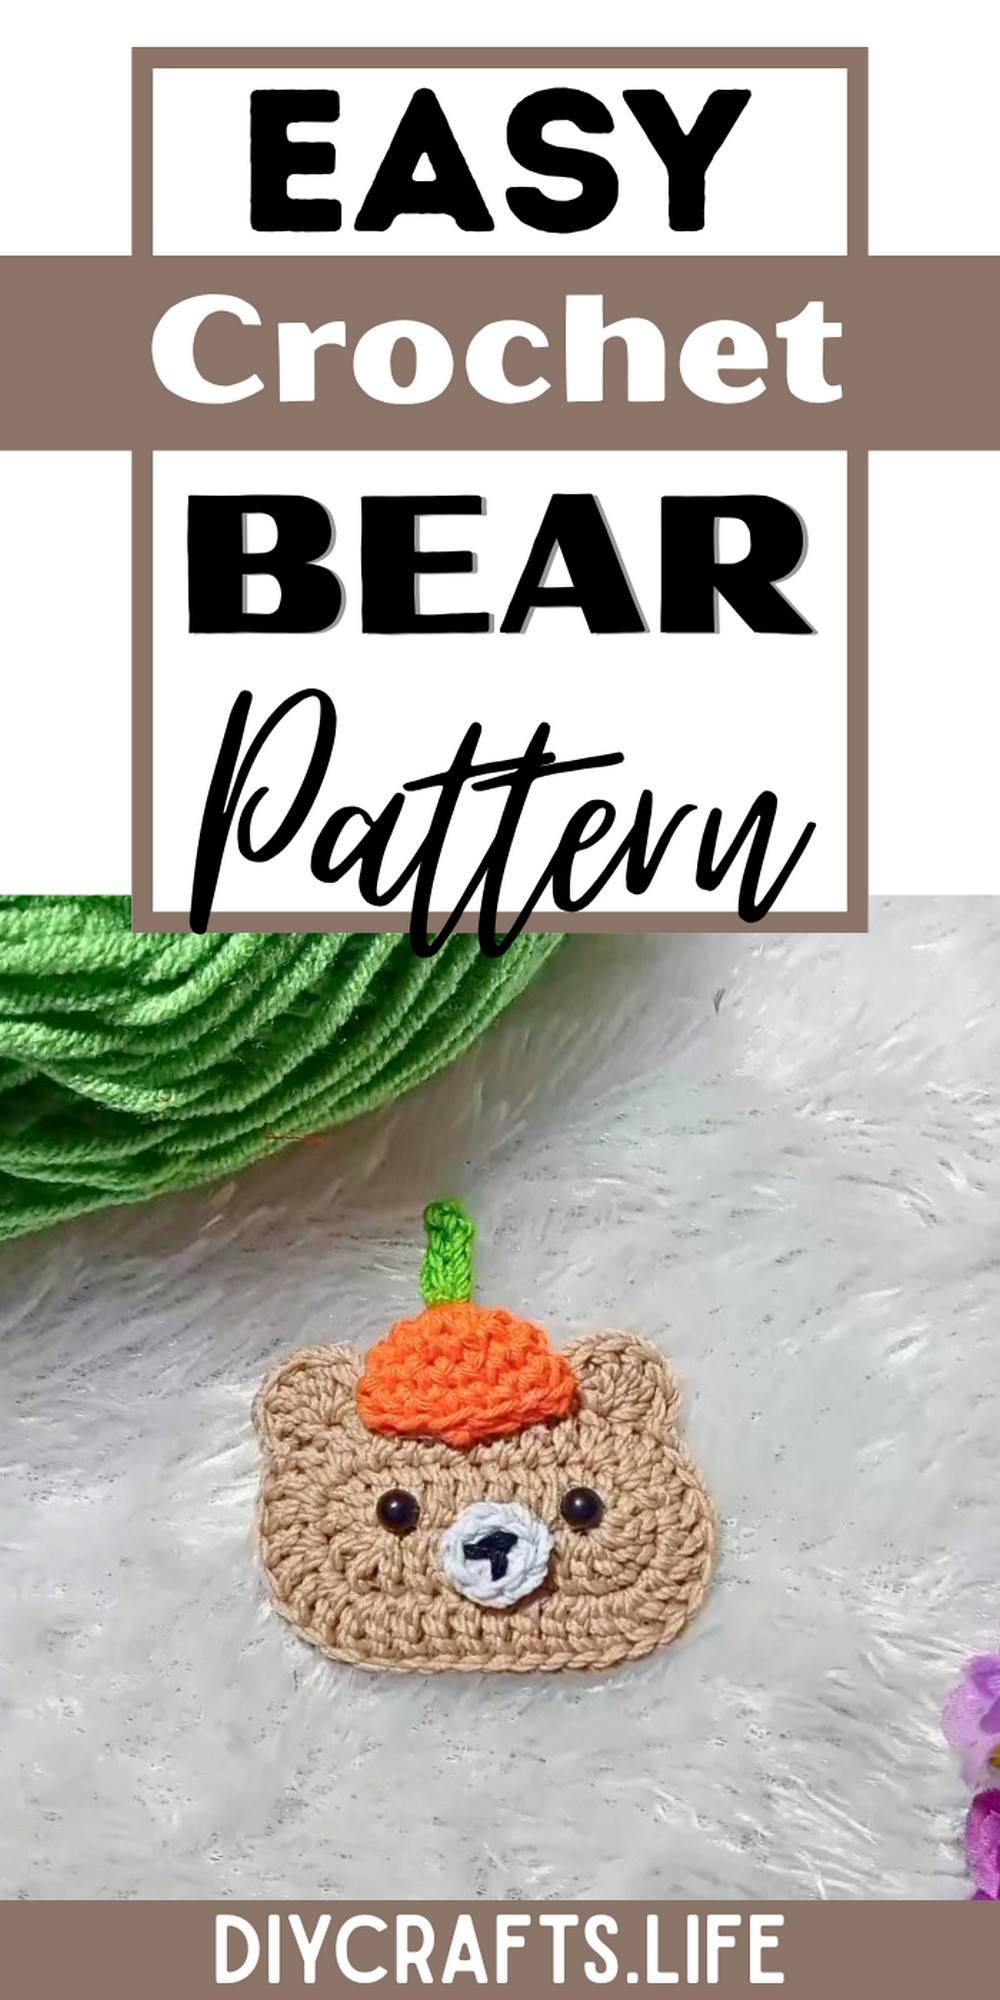
Elevate your accessory game with adorable Crochet Bear Pins! With their charming design, functionality, and customizable colors, these pins are perfect for adding sweet personality to any outfit. Easy to create, they make for delightful handmade gifts or collectibles to cherish.
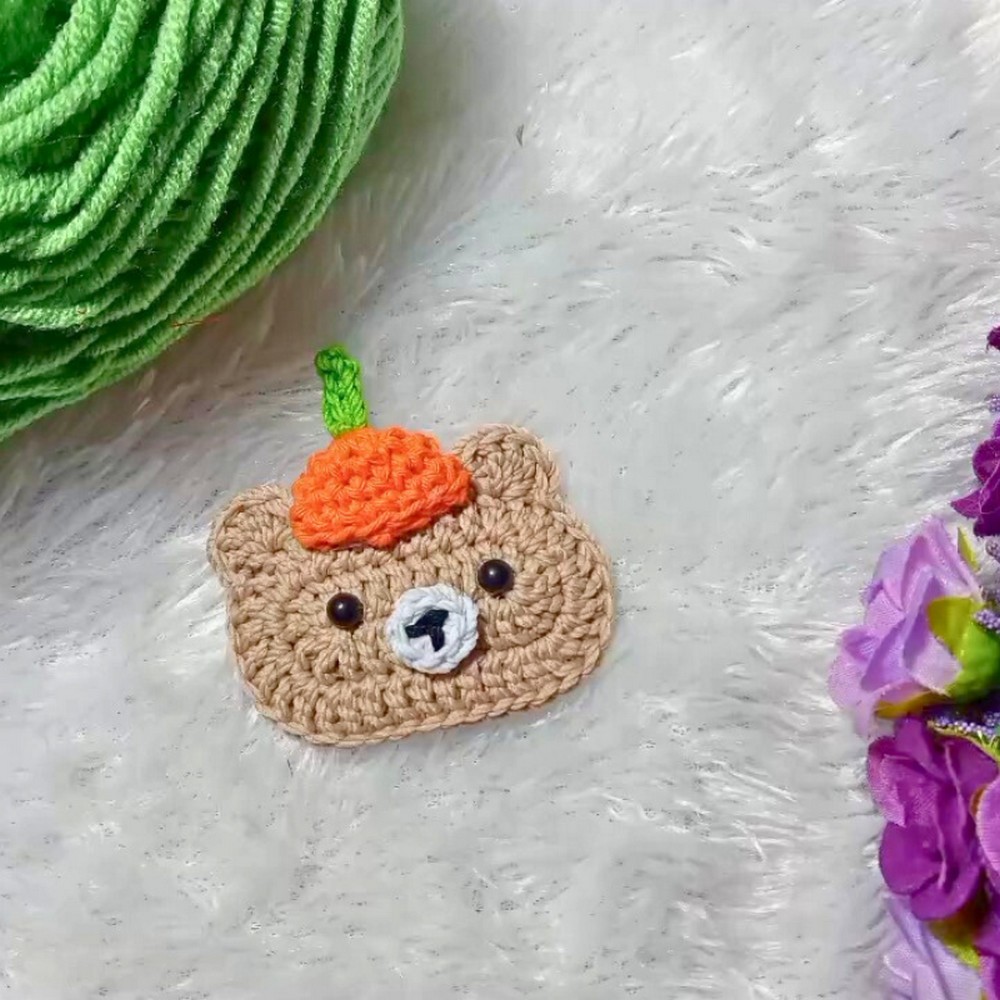
Crochet Bear Pins are not only stylish but highly versatile. Use them as hair clips, jacket embellishments, or backpack décor. The durable yet lightweight design, paired with vibrant cotton and polyeri threads, ensures long-lasting appeal while showcasing intricate handmade artistry.
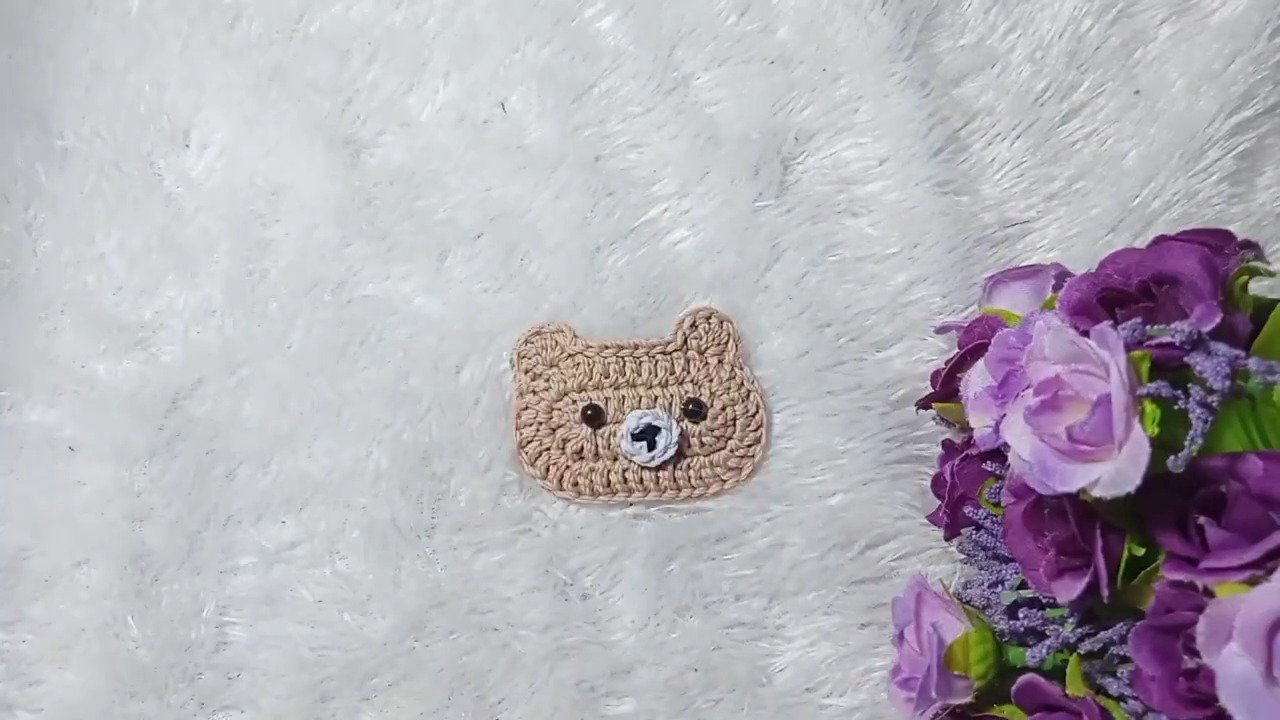
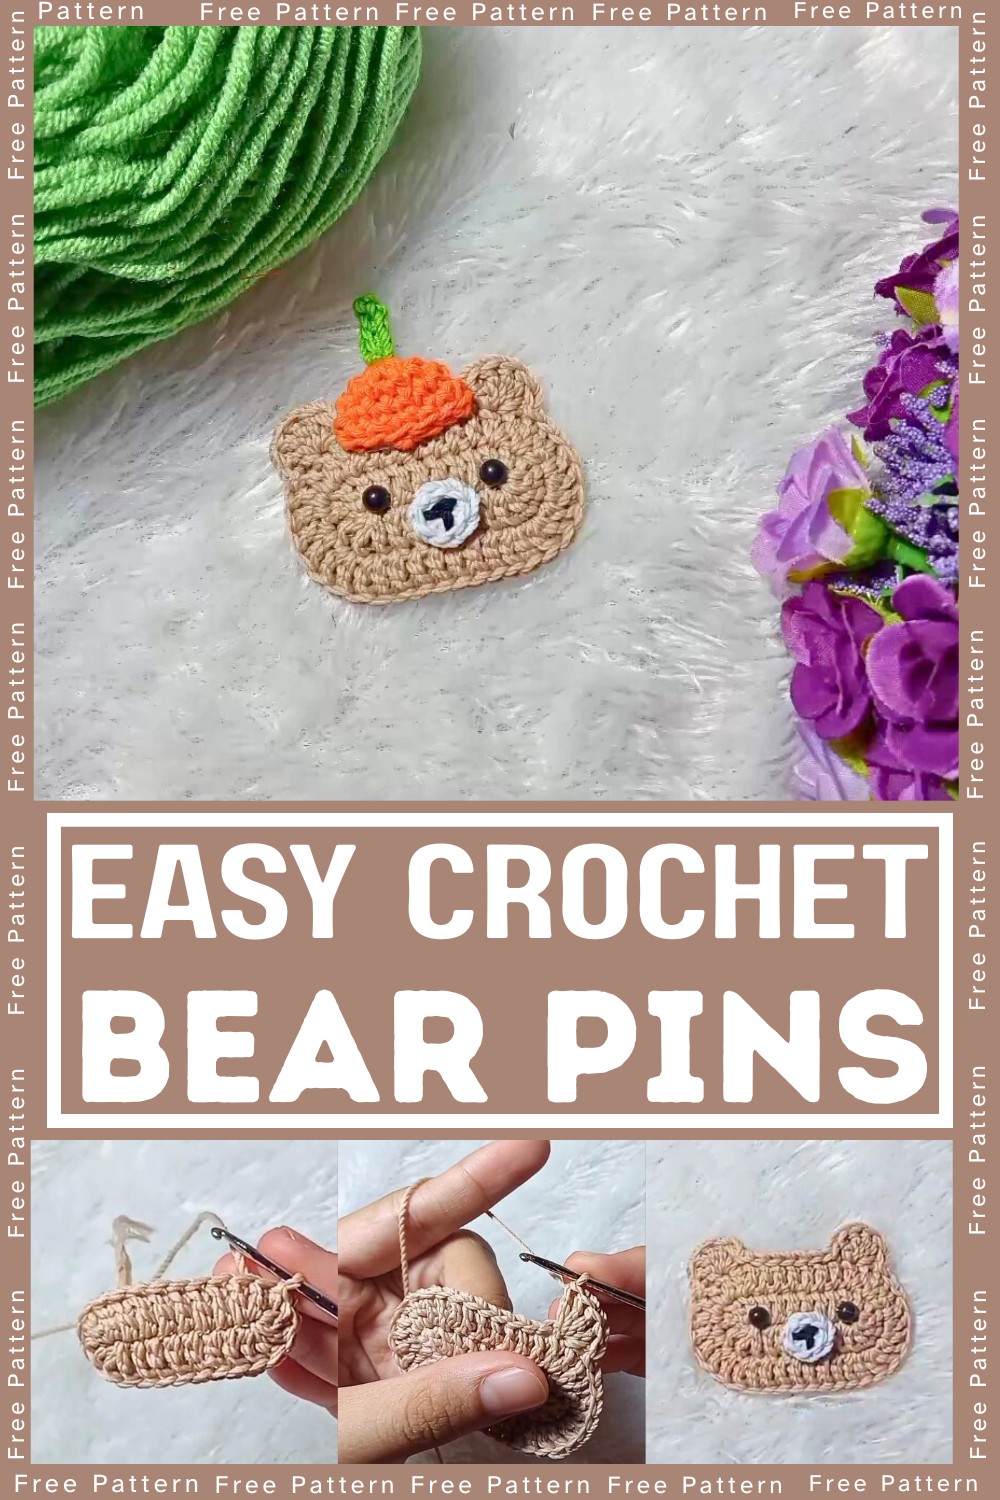
Crochet Bear Pins
Creating Crochet Bear Pins is a fun and creative journey that welcomes all skill levels. From beginners to experts, the project is customizability-friendly with endless color options. Embrace this approachable pattern to design pins that reflect your personal style or make meaningful gifts for others!
Materials and Preparation:
To crochet bear pins, here’s what you’ll need:
- Yarn:
- Orange cotton thread
- Coksu-colored polyeri thread
- White, black, and green polyeri thread
- Hook Size: Recommended hook size for thread weight used.
- Additional Tools:
- Hot glue
- Hard cloth
- Size 4 (6 cm) hair clip
- Tapestry needle
- Scissors
- Small beads for decorating (optional)
- Doll eyes
Abbreviations and Notes:
Here are the main crochet abbreviations used in this pattern:
- SC – Single Crochet
- DC – Double Crochet
- Slip Stitch – Insert hook into the next stitch, yarn over, and pull through stitch and loop on hook.
- Magic Ring – A technique to start crochet projects in the round.
Pattern Notes:
- The bear pin involves crocheting small interconnected pieces (face, nose, hat, ears, etc.) and assembling them with glue or sewing.
- Work stitches tightly for a sturdy, compact project ideal for clips.
- Block finished pieces if necessary to ensure evenness.
- Optional beads and doll eyes can be sewn or glued on for added character.
Gauge, Approximate Size, and Pattern Notes:
- Gauge: Exact gauge is not critical for this project due to its small size; aim for tight, even stitches.
- Approximate Finished Size: Size may vary depending on yarn weight and hook, but expect the bear's face (main pin area) to be approximately 4–5 cm wide.
- Technique Notes:
- The Magic Ring is used for starting round shapes.
- Basic increases involve adding extra stitches in the same stitch, shaping circular or oval areas.
Step-by-Step Pattern:
Follow these steps to create the bear pin:
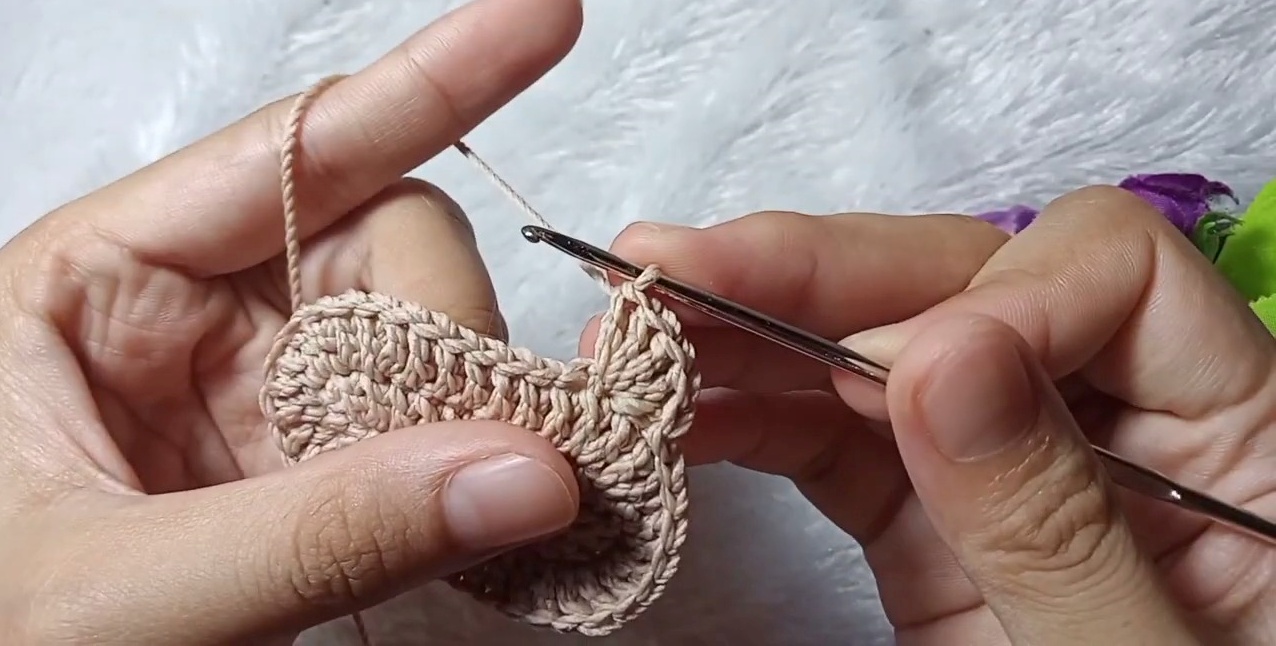
Bear Face (Base):
- Start with a slip knot and chain 10.
- First Row: Skip 2 chains, and make 2 DC in the third chain.
- Continue: Make 1 DC in each chain except the last one.
- Last Stitch: Make 4 DC into the last chain (shaping one end of the oval).
- Work back up the other side: Make 1 DC in each stitch except the last one.
- Final Stitch: Place 4 DC into the last chain to complete the oval.
- Slip stitch into the first DC and move to the next round.

Second Round:
Start with 2 chains (counts as the first DC).
- Increase section: Make 2 DC in the same stitch for increases.
- Continue working 1 DC into each stitch except designated increase points.
- Increases: Add increases (2 DC in the same stitch) in the rounded sections to maintain the oval shape.
Third Round (Edge Shaping):
- Slip stitch into the first stitch and then into the next two stitches.
- Work 1 DC in the same stitch for shaping.
- Slip stitch to finish the edge, completing a rounded bear face shape.
Nose:
- Use the Magic Ring technique to start.
- Chain 1 and then make 4 single crochets (SC) into the Magic Ring.
- Slip stitch into the first SC to close.
- Tie off and sew the nose onto the bear's face.
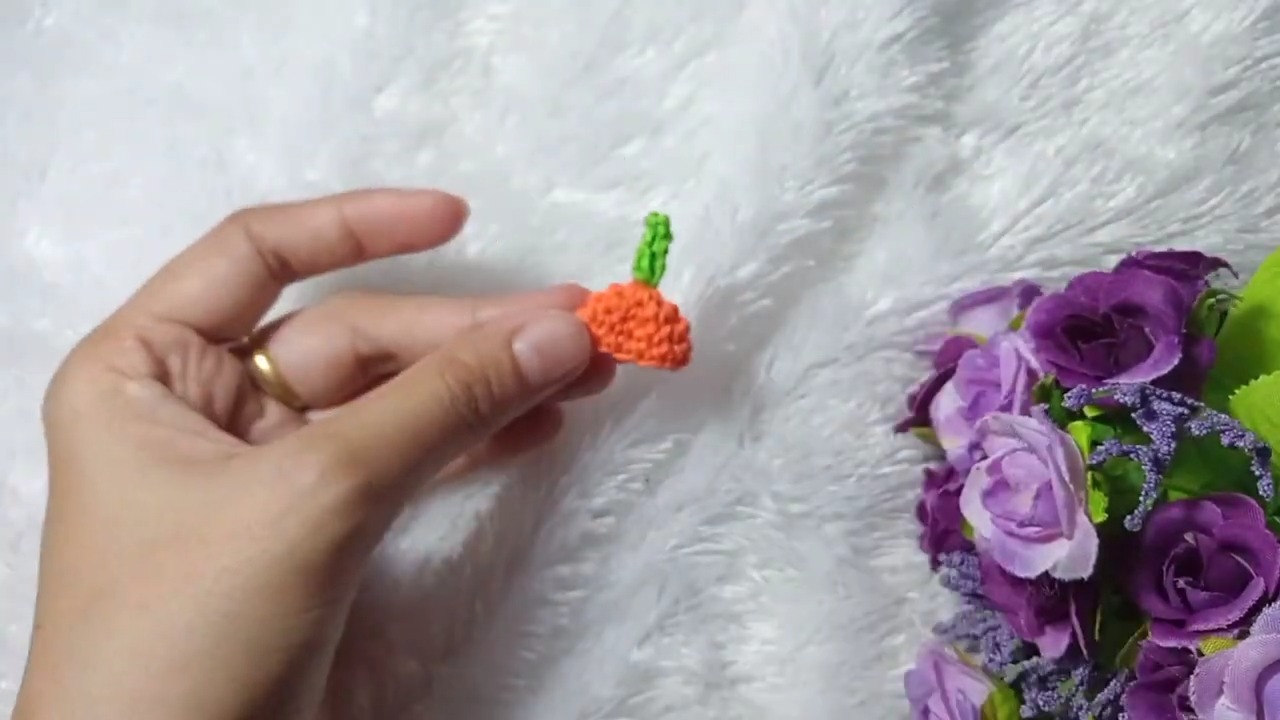
Hat:
- Create a Magic Ring and chain 1.
- Round 1: Work 6 SC into the ring.
- Round 2: Make increases with 2 SC in each stitch (12 SC total).
- Continue to shape the hat by repeating the increase technique. Tie off and attach with glue or sewing.
Ears:
- Make a slip knot and chain 5.
- Skip 1 chain, then make 1 SC into each of the next 4 chains.
- Tie off the thread and sew ears to the top of the bear face.
Assembly:
- Attach the hat and nose to the bear face using hot glue or by sewing.
- Add doll eyes to complete the facial details.
- Glue the bear face onto the hard cloth backing.
- Secure the backing to the size 4 hair clip using hot glue.
Final Touches:
- Sew or glue decorative beads near the hat or ears (optional).
- Trim loose thread ends and tidy up your stitches.
Pattern Question
Question: Can I use different types of yarn for this project?
Answer: Yes, you can experiment with various yarns, as long as they are lightweight and easy to crochet. Cotton or polyeri threads work best for durability and consistency in shaping the pin details.
Conclusion
Crochet Bear Pins are not only a joy to make but an incredibly rewarding project. With their charm and practicality, they effortlessly brighten your look and make heartfelt gifts. Dive into this creative endeavor today and discover a fun way to express your crochet skills!


