Make a statement with this charming crochet bow top that brings a touch of elegance and fun to your wardrobe. Perfect for any occasion, it’s a creative way to showcase your skills while adding a standout piece to your collection. The design strikes the perfect balance between playful details and timeless beauty, ensuring you’ll feel confident and stylish every time you wear it.
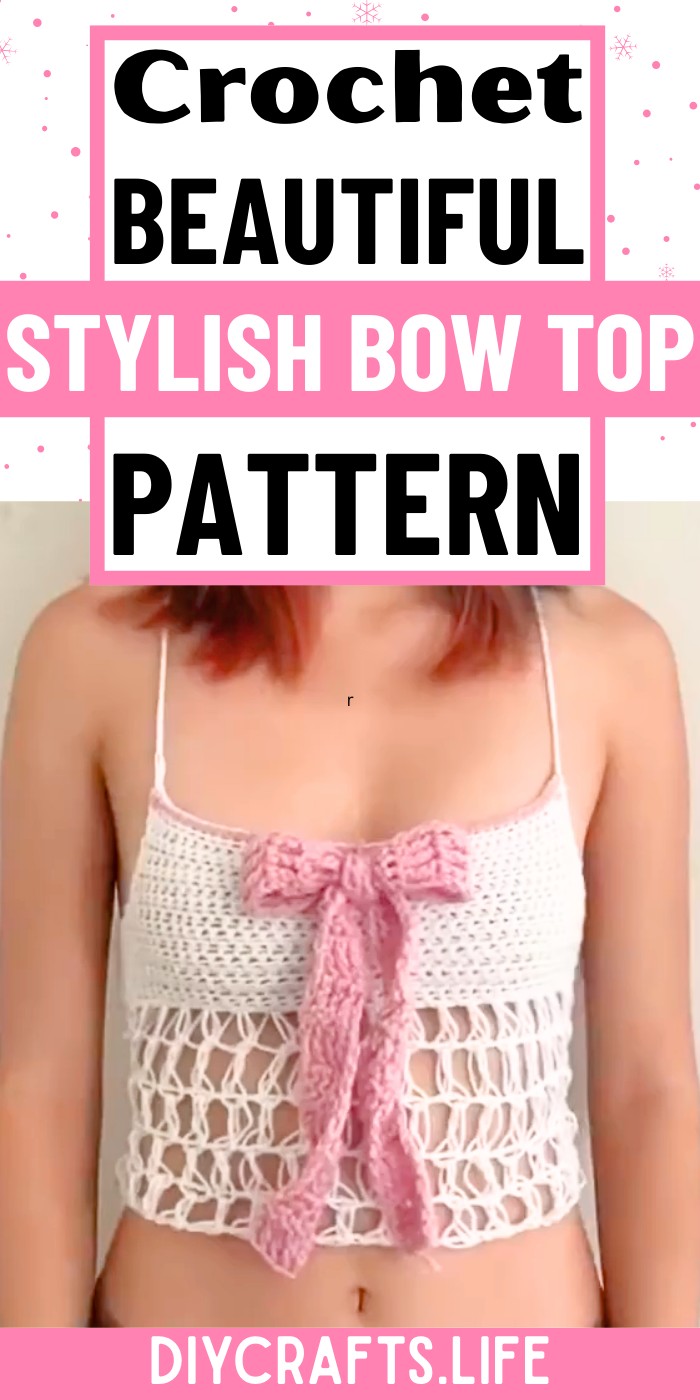
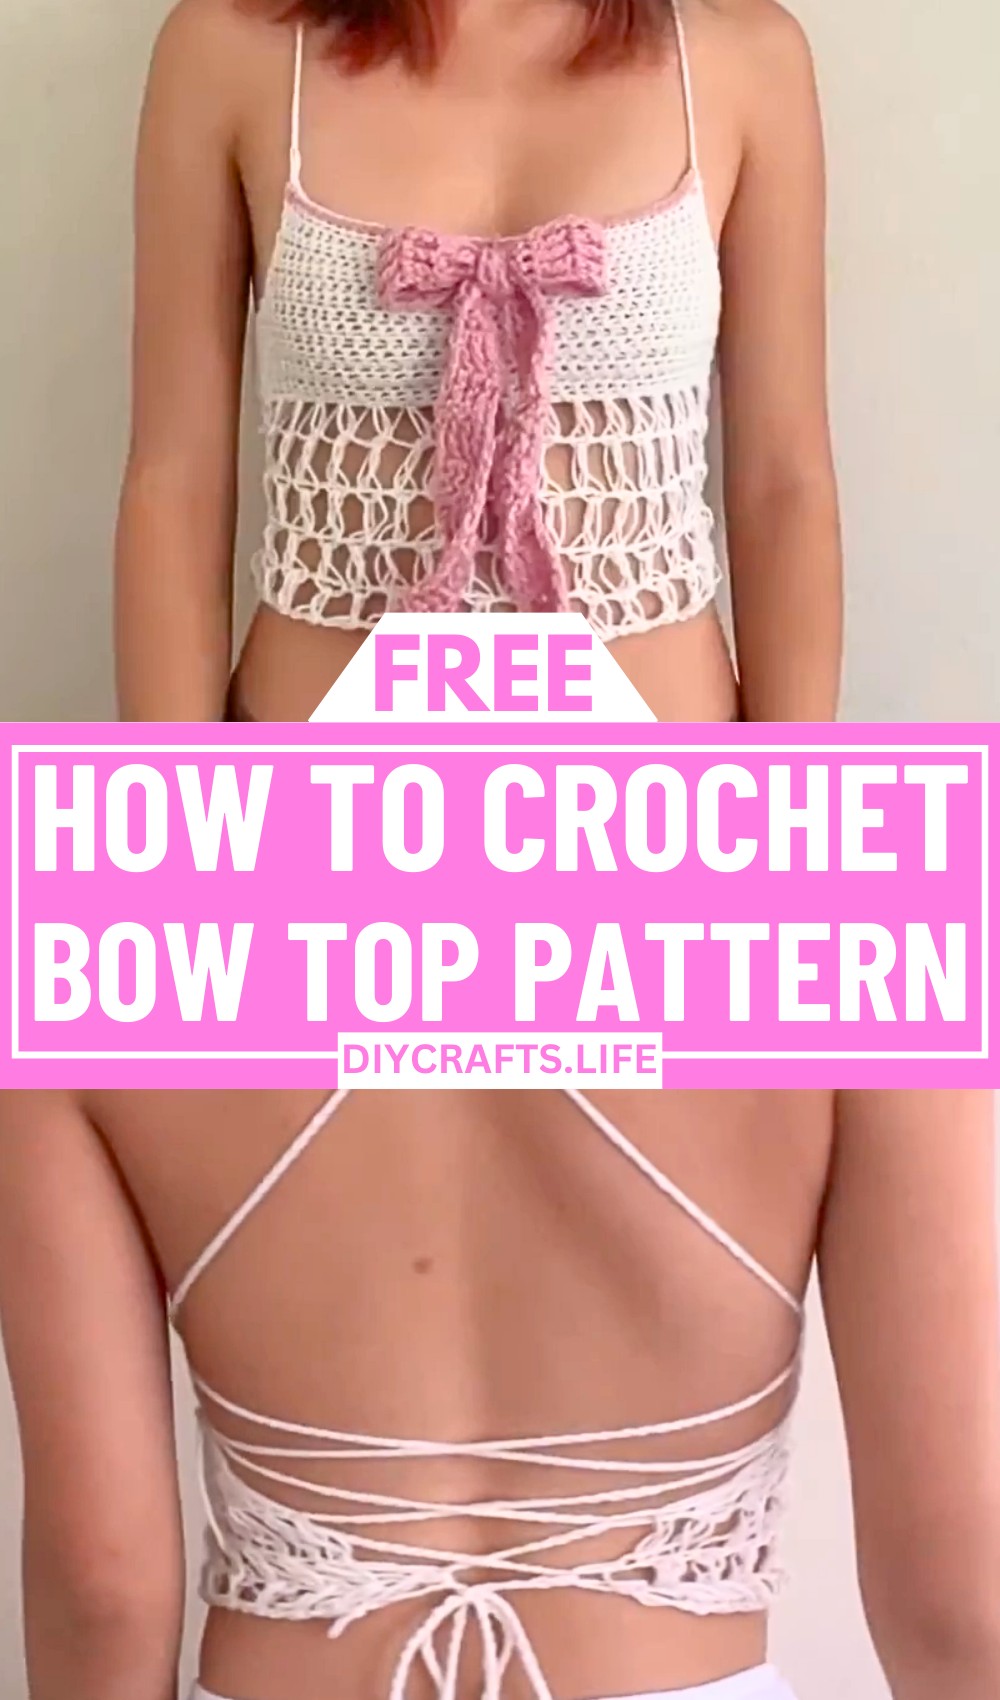
Crochet Bow Top
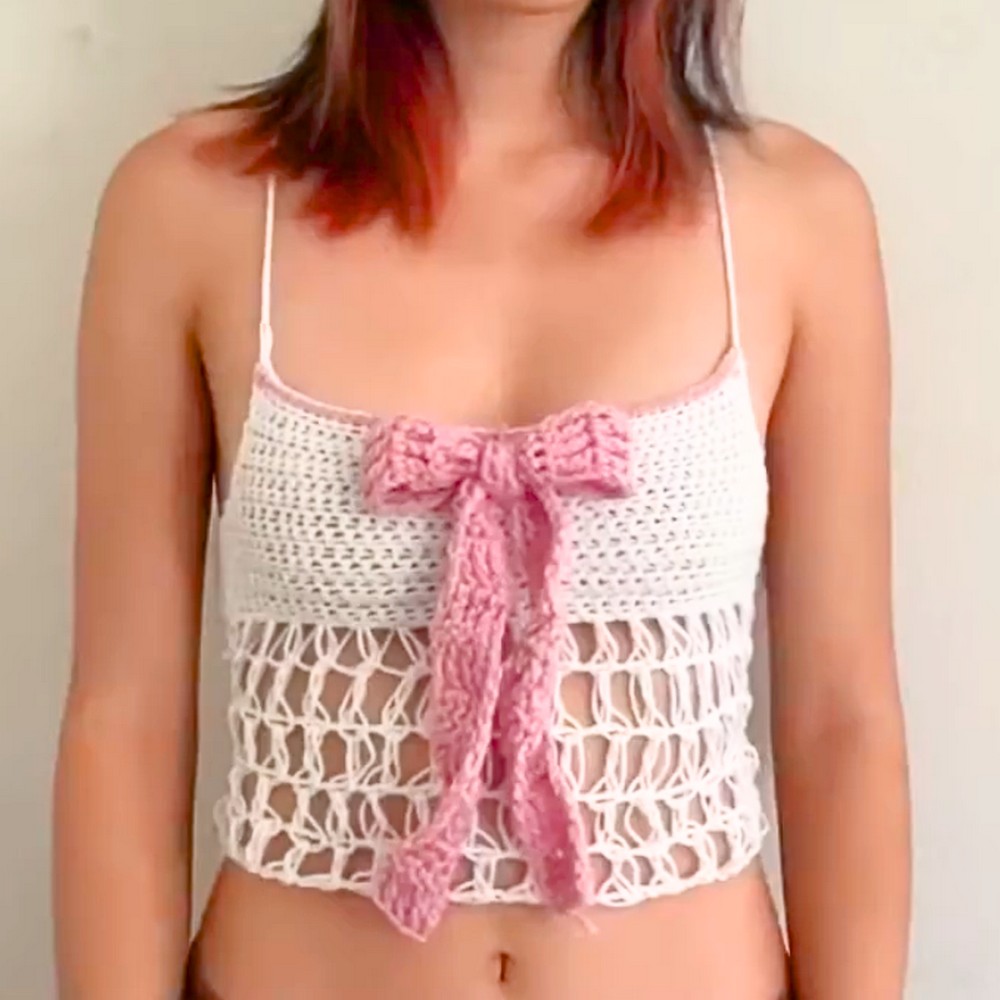
This crochet bow top features a sleek and flattering shape adorned with an eye-catching bow detail, giving it personality and sophistication. The unique blend of clean lines and intricate stitching makes it a versatile fashion staple, ideal for pairing with jeans, skirts, or layering over dresses. Whether you’re crafting for yourself or gifting, this pattern promises both style and originality.
Credit janie
Materials & Tools Needed
Here’s what you’ll need to create the crochet bow top:
- Yarn:
- Recommended yarn weight: DK (Double Knit/Lightweight) or medium-weight yarn (Worsted, Category 4).
- Choose cotton or acrylic for durability and comfort.
- Approximate quantity: One skein of approx. 200-250 yards should be enough depending on the size adjustments.
- Crochet Hook:
- Use a 3.75 mm to 4.0 mm crochet hook. Use a smaller hook if working with DK yarn or a larger hook for worsted weight yarn.
- Scissors:
- Needed for cutting yarn ends.
- Darning Needle:
- For finishing and weaving in loose ends.
- Measuring Tape or Ruler:
- To measure your chest circumference for accurate sizing of the top and bow dimensions.
Finished Size & Customization Ideas
Approximate Finished Size:
The finished top is customizable to fit the desired size. The tutorial focuses on creating a bow front, which is adaptable:
- Bow Panel: The bow width and length can be adjusted to suit different bust sizes.
- Typical bow dimensions range from 6-8 inches wide and 4-6 inches tall.
- Straps: These are adjustable based on preferred fit (around the neck or over-the-shoulder).
How to Customize:
- Change Size of Bow:
- For larger bows, increase the foundation chain for the bow panel.
- For smaller bows, reduce the number of starting chains or rows.
- Adjust Strap Length:
- The tutorial suggests 200 chains per strap, but you can increase or decrease the number of chains to suit your body type and preferences.
- Different Yarn Weights:
- Thicker yarn: Use bulky yarn for a chunky bow look, which works well for statement pieces.
- Thinner yarn: Use lightweight or lace yarn for a delicate feminine style.
- Color Customization:
- For a playful look, try bright or pastel colors.
- For a sophisticated appearance, use monochromatic shades (e.g., white, beige, or black).
- You can also create striped bows by alternating colors every few rows.
Pattern Abbreviations & Terminology
This design follows US Crochet Terminology:
- Ch: Chain
- SC: Single Crochet
- HDC: Half Double Crochet
- Sl St: Slip Stitch
- YO: Yarn Over
- Foundation Chain: The initial chain stitches that serve as the base for your work.
Step-by-Step Crochet Instructions
1. Bow Panel (Central Piece)
- Foundation Chain:
- Start with a chain of 30-40 chains. This will form the width of the bow (adjust the chain length based on how large you want the bow).
- Row 1:
- Work 1 HDC into the second chain from the hook. Continue to place 1 HDC in each stitch across.
- At the end of the row, chain 1 and turn your work.
- Rows 2-10 (or adjust as needed):
- Continue with HDCs across each row.
- Repeat until the piece reaches approximately 5 inches tall (or desired height).
- Finishing:
- Fasten off, leaving a long tail for sewing.
2. Bow Center Wrap
- Foundation Chain:
- Create a chain of 10-15 chains (depending on how thin or thick you want the middle "wrap" section of the bow).
- Row 1:
- Work 1 SC into the second chain from the hook. Continue to place 1 SC in each stitch across.
- Chain 1 and turn.
- Rows 2-5:
- Repeat SC rows until the center piece measures ~2 inches long.
- Attach Center Wrap:
- Take the bow panel and scrunch it at the middle vertically to form the bow shape.
- Wrap the center piece around the middle. Sew the ends together securely at the back of the bow using a darning needle or your crochet hook.
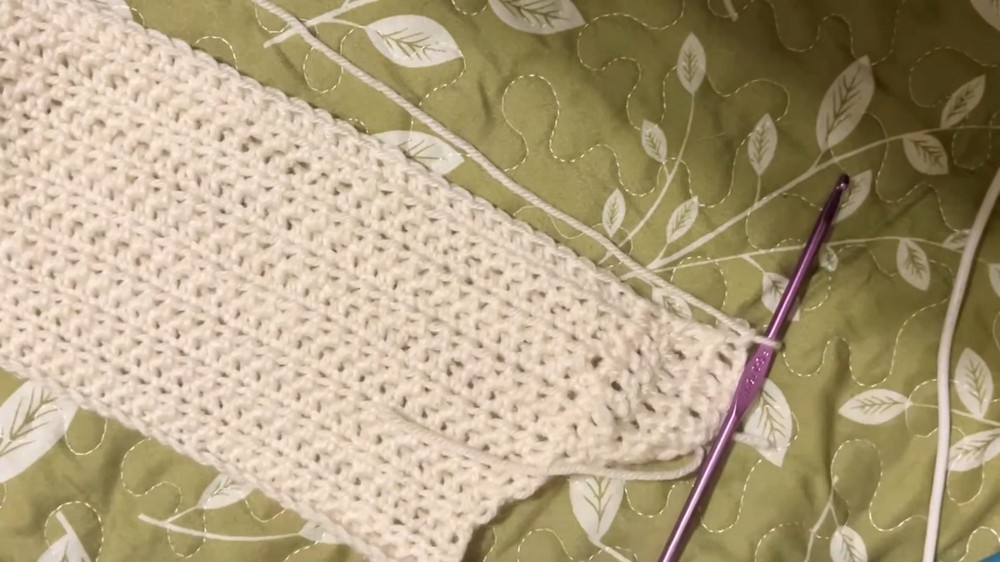
3. Top Base Panel
- Foundation Chain:
- Create a foundation chain that matches your chest circumference, ensuring it stretches slightly for comfort (e.g., 60-80 stitches).
- Row 1:
- Work 1 SC or HDC stitch into the second chain from the hook and each stitch across.
- At the end of the row, chain 1 and turn.
- Rows 2-X:
- Continue working SC or HDC rows until the panel reaches your desired length (e.g., 4-6 inches).
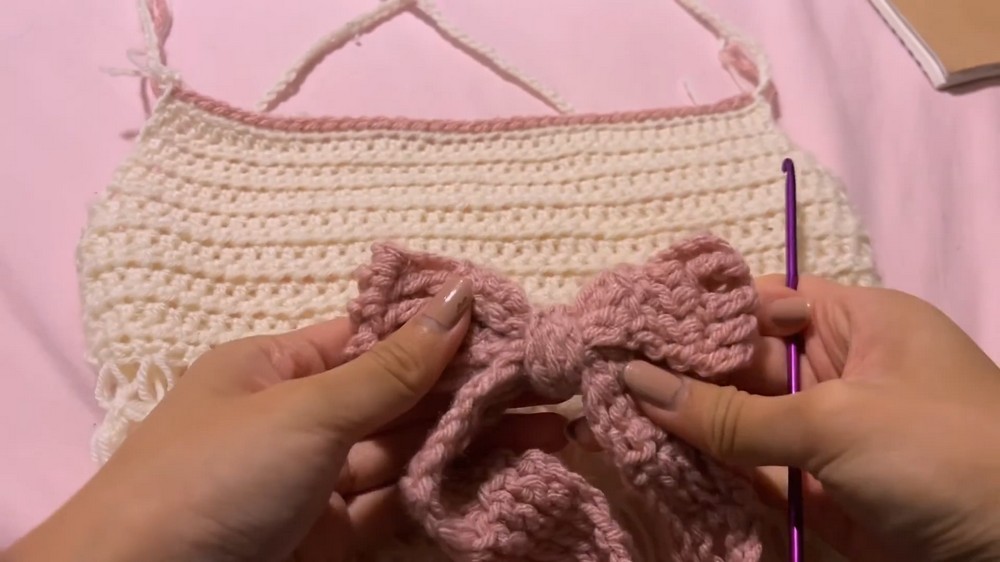
- Attaching the Bow:
- Place the bow in the center of the top panel and sew it into place using yarn and a darning needle. Make sure it is firmly attached.
4. Straps
- Foundation Chain for Straps:
- Chain 200 for each strap (or adjust according to desired length).
- Attachment Points:
- Attach straps at the top corners of the panel or based on your preferred orientation (e.g., attach to go around the neck or over the shoulders).
5. Finishing Touches
- Weave in Ends:
- Use a darning needle or crochet hook to weave all loose ends into your stitches.
- Optional Edging:
- Add some embellishments to the edges of the panel and straps using scallop stitches, picot edging, or contrast color yarn.
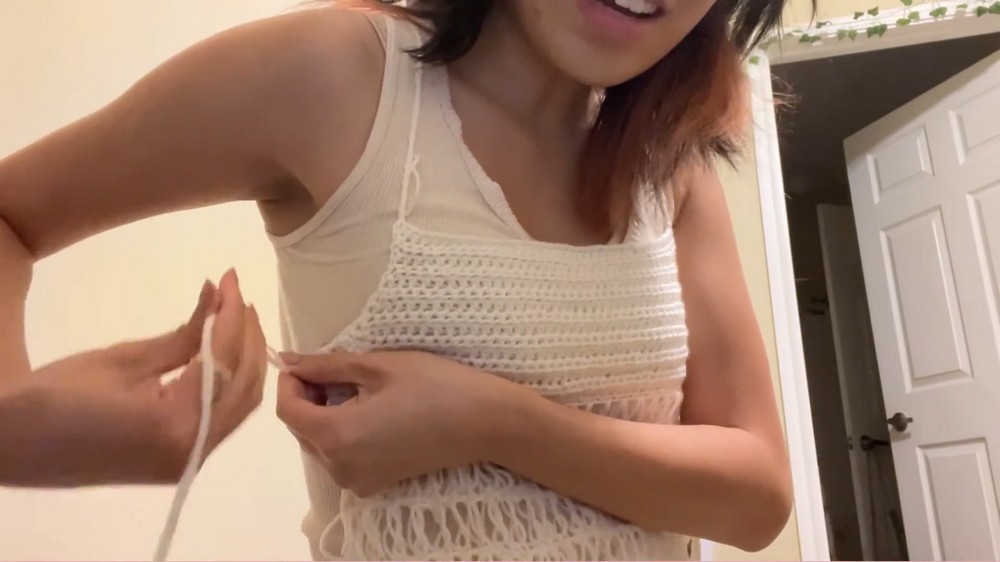
Styling Suggestions & Final Steps
After completing the bow top, you can tie the straps around your back or shoulders based on your preference. This beautiful crochet bow top is perfect for summer or special occasions, and you can make it unique through color or yarn choices!