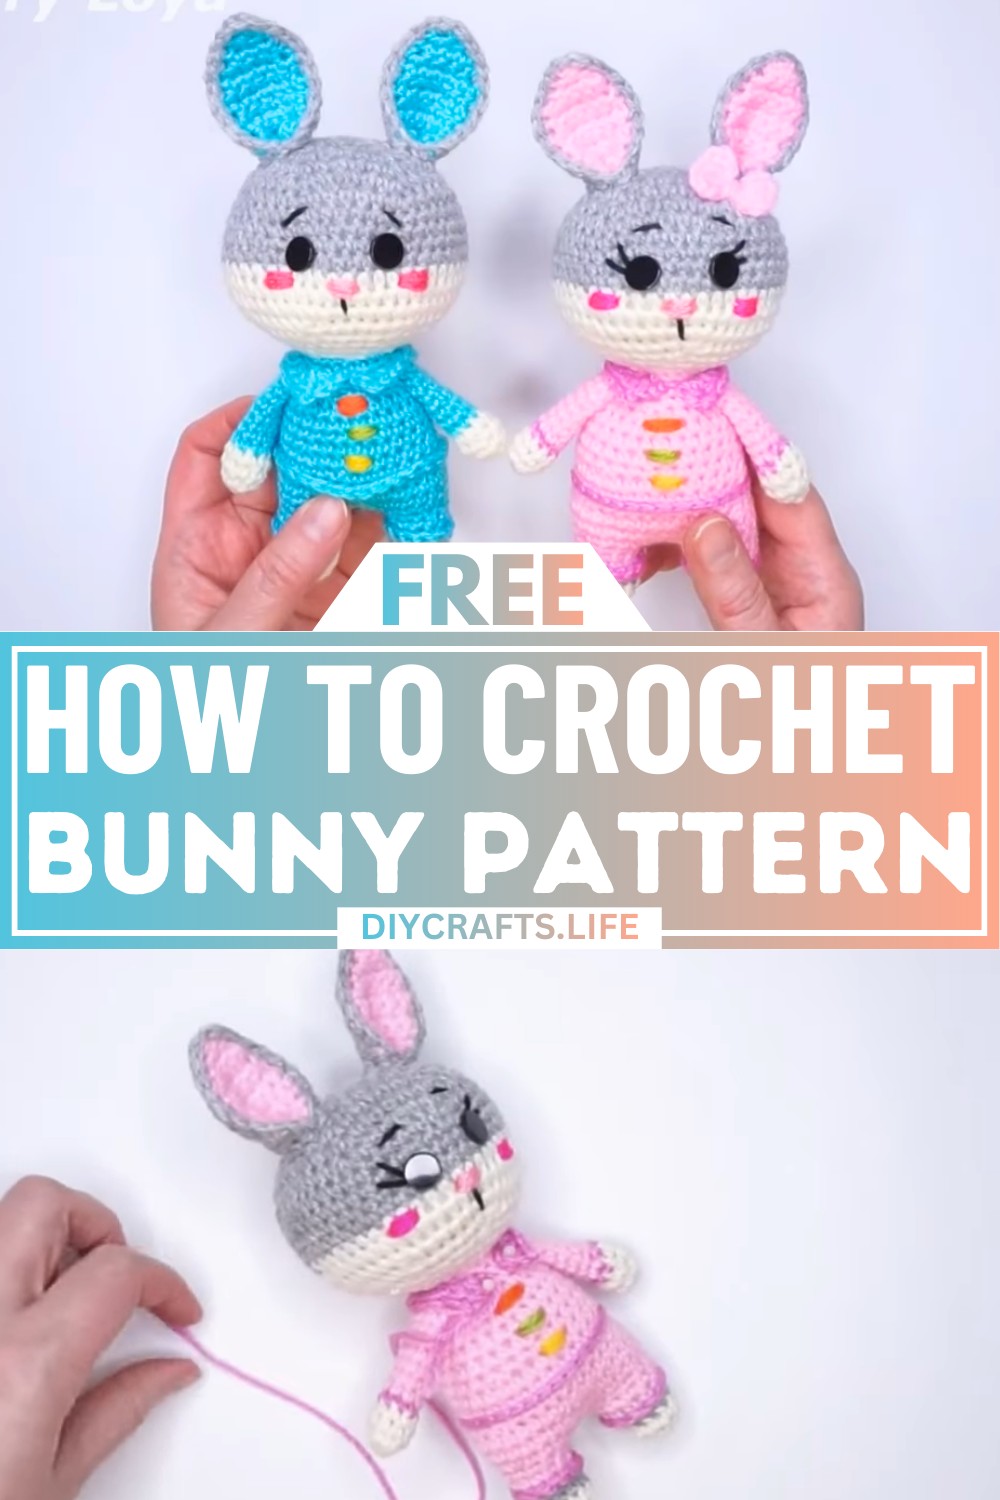
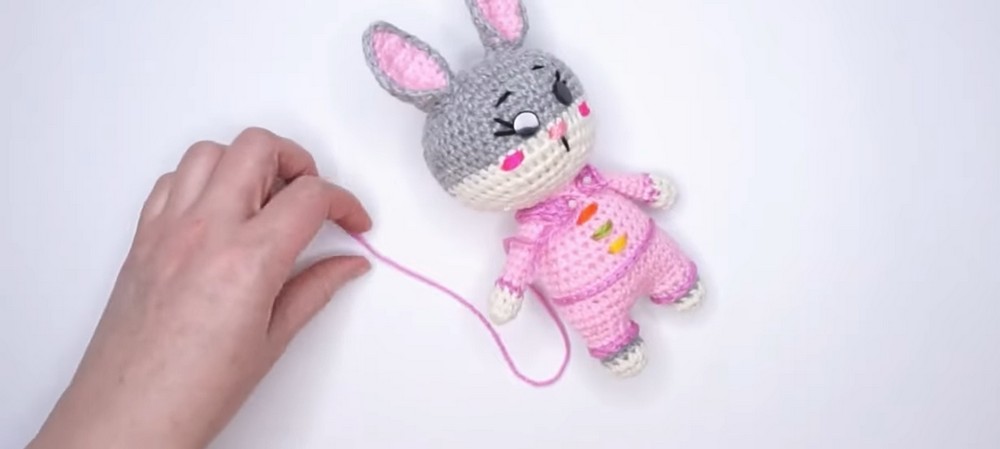
Delight your crafting instincts with a crochet bunny that's bursting with charm and personality! Designed to bring smiles and warmth, this adorable handmade treasure is perfect for celebrations, heartfelt gifts, or simply showcasing your love for creativity. Let your imagination shape this cuddly figure as it transforms into a playful and cozy masterpiece that radiates joy.
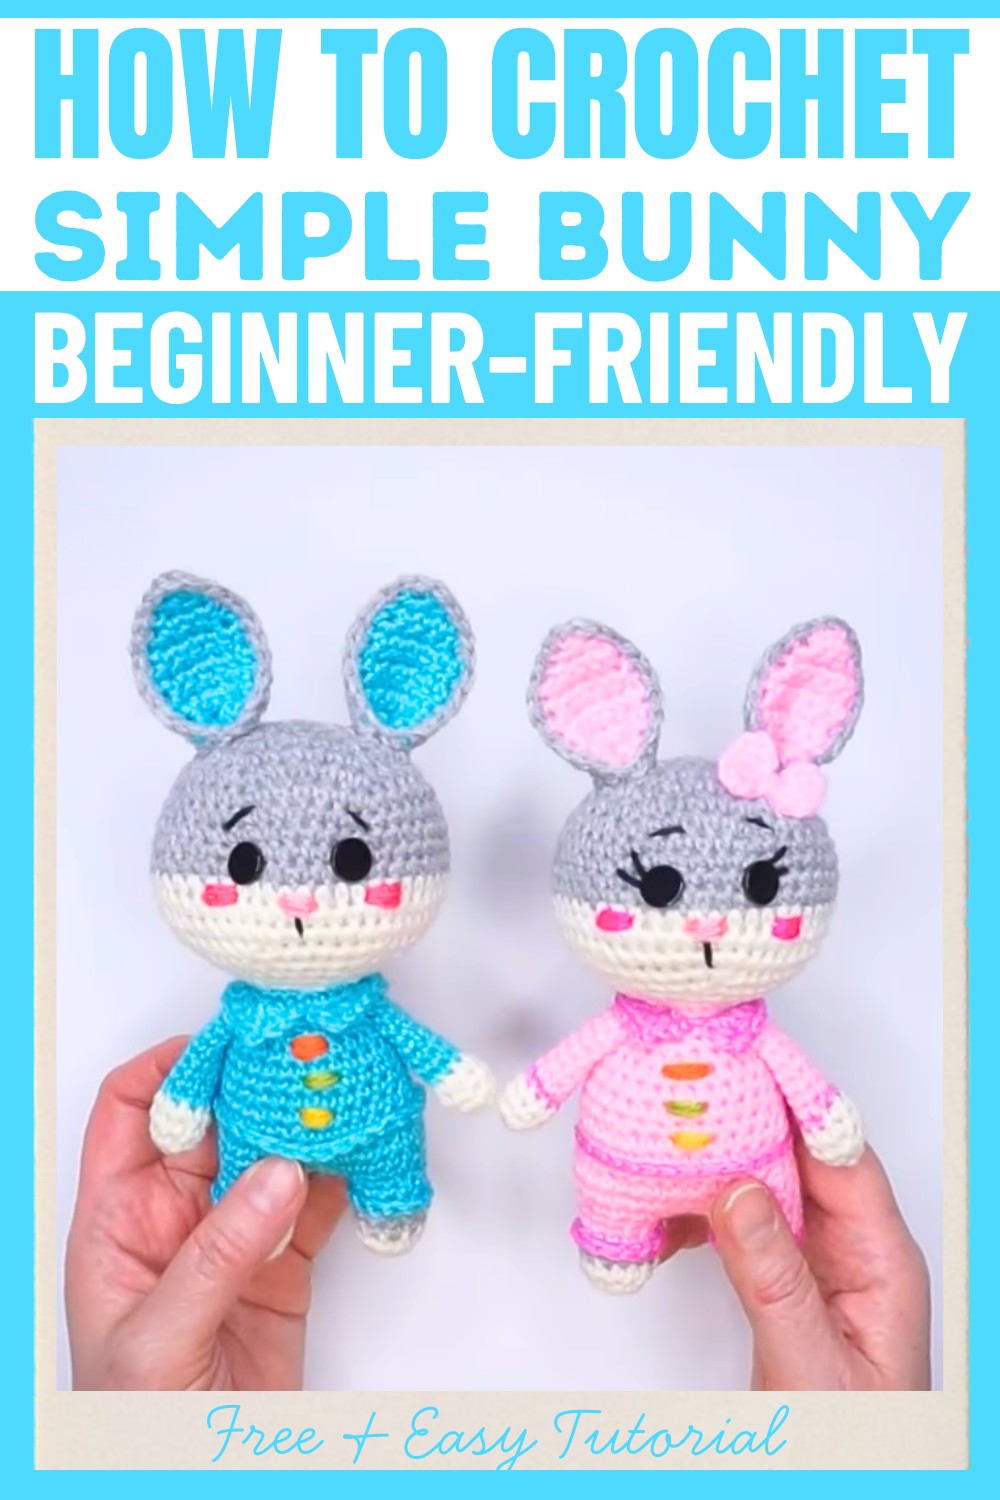
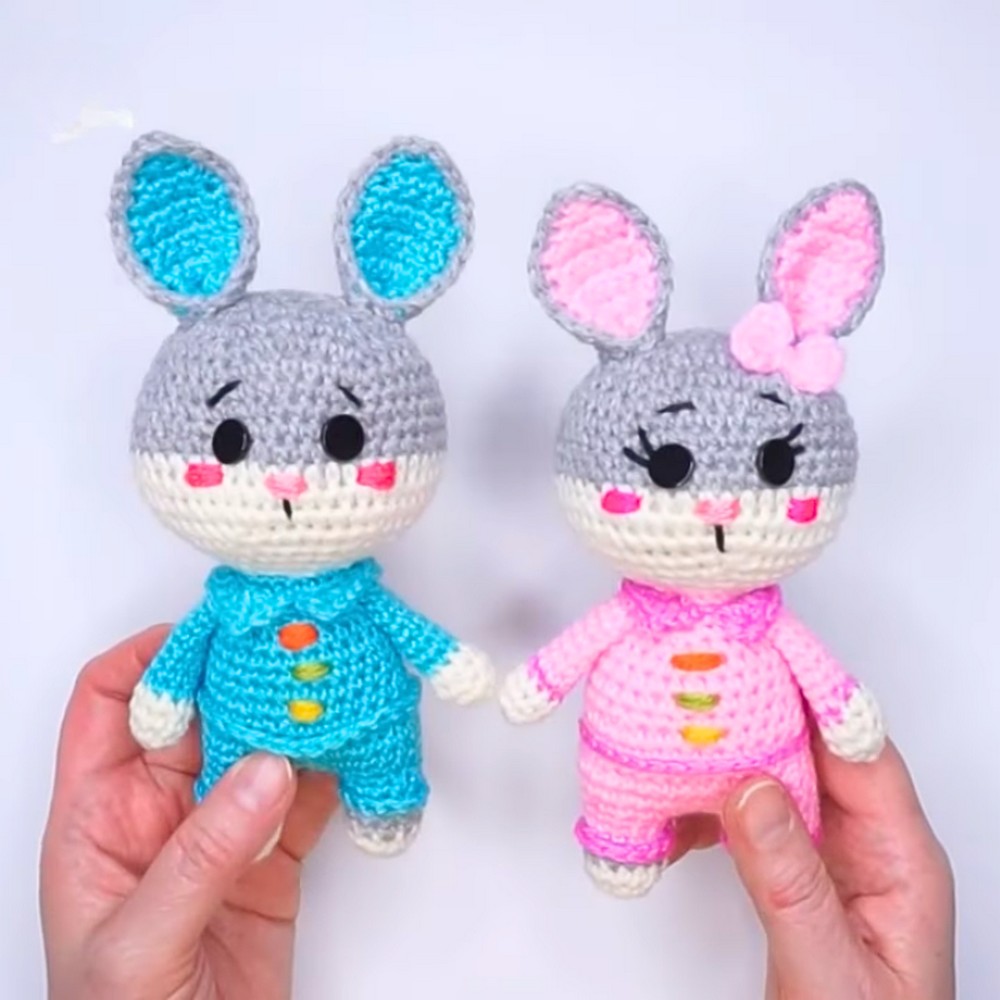
Standing around 19-20 cm, the crochet bunny features a meticulously detailed body, soft pastel accents, and delicate finishing touches. Its unique combination of textures—from the crisp stitches of its sweater and pants to the sweet bow and collar—sets it apart as a design full of personality. The pattern blends functionality with artistry, making it easy to personalize with colors, accessories, and subtle finishing touches. Whether you're crocheting for fun or crafting a thoughtful gift, this bunny invites endless creative possibilities while staying practical and timeless.
Credit Olga Garkusha
Materials & Tools Needed
- Yarn:
- Gray yarn (main bunny color)
- White yarn (for accents and sweater)
- Pink yarn (for inside ears and details)
- Black yarn (for facial embroidery)
- Crochet hook - Size: 1.75 mm
- Holofiber (stuffing material)
- Two buttons (approx. 10 mm in diameter) for eyes
- Needle (for sewing components and embroidering features)
- Scissors
Finished Size & Customization Ideas
- Finished Size:
- The completed bunny will measure approximately 19–20 cm (7.5–8 inches) in height.
- Customization Ideas:
- Use different yarn colors for the bunny or its clothing to suit holidays or themes (e.g., pastel colors for spring, red and green for Christmas).
- Add accessories like a tiny scarf, hat, or flower appliqué.
- Substitute safety eyes for the button eyes if gifting to small children.
- Adjust hook size or yarn weight to make a larger or smaller bunny.
Step-by-Step Detailed Crochet Instructions
Each component of the bunny is detailed below, including the stitch techniques, rounds, and finishing methods. Abbreviations used are:
- sc: Single crochet
- /: Increase (2 single crochet in one stitch)
- **/**: Decrease (combine two stitches)
- chain: Chain stitch
- sl st: Slip stitch
1. Crochet the Upper Paws
- Row 1: Crochet 6 sc into a magic ring (6 stitches total).
- Row 2: Increase in every 2nd stitch. Repeat (1 sc, /) × 3 times (9 stitches).
- Rows 3-4: Crochet 9 sc, one sc in each stitch.
- Row 5: Crochet an additional row of 9 sc.
- Rows 6-12: Continue crocheting in rounds with 9 sc.
- Fill the paw lightly with holofiber stuffing.
- Fold the paw in half and crochet through both sides with 3 sc to close.
- Repeat the process to create 2 paws.
2. Crochet the Tail
- Row 1: Crochet 6 sc into a magic ring (6 stitches total).
- Row 2: Increase in every stitch. Repeat (6 /) (12 stitches total).
- Row 3: Crochet 2 sc, then decrease (/), repeat (*2 sc, /*) × 3 times (9 stitches total).
Stuff lightly with holofiber and set aside.
3. Crochet the Head
- Row 1: Crochet 6 sc into a magic ring (6 stitches total).
- Row 2: Increase in each stitch (6 /, 12 stitches).
- Row 3: Repeat (1 sc, /) × 6 (18 stitches total).
- Row 4: Repeat (2 sc, /) × 6 (24 stitches total).
- Row 5: Repeat (3 sc, /) × 6 (30 stitches total).
- Row 6: Repeat (4 sc, /) × 6 (36 stitches total).
- Row 7: Repeat (5 sc, /) × 6 (42 stitches total).
- Row 8: Repeat (6 sc, /) × 6 (48 stitches total).
- Rows 9-11: Crochet 48 sc in each row.
- Rows 12-15: Continue working rounds of 48 sc.
- Row 16: Decrease (*6 sc, /*) × 6 (42 stitches).
- Row 17: Decrease (*5 sc, /*) × 6 (36 stitches).
- Row 18: Decrease (*4 sc, /*) × 6 (30 stitches).
- Row 19: Decrease (*3 sc, /*) × 6 (24 stitches).
- Row 20: Decrease (*2 sc, /*) × 6 (18 stitches).
4. Crochet the Ears (Make 2)
- Chain 3.
- Row 1: Crochet 2 sc.
- Row 2: Increase in each stitch (2 /, 4 stitches total).
- Row 3: Repeat (/, 3 sc) (5 stitches total).
- Row 4: Repeat (/, 4 sc) (6 stitches total).
- Row 5: Repeat (/, 5 sc) (7 stitches total).
- Rows 6-11: Crochet 7 sc per row. The ear is straight at this point.
- Make two parts per ear: one in gray (outer ear) and one in pink (inner ear).
- Attach the pink part to the gray by crocheting along the edge with sc.
- Sew the ends of the ear together, forming a slight fold for shape.
5. Crochet the Legs
- Row 1: Crochet 6 sc into a magic ring.
- Row 2: Increase in each stitch (6 /, 12 stitches).
- Row 3: Crochet 12 sc.
- Rows 4-5: Crochet 12 sc. Change the yarn color to create the pants.
- Row 6: Crochet 12 sc, working only in the back loops.
- Row 7: Crochet 12 sc.
To create the decorative pants edge:
- Attach yarn to the front loops of Row 6.
- Crochet 12 sc and finish off.
Repeat to make two legs.
6. Join the Legs and Make the Body
- Work 3 chain stitches.
- Attach the two legs together with a slip stitch.
- Row 8: Crochet 12 sc along the first leg, 3 sc along the chain, 12 sc along the second leg, and 3 sc along the second side of the chain (30 stitches total).
- Row 9: Repeat (4 sc, /) × 6 (36 stitches).
- Rows 10-11: Crochet 36 sc.
- Row 12: Decrease (*4 sc, /*) × 6 (30 stitches).
- Row 13: Crochet 30 sc, working in back loops only for a decorative sweater.
- Rows 14-18: Crochet 27 sc as the sweater narrows toward the neck.
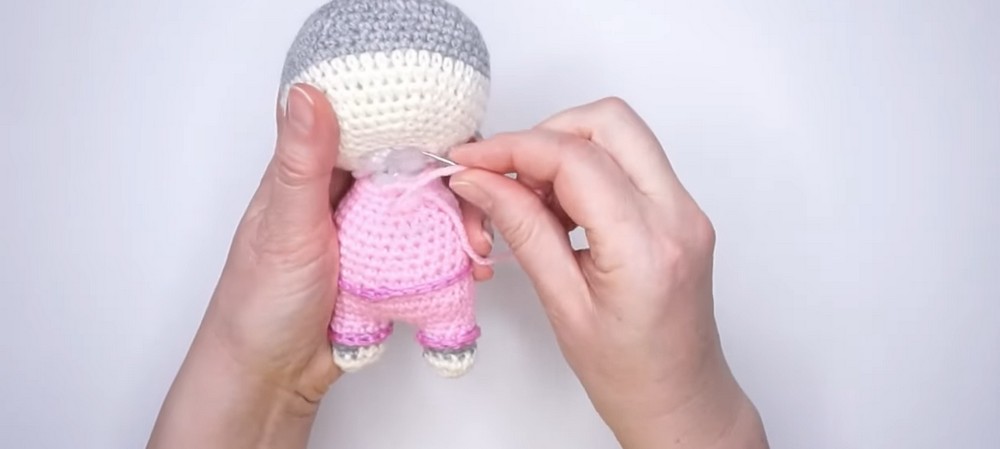
Attach the body to the head by sewing it on.
7. Finishing Touches
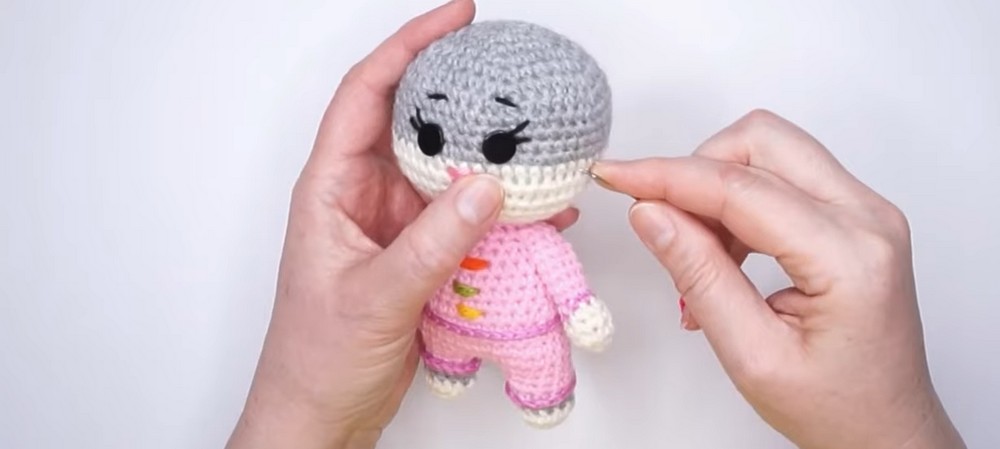
- Facial Embroidery:
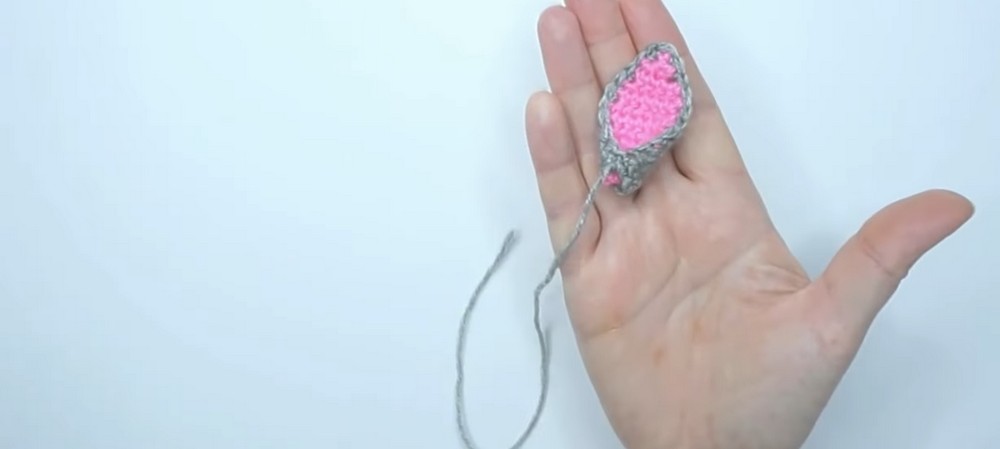
- Nose: Use pink yarn to make stitches on 2 sc just below the eyes.
- Mouth: Embroider a small “V” shape below the nose.
- Eyes: Attach buttons or embroider with black yarn.
- Add eyelashes, eyebrows, and rosy cheeks (optional).
- Ears:
- Sew the ears to the head, leaving a 3-row gap between them.
- Tail:
- Securely sew the tail to the back of the body.
8. Crochet a Bow for Accessory
- Chain 3 and crochet:
- 2 double crochets into the ring.
- Chain 3 and slip stitch into the ring.
- Repeat the process to create the second half of the bow.
- Secure in the center with wraps of yarn and attach it to the bunny's neck or ear.