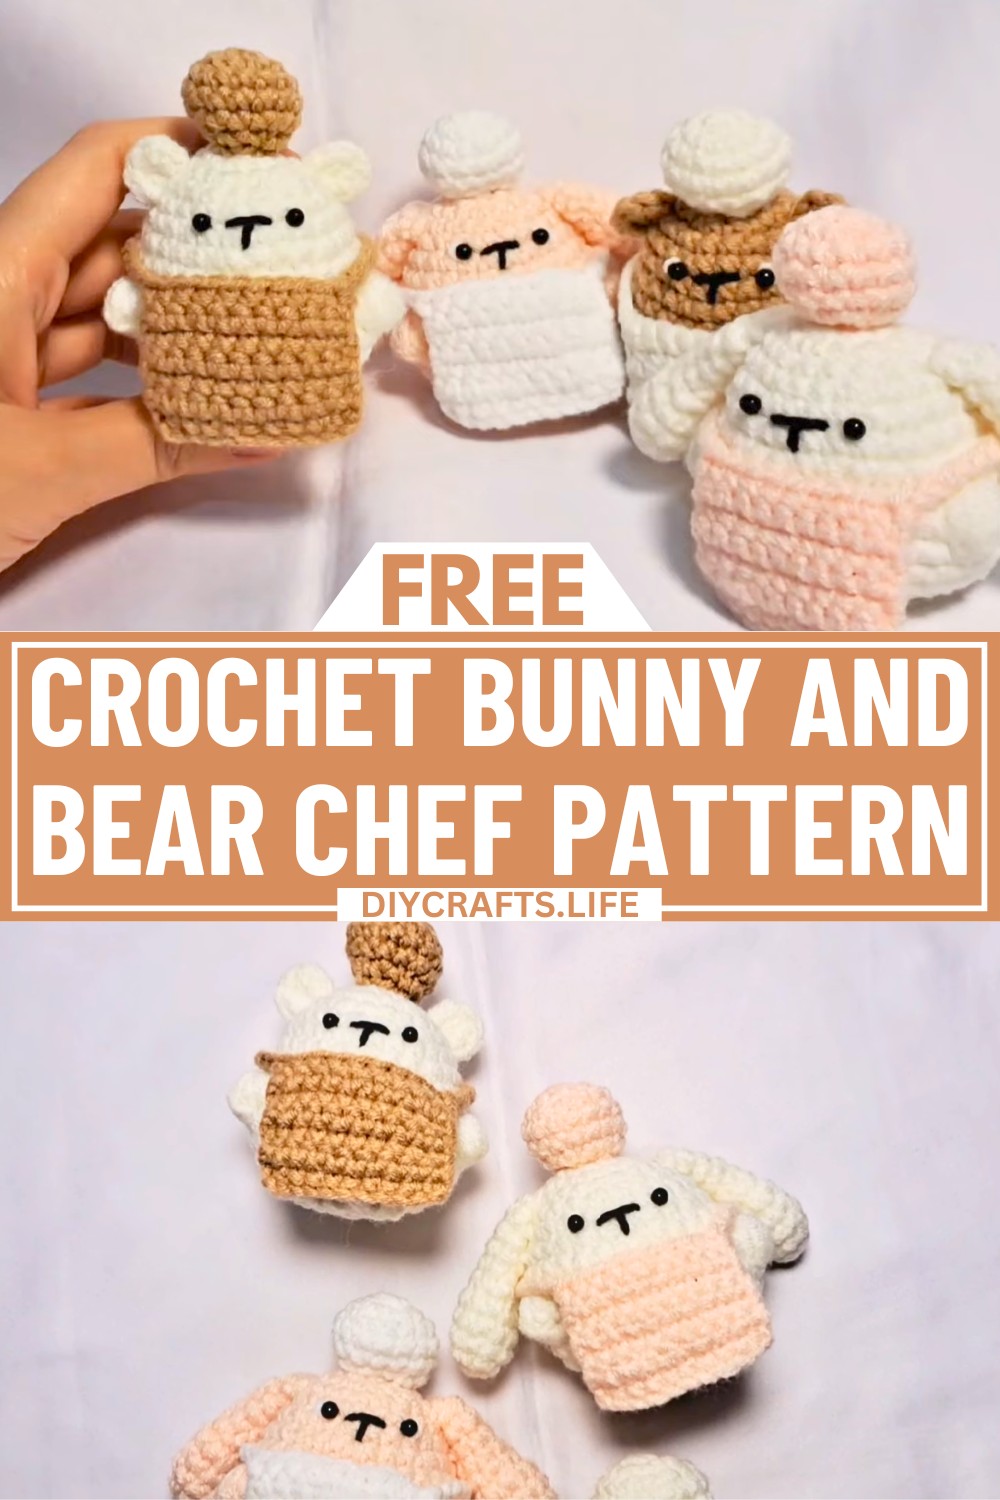
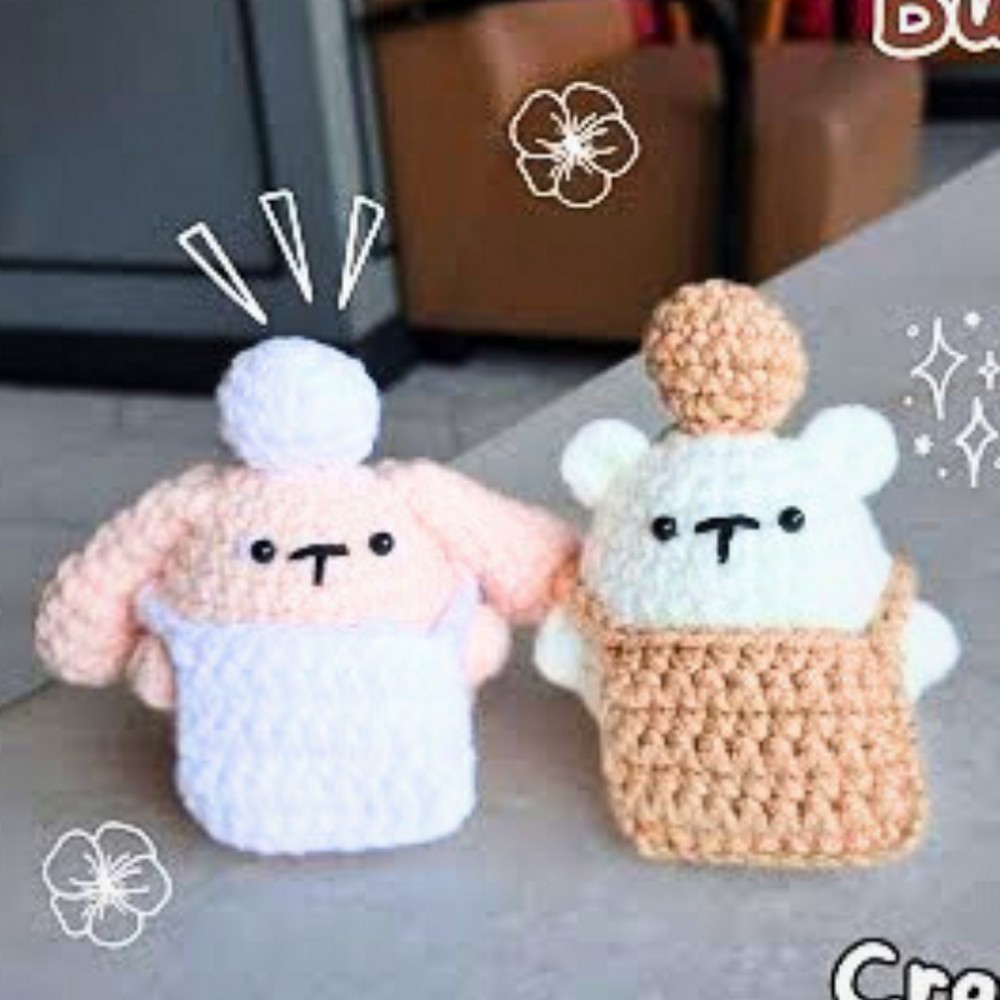
These crochet bunny and bear chefs are adorable handcrafted creations that make perfect companions as toys, room decor, or thoughtful gifts. Whether they’re used to brighten a shelf, join a child’s imaginative playtime, or serve as lovable keepsakes, their charming crochet aprons and chef hats add an extra special touch that makes them truly unique.
Crochet Bunny and Bear Chef Pattern
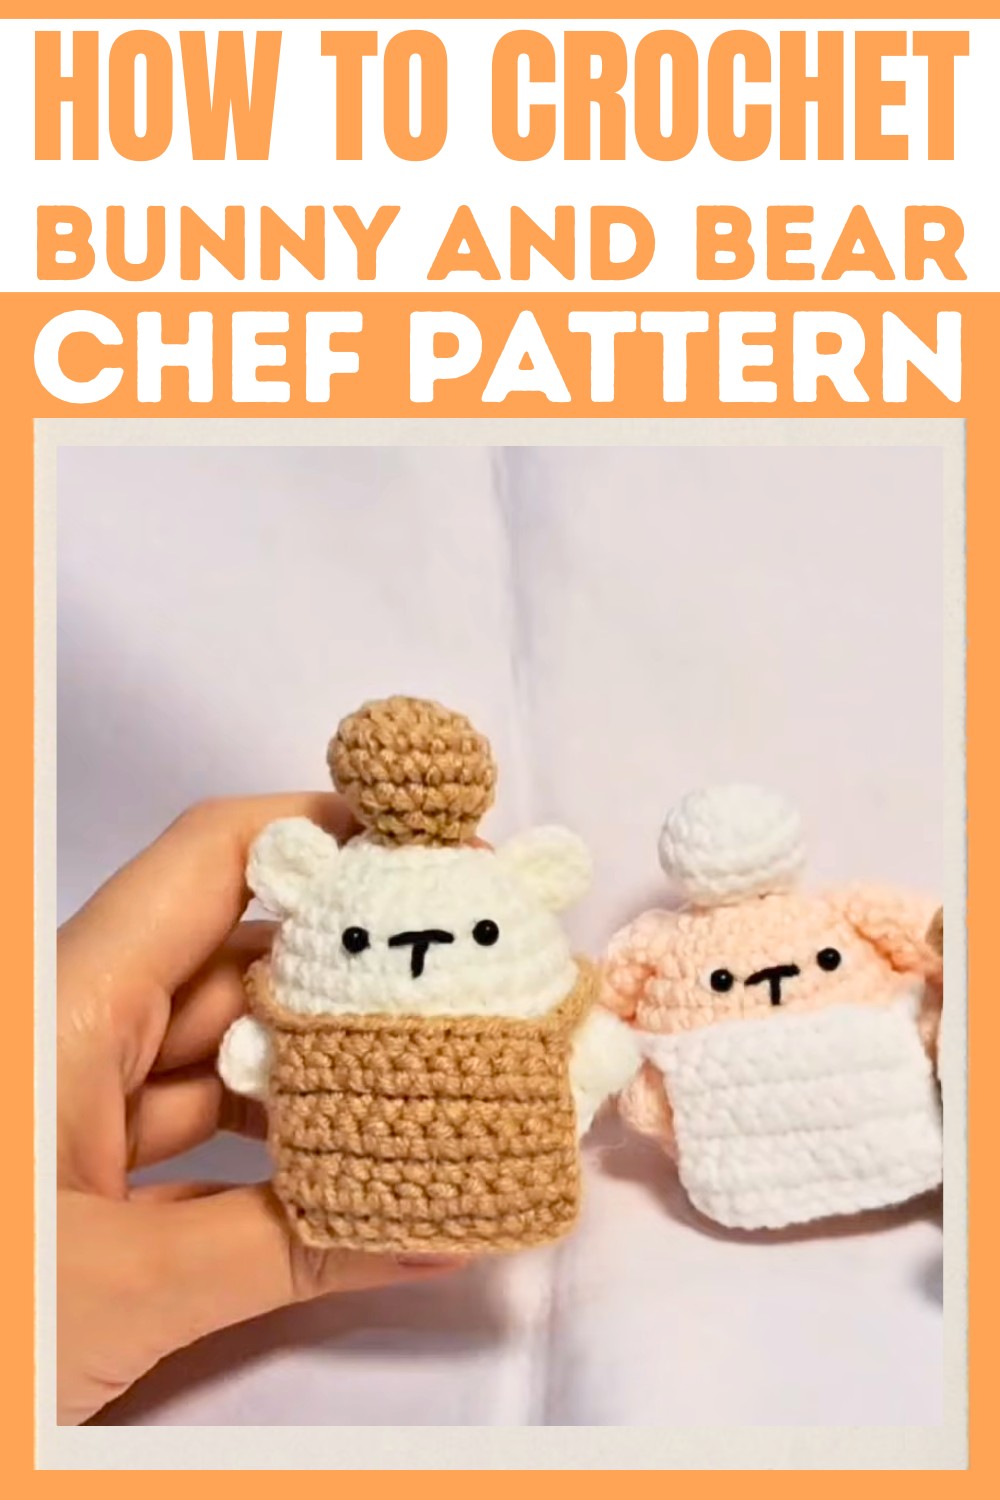
These sweet figures are built from the same pattern for the body, making them beginner-friendly for anyone starting their crochet journey. With simple stitches like single crochets, increases, and decreases, they're easy to create one step at a time. The joy of crafting these crochet characters lies in their simplicity, while the result is a delightful piece you can be proud of.
Credit from littlespot
Materials & Tools Needed
- 3.0mm hook
- 5ply milk cotton yarn (2mm thickness)
- 4mm safety eyes
- needle
- stitch marker
- scissors
- stuffing
Step-by-Step Crochet Instructions
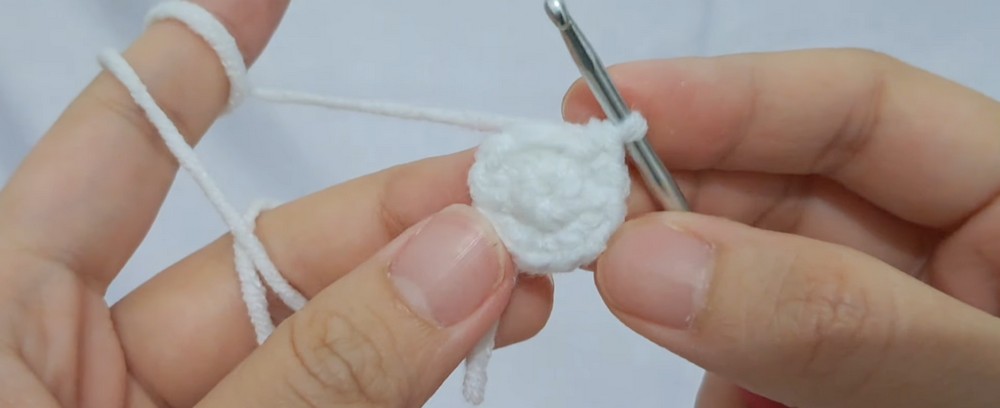
Part 1: Body
- Round 1: Start with MR, make 6 sc into the ring. Tighten the ring. (6 stitches total)
- Round 2: Work 1 inc in each stitch around (2 sc in each stitch). (12 stitches total)
- Round 3: [1 sc, 1 inc]. Repeat around. (18 stitches total)
- Round 4: Work 1 sc in each stitch around. (18 stitches)
- Round 5: [2 sc, 1 inc]. Repeat around. (24 stitches total)
- Round 6: Work 1 sc in each stitch around. (24 stitches)
- Round 7: [3 sc, 1 inc]. Repeat around. (30 stitches total)
- Rounds 8–9: Work 1 sc in each stitch around. (30 stitches per round)
- Round 10: [9 sc, 1 bubble stitch, 11 sc, 1 bubble stitch, 8 sc].
- Bubble stitch: Yarn over, insert hook, pull yarn up, yarn over again, pull through first 2 loops—repeat until there are 5 loops, yarn over, pull through all loops.
- Rounds 11–12: Work 1 sc in each stitch around. (30 stitches)
- Round 13: [13 sc, 1 bubble stitch, 4 sc, 1 bubble stitch, 11 sc].
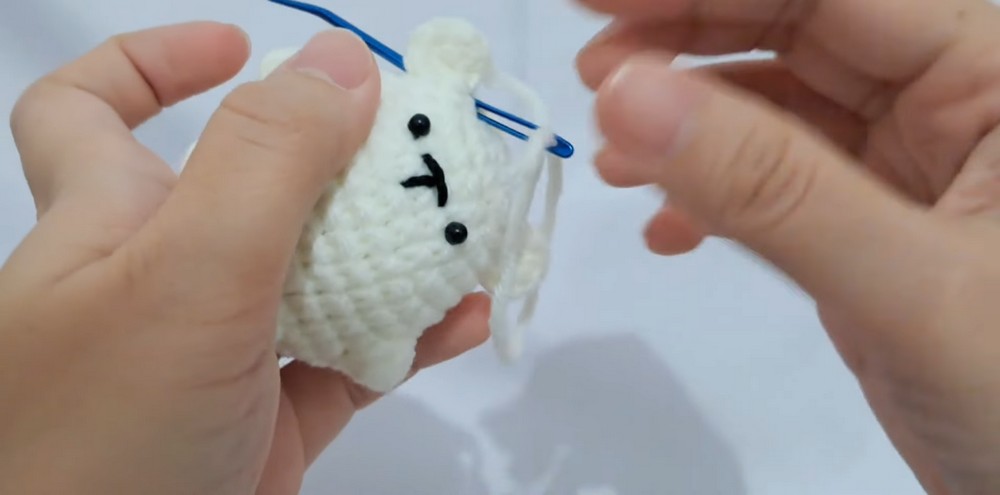
- Add Safety Eyes to the face now.
- Round 14: [3 sc, 1 dec]. Repeat around. (24 stitches total)
- Round 15: [2 sc, 1 dec]. Repeat around. (18 stitches total)
- Add stuffing carefully.
- Round 16 (Final): [1 sc, 1 dec]. Repeat around. (12 stitches total)
- Finish: Fasten off and close the hole by threading the front loops with a needle.
Part 2: Bunny Ears
- Round 1: Start with MR, make 6 sc. Tighten the ring.
- Round 2: Work 1 inc in each stitch around (2 sc in each stitch). (12 stitches total)
- Round 3–5: Work 1 sc in each stitch around. (12 stitches per round)
- Round 6: [1 sc, 1 dec]. Repeat around. (8 stitches total)
- Round 7–10: Work 1 sc in each stitch around. (8 stitches per round)
- Finish: Fasten off, leaving a long tail for sewing. Make 2 ears.
- Attach Ears: Sew onto the head between Round 4 and Round 5.

Part 3: Bear Ears
- Round 1: Start with MR, make 6 sc. Tighten the ring.
- Finish: Fasten off, leaving a long tail for sewing. Make 2 pieces.
- Attach Ears: Sew between Round 3 and Round 6.
Part 4: Apron
- Base:
- Start with a slip knot and work 11 chains.
- Row 1: Skip first ch, and work 10 sc across. Turn. (10 stitches)
- Row 2–7: Work 1 sc in each stitch. Turn after each row.
- Length Check: Ensure the apron covers the lower part of the bunny or bear. Adjust number of rows if needed.
- Straps:
- Work 25 chains for each strap. Attach by slip stitching to corners of the apron.
- Finish: Fasten off and weave in ends.
Additional Notes
- For both the bunny and bear chef, the body pattern is the same. Only the ears differ.
- Adding accessories (like a tiny chef hat or bow) can enhance the look.