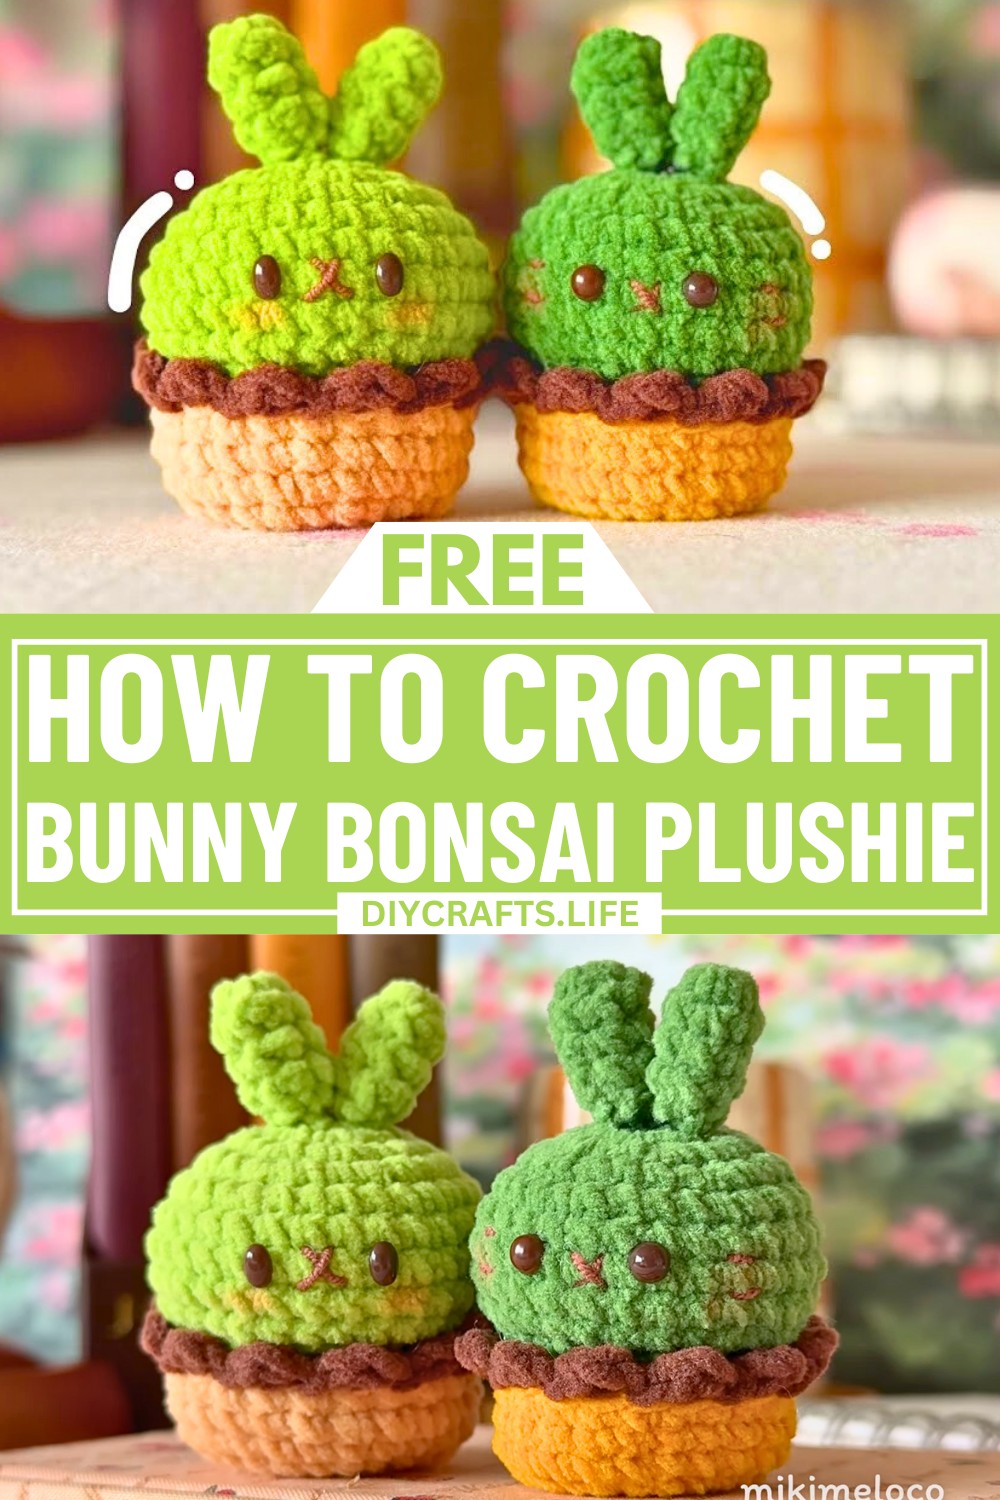
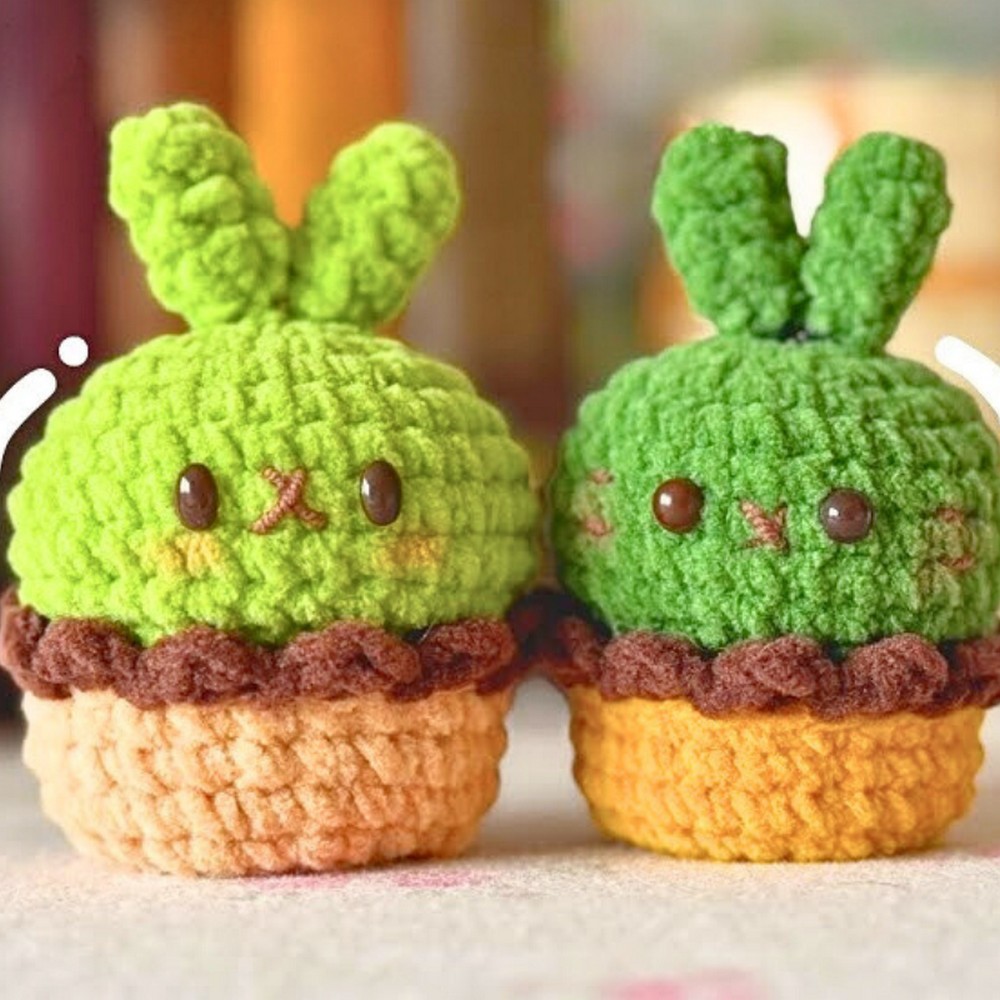
This adorable Bunny Bonsai plushie is the perfect blend of cute and creative! Designed with a bunny sitting snugly in a mini bonsai pot, it can be a fun decoration for your desk, shelf, or windowsill. It’s small, soft, and makes a great gift for loved ones or a sweet addition to your collection of handmade treasures.
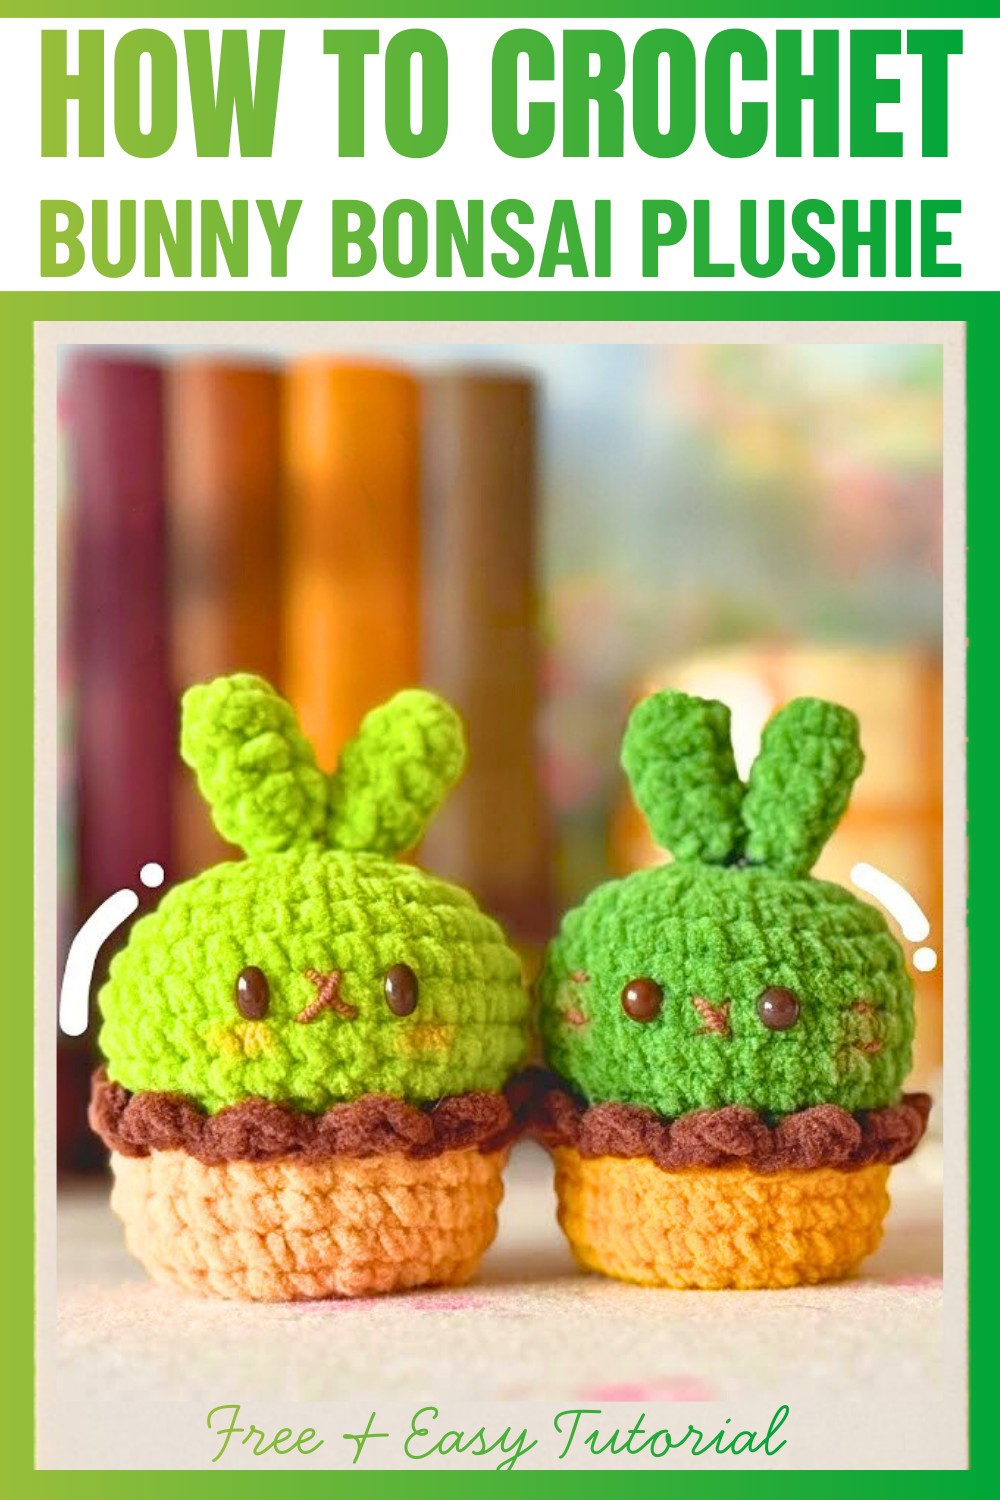
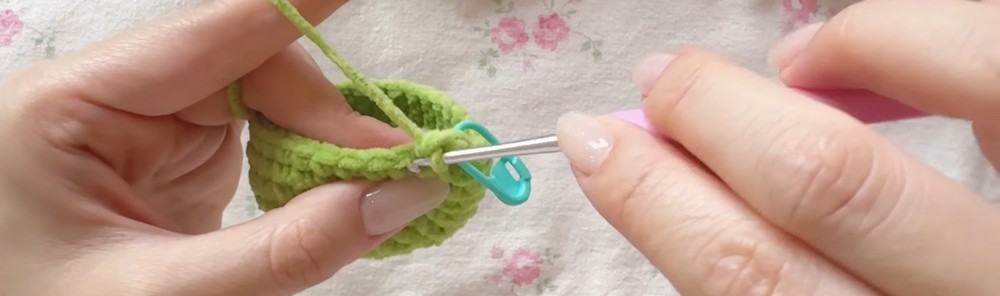
The making process is simple enough for beginners to try. You’ll crochet the bunny’s body (head, ears) and then create the little pot with "mud" details. Using basic crochet techniques like single crochets, magic rings, and increases, you’ll bring this plushie to life! Once all the pieces are done, you can gently stitch or glue them together, adding a bit of stuffing to give it a cute, full shape. No fancy tools needed—just yarn, a hook, and lots of love!
Use it to brighten up your living space or gift it to someone special. With its cheerful look, this Bunny Bonsai is sure to bring smiles to everyone!
Credit mikimeloco
Materials & Tools Needed
Here’s what you’ll need to make your Bunny Bonsai:
- Yarn
- Suggested: Any worsted weight yarn in colors such as white (bunny), pink (ears), brown (mud), and terracotta or gray (pot).
- Customization: Use lighter yarn for a more delicate look, or heavier yarn for a larger project.
- Hook
- Recommended: Use a crochet hook appropriate for your chosen yarn (e.g., 4mm for worsted weight yarn).
- Polyfill (Stuffing)
- Used to give shape to the bunny, pot, and mud components.
- Stitch Marker
- Essential for marking your first stitch and keeping track of rounds.
- Needle
- Use a tapestry needle for sewing parts together or weaving in yarn ends.
- Glue (Optional)
- Hot glue or tacky glue can be used to attach components instead of sewing.
Finished Size & Customization Ideas
Approximate Finished Size
Using worsted weight yarn:
- Bunny: Approximately 4-6 inches tall (depends on tension and yarn thickness).
- Pot: About 3-4 inches diameter with mud.
Customization Ideas
- Adjust Size
- Smaller Plushie: Use lighter weight yarn (e.g., sport yarn) and a smaller hook (e.g., 2.5mm).
- Larger Plushie: Use bulky yarn and a larger hook size.
- Change Style
- Use different yarn colors: Try pastel colors for a whimsical bunny or vibrant shades for fun customization.
- Create patterns: Striped, dotted, or multicolor mud and pot sections to add character.
- Length Variations
- Stretch the pot height by adding more “regular single crochet” rounds.
Pattern Abbreviations & Terminology
Below are standard crochet abbreviations used in this pattern:
- MR: Magic Ring
- SC: Single Crochet
- INC: Increase (2 SC in one stitch)
- DEC: Decrease (combine two stitches into one)
- SLST: Slip Stitch
- CH: Chain.
Terminology: This guide uses US terminology.
Step-by-Step Crochet Instructions
1. Bunny Head
- Round 1: Create a Magic Ring (MR), then make 8 SC into the ring. Use a stitch marker on the first stitch. Tighten the ring.
- Round 2: Work 8 INC (2 SC into each stitch) for a total of 16 stitches.
- Round 3: (1 SC, INC) x8 (Repeat pattern: 1 SC in one stitch and INC in the next stitch). Total: 24 stitches.
- Round 4: (3 SC, INC) x6 (Repeat pattern: 3 SC stitches followed by an INC). Total: 30 stitches.
- Rounds 5-9: Work 1 SC in each stitch. Total: 30 stitches per round.
- Round 10: (3 SC, DEC) x6 (Repeat pattern: 3 SC followed by a DEC). Total: 24 stitches.
- Round 11: (1 SC, DEC) x12 (Repeat pattern: 1 SC followed by a DEC). Total: 16 stitches.
- Round 12: Work 8 DEC (Decrease in each stitch). Total: 8 stitches.
- Insert polyfill stuffing before completing.
- Finish with a SLST, cut the yarn, and weave in the end.
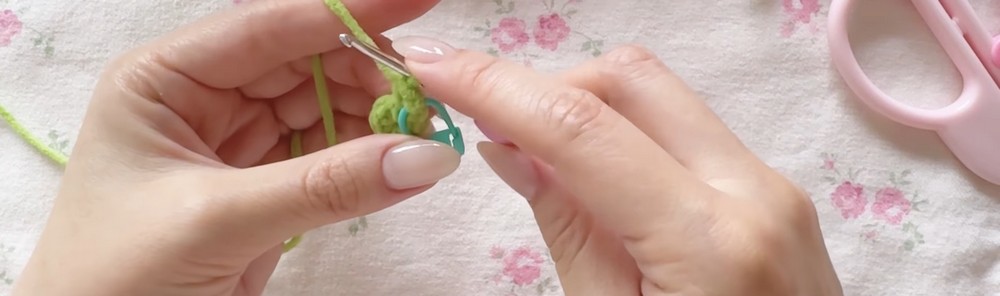
2. Bunny Ears
- Round 1: Create a Magic Ring (MR), then make 6 SC.
- Rounds 2-4: Work 6 SC in each round.
- Add a standing stitch before each round to maintain uniformity.
- Slip stitch, cut yarn, and leave a tail for attaching to the head.
3. Pot
- Rounds 1-3: Follow exact steps for Bunny Head (Rounds 1-3). Total: 24 stitches at Round 3.
- Round 4: Work **24 SC in the back loop only to create a ridge.
- Rounds 5-7: Work 1 SC in each stitch. Total: 24 stitches per round.
- Finish off and leave room to add stuffing if desired.
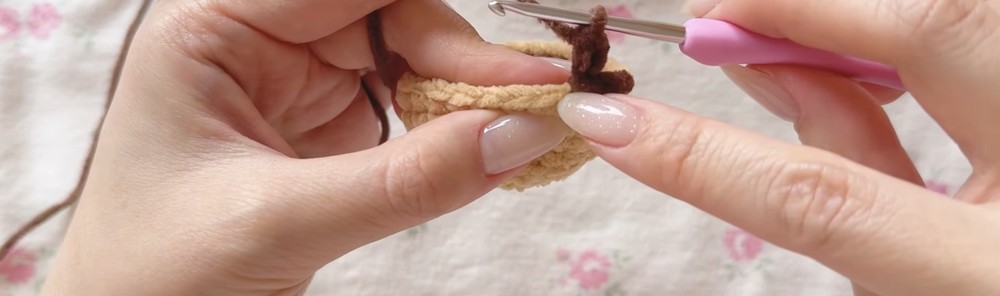
4. Mud
- Insert your hook into the first stitch (using brown yarn).
- Round: CH 2, HDC, skip next stitch, SLST. Repeat this pattern:
- CH 2 (Chain two),
- HDC (Half Double Crochet) in the second stitch,
- Skip next stitch,
- SLST (Slip stitch) in the following stitch.
- Add polyfill into the pot before anchoring the mud firmly atop using glue or stitching.
Assembly
- Attach bunny ears to the head using glue or sewing with a tapestry needle.
- Attach the bunny head atop the mud section using glue or sewing.
- Anchor the mud and bunny to the pot. Adding light stuffing inside the pot will help hold its shape.
Finishing Touches: Optional Ideas
- Embroider a face (e.g., eyes, nose) using black and pink thread for added cuteness.
- Accessorize: Add a bow, flowers, or sparkles to the bunny for personality.