Add a touch of handmade charm to your everyday essentials! The crochet bunny head keychain with a cute little hat is an adorable accessory that brings joy and creativity into your daily routine. Perfect as a quick gift or something to brighten up your own keyring, this whimsical design is sure to make you smile every time you see it.
Crochet Bunny Head with Hat Keychain
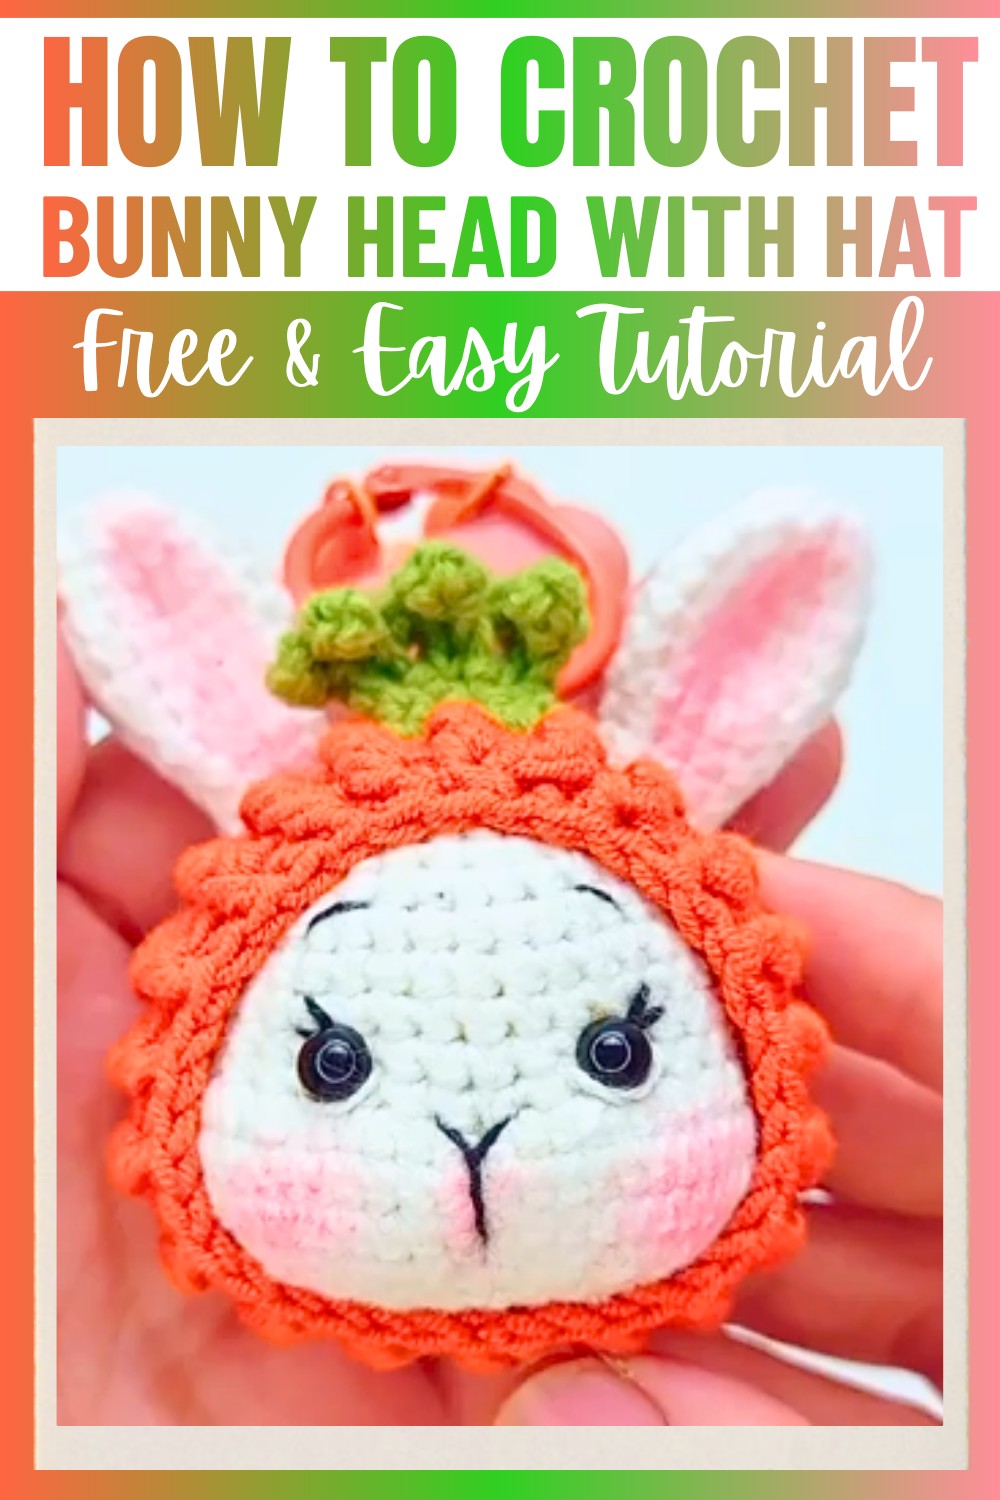
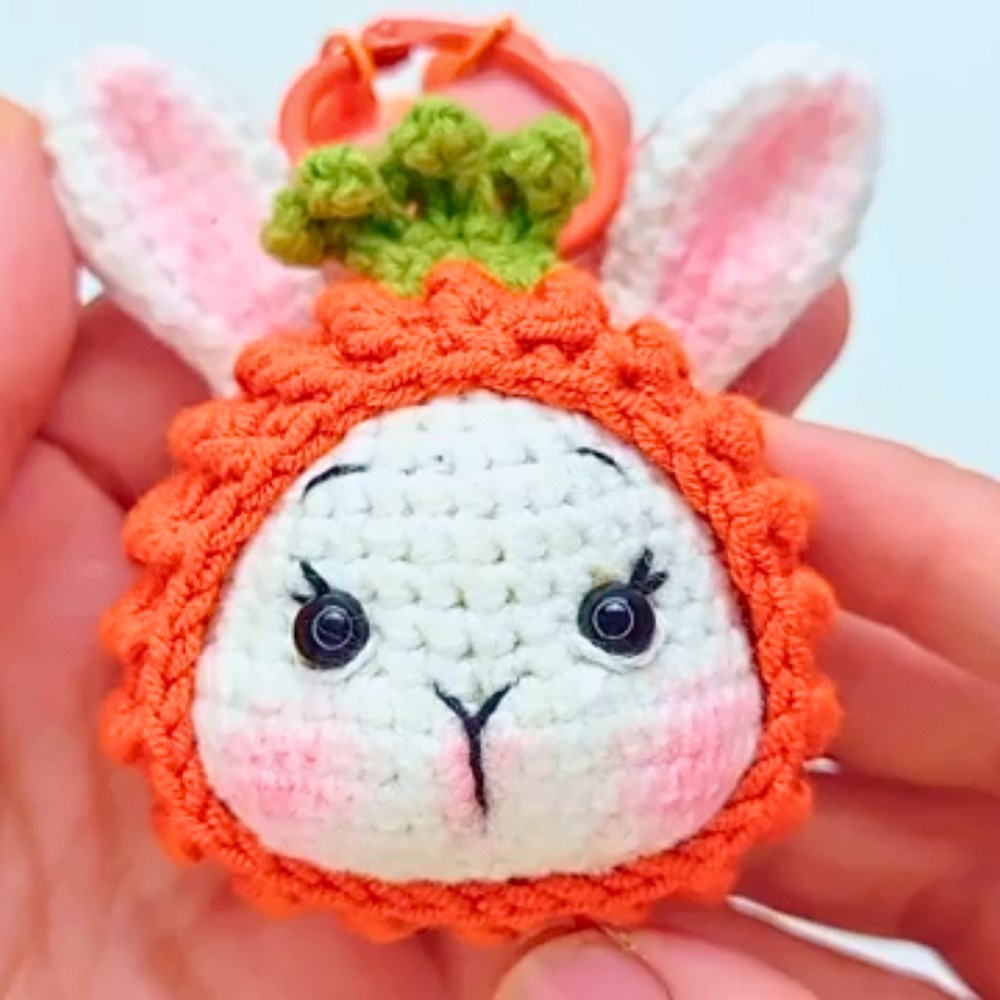
This crochet pattern combines simplicity and charm, creating a bunny head topped with a miniature hat for extra detail and personality. The standout feature is its unique blend of functionality and artistry – small enough to carry, yet detailed enough to feel like a little piece of art. Whether you pick vibrant colors for a fun vibe or neutral tones for a chic style, the customizable options make it perfect for any taste. Ideal for beginners and advanced crafters alike, this design adds warmth and creativity to your accessories.
Credit Crochet By Hui
Materials & Tools Needed
- Yarn: 4 strands of milk cotton (use neutral colors for the bunny head and vibrant colors for the hat and carrot details)
- Crochet Hook: 1.8mm crochet hook
- Safety Eyes: 6mm size (2 pieces)
- Keychain Hardware:
- 3cm keychain ring
- 1cm opening loop
- Stuffing: Polyfill or toy stuffing for the head and ears
- Optional Accessories: Blush paint for cheeks and black thread for detailing eyelashes, mouth, and eyebrows.
- Other Tools: Scissors, yarn needle (for sewing parts together), stitch marker.
Finished Size & Customization Ideas
- Finished Size: Approximately 6–8 cm in height (depending on yarn tension and hook size).
- Customization Ideas:
- Experiment with pastel-colored yarns for seasonal variations (e.g., pink bunny for Easter or a white bunny for winter).
- Add tiny carrot details or flowers on the hat for customization.
- Use novelty yarn (like sparkly or textured yarn) for the hat.
Step-by-Step Crochet Instructions
Below is a breakdown of how to crochet and assemble the bunny head, ears, hat, and final embellishments.
Part 1: Bunny Head
Round-by-Round Instructions:
- Round 1: Make a magic circle. Create a base with 6 single crochet (sc) into the circle. Tighten the circle and slip stitch (sl st) to close. (6 sts)
- Round 2: Add 1 sc increase in each stitch around. (12 sts)
- Round 3: [sc, sc, increase] x6. (18 sts)
- Round 4: [sc, increase, sc] x6. (24 sts)
- Round 5: [sc in next 3 stitches, increase] x6. (30 sts)
- Round 6: [sc in the next 2 stitches, sc, increase, sc] x6. (36 sts)
- Rounds 7-10: Work evenly 1 sc into each stitch. (36 sts per round).
Additional Notes on Technique:
- For reverse crochet, the inside of the head will become the visible "front side." The reverse side displays a protruding stripe effect, which defines the curves of the bunny's shape.
- Count stitches by observing the "V" shapes on the reverse/front side.
Shaping: Rounds 11-18
- Round 11: [11 sc, next 6 stitches form sc increases] x6. Finalize with 11 sc. (48 sts)
- Rounds 12-14: Work evenly with 48 sc each round.
- Round 15: 11 sc, 6 groups of decreases, 11 sc. (36 sts)
- Round 16: [2 sc, decrease, 2 sc] x6. (30 sts)
- Round 17: [3 sc, decrease] x6. (24 sts)
- Round 18: [1 sc, decrease] x6. (18 sts). Finish off, leaving a long tail.
- Stuff the Head: Use polyfill or an alternative to fill the bunny head before fully closing the circular piece. Sew the edges tightly to close.
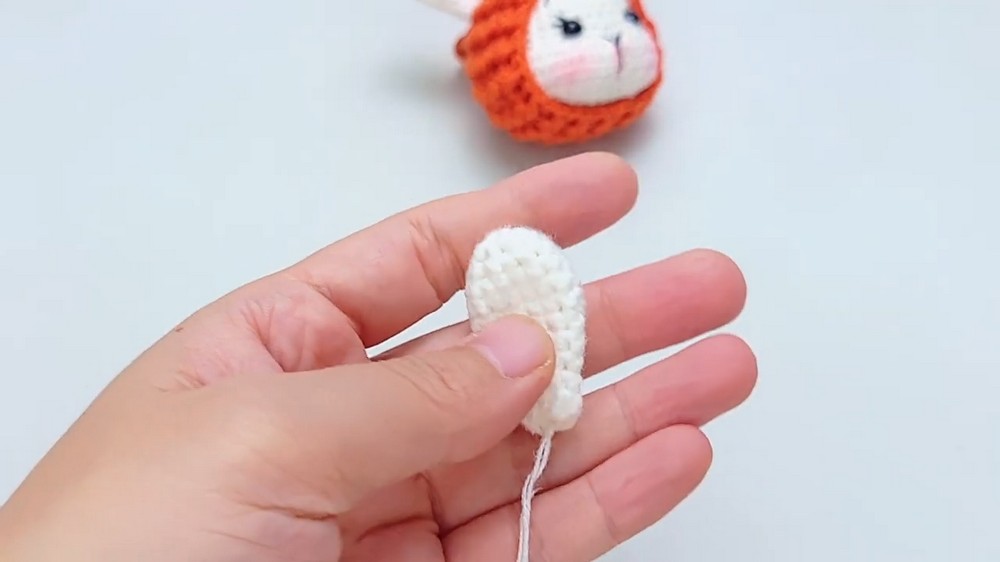
Part 2: Ears
Instructions:
- Round 1: Magic Circle. Start with 6 sc into the circle. Tighten and sl st to close. (6 sts)
- Round 2: [sc, increase] x3. (9 sts)
- Round 3: [sc, increase, sc] x3. (12 sts)
- Round 4: [3 sc, increase] x3. (15 sts)
- Rounds 5-6: Work evenly in 15 sc for 2 rounds.
- Round 7: [3 sc, decrease] x3. (12 sts)
- Round 8: Work evenly in 12 sc.
- Final Rounds (9-11): Decrease rounds to form a narrower tip. Work as follows:
- Round 9: [sc, decrease, sc] x3. (9 sts)
- Rounds 10-11: Work evenly in 9 sc.
- Finish off, leaving a long tail for sewing. Make 2 ears.
Part 3: Carrot Hat
Instructions:
- Magic Circle Base:
- Round 1: 2 chain stitches, 8 double crochet (dc) into circle. Tighten and sl st. (8 sts)
- Round 2: [dc, dc, increase] x8. (16 sts)
- Continue increasing in subsequent rounds.
- Ribbed Texture:
- Create inner and outer-hooked long dc stitches across 5–8 rounds to form a ribbed effect for the hat. Repeat inner long-dc followed by outer long-dc.
- Finalize the rounds with decreases to shape the top of the hat.
- Carrot Leaves:
- Leaves are constructed directly onto the hat at specific intervals. Use chain stitches to create short, leafy textures and single crochet stitches for structure.
Part 4: Assembly
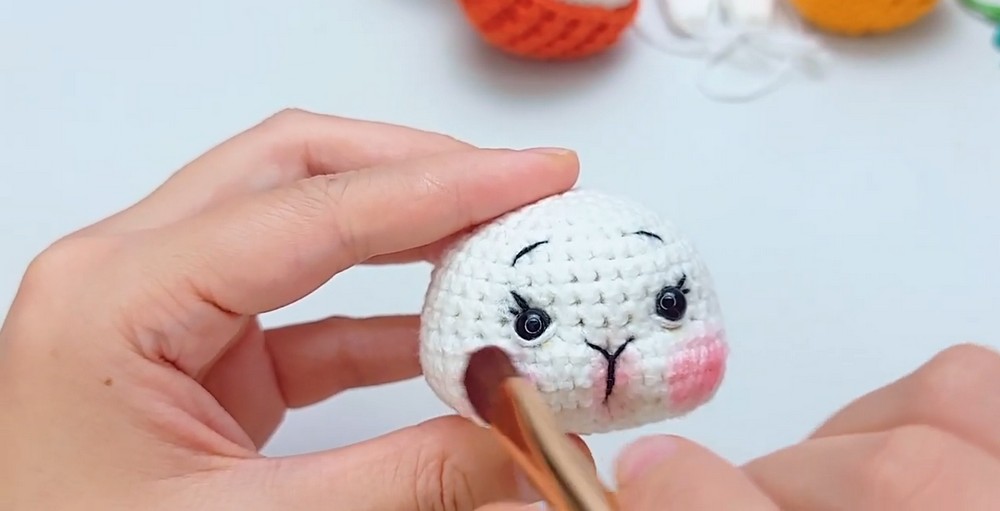
- Shape Eyes:
- Use thread to pull in "eye sockets" between Rows 8 and 9 of the head, leaving 6 stitches apart. Sew with safety eyes at this position.
- Add eyelashes, if desired, with black thread.
- Add Mouth and Eyebrows:
- Use thread to shape and embroider mouth and brow structure between Rows 6–14. Use blush for added detail on cheeks.
- Attach Hat and Ears:
- Attach the hat snugly to the top of the head, aligning the base of the hat with Row 4-5 of the head. Sew ears into place tightly.
- Keychain Hardware: Insert the 1cm loop and keychain ring on top of the hat.
Finishing
- Securely hide all thread tails inside the work for neatness.
- Apply shaping to the ears by pinching them slightly for more dimension. Add blush to the inner folds for a soft effect.


