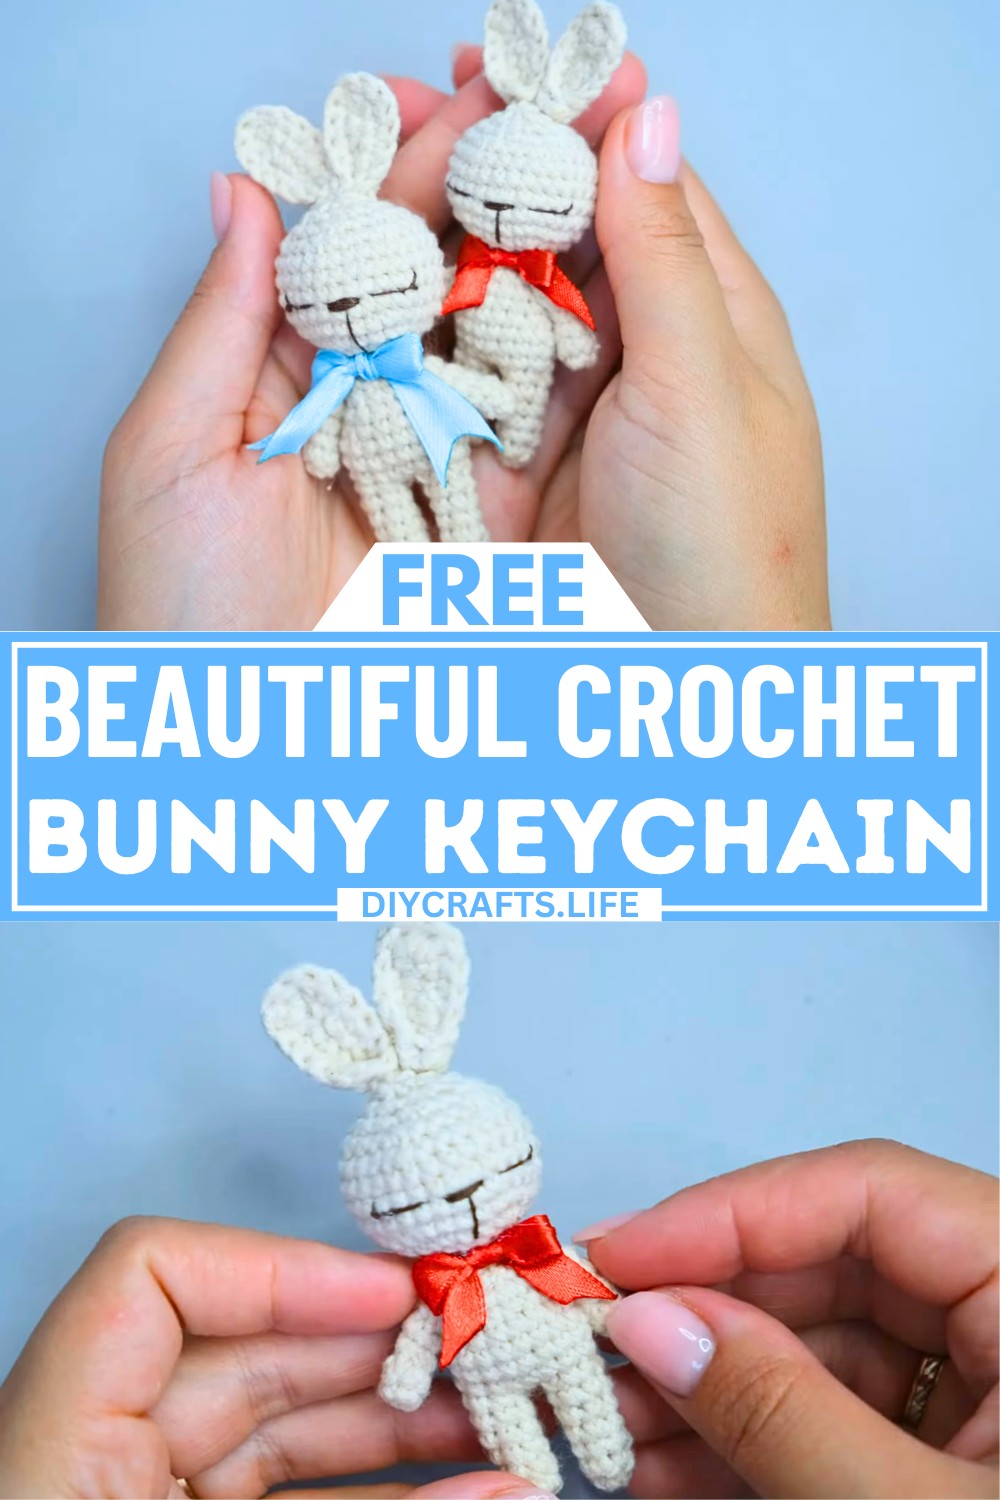
Bring joy to your keys or bag with a charming crochet bunny keychain that’s as playful as it is adorable. Crafted with tender care and lively details, this pattern is the perfect blend of fun and function. Whether dangling from your purse or keeping your keys organized, this little bunny is bound to brighten your day with its whimsical charm and handmade perfection.
Easy Crochet Bunny Keychain
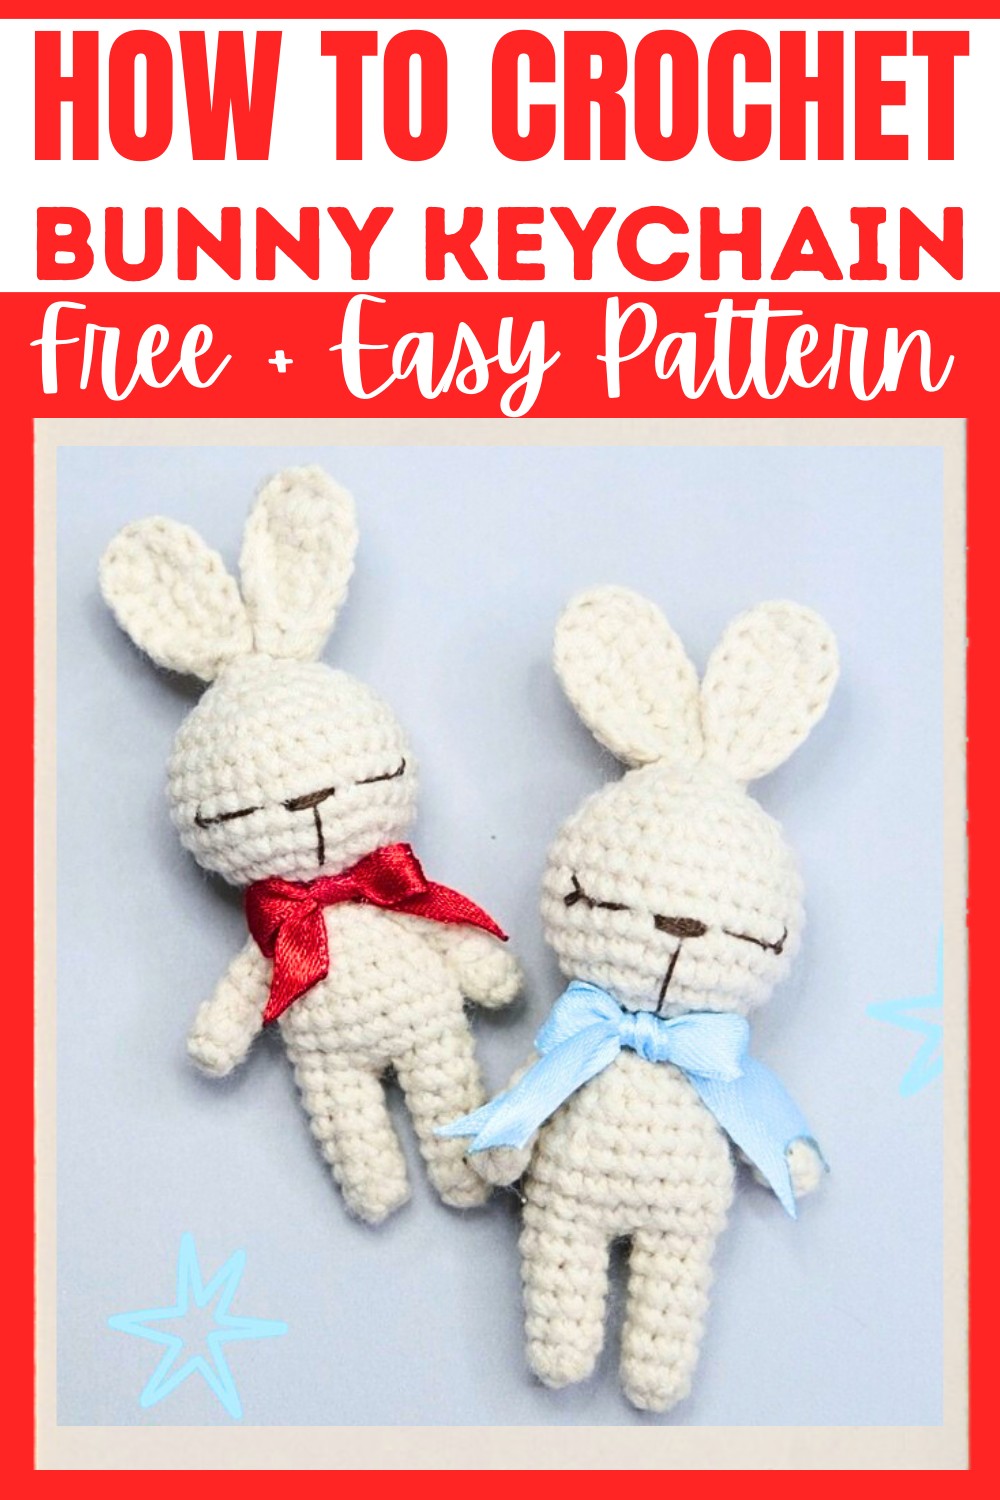
The crochet bunny keychain is special for its thoughtful design and delicate details. From its perky ears to its perfectly rounded body, every stitch reflects creativity and care. Its compact size makes it practical yet eye-catching, while the soft texture adds a unique flair to your everyday accessories. With room for personalization, you can adjust colors or add tiny embellishments, making each piece uniquely yours. This pattern is a delightful mix of simplicity and artistry, ideal for gifting or elevating your own collection.
Credit DidyToys
Materials & Tools Needed
- Yarn: Yarnart Jeans (or any preferred yarn; the toy size may vary depending on yarn weight).
- Crochet Hook: 1.75 mm hook (or a suitable hook size for your yarn).
- Stuffing: Fiberfill for stuffing the bunny.
- Scissors: For cutting the yarn.
- Sewing Needle: To sew parts together and weave in ends.
- Embroidery Floss: For embroidering facial details (nose and eyes).
- Keychain Base & Pliers: To turn it into a keychain.
- Stitch Marker: To mark the beginning/ending of rounds (optional, you can use yarn as a marker).
- Ribbon: For decoration (optional).
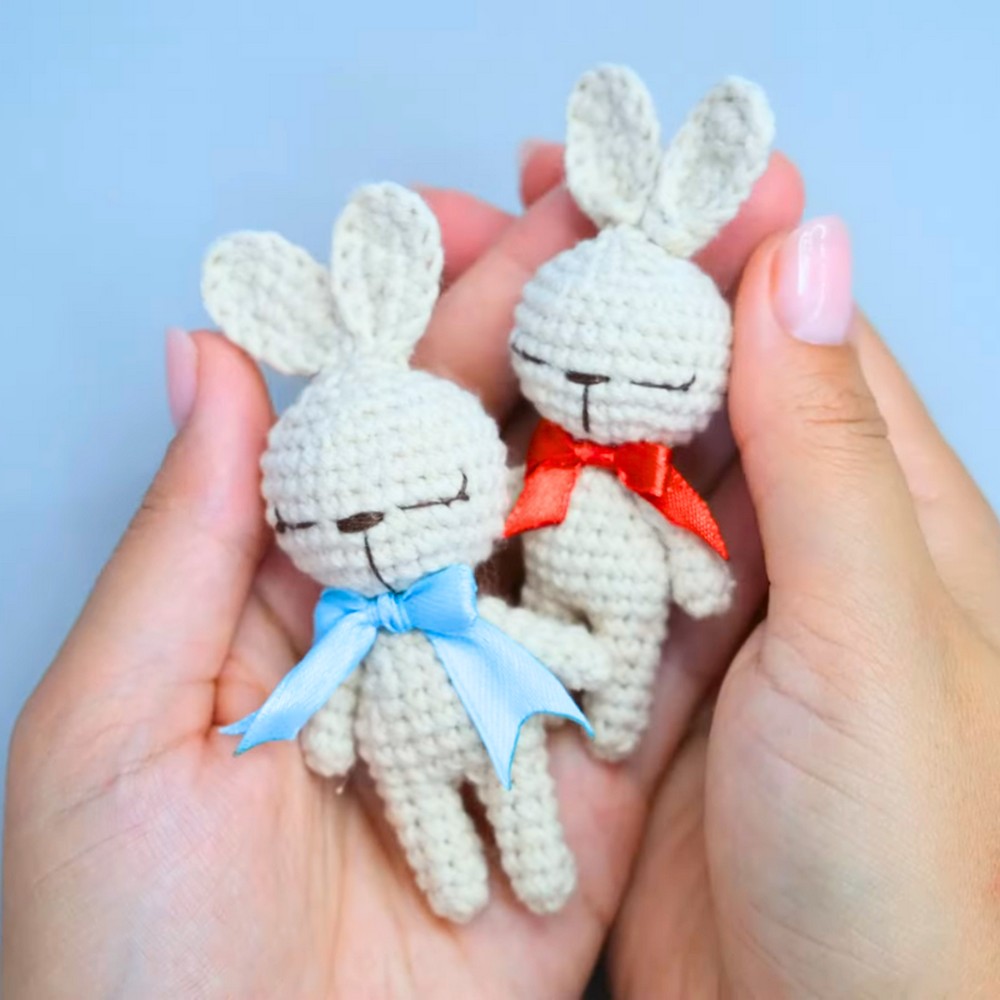
Finished Size
- The finished bunny size will vary based on your yarn and crochet hook size. For Yarnart Jeans and a 1.75 mm hook, the bunny should be small enough for a keychain, approximately 2-3 inches tall depending on tension.
Customization Ideas
- Colors:
- Use different colored yarn for the body, arms, legs, and ears.
- Try pastel shades for an Easter theme.
- Facial Details:
- Add safety eyes instead of embroidered eyes (for a cleaner look).
- Accessories:
- Add a decorative bow using ribbon.
- Stitch or glue small felt details.
- Keychain Variation:
- Use metallic keychain rings with charms for added flair.
Step-by-Step Detailed Crochet Instructions
Below is a breakdown of each part of the bunny pattern, step-by-step.
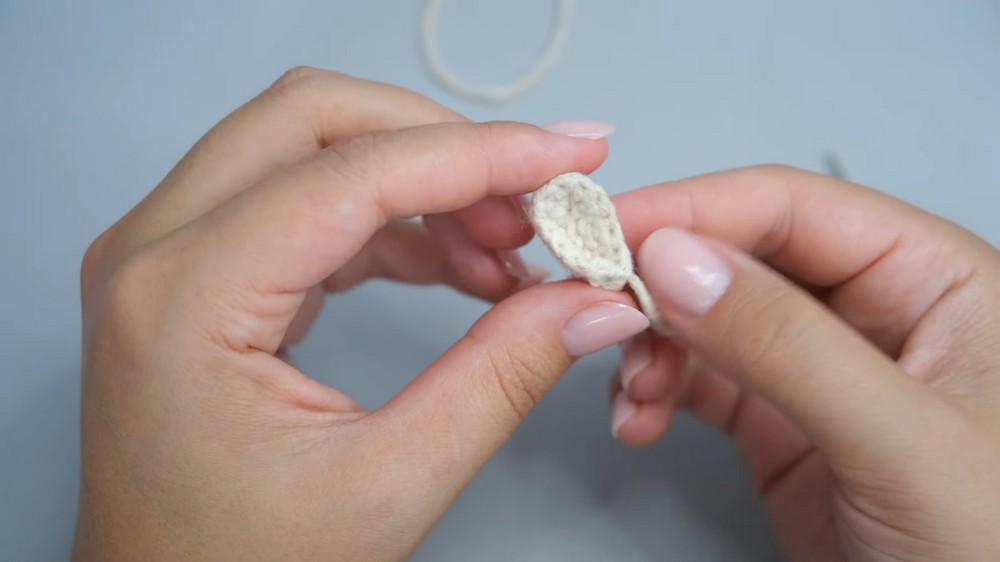
Ears
- First Ear:
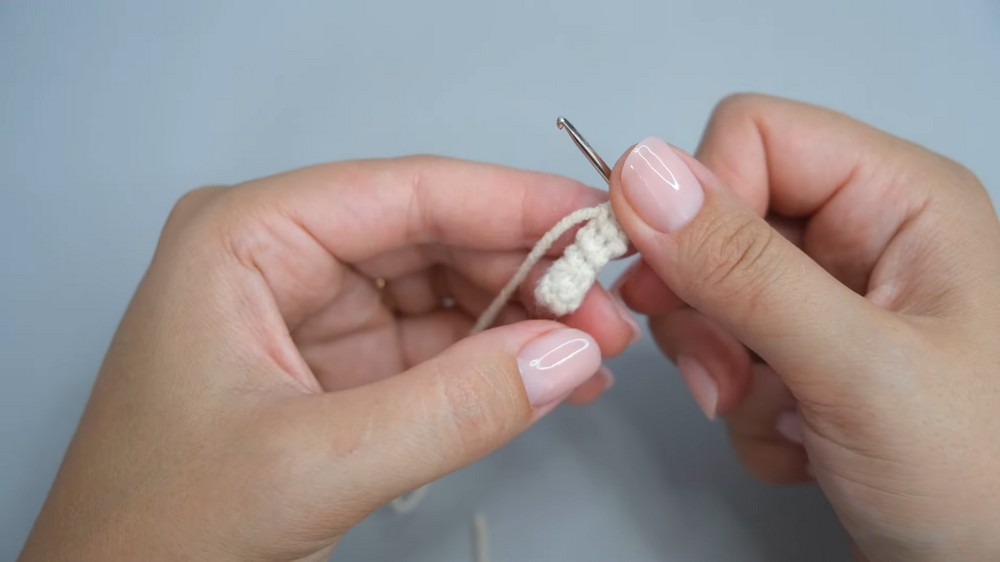
- Start with a slip knot and chain 7.
- Skip the first chain; work 5 single crochets (SC) into the next 5 chains.
- In the last chain, work 4 half double crochets (HDC).
- Continue crocheting into the other side of the chain: Work 5 single crochets.
- Fasten off and weave in ends with a needle.
- Second Ear:
- Crochet the same pattern as the first ear, but do not cut the yarn after finishing.
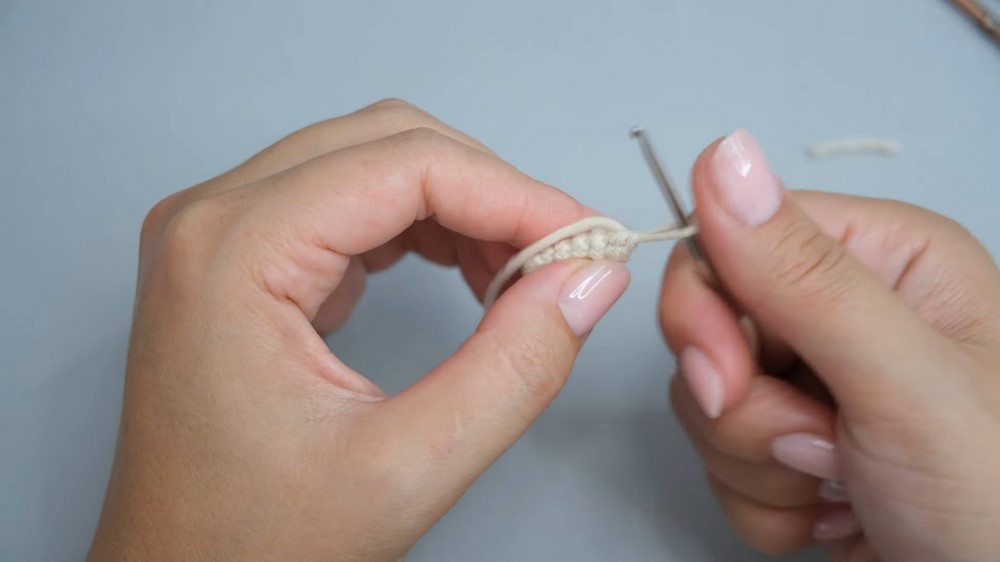
- Join the Ears:
- Chain 1 to connect both ears.
- Crochet around the edges of both ears, working SCs through both thicknesses, 14 stitches total.
- Cut the thread, leaving a tail for sewing.
- Fold and sew edges together to shape the ear.
Arms
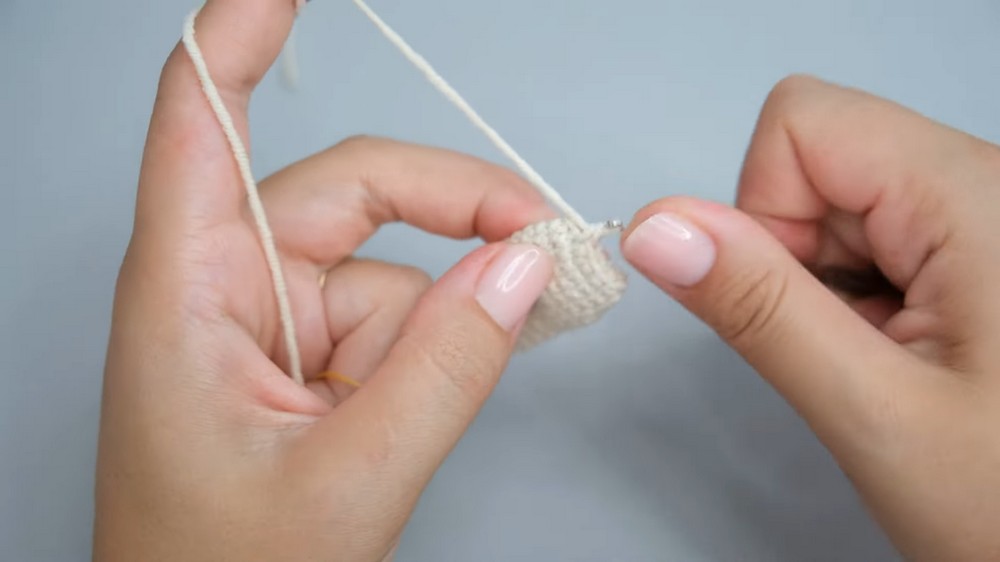
- First Arm:
- Begin with a magic circle.
- Crochet 6 SCs into the circle.
- Tighten the magic circle.
- Round 1: Crochet 1 SC in each stitch around (6 SCs).
- Round 2: Crochet 4 SCs, then decrease 1 stitch (total 5 stitches).
- Rounds 3-4: Crochet 5 SCs evenly (no increases or decreases).
- Fold the arm and work 2 SCs to join the edges.
- Cut the thread and leave a tail for sewing.
- Second Arm: Repeat the same pattern for both arms.
Legs
- First Leg:
- Start with a magic circle; crochet 6 SCs into the circle.
- Tighten the circle and work 5 more rounds evenly (6 SCs per round, no increases).
- Fasten off and weave in ends.
- Second Leg:
- Follow the same pattern as the first leg.
- Do not cut the yarn. You will use this to crochet the body.
Body
- Join the Legs:
- Work 2 chains.
- Crochet 6 SCs into the first leg, 2 SCs into the chains, and 6 SCs into the second leg.
- Complete the round by crocheting 2 SCs into the other portion of the chain (total: 16 stitches).
- Expanding the Body:
- Round 2: Work 3 SCs, 1 increase, 6 SCs, 1 increase, 5 SCs (total: 18 stitches).
- Rounds 3-4: Work 2 rounds evenly (18 SCs total).
- Decreasing for the Body:
- Round 5: Work 4 SCs, 1 decrease (repeat 3 times) (total: 15 stitches).
- Round 6: Crochet evenly 15 SCs.
- Round 7: Work 3 SCs, 1 decrease (repeat 3 times) (total: 12 stitches).
- Attach the Arms:
- Crochet 2 SCs, then crochet through arm and body edges together (2 SCs per arm).
- Work 4 SCs in previous stitches, attach the second arm as before, then complete the round with 2 more SCs.
- Stuff the Body:
- Add stuffing to shape the body before completing the final stitches.
- Finish the Body:
- Make 6 decreases to close off the body (total: 6 stitches).
- Do not cut the thread; proceed to the head.
Head
- Expand the Head:
- Round 1: Work 6 increases (2 SCs in each stitch) (total: 12 stitches).
- Round 2: Work 1 SC, 1 increase, repeat 6 times (total: 18 stitches).
- Round 3: Work 2 SCs, 1 increase, repeat 6 times (total: 24 stitches).
- Round 4: Work 3 SCs, 1 increase, repeat 6 times (total: 30 stitches).
- Even Rounds:
- Crochet 4 even rounds of 30 SCs (no increases or decreases).
- Decreasing the Head:
- Round 5: Work 3 SCs, 1 decrease, repeat 6 times (total: 24 stitches).
- Round 6: Work 2 SCs, 1 decrease, repeat 6 times (total: 18 stitches).
- Stuff the Head:
- Add stuffing for shapeliness before continuing to decrease.
- Finalize the Head:
- Round 7: Work 1 SC, 1 decrease, repeat 6 times (total: 12 stitches).
- Round 8: Work 6 decreases (total: 6 stitches).
- Pull the thread through remaining stitches to close the hole. Knot and weave in the tail.
Assembly
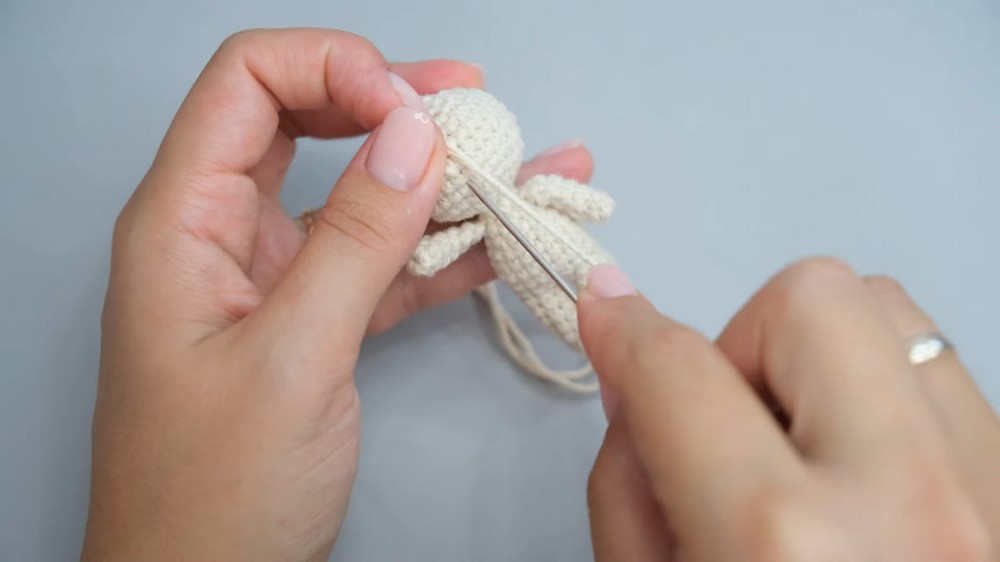
- Attach the Ears:
- Position the ears on the head and sew them securely.
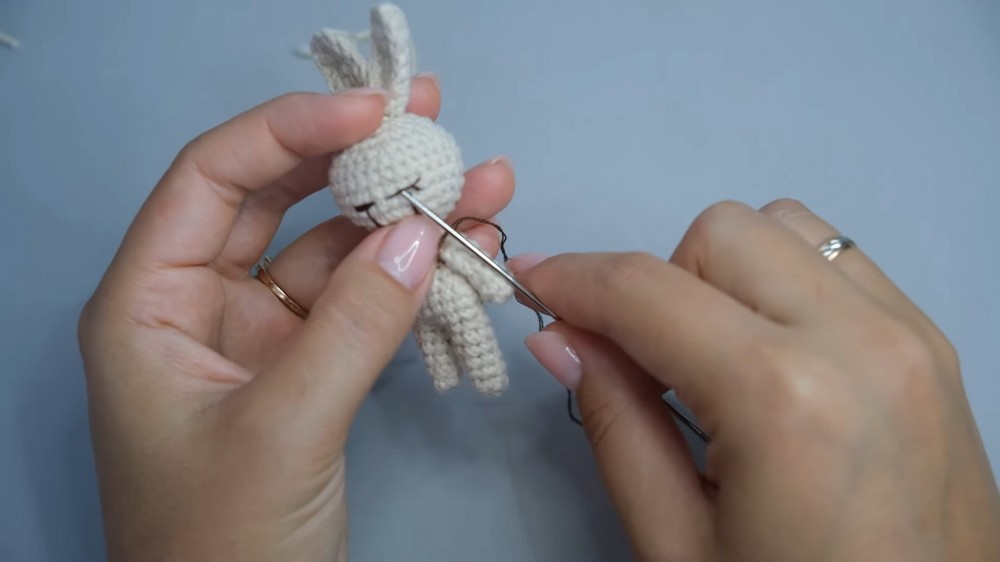
- Embroider the Face:
- Use embroidery floss to sew the bunny’s nose and eyes. Position eyes symmetrically about 3 stitches apart above the nose.
- Decorate:
- Tie a ribbon bow and glue or sew it to the bunny's neck.
Finishing Touch
- Keychain Addition:
- Use pliers and a keychain base to attach the bunny securely.
- Enjoy your adorable crochet bunny!