Bring timeless style and handmade charm to your wardrobe with a crochet button-down shirt that’s as versatile as it is stunning. Perfect for expressing creativity through vibrant colors and intricate stitches, this design combines texture and elegance in a way that truly captivates. Whether you’re dressing it up for an outing or layering it casually, this crocheted shirt is a wearable piece of art.
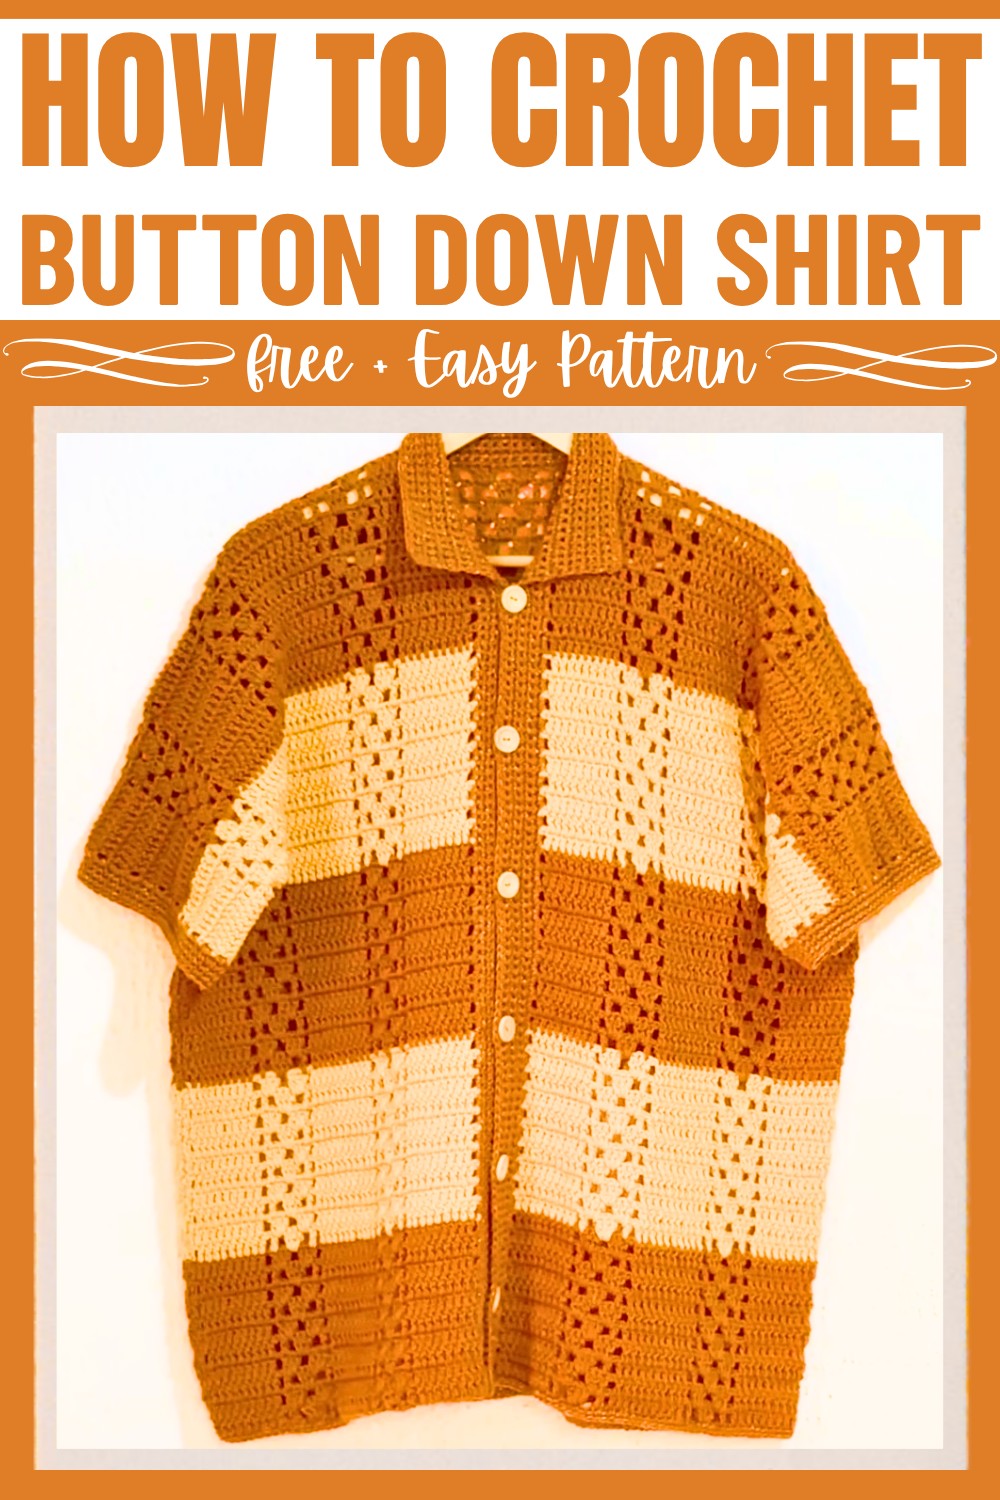
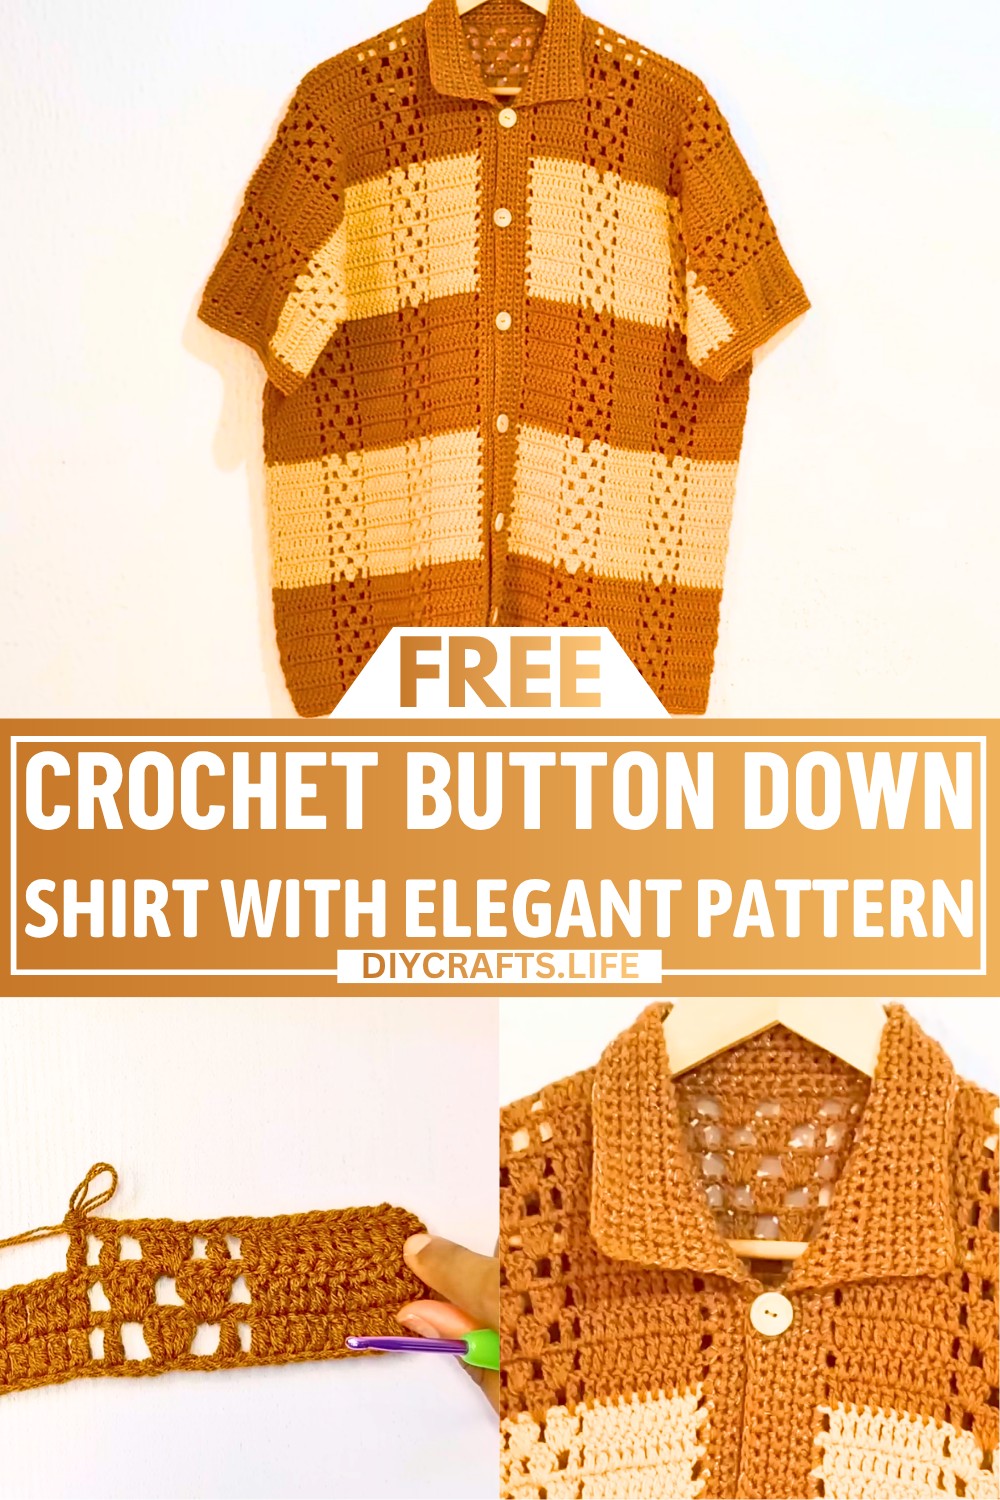
Crochet Button Down Shirt
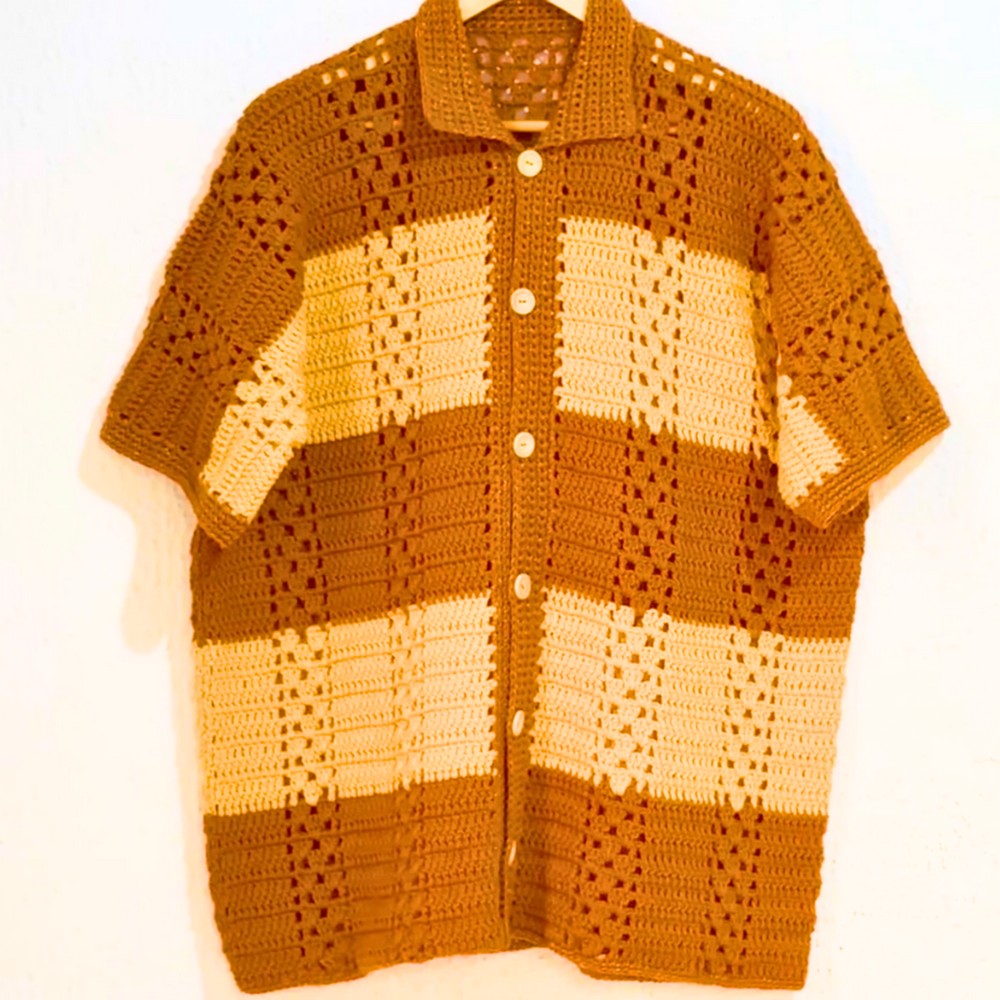
This button-down shirt pattern stands out with its structured approach, featuring three main panels and complementary single crochet borders that seamlessly tie everything together. The alternating color blocks create visual drama, while the tailored finish makes it versatile for casual or statement wear. The use of double, single, and granny stitches strikes the perfect balance between intricate design and beginner-friendly accessibility, offering endless opportunities for creativity and customization.
Credit FTK Crochet
Materials & Tools Needed
- Yarn:
- Main yarn: Acrylic 2-ply yarn (used doubled to make it 4-ply).
- Colors used:
- Cotton Brown
- Nude
- Optional: Shimmery decorative yarn (used for buttons and neckline).
- Crochet Hook:
- Size: 4.5 mm crochet hook.
- Accessories:
- Measuring tape (for sizing).
- Scissors.
- Tapestry needle.
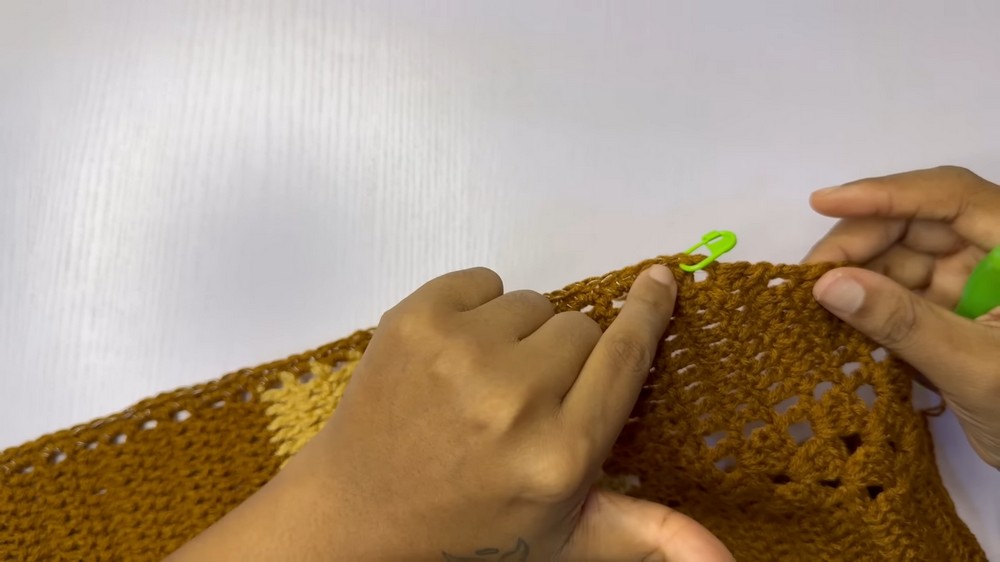
- Stitch markers.
- Wooden buttons (2 cm, or as preferred).
- Optional Tools:
- Sewing thread (if using finer buttons).
- Small sewing needle (for attaching buttons).
Finished Size & Customization Ideas
- Finished Size in Tutorial Demo:
- Bust: 48 inches.
- Length: 28 inches from top to hem.
- Arms: 18 inches (for creating armholes).
- Customization Options:
- Adjust the shirt’s torso, sleeve, and overall length using measurement guides.
- Modify button placement or add decorative buttons.
- Change the color blocking or choose solid colors instead of alternating rows.
Pattern Abbreviations & Terminology
(All terms are in US Crochet Terminology)
- ch: Chain.
- sc: Single crochet.
- dc: Double crochet.
- cluster: Cluster of 3 double crochets worked into the same stitch.
- st(s): Stitch(es).
- sl st: Slip stitch.
- dec: Decrease.
- YO: Yarn over.
- sp: Space.
Step-by-Step Instructions
The shirt is composed of three panels: two front panels and one back panel. The sleeves are made separately and sewn to the shirt later.
1. Front Panel
- Measurements:
- Each front panel covers 12 inches across the chest (for a total of 24 inches when combined with the other panel).
- Length: 28 inches (leave 5 rows for neckline shaping).
- Steps:
- Form chains in multiples of 10 + 9 until you achieve your desired width (e.g., 47 chains for 12 inches in this tutorial).
- Row 1:
- Ch 4 (counts as dc), place 1 dc in the 5th ch from the hook.
- Work 1 dc in the next 9 sts.
- Ch 1, skip 1 st, dc into the next st.
- Pattern: Ch 1, skip 2 sts, work a cluster (3 dc in same st). Ch 1, skip 2 sts, dc in next st, ch 1, skip 1 st, dc in next st.
- Repeat until the row ends with 10 dc at the end. Turn.
- Row 2:
- Ch 3, dc into next st.
- Work 10 dc across the first section.
- Ch 1, skip 1 sp, work cluster (3 dc) into next sp.
- Repeat clusters as established, with chain 1 between each repeat.
- End row with 10 dc as in Row 1. Turn.
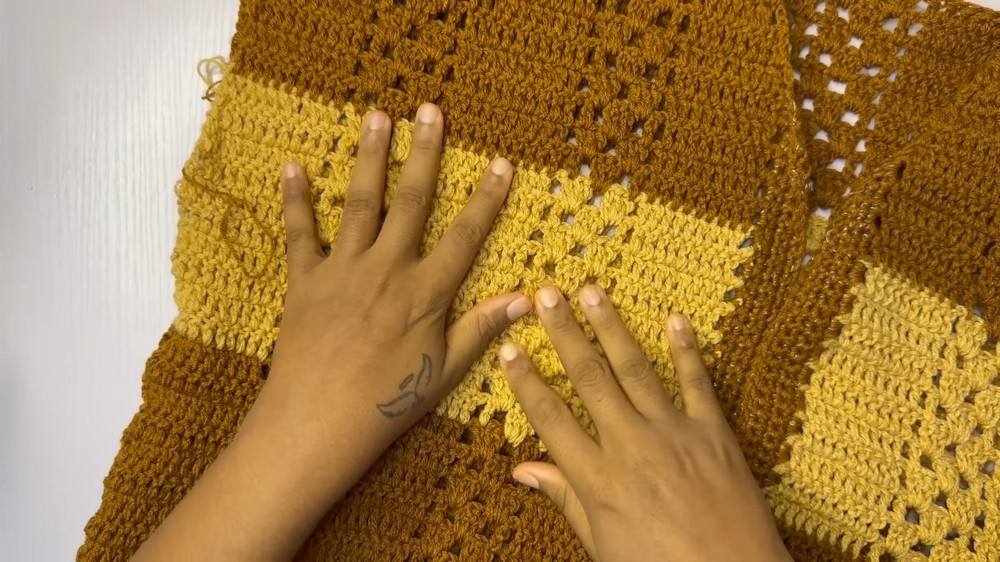
- Subsequent Rows: Alternate repetitions of Rows 1 and 2 following the established pattern. Use color changes every 10 rows (e.g., alternate between brown and nude).
- Neckline Shaping (Last 5 Rows):
- Begin decreases in the first few stitches at the start of the row to shape a slight V-neck:
- Work a decrease using the first 2 stitches (dc2tog).
- Continue the row as usual.
- At the end of each row, decrease again in the last 2 stitches (dc2tog).
- Repeat for 5 rows, gradually creating neckline shaping.
- Begin decreases in the first few stitches at the start of the row to shape a slight V-neck:
- Edging the Front Panel:
- After completing the main panel, add 4 rows of single crochet along the buttonhole edge (from shoulder to hem).
2. Back Panel
- Measurements:
- The back panel spans the entire width of the back (24 inches) with no neckline shaping.
- Steps:
- Chain 104 sts (double the front panel width plus 10 extra chains for overlap).
- Follow the same stitch pattern (Rows 1 and 2 as established in the front panels).
- Work until the length matches the front panels (28 inches).
- No Neck Shaping:
- Unlike the front, work straight rows from top to bottom.
- Finish with single crochet around the edges if desired.
3. Sleeves
- Measurements:
- Short sleeve design reaching the middle of the upper arm.
- Adjustable width and length based on personal preference.
- Steps:
- Chain 19 sts (multiples of 10 + 9).
- Follow the same stitch pattern (Rows 1 and 2).
- Alternate colors every 10 rows (e.g., match the shirt’s color pattern).
- Make Panels for Sleeves:
- Create a rectangular sleeve panel for each arm.
- Sew the sides to create a round sleeve shape.
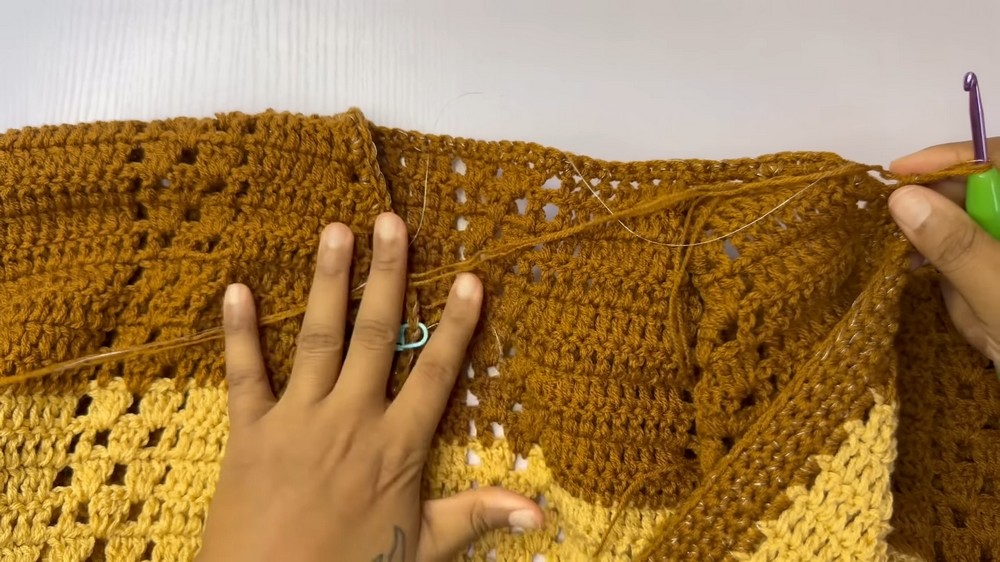
4. Assembly
- Shoulder Seams:
- Use a tapestry needle to whipstitch the front panels to the back panel at the shoulders.
- Side Seams:
- Measure 9 inches (for an 18-inch armhole circumference) and leave this section open.
- Sew the sides below the armhole to the hem.
- Attach Sleeves:
- Align the sleeve seams with the armhole.
- Sew the sleeves into the armholes using a tapestry needle.
- Collar:
- Reattach yarn to the neckline edge.
- Work 12 rows of single crochet, back and forth, to form the collar.
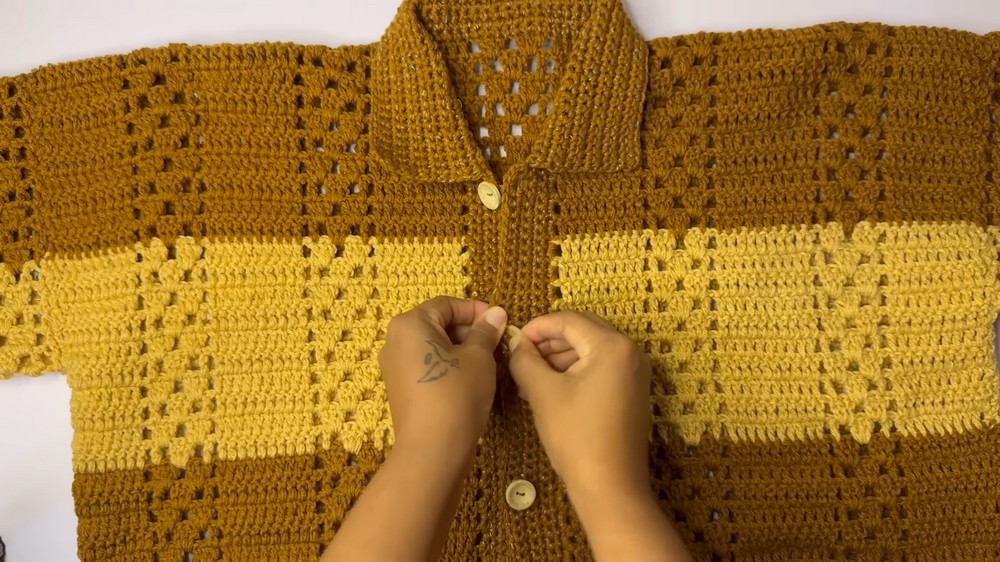
5. Button Band & Buttonholes
- Button Placement:
- Use stitch markers to space buttons evenly (e.g., every 15 stitches).
- On one front panel, sew the buttons using sewing thread or yarn.
- Buttonholes:
- Work an extra single crochet row on the opposite front panel.
- Chain 2 at the buttonhole locations, skipping 1 stitch, and continue with single crochets around.
Finishing Touches
- Weave in any loose ends using the tapestry needle.
- Steam block the shirt for a polished look.
- Ensure buttons align with buttonholes.