Turn yarn into charm with this adorable chubby bunny head keychain! Perfect for adding a playful, handmade touch to your keys, bags, or gifts, this design captures the coziness and personality of crochet art. It’s not just a bunny—it’s a soft, round, and joyful little buddy that’s bound to bring smiles everywhere it goes. This design is as delightful as it is practical, giving you a whimsy-filled accessory that shows off your crafting creativity.
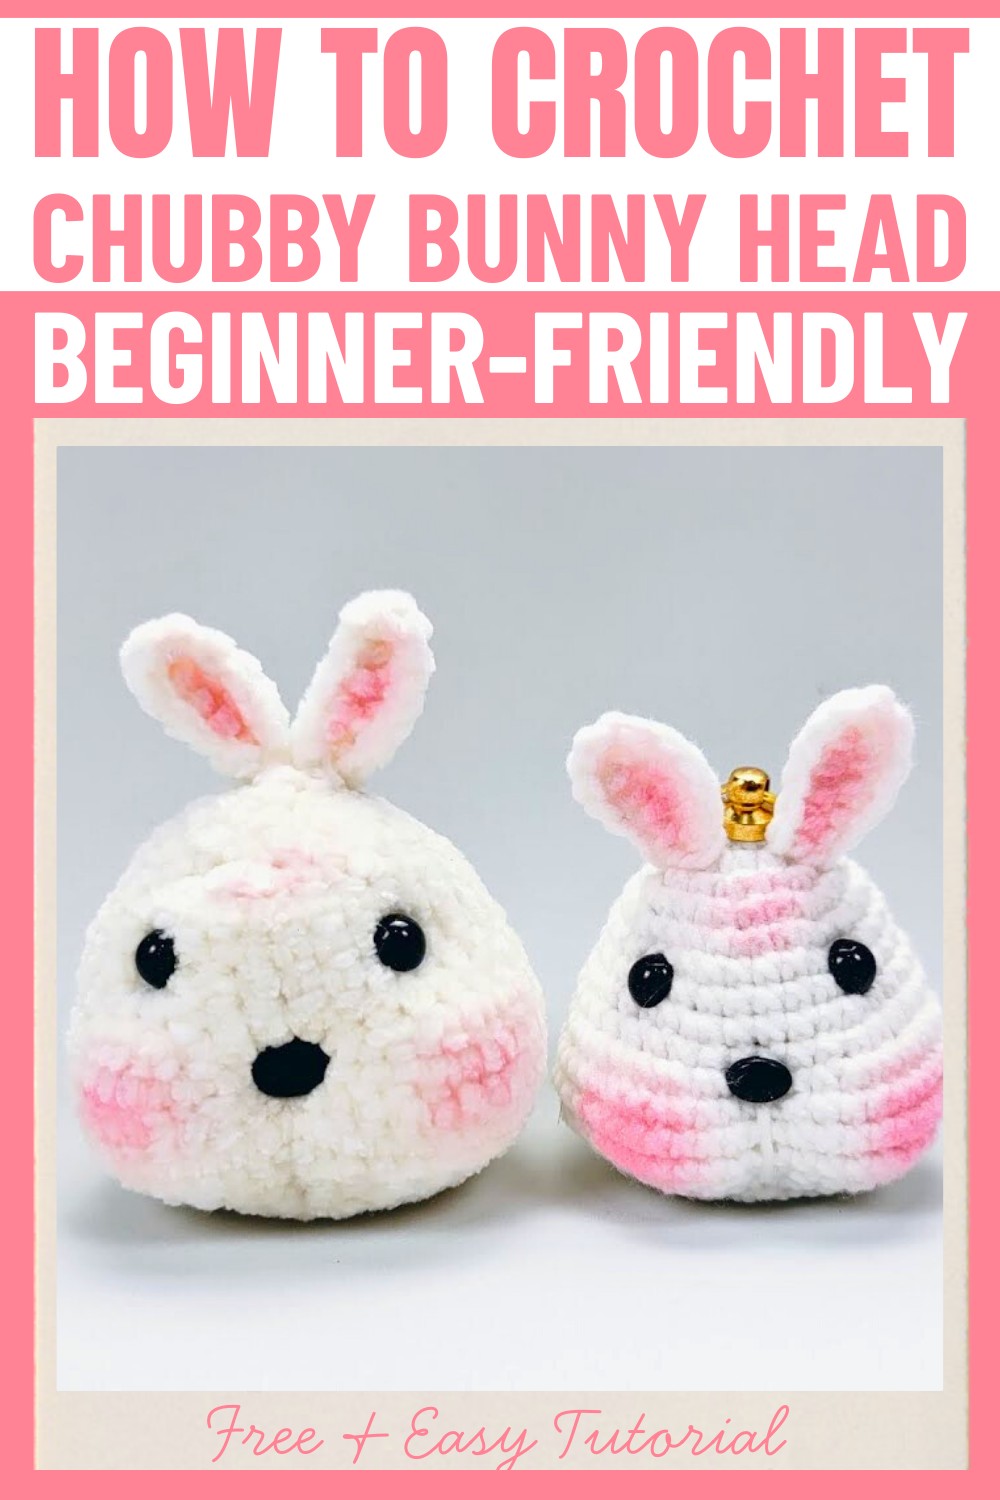
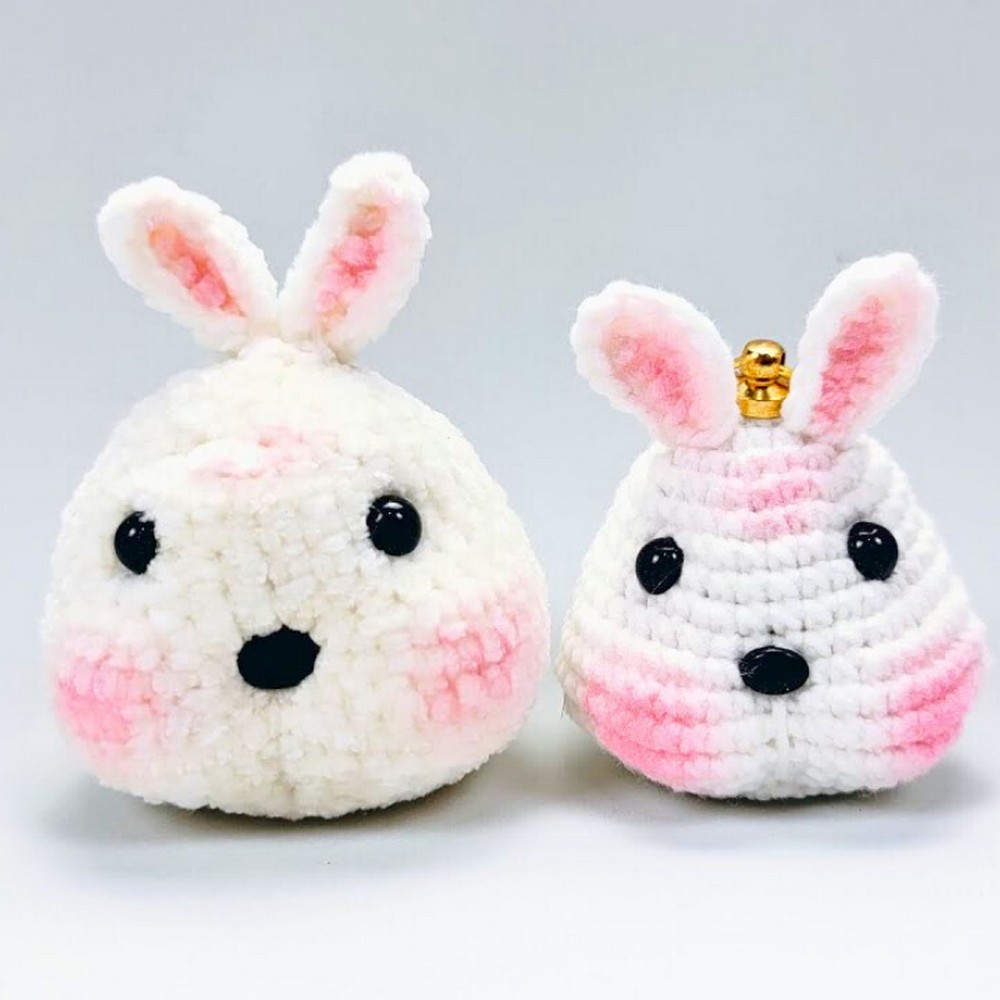
This crochet keychain stands out with its sweet, chubby face and softly detailed features, including rounded ears, a contoured shape, and blush details for a lively and charming expression. The compact structure blends simplicity with a polished finish for a truly adorable result. Whether you experiment with different yarns for various textures or add personal touches like customizing colors or embellishments, every bunny you create will be unique to you. It’s a fun, artistic project that embraces both cuteness and craftsmanship!
Materials & Tools Needed
- Yarn: Five-strand milk cotton (or alternative yarn like edelweiss for varying textures).
- Crochet Hook: Suitable size for your yarn (typically 3-4mm).
- Stuffing: Polyfill or any soft fiber filling.
- Safety Eyes: 6–8mm diameter (size varies based on bunny size).
- Nose: Small safety nose or embroidery thread (alternative).
- Blush/Makeup Cotton: For adding a touch of blush to the bunny’s cheeks.
- Scissors
- Tapestry Needle: For sewing parts and hiding thread ends.
- Ring/Shank Keychain: Optional for turning your bunny head into a pendant.
Finished Size & Customization Ideas
- Finished Size: This depends on the yarn and hook used, but typically results in a palm-sized bunny head (approx. 4-6 cm in diameter).
- Customization Ideas:
- Experiment with different yarn textures for varying appearances (soft and fluffy vs sturdy and textured).
- Add embroidered details, such as a mouth or decorative accessories like a bow.
- Use different yarn colors for multicolor bunny heads.
- Adjust face details by resizing the ears, eyes, or nose placement.
Step-by-Step Crochet Instructions
The bunny head is made in two primary components:
- Bunny Head (Main Part)
- Ears
1. Bunny Head (Main Part)
R1:
- Start with a magic ring (wrap yarn around your left hand and pull a loop into a circle).
- Crochet 6 single crochet (SC) into the ring. Tighten the loop to close the circle.
R2:
- Crochet into every stitch: (1 SC, then 1 increase each stitch).
- Repeat this pattern for all 6 original stitches. This round gives 12 SC total.
R3:
- Work the pattern: (1 SC in first stitch, then 1 SC + 1 increase into next stitch).
- Repeat this pattern for 6 groups. This round results in 18 SC total.
R4:
- Continue the increase sequence: (1 SC in the first stitch, 1 SC in the second stitch, then 1 SC + 1 increase in the third stitch).
- Repeat for 6 groups, resulting in 24 SC total.
R5:
- In this round, crochet: (3 SC + 1 SC + 1 increase).
- Follow this pattern for 6 groups. This round contains 30 SC total.
R6 & R7:
- Do 30 SC without increasing or decreasing.
R8:
- Crochet (2 SC + 1 SC + 1 increase).
- Repeat for 6 groups, giving 36 SC total.
R9:
- No increases or decreases—crochet 36 SC.
R10:
- Begin increasing again:
(6 groups where you do 6 SC + 1 increase + 10 SC). - This round results in 48 SC total.
R11 to R13:
- Crochet 48 SC per round without increasing or decreasing.
R14:
- Place focus on shaping the face. Crochet pattern:
(10 SC, 6 groups of 1 SC decreases, 4 SC, then another 6 groups of 1 SC decreases, finish with 10 SC). - This reduces stitch count to 36 SC. At this stage, the bunny’s face shape starts to show prominently!
R15:
- Decrease further: (2 SC + decrease stitch + 2 SC), repeated for 6 groups.
- This round results in 30 SC.
R16:
- Follow pattern: (3 SC followed by 1 SC decrease stitch) repeated for 6 groups.
- Reduced to 24 SC total.
R17:
- Crochet (1 SC followed by 1 SC decrease stitch) repeated for 6 groups.
- Reduced further to 18 SC total.
R18:
- Crochet (1 SC followed by 1 SC decrease stitch) for all stitches. Total stitches result in 12 SC. Finish the head by cutting the yarn, leaving a long end for sewing.
Shaping & Stuffing:
- Stuff the bunny head firmly with polyfill.
- Flatten areas for shaping: Concave cheeks start forming by pulling thread tight at Rows 10–14.
- Secure bottom stitches by weaving the thread using the tapestry needle. Adjust face evenly.
2. Ears
Follow the steps below to create two bunny ears:
R1:
- Begin with a slipknot and chain 7 chains.
R2:
- In the second stitch from the hook, crochet: (2 SC, 1 SC, 3 medium-long stitches, 3 SC in last chain).
- Work along the opposite direction: (3 medium-long stitches, 2 SC).
Finish the Ear:
- Cut the yarn, leaving a long tail. Secure with a knot. Create a second ear using the same method.
Assembly
- Attach Ears:
- Use a tapestry needle and the long tail ends to sew the bunny ears to the top of the head.
- Adjust placement for symmetry.
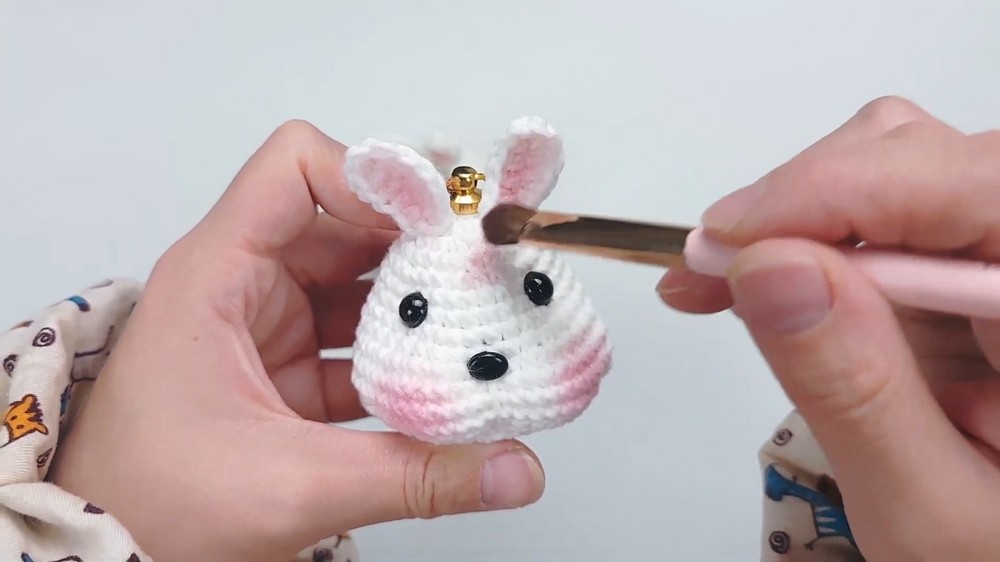
- Add Face Details:
- Insert safety eyes or securely sew eyes into the concave sockets.
- Attach or embroider a small nose.
- Add blush to cheeks for a cute finish.
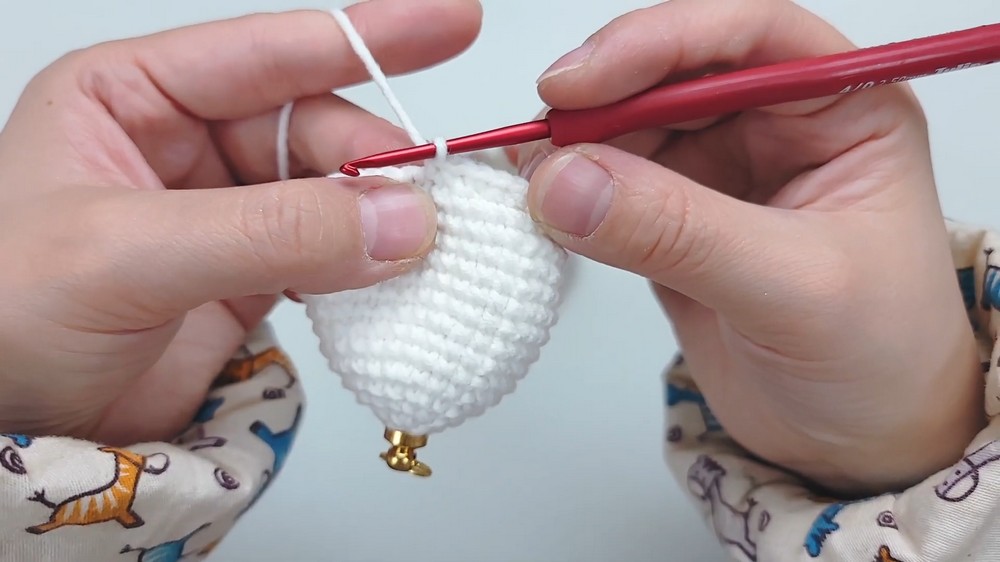
- Turn Into Keychain:
- Attach a ring or shank keychain through the top of the bunny’s head with a durable thread or chain link.
Finishing
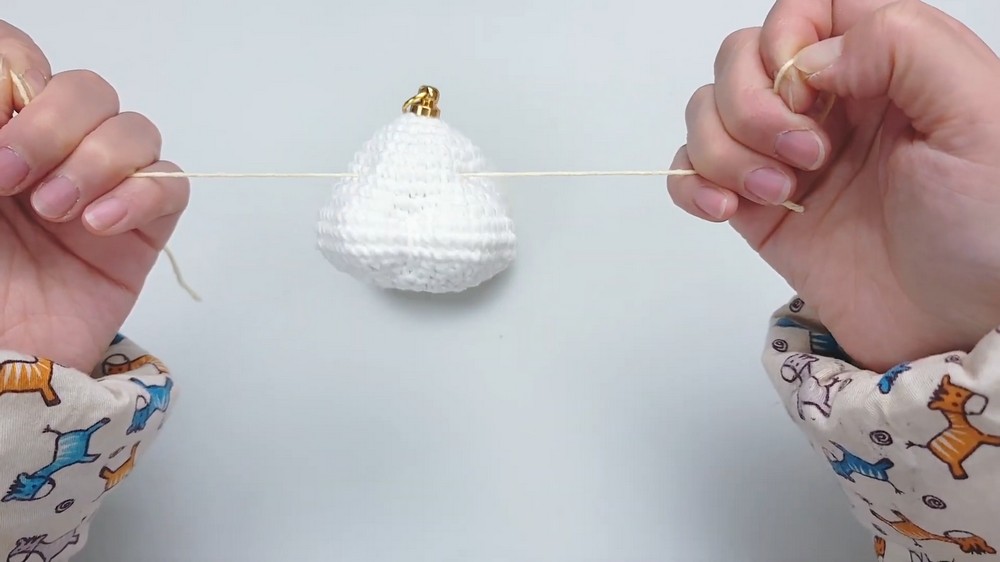
- Hide all yarn tails by weaving them through the interior of the bunny head.
- Block (optional): Shape the head and ears by lightly steaming or shaping manually for durability.


