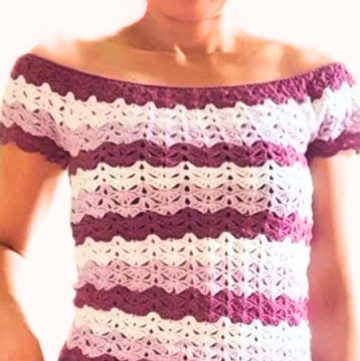
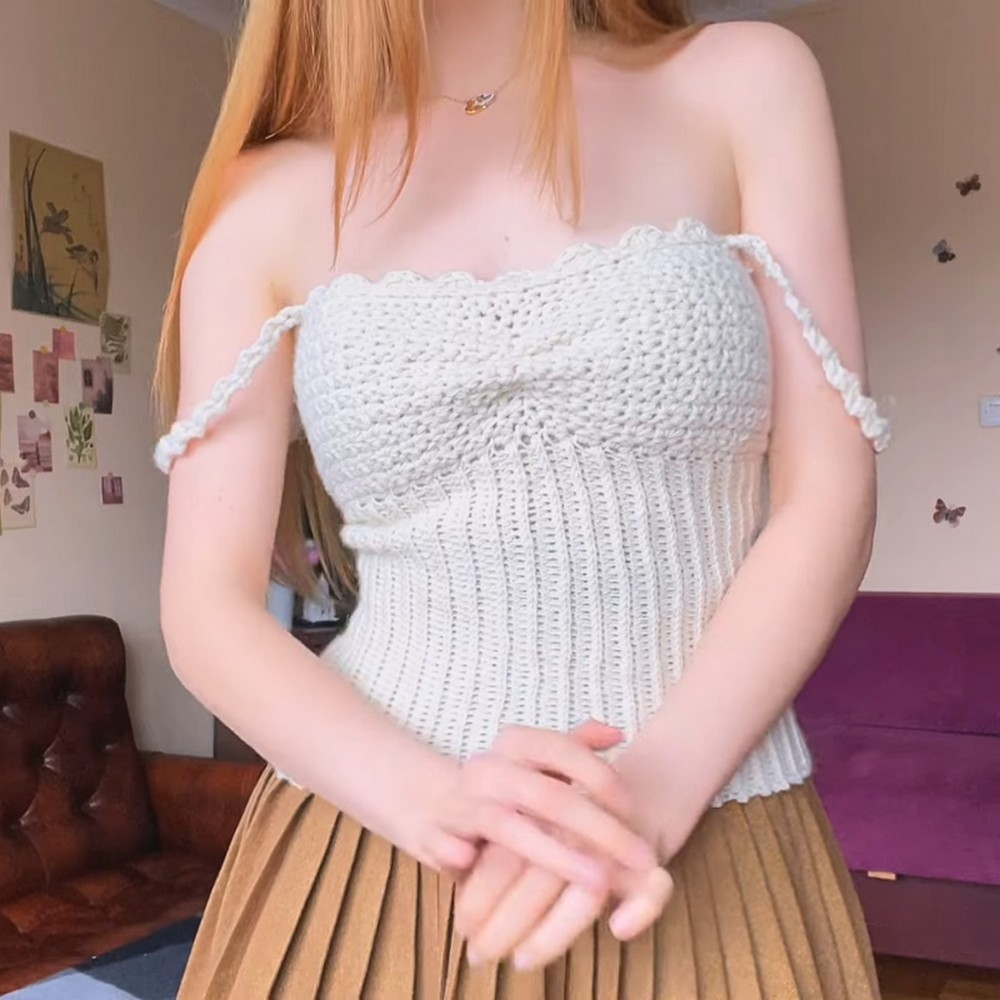
Elevate your wardrobe with the Crochet Coquette Top, a design that perfectly mixes simplicity and style. Its lightweight structure and delicate stitch work make it a gorgeous addition to any outfit, ensuring you look effortlessly chic no matter the occasion. This pattern is an opportunity to craft something that feels as good as it looks.
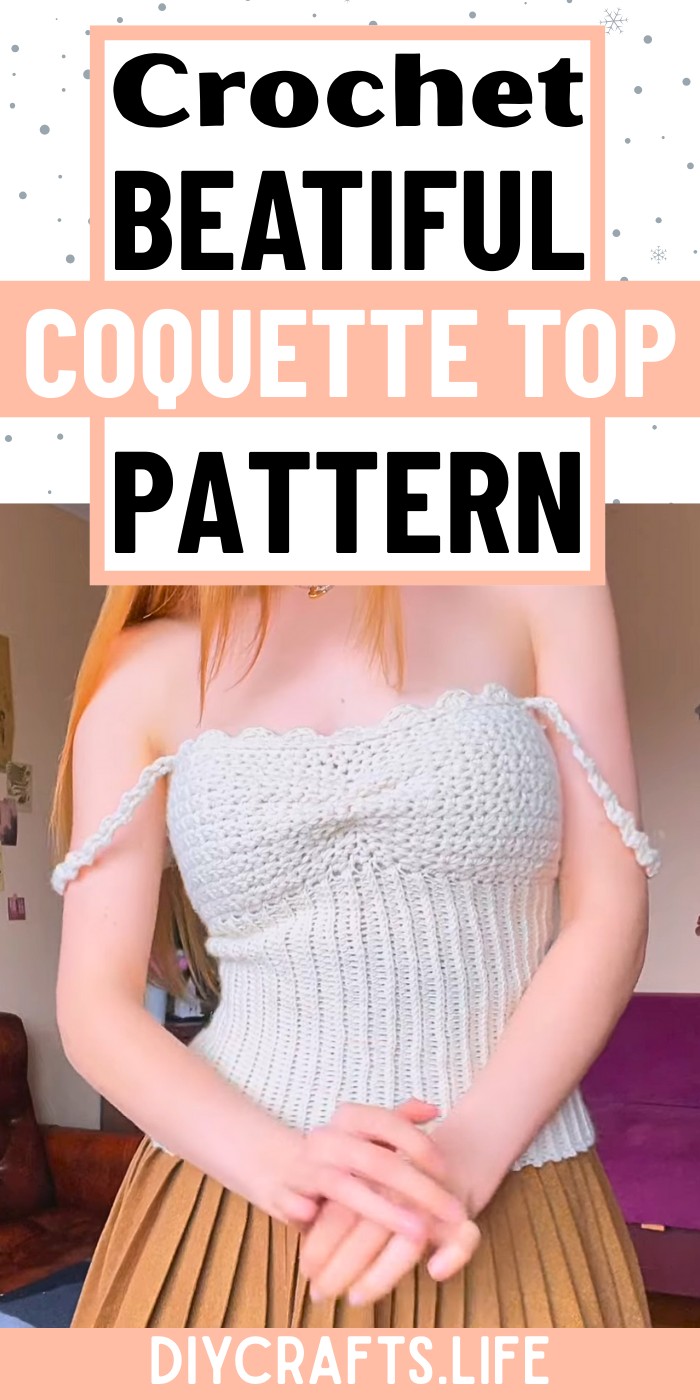
Crochet Coquette Top Pattern
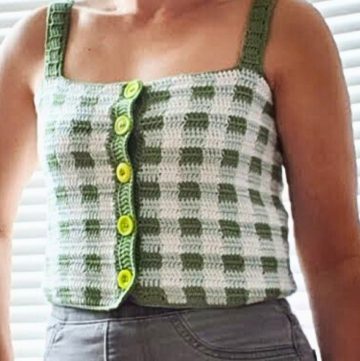
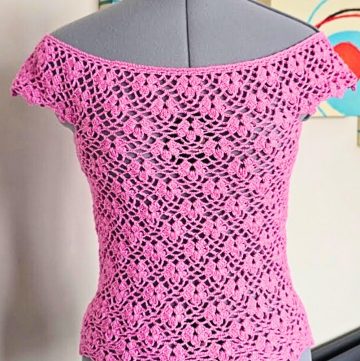
What sets the Crochet Coquette Top apart is its balance of elegance and versatility. Featuring a flattering silhouette, intricate textures, and soft details, this design works perfectly for casual outings or paired with statement accessories for a special event. You can truly make it your own by playing with colors and finishes, creating a unique piece that celebrates your creativity.
Credit WONDER NETTING
Materials & Tools Needed
- Yarn:
- Any yarn of your choice, as long as it is not too thick.
- Suggested yarn: Winter Glow by Hobby - 100g (350 meters).
- You'll need less than one skein for the project.
- Crochet Hook:
- 4.5mm crochet hook, or use the hook size recommended on the yarn label.
- Other Tools:
- Scissors: To cut yarn ends.
- Needle: For sewing straps and weaving in ends.
Finished Size & Customization Ideas
Approximate Size Details:
- Height of Ribbed Band: 22 cm.
- Height of Top Part: 13.5 cm.
- Width of Ribbed Band: 30 cm.
- Width of Upper Part of Top: 32.5 cm.
- Straps: 30-34 cm (adjustable).
- Distance Between Markers: 16.5 cm at the front, 8 cm at the sides.
Customization Ideas:
- Adjusting Size:
- Increase or decrease the number of foundation chains (e.g., start with more or fewer chains than 51 based on your measurements).
- Add rows to either the ribbed band or the top section, depending on your desired fit.
- Changing Style:
- Use different yarn weights for a delicate summer look or a thicker warm top.
- Color Customization: Consider creating stripes, ombre effects, or a two-tone design with contrasting straps or ruffles.
- Straps:
- Lengthen straps to convert them into halters or crisscross designs.
- Add decorative edging or accents to straps.
- Patterns and Ruffles:
- You can skip ruffles if you prefer a simpler look or crochet additional rows for more dramatic ruffling details.
Pattern Abbreviations & Terminology
Below is the terminology used:
- Ch: Chain
- SC: Single Crochet
- DC: Double Crochet
- Sl St: Slip Stitch
- Increase: Crochet two stitches into one stitch to expand width.
- Skip: Skip one stitch in the pattern.
- Crochet through back loop: Work only into the back strand of the stitch loop.
- Crochet under the braid loop: Work into the horizontal line below the braid.
Step-by-Step Crochet Instructions
Part 1: Ribbed Band Section
- Foundation Chain:
- Start with 51 chains, which will form the height of the ribbed band. (Adjust this number if needed).
- Row 1:
- Skip the chain closest to the hook and insert into the second chain.
- Work single crochet (SC) into each chain across.
- At the end of the row, chain 1 and turn your work.
- Row 2 (Simple Version):
- Crochet single crochet stitches into the back loop of each stitch across the row.
- This creates a ribbed effect.
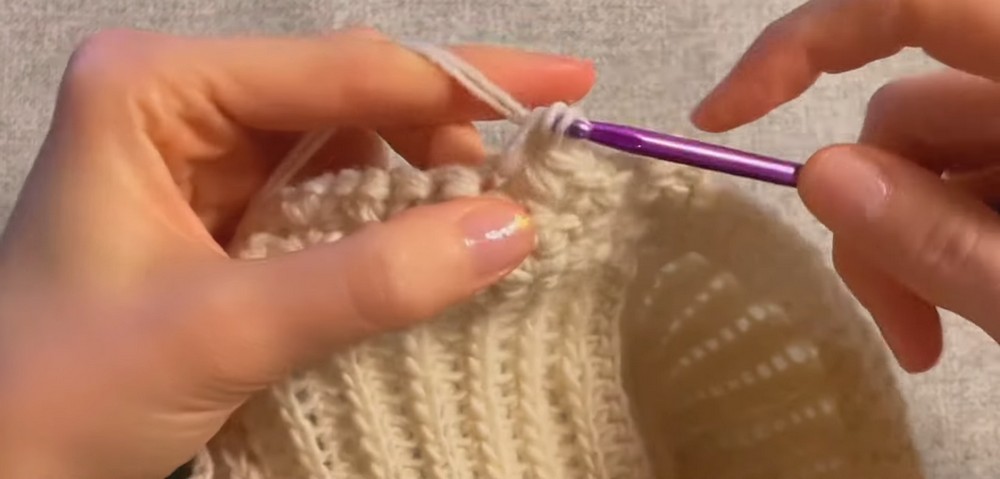
- Row 2 (Difficult Version):
- Insert the hook beneath two strands of the stitch and crochet single crochet normally.
- Then find the loop under the braid (horizontal line) and crochet into that.
- Crochet freely (not too tight) to allow flexibility.
- Continue working rows using either version until you complete 87 rows (for size S/M). These rows should stretch to fit your chest circumference.
- Joining Edges:
- Align the two edges and join them using slip stitches. Insert the hook into loops on both edges, work single crochet stitches along the seam.

Part 2: Top Section
- Set-Up:
- Use two threads from your yarn skein (optional for durability).
- Insert your hook near the seam of the ribbed band, pull up the yarn, and begin with a single crochet stitch.
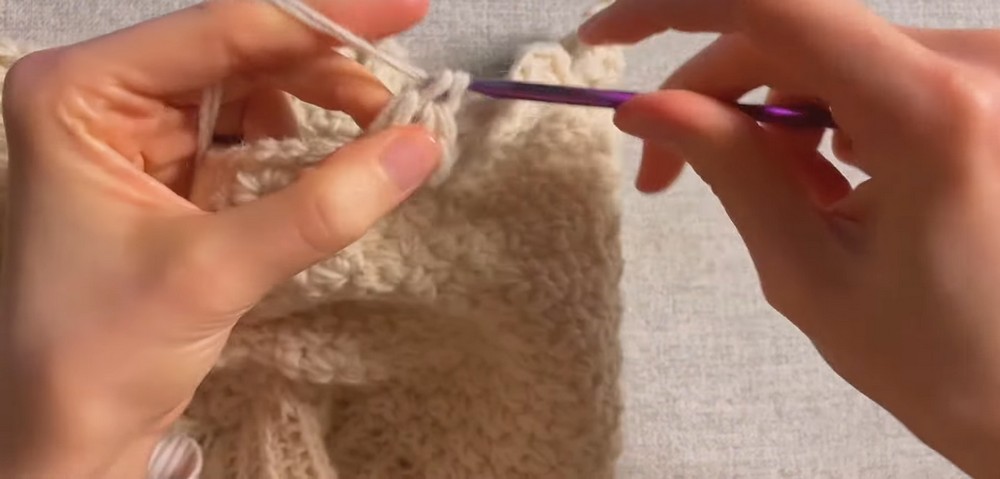
- Row 1:
- Insert your hook into the next free space and make two single crochet stitches in each space.
- Repeat this until the end of the ribbed band.
- Joining Row:
- Use a slip stitch to join the row. Chain 1 and turn your work.
- Subsequent Rows:
- Begin with single crochet increases: Skip one stitch, then crochet two single crochets in the next stitch.
- Continue alternating between skipping and increases across the row.
- Complete 21 rows or more to reach your desired band height.
Part 3: Straps
- Set-Up:
- Mark strap positions: Measure and mark based on your body. Suggested placement: 16.5 cm apart at the front, 8 cm on the sides.
- Strap Construction:
- Using two threads, start each strap with a foundation chain.
- Insert hook into the second chain and work two single crochet stitches in one stitch across the strap.
- Length:
- Aim for straps between 30 cm and 34 cm long, depending on fit and preference.
- Finishing Straps:
- Sew the straps securely onto the top using your needle, hiding ends through stitches.
Part 4: Finishing Touches (Optional Ruffles)
- Ruffles:
- Insert hook into the edge of the top (wrong side) near a strap.
- Work slip stitches all along to the next strap.
- Chain 2, turn your work, and begin creating ruffles.
- Pattern for Ruffles:
- In each stitch, alternate between single crochet, slip stitch, and three double crochets into one stitch.
- Repeat this pattern until reaching the next strap.
- Final Steps:
- Chain 1, cut yarn, and weave all loose ends through nearby stitches.
Final Notes
- The pattern is flexible, ideal for beginners or intermediates.
- The ribbed version mimics a knit fabric for a polished, stylish look.
- You can finish the project in 1-2 days, depending on skill level and customization!
Enjoy crocheting this cute, versatile coquette top! 🌸