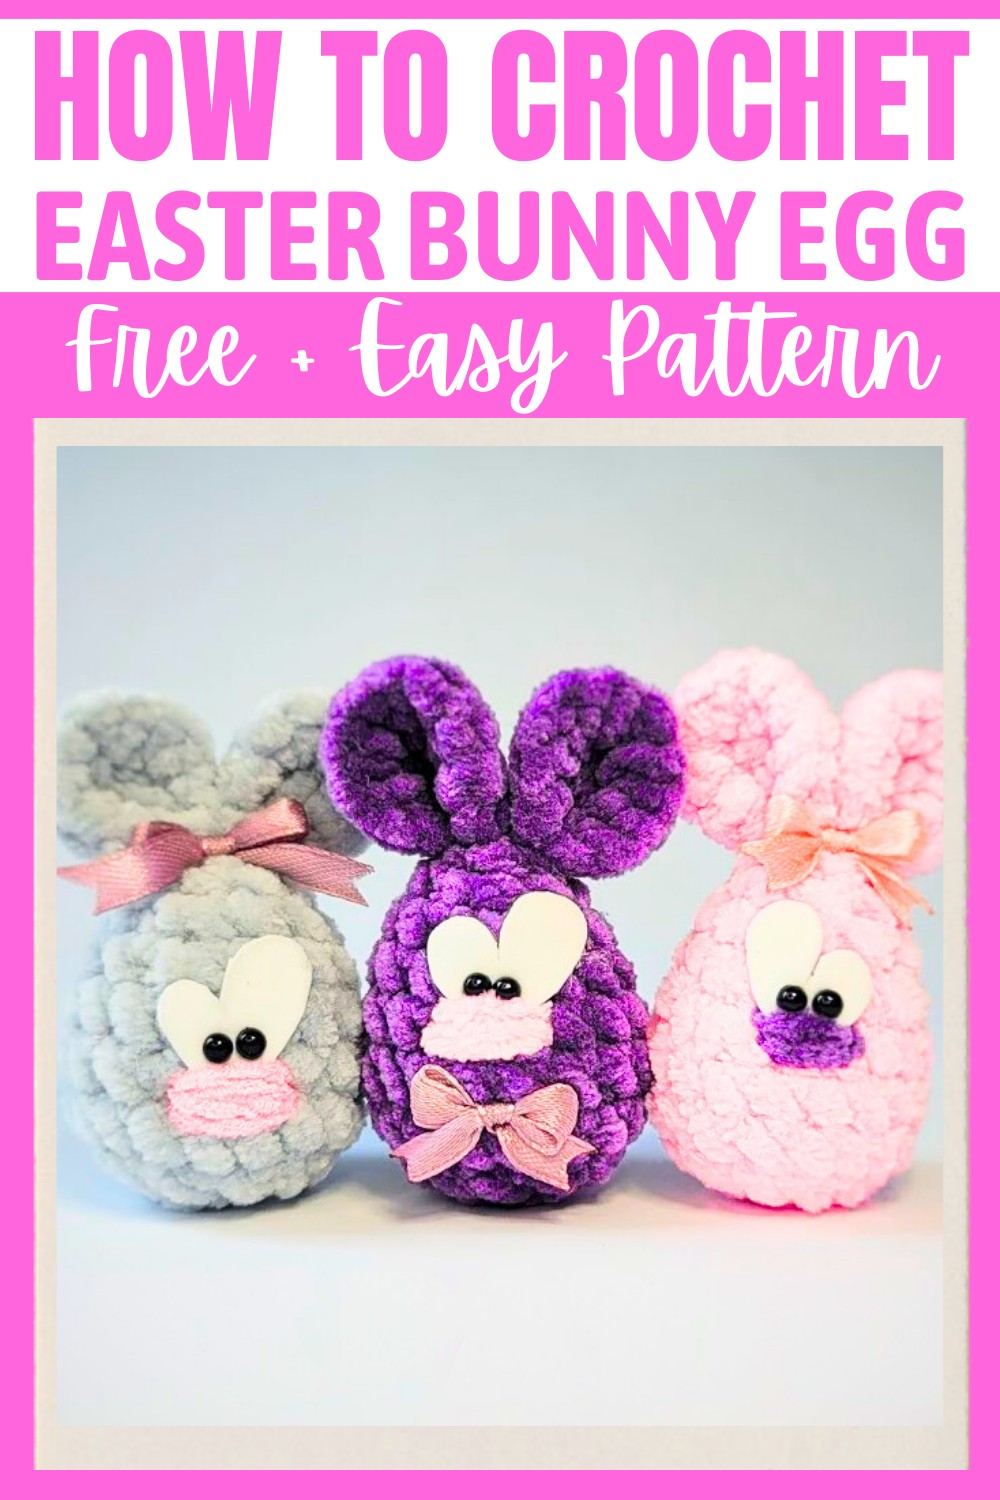
Brighten your Easter celebrations with the charm of handmade crochet! This crochet Bunny Egg pattern brings an artistic touch to your holiday décor, transforming simple materials into a delightful and festive creation. Celebrate creativity with each stitch, letting the soft textures and playful shapes spark a smile wherever you place it.
Crochet Easter Bunny Egg
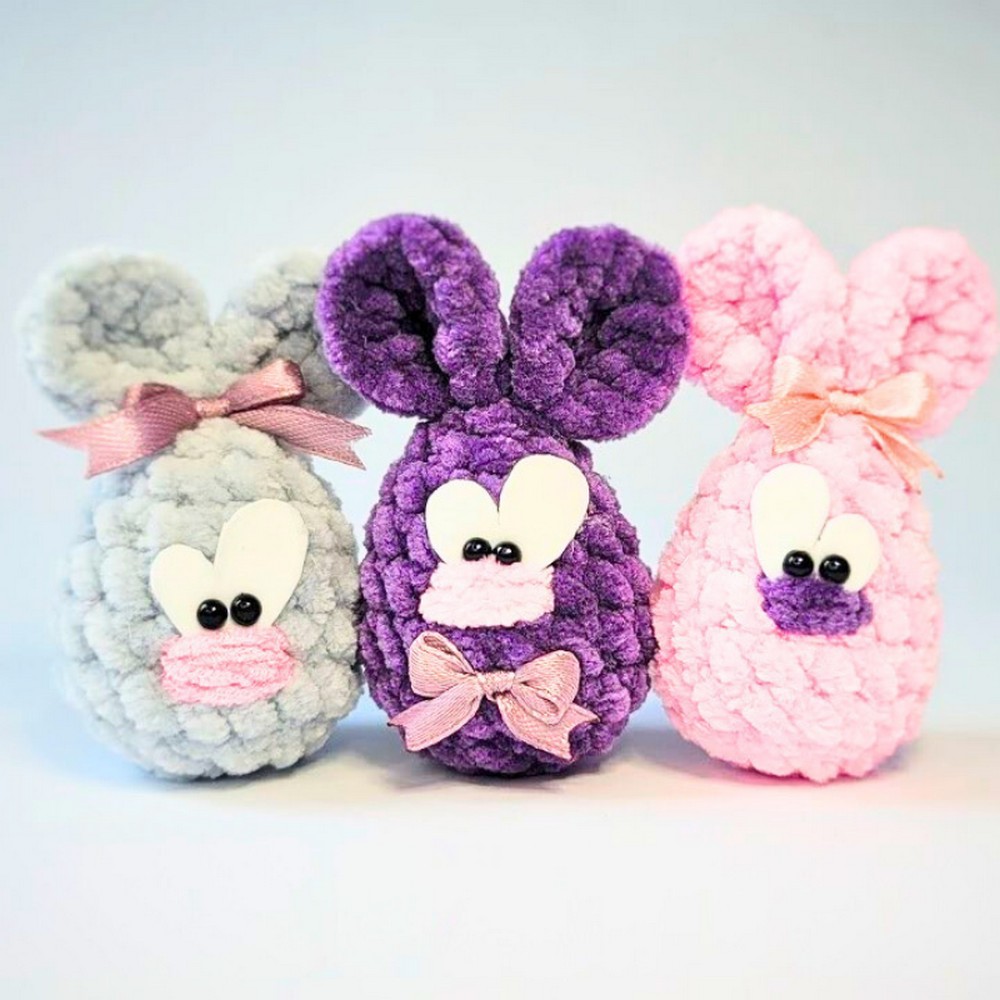
The Crochet Easter Egg combines whimsy and elegance in one unique design. Featuring the bunny's iconic ears and soft, egg-like body, this pattern creates a beautiful centerpiece or thoughtful gift. Its delicate details and clever shape allow for customization, letting you experiment with colors, sizes, or embellishments to match your style. This pattern blends practicality with charm, offering a personal touch to your seasonal crafts.
Credit DidyToys
Materials & Tools Needed
- Yarn:
- Plush yarn (recommend using leftovers).
- Thin yarn in a contrasting color (to embroider the nose; Italian velour or similar works well).
- Tools:
- 4mm crochet hook.
- Scissors.
- Stitch marker or contrasting thread to mark rounds.
- Transparent glue (for attaching the bow and eyes).
- Needle (plastic preferred for plush yarn).
- Fiber fill for stuffing.
- Ribbon or pre-made bow for decoration.
- Foamiran or felt for making eyes.
- Pencil (for drawing eye shapes).
- 4mm amigurumi safety eyes (optional instead of foam/felt eyes).
Finished Size & Customization Ideas
- Finished Size: The size of your bunny egg will depend on your yarn and hook, but using plush yarn with a 4mm hook will create a small, palm-size bunny egg approximately 2-3 inches tall.
- Customization Ideas:
- Use different yarn weights and colors to make eggs in various sizes and styles.
- Add personalized bows, embellishments, or even keychain attachments.
- Embroider different facial expressions for a unique look.
- Experiment with eye shapes when cutting foamiran or felt eyes.
Step-by-Step Crochet Instructions
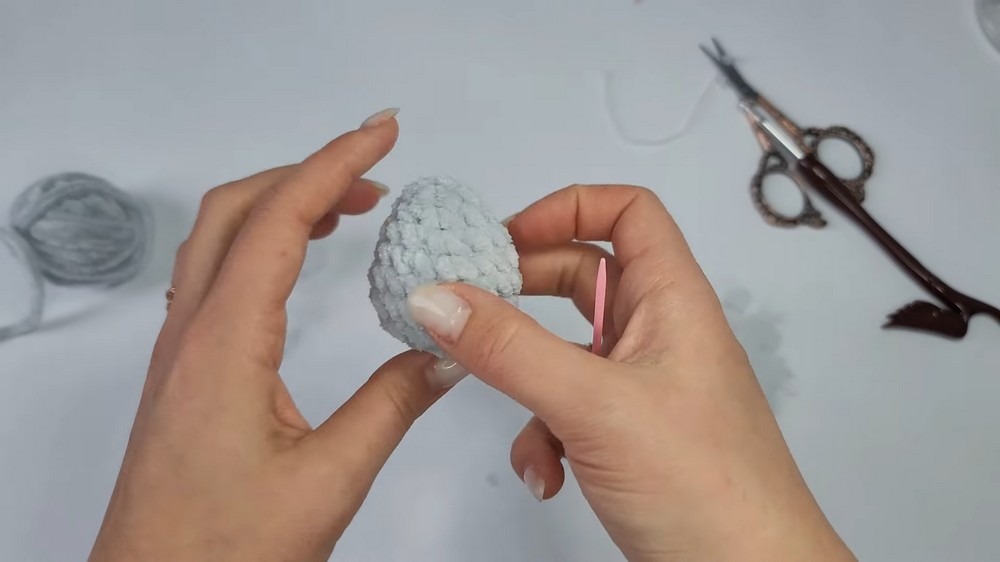
Part 1: Creating the Egg Shape
- Foundation Chain:
- Chain 2 stitches.
- Round 1:
- Work 6 single crochet stitches (sc) into the second chain from the hook.
- Use a thread or stitch marker to mark the beginning of the round.
- Round 2:
- Crochet 1 single crochet (sc) followed by 1 increase (2 sc in one stitch). Repeat 3 times.
- You should have 9 stitches total.
- Round 3:
- Crochet 2 single crochet stitches, followed by 1 increase. Repeat 3 times.
- Total stitch count: 12 stitches.
- Round 4:
- Crochet 3 single crochet stitches, followed by 1 increase. Repeat 4 times.
- Total stitch count: 15 stitches.
- Round 5:
- Crochet 4 single crochet stitches, followed by 1 increase. Repeat 3 times.
- Total stitch count: 18 stitches.
- Rounds 6-7:
- Work 2 rounds with 1 single crochet stitch in each stitch. No increases or decreases.
- Total stitch count for each round: 18 stitches.
- Round 8:
- Begin decreasing: Work 1 single crochet stitch, followed by 1 decrease. Repeat 6 times.
- Total stitch count: 12 stitches.
- Round 9:
- Work 6 decreases (decrease every stitch).
- Total stitch count: 6 stitches.
- Insert fiber fill (light stuffing) here before closing the egg. Add more stuffing later if needed.
- Closing the Egg:
- Use a needle to thread through the 6 remaining front loops.
- Pull tightly to close the hole and weave in the yarn tail.
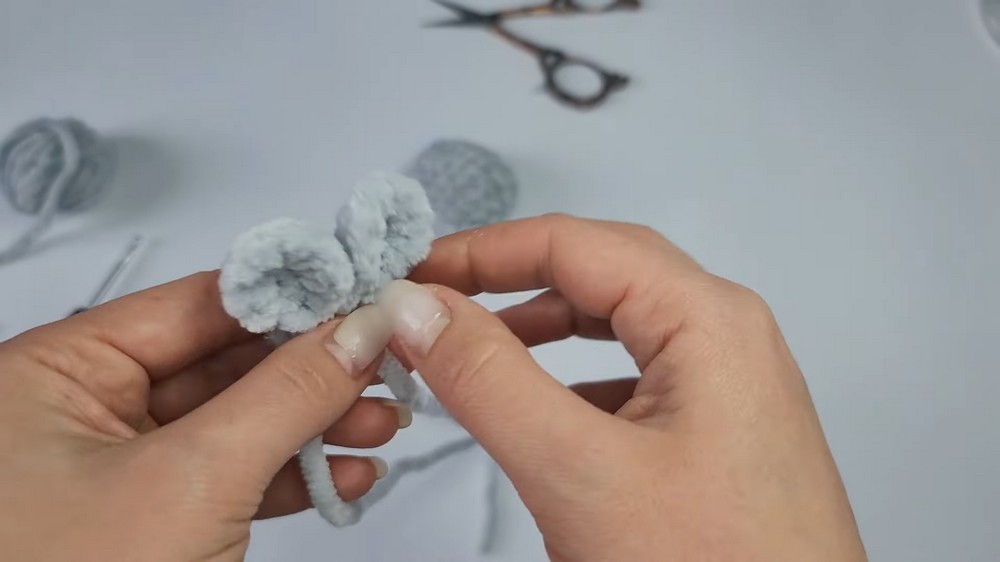
Part 2: Crocheting the Bunny Ears
- Foundation Chain:
- Chain 2 stitches.
- Round 1:
- Work 6 single crochet stitches into the second chain from the hook.
- Round 2:
- Crochet 6 increases (2 sc in each stitch of the round).
- Total stitch count: 12 stitches.
- Finishing the Ear:
- Cut the thread, leaving a long tail for sewing.
- Fold the ear in half and sew the edges together to create a curved ear shape.
- Repeat:
- Crochet a second ear in the same way.
Part 3: Creating and Attaching Decorations
- Bow:
- Cut a small piece of ribbon and tie it into a bow.
- Use a lighter or heat tool to seal the ribbon ends from fraying.
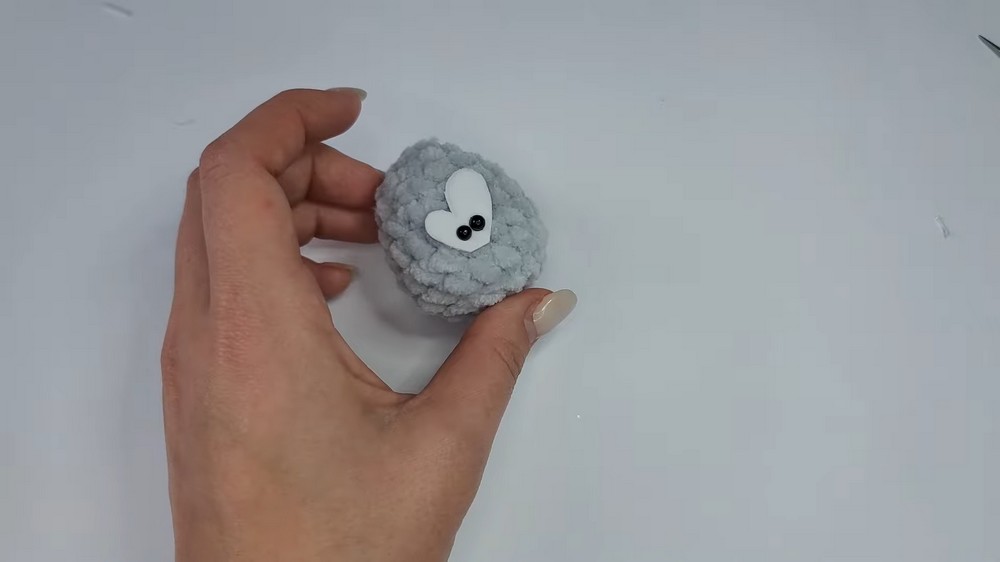
- Eyes:
- Draw eye shapes onto foamiran or felt using a pencil.
- Cut out the shape, then pierce 2 holes in each piece for amigurumi eyes or skip this if not using safety eyes.
- Attach safety eyes through the fabric or glue the foam/felt eyes directly to the egg using transparent glue.
- Nose:
- Use a contrasting color of yarn to embroider the nose onto the bunny egg.
- Ensure the yarn tails are securely fastened and woven into the egg.
- Assembly:
- Sew the ears onto the top of the egg using the tail left from the ear construction.
- Attach the bow between the ears using glue or stitches.
Finishing Techniques
- Securing Loose Ends:
- Weave in all yarn tails to ensure a tidy and finished look.
- Shape Adjustment:
- Add fiber fill if necessary, shaping the bunny egg properly by molding it with your fingers.
- Final Gluing:
- Double-check the eyes and bow attachments. Use transparent glue for a clean and seamless finish.


