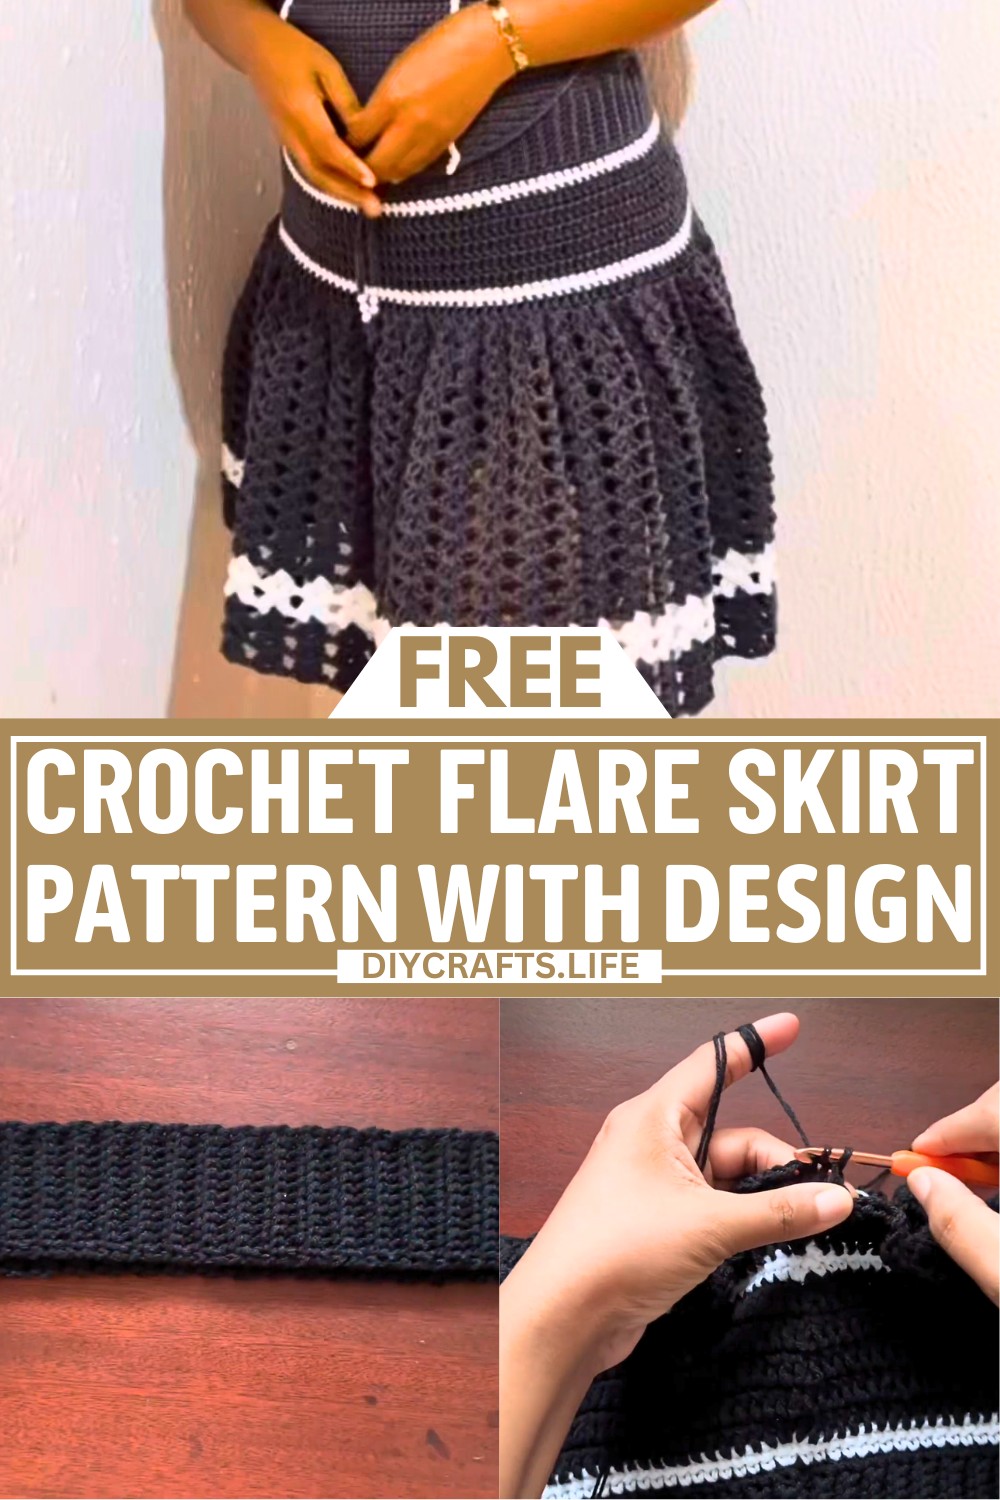
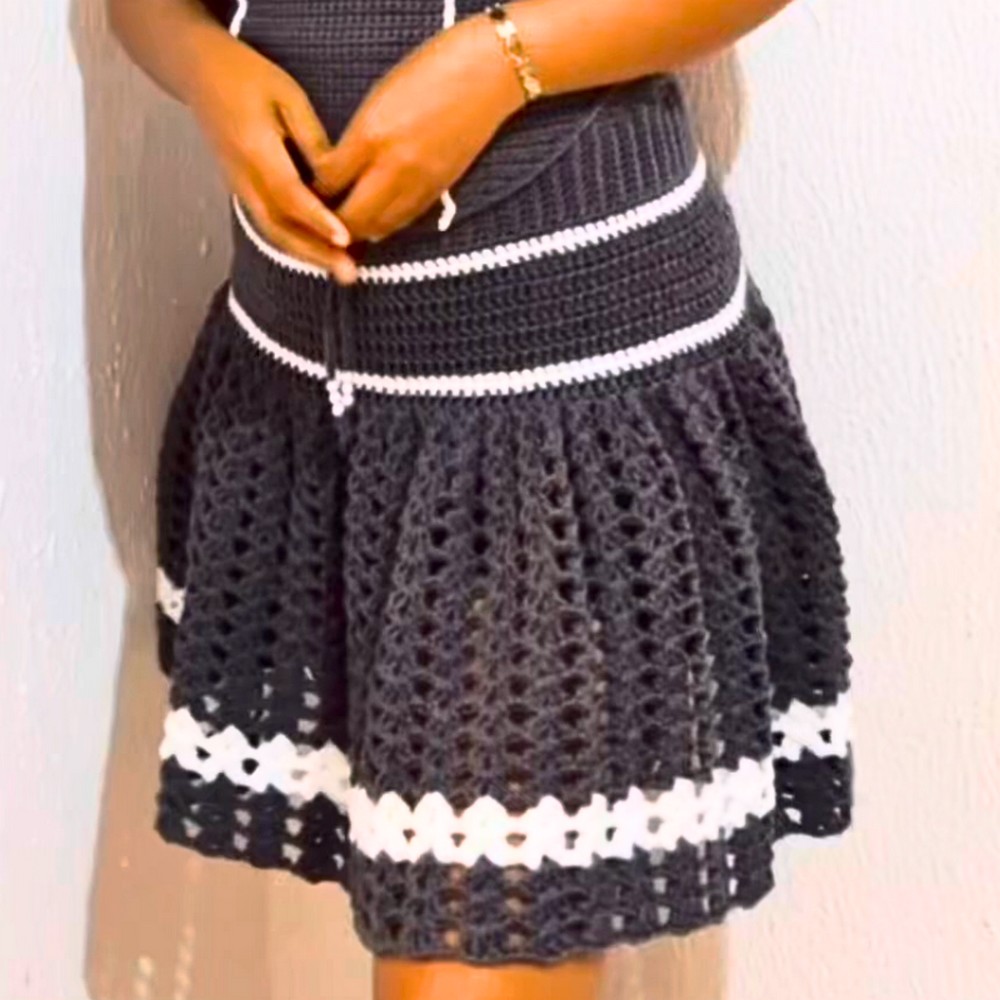
Bring your creative vision to life with a timeless crochet flare skirt that’s as versatile as it is stunning. Whether you aim for a bold color-blocked finish or a single-tone masterpiece, this design is your canvas to craft a unique wardrobe essential that seamlessly blends elegance and comfort. Perfect for everyday wear or a standout evening look, this skirt pattern opens up endless possibilities for expressing your style.
Crochet Flare Skirt Pattern
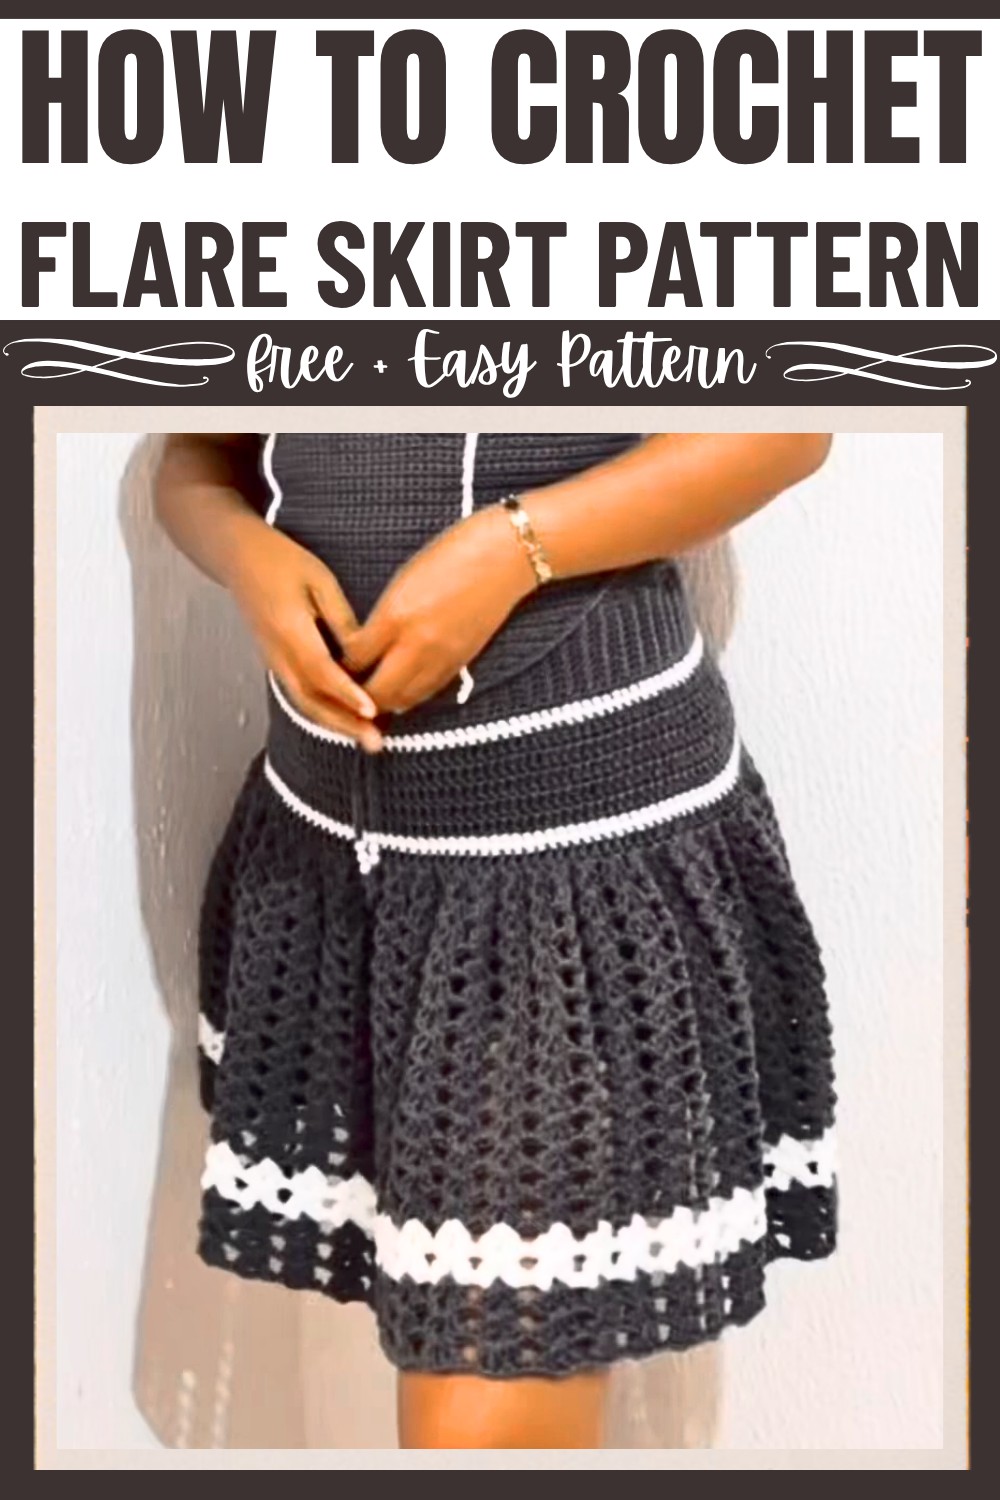
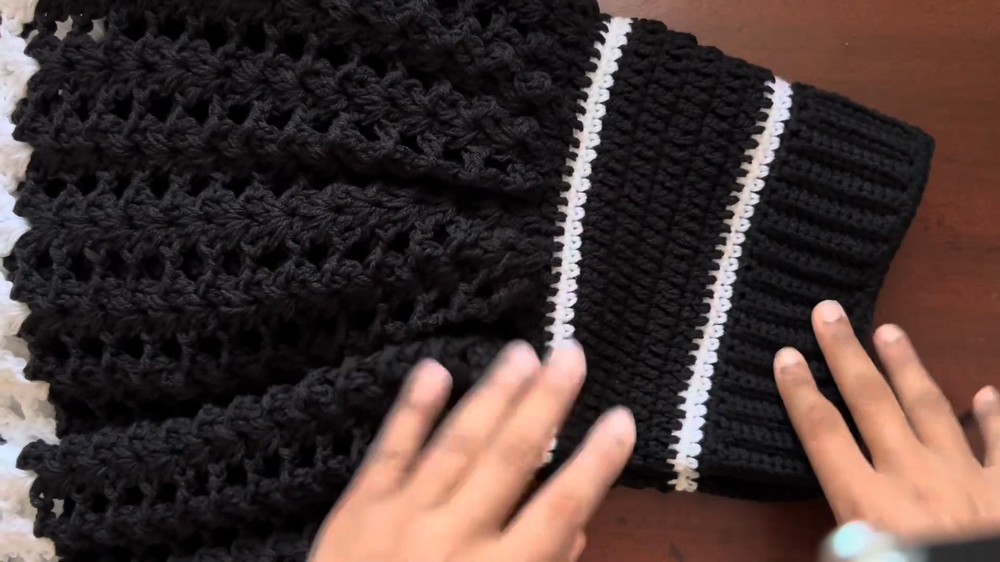
This flare skirt features an intricate yet straightforward design that balances sophistication with simplicity. From its beautifully textured waistband to its cascading flare sections, crafted with precise hook size changes, every part of this design showcases thoughtful artistry. Its adaptable measurements let you customize the length, width, and patterns to suit your style perfectly, while the optional elastic band adds a functional touch. If choosing contrasting yarns or creating subtle tones, this skirt transforms crochet into wearable art that truly reflects individuality.
Credit FTK Crochet
Materials & Tools Needed
- Yarn: Medium-weight yarn in at least two colors (e.g., black and white, as in the tutorial). Approximately two strands are used together for this design.
- Crochet Hooks:
- 4.0 mm hook for the waistband.
- 4.5 mm hook for the body.
- 5.5 mm hook for the flare section.
- Scissors.
- Tape Measure.
- Tapestry Needle.
- Stitch Markers.
- Elastic Band (optional): For securing the waistband, or use a drawstring.
Finished Size & Customization Ideas
- Finished Size: The method allows for a fully customizable fit.
- Measure your hips circumference and desired skirt length before starting.
- Customization:
- Adjust the waistband width by chaining more or fewer stitches at the beginning.
- Add or reduce rows for custom overall skirt length.
- Alternate color striping or choose one solid color for simplicity.
Pattern Abbreviations & Terminology
(All are in US Terminology)
- ch = Chain.
- sc = Single Crochet.
- dc = Double Crochet.
- sl st = Slip Stitch.
- st = Stitch.
- BL = Back Loop Only.
- sk = Skip.
Step-by-Step Instructions
The skirt is worked in three parts: the waistband, body of the skirt, and flare section. Each part is outlined below in numbered steps.
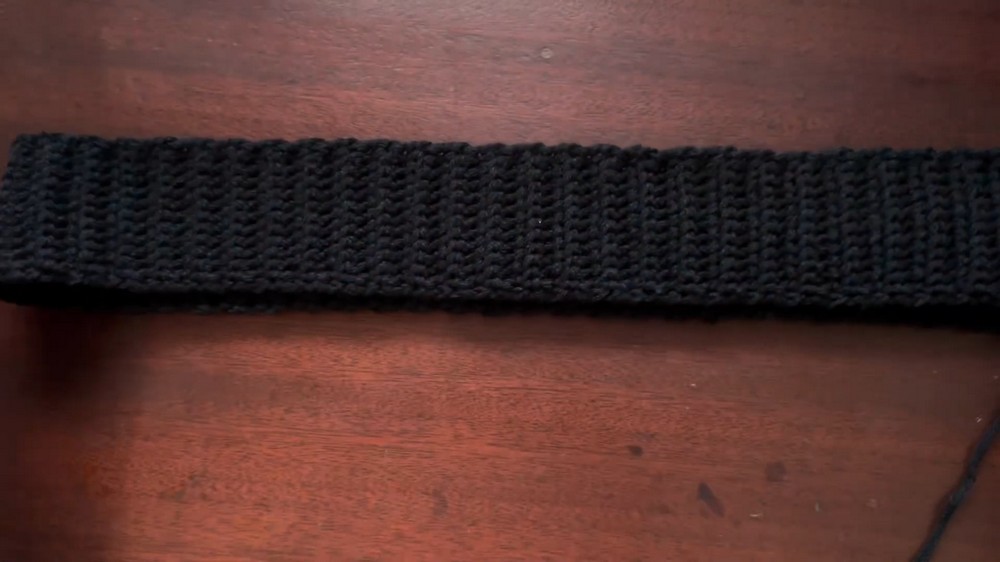
Part 1: Waistband (worked flat)
- Determine Band Length:
- Measure your hips circumference and decide the desired width of your waistband (e.g., 2.5").
- For this tutorial, chain enough length for 2.5".
- Start the Band:
- Using a 4.0 mm hook, chain 12 (or desired width).
- Row 1: Chain 1 (turning chain), single crochet (sc) in 2nd chain from hook. Continue sc across. (12 sc total).
- Row 2 Onwards:
- Chain 1, turn.
- Work 1 sc in the first stitch, then work sc in the back loop only (BL) for the next stitches. On the last st, work through both loops as usual.
- Continue Rows:
- Repeat Row 2 until the band measures your hip circumference.
- Example: 130 rows of sc (in back loops) for a 44-inch hips size.
- Join the Ends:
- Fold the band in half lengthwise, ensuring no twists.
- Slip stitch through 1 loop of each side to join the band into a circle.
- Fasten off and weave ends.
- Single Crochet Along Waistband Base:
- Work a row of single crochet (1 sc per row edge) around the band to form the foundation for the body of the skirt.
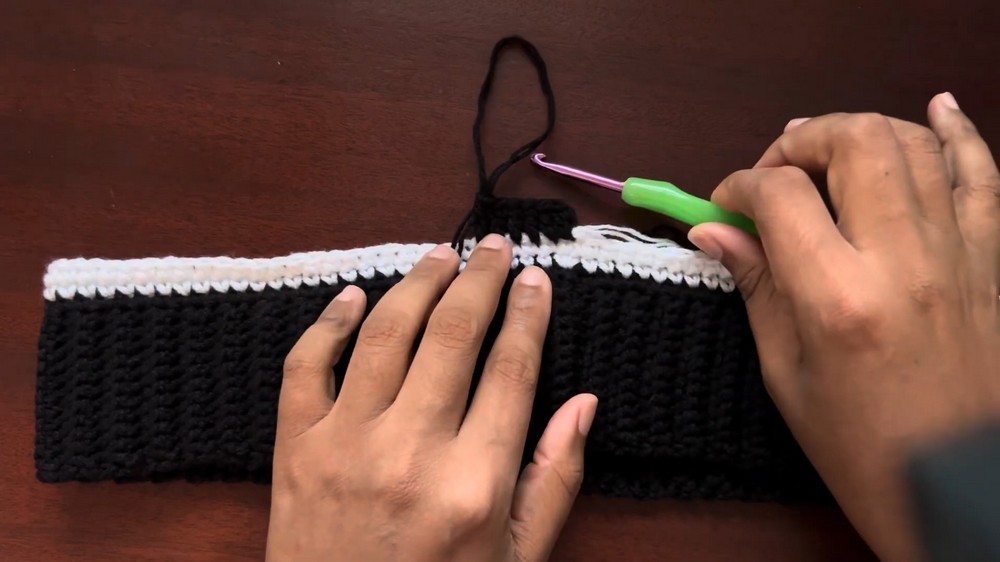
Part 2: Body of the Skirt
- Attach New Yarn (Optional Color):
- Using a 4.5 mm hook and the next color yarn (e.g., white), attach it to the row of sc.
- Work Two Rows of Single Crochet (Base):
- Work 1 sc in each stitch to form the base for the body. Use two rows in the new color.
- Switch Back to Main Color:
- Change to the original color (e.g., black). Work 2 rows of double crochet (dc).
- Begin Increases for Shaping:
- Place stitch markers on two sides of the skirt.
- On the 3rd row, increase at marked positions:
- Before the stitch marker: work 2 dc in one stitch.
- At the marker: 1 dc.
- After the marker: work 2 dc in one stitch.
- Continue this across the row.
- More Increase Rows:
- Continue working in dc. At each increase row, shift increases to align with previous increases.
- Example: Increase at sides by adding 2 dc in the marked stitches every fourth row.
- Finalize the Body:
- Work a few rows of dc without increases for stability.
- Consider alternating in rows of different colors or extending the skirt’s body length to match your preference.
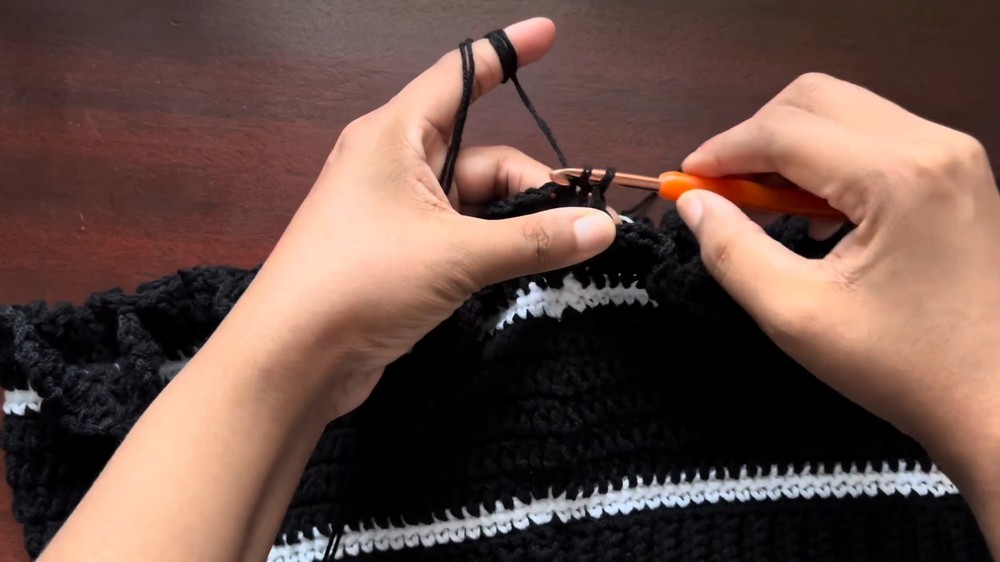
Part 3: Flare Section
- Switch to Larger Hook:
- Change to a 5.5 mm hook for the flare section.
- First Flare Row:
- Chain 3 (counts as 1 dc).
- Work (2 dc, ch 1, 2 dc) in one stitch, then ch 1, sk 1 stitch. Repeat across the row.
- Build Flare Rows:
- For each new row, work (2 dc, ch 1, 2 dc) in the chain-1 spaces from the previous row.
- Continue until the flare section reaches your desired length.
- Example from tutorial: 13 rows of black, 2 rows of white, 3 rows of black for the flare.
- Finish the Flare:
- At the final row, switch back to single crochet to create a clean edge.
Elastic Band (Optional)
- Prepare the Elastic:
- Cut an elastic band to fit snugly around your waist.
- Sew the ends tightly together to form a circular loop.
- Attach Elastic:
- Lay the elastic on the inner side of the waistband.
- Using a 4.5 mm hook, single crochet over the elastic, securing it along the waistband’s top row.
- Alternative to Elastic:
- Use a drawstring instead, chaining a desired length and weaving it through the waistband.
Finishing
- Weave in all loose ends using a tapestry needle.
- Block your work if necessary to ensure the finished skirt lies neatly.
- Optional: Add decorative embellishments, tassels, or beads to the waistband ties or flare section.