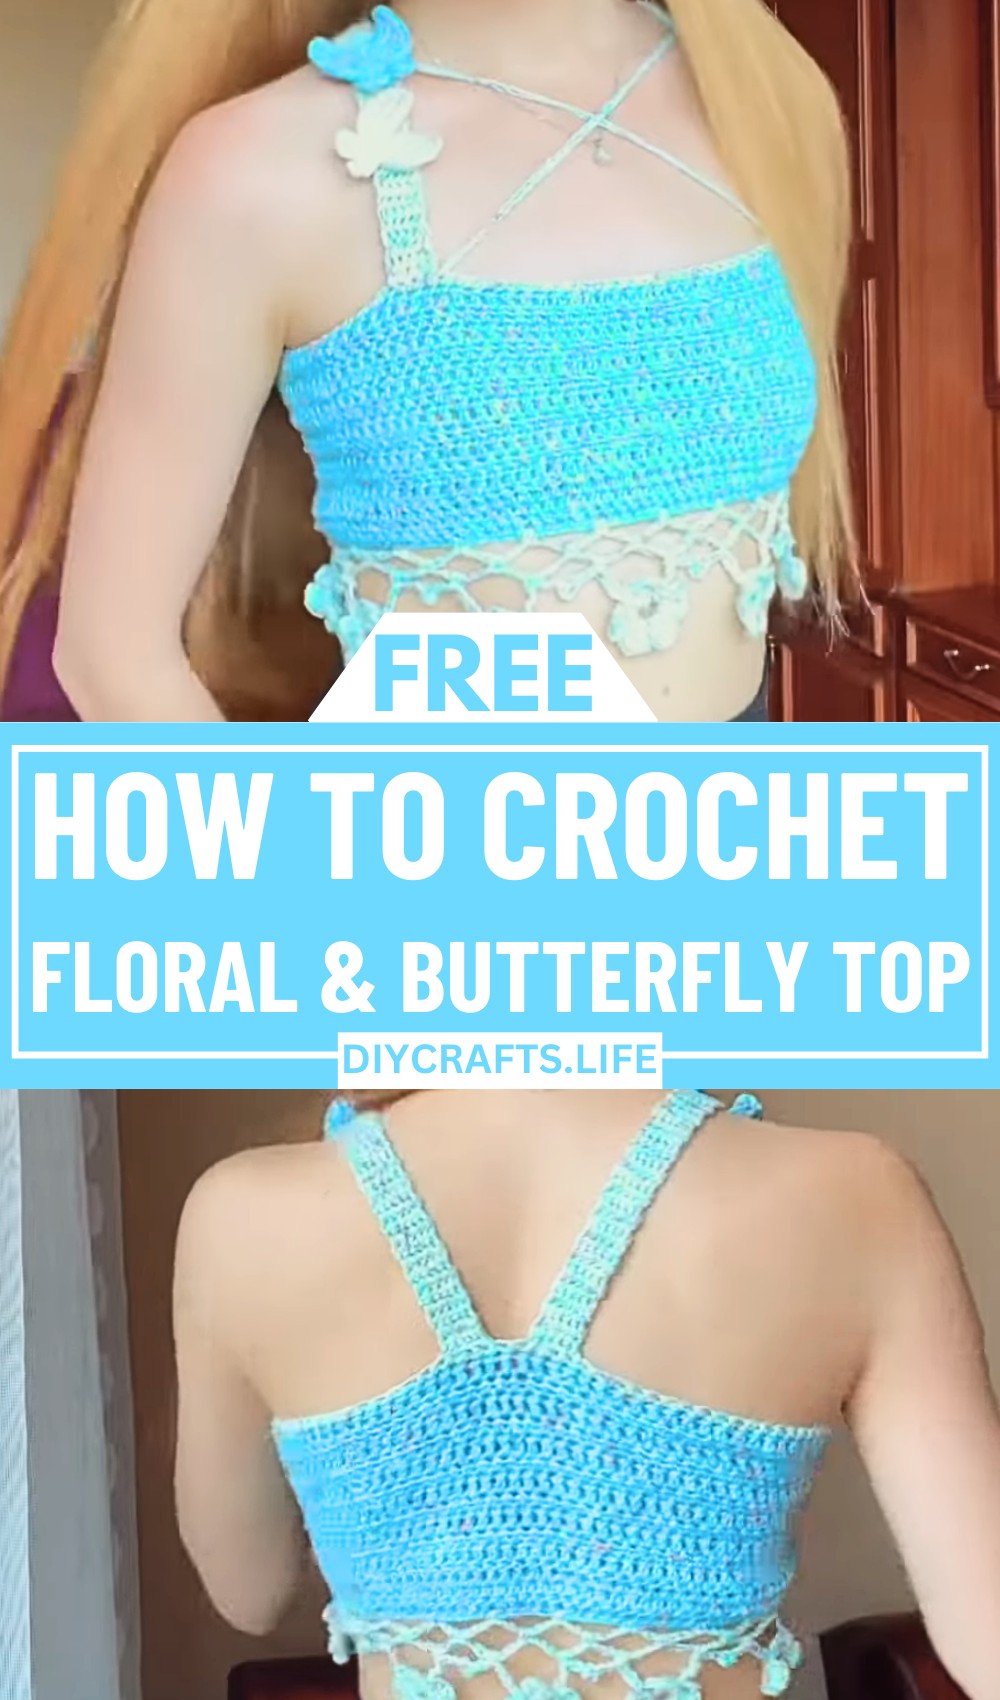
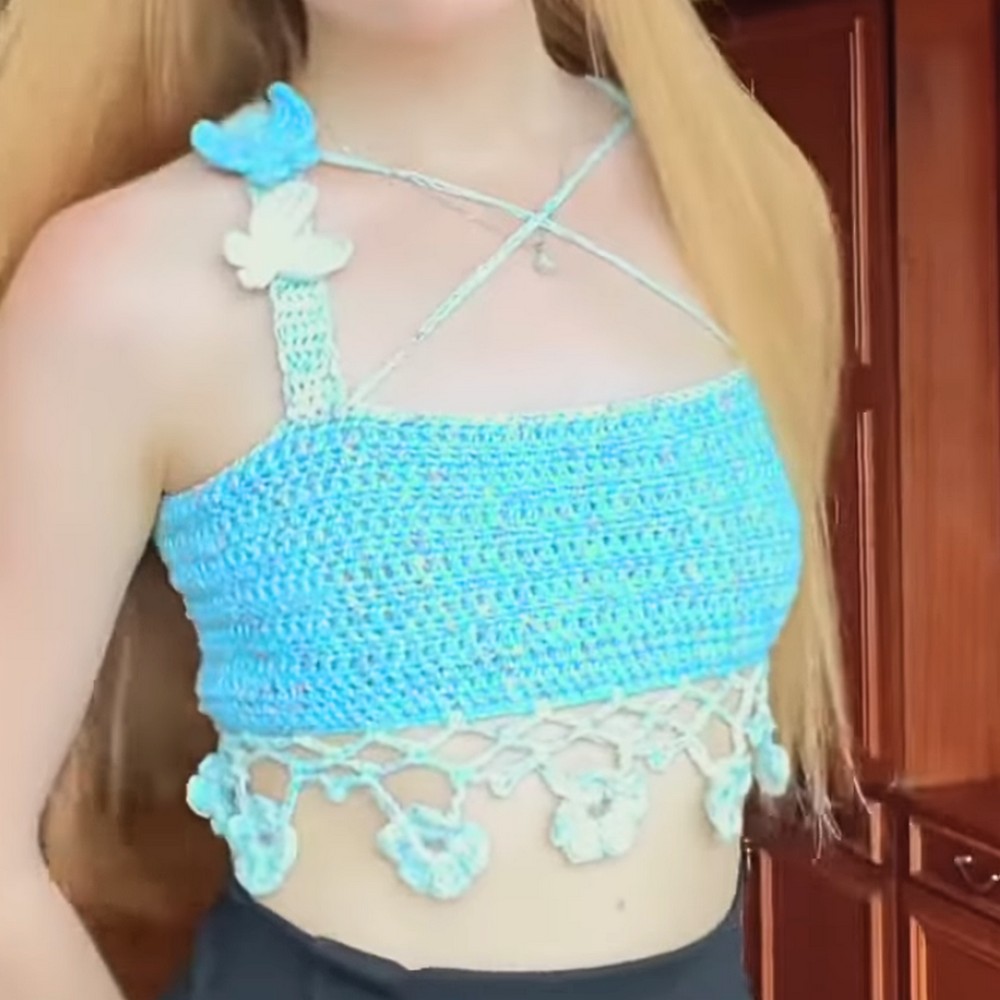
Transform your wardrobe with elegance and charm through the Crochet Floral Top with Butterflies. This stunning design captures the beauty of nature with intricate floral motifs and delicate butterfly accents, giving every stitch a sense of sophistication and grace. Perfect for adding a touch of whimsy to your outfits, this top blends craftsmanship with wearable art.
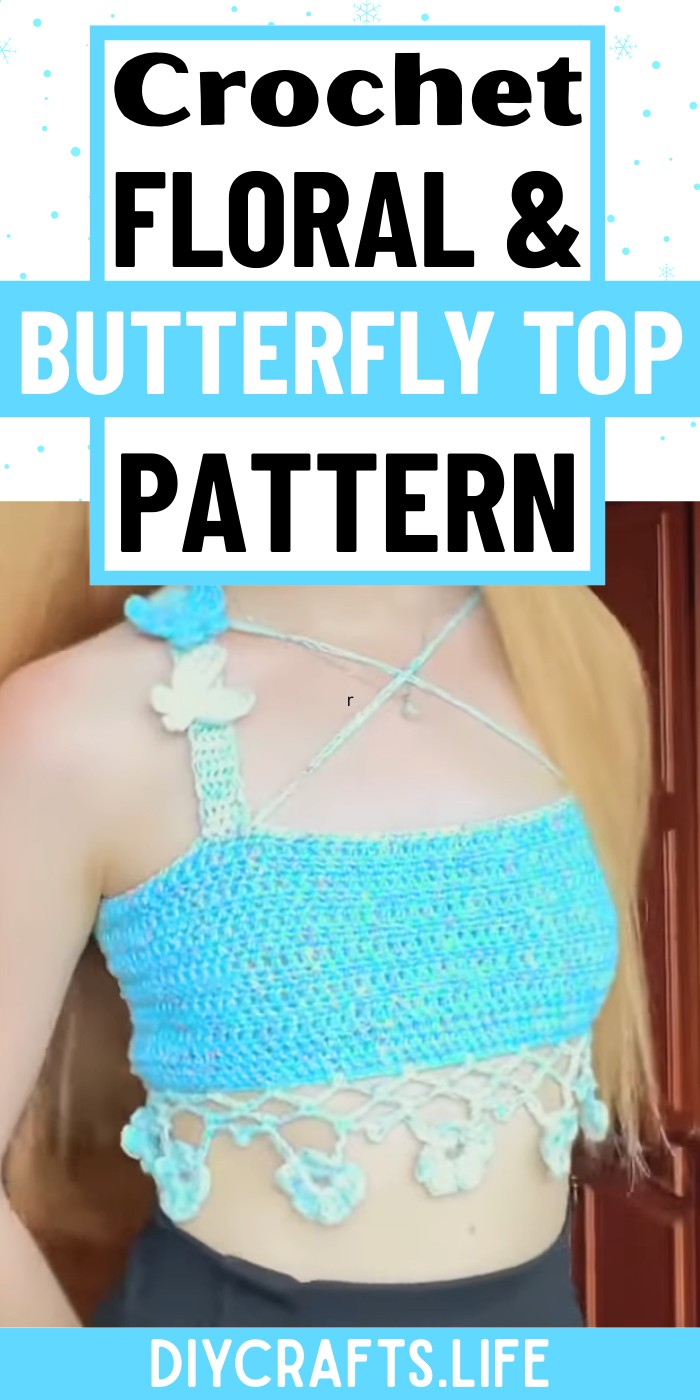
Crochet Floral and Butterfly Top
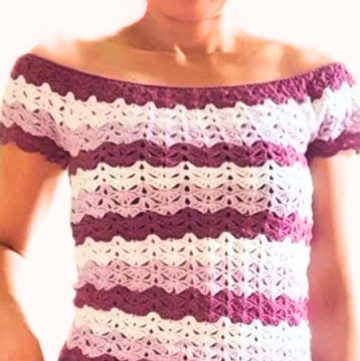
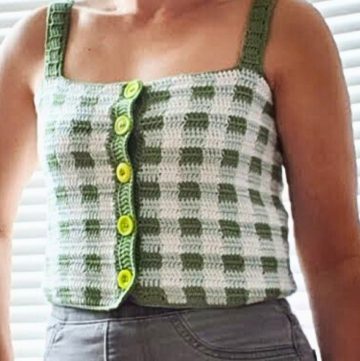
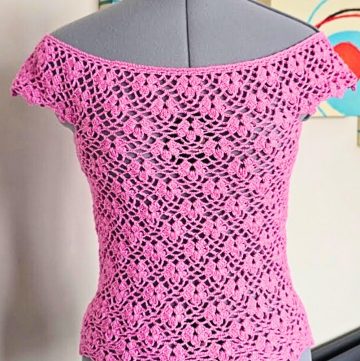
This crochet pattern features detailed floral elements intertwined with butterfly designs, creating a harmonious and eye-catching look. The combination of light, airy textures and vibrant detailing makes this top versatile for any occasion, be it casual or celebratory. Whether enhanced with bold colors or soft pastels, the unique layering allows for endless creative interpretations, making each finished piece truly one-of-a-kind.
Credit WONDER NETTING
Materials & Tools Needed
- Yarn
- Select colorful, lightweight (Category 3 or fingering weight) yarn for an airy, delicate design.
- Recommended colors: A floral palette like pink, green, ivory, and yellow, along with contrasting butterfly accents (e.g., white or bold black).
- You may use cotton yarn for a breezy summer top, or acrylic for a more structured garment.
- Crochet Hook
- Choose a hook size suited to your yarn (typically 3.5mm - 4mm for lightweight yarn).
- Stitch Markers
- Used to track panel edges, butterfly placement, and shaping for accurate customization.
- Yarn Needle
- For weaving in ends and attaching embellishments (butterflies) securely to the garment.
- Scissors
- To neatly trim excess yarn.
Finished Size & Customization Ideas
- Approximate Size
- Standard Adult Sizes: Small, Medium, and Large can be achieved by adjusting stitch count and the width/length of panels as per your body measurements:
- Bust Width: Measure the circumference and split panels into front and back sections.
- Top Length: Suggested length is from the neckline to just below the hips, but it can vary.
- Standard Adult Sizes: Small, Medium, and Large can be achieved by adjusting stitch count and the width/length of panels as per your body measurements:
- Customization Suggestions
- Adjust Size:
- Increase or decrease the foundation chain for wider or narrower panels.
- Add more rows for longer length; adjust butterfly patterns as needed to fit longer straps or panels.
- Style Variations:
- Butterflies: Alternate colors for butterfly motifs/embellishments to create contrast or intricate designs.
- Yarn Weight: Use chunky yarn for a textured and bold aesthetic or stick to lightweight threads for a delicate and airy top.
- Straps: Extend straps by adding chains and rows for a halter top style or convert them into sleeves by attaching fabric butterfly panels.
- Colors: Experiment with pastel shades for a casual summer top or vibrant hues for statement wear.
- Adjust Size:
Pattern Abbreviations & Terminology
- Abbreviations
- Ch: Chain
- Sc: Single Crochet
- Dc: Double Crochet
- Hdc: Half Double Crochet
- Sl st: Slip Stitch
- Tr (or Treble): Triple Crochet
- WS/RS: Wrong Side / Right Side of your fabric
- Terminology
- Foundation Chain: The initial setup chain that determines your project’s width.
- Butterfly Motif: A design element worked into or attached to the top using openwork stitches.
- Joining Method: Overlapping butterfly panels or connecting edges seamlessly using slip stitches or sewing.
- Blocking: Fixing the shape of the butterflies or floral details using steam/pressure.
Step-by-Step Detailed Crochet Instructions
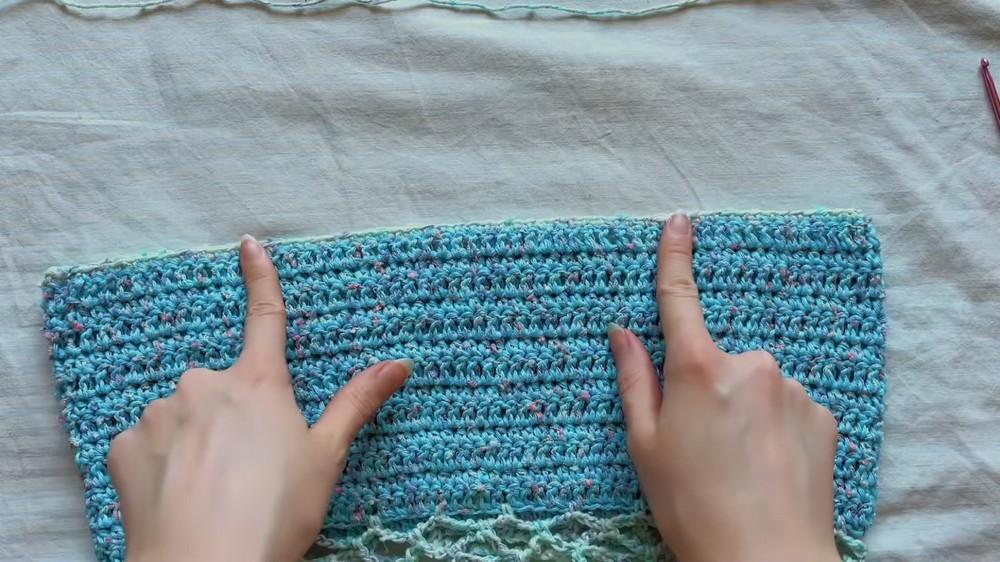
Panel Creation (Front and Back)
- Foundation Chain
- Measure the width of your chest for the desired panel size. For example, start with 70-100 foundation chains for a medium-sized top, depending on your gauge.
- Row 1 (Base Pattern):
- Work 1 Sc into the second chain from the hook and across to create a stable base row.
- Row 2 (Mesh Layer):
- Dc, Ch 3, skip 2 stitches, Dc; repeat across for an open mesh pattern. This forms the floral base.
- Row 3 (Butterfly Design Setup):
- Work a Treble Stitch cluster to create a butterfly motif:
- Yarn over twice, pull through, create three loops, and complete stitch cluster in identified portion of mesh.
- Skip 2 spaces for wings and repeat butterfly setup across desired rows.
- Work a Treble Stitch cluster to create a butterfly motif:
- Repeated Rows for Length
- Alternate Row 2 (Mesh) and Row 3 (Butterfly Design) to build height and design the panel.
- Stop when the panel reaches the desired top length.
Straps
- Foundation Chain
- Start with 20-30 chains for narrow straps; increase chain count for wider or dual straps (measure based on personal fit).
- Row 1 (Double Crochet):
- Dc into every stitch across the chain for strap thickness.
- Row 2:
- Sc, Ch 2, skip 1 stitch, Sc; repeat for an airy open strap design.
- Attach Straps
- Sew or slip stitch the straps onto panel corners. Adjust length to ensure proper fit.
Joining Front and Back Panels
- Crochet Method (Preferred):
- Use Sc or Sl St along each side, working into aligned stitches.
- Sewn Method:
- Use the yarn needle to whip stitch panels together at side seams.
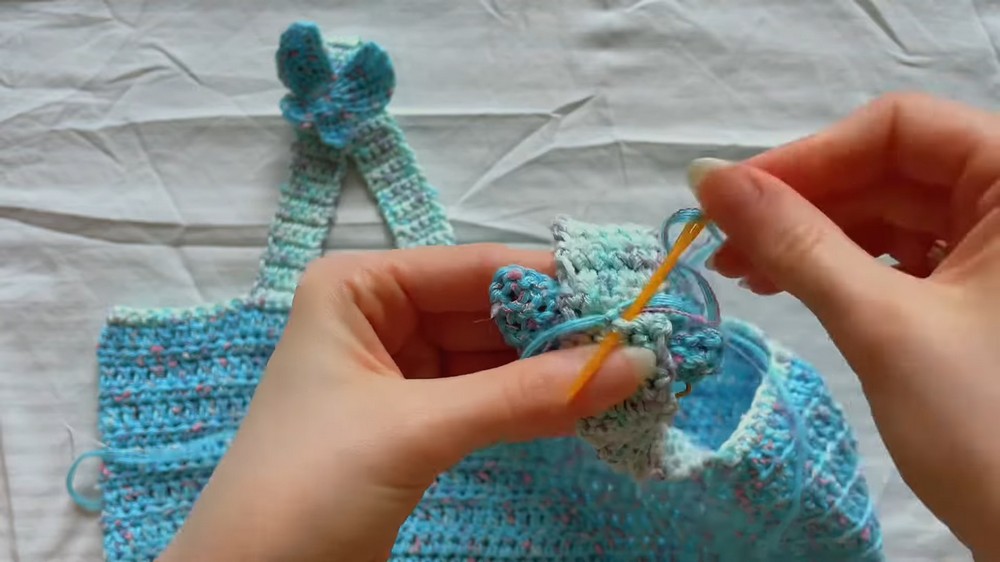
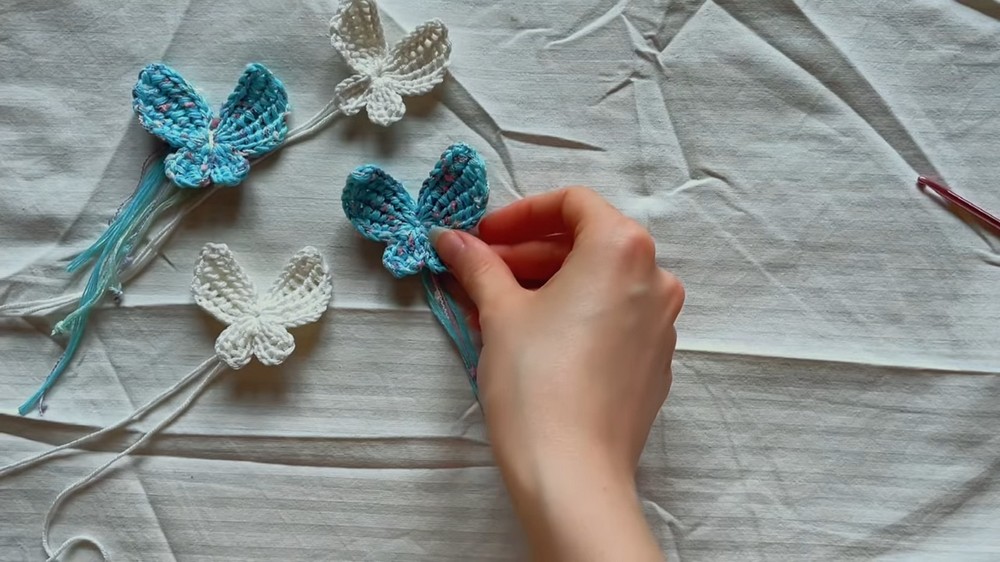
Butterflies & Finishing Touches
- Butterfly Motif Assembly
- Create butterflies separately using:
- Foundation chain of 10.
- Work Dc clusters for wings in the middle of the chain.
- Add slip stitches for shaping.
- Create butterflies separately using:
- Attach Butterflies
- Sew butterflies onto floral panels using contrasting yarn for standout detailing. Position creatively per your aesthetic preference.
- Block for Shape
- Steam or wet-block your panels to define floral and butterfly designs.
- Weave in Ends
- Secure loose yarn ends using the yarn needle.
Tips & Notes
- Test butterfly size with a small swatch before committing to the full design.
- Always check fit after joining panels to ensure the top isn’t misaligned.
- Mix yarn types for textural intrigue—for example, metallic yarn for the butterfly wings against matte floral details.
- Feel free to add embellishments like beads or buttons to accentuate the butterfly designs.