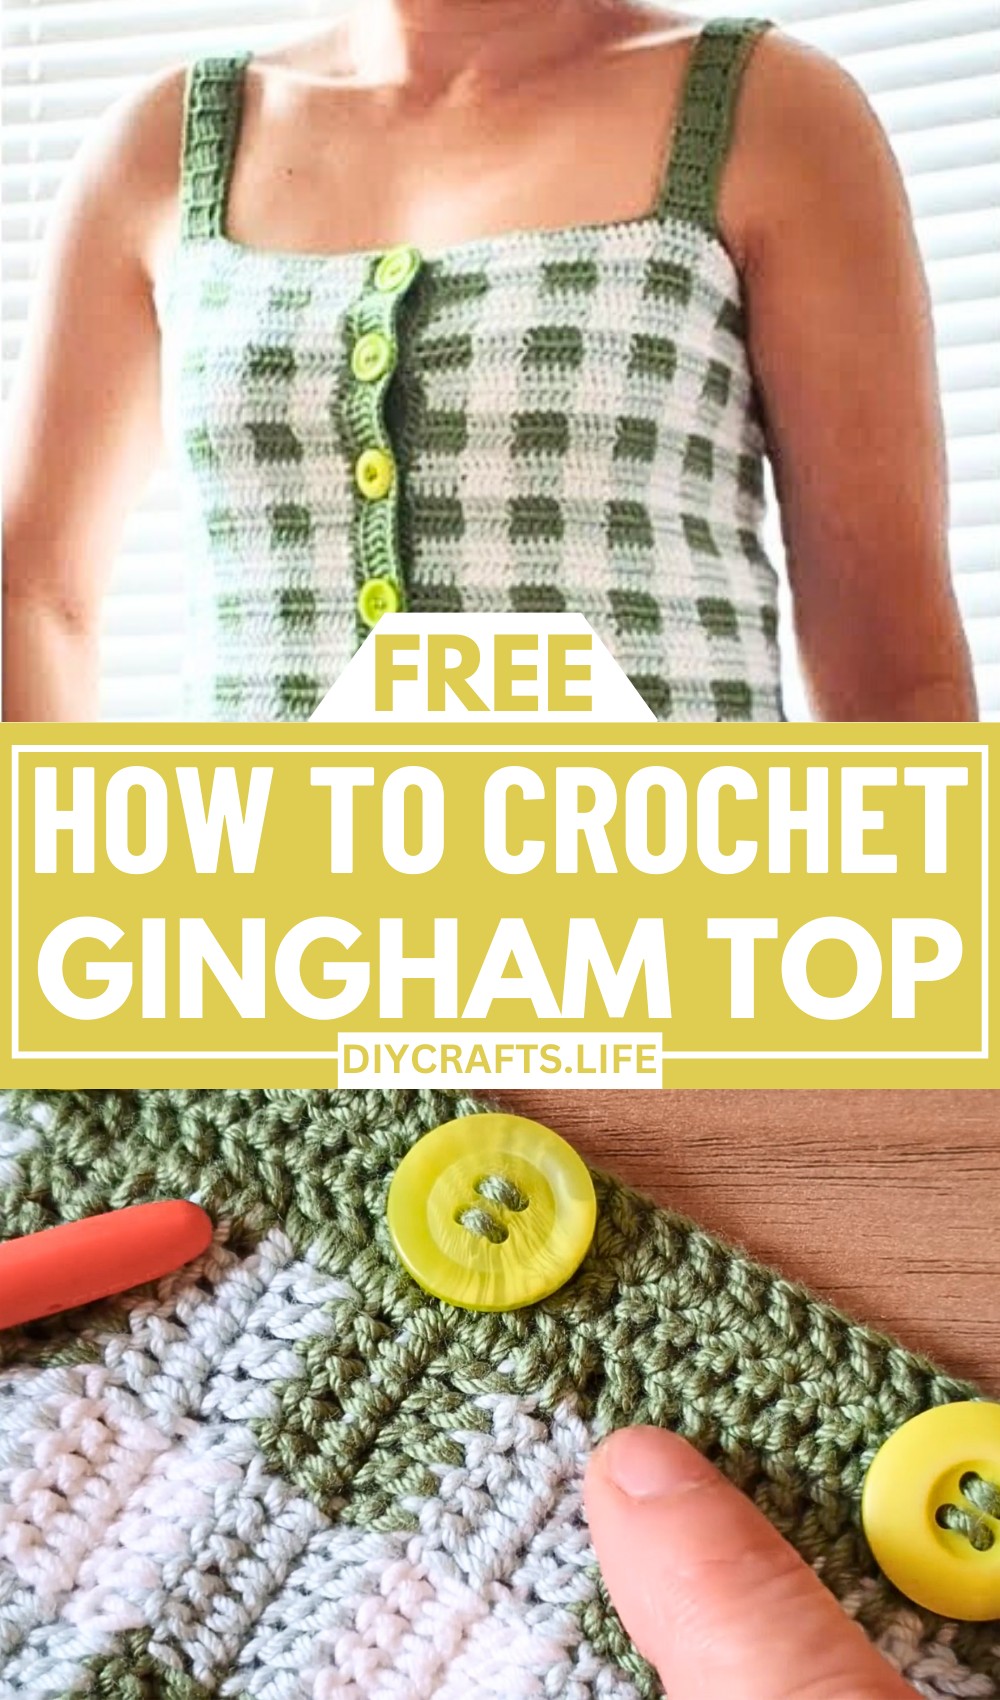
There’s something timeless yet refreshingly modern about a gingham pattern. Now imagine bringing that same charm to life with your own hands! This crochet gingham top combines a hint of vintage style with fresh, breathable texture, perfect for adding a touch of personality to your everyday wardrobe or making a bold statement during sunny days.
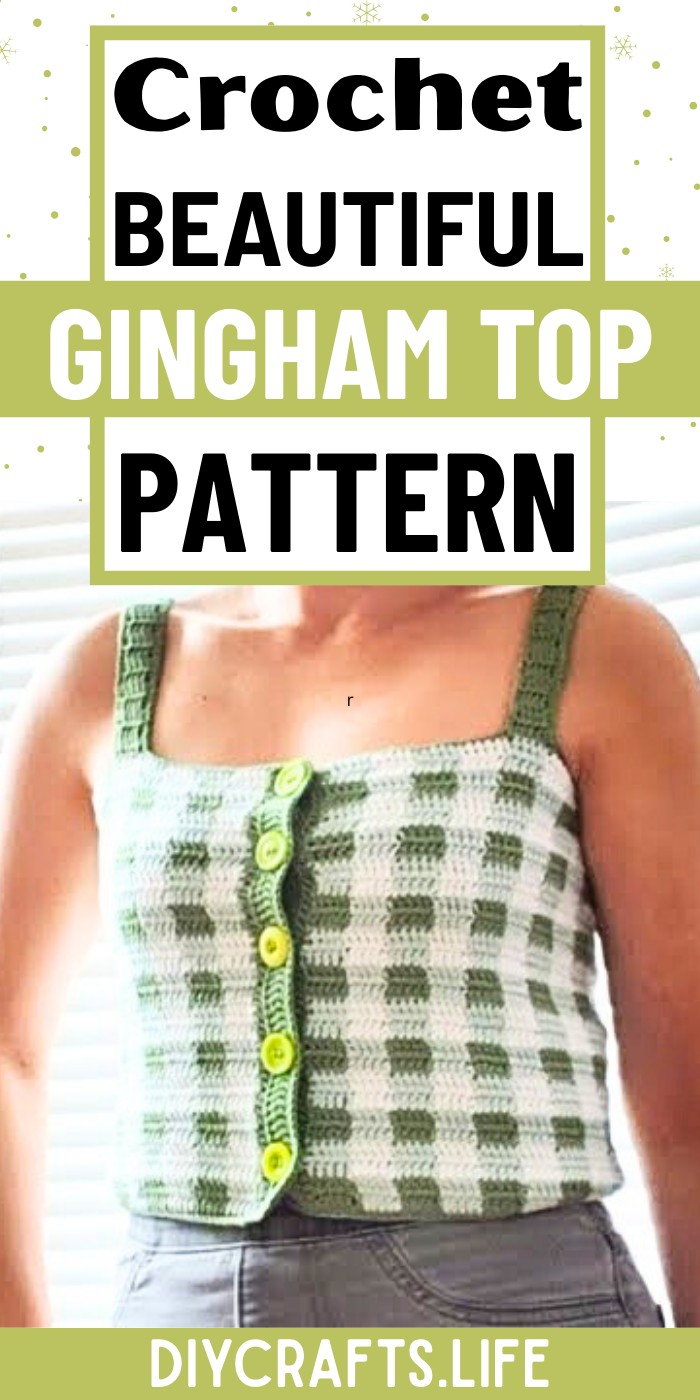
Crochet Gingham Top
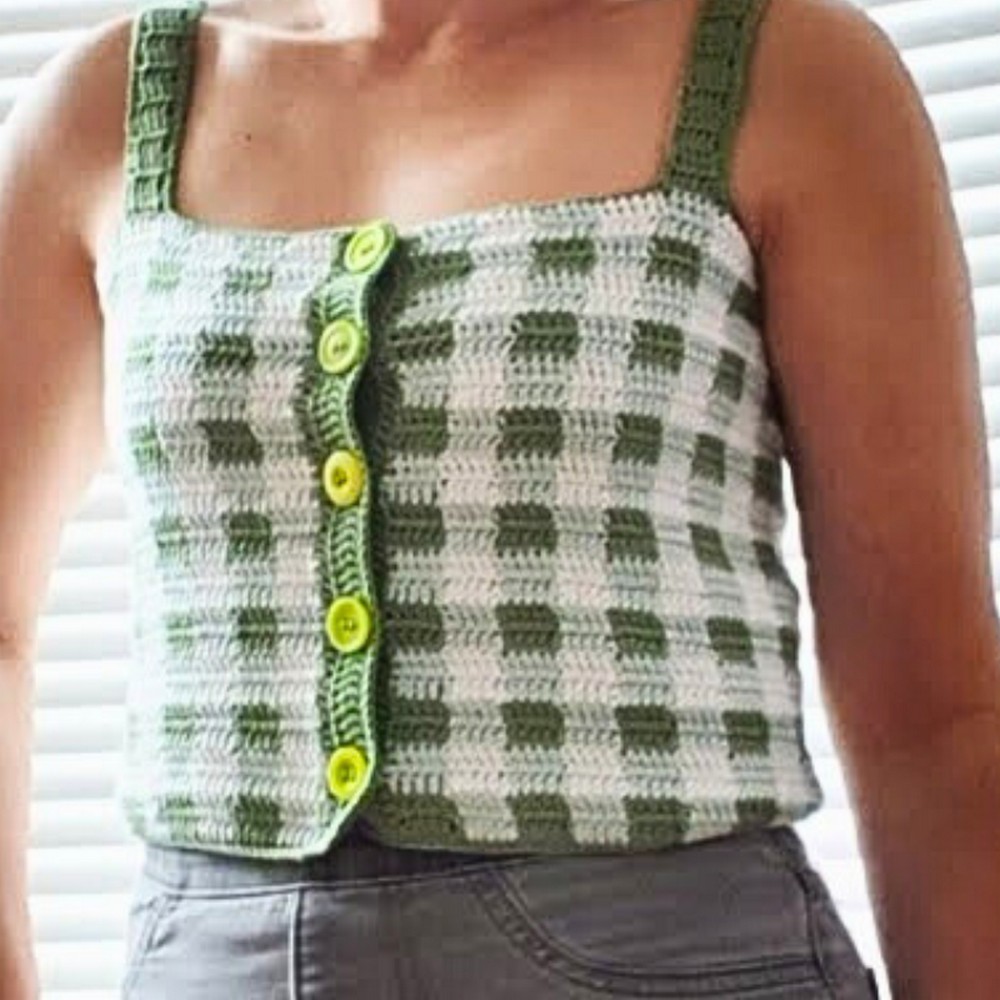
This design stands out for its perfect balance of simplicity and sophistication. The clean, alternating blocks of color create a striking checkerboard effect that looks intricate yet remains beginner-friendly. With its lightweight structure and playful pattern, it’s as versatile as it is beautiful, giving you the freedom to pair it with jeans, skirts, or shorts. Let your creativity shine by choosing your favorite colors for a tailored look that’s both eye-catching and uniquely yours.
Credit KunitaHandmade
Materials & Tools Needed
To create this beautiful gingham crop top, here’s what you’ll need:
- Yarn: Bamboo cotton yarn in three shades:
- Dark green
- Light (seafoam) green
- White
Tip: Bamboo cotton is soft and breathable, perfect for summer wear.
- Crochet Hook: Size 3 mm crochet hook.
- Additional Tools:
- Scissors
- Tape measure (to customize size)
- Lining needles (for weaving in ends)
- Buttons (number depends on your preference for closure style).
Finished Size & Customization Ideas
Approximate Size:
- The size of the top is adjustable since you measure the initial chain to fit around the body. The crop top is crocheted in rows and built up to the desired length.
Customization Tips:
- To adjust size:
- Customize the foundation chain length to suit your bust measurement. Ensure it’s a multiple of 5 for the gingham pattern to work.
- Use different yarn weights: Try thinner or thicker yarn for different textures. Adjust the hook size accordingly. Adjust this if using materials other than bamboo cotton.
- Modify the straps: Adjust the strap length by crocheting fewer or more rows to fit your shoulder height.
- Change colors: Experiment with contrasting or pastel shades to make your gingham pattern unique.
- Top length: Add extra rows to make the top longer or skip rows to create a bralette-style version.
Pattern Abbreviations & Terminology
This tutorial uses US Crochet Terminology:
- ch: Chain
- dc: Double Crochet
- sc: Single Crochet
- sl st: Slip Stitch
- st(s): Stitch(es)
Step-by-Step Detailed Crochet Instructions
Component 1: Creating the Gingham Patterned Body
- Foundation Chain:
- Use dark green yarn to create a slipknot and chain a foundation chain that is a multiple of 5. The length should wrap around your body.
- Add 2 chains (for turning).
- Row 1 (Dark Green Block Start):
- Double Crochet:
- Skip the first 2 chains and insert your hook into the 3rd chain. Work 5 double crochet stitches (dc) in dark green.
- Color Change:
- Before completing the 5th dc, leave 2 loops on your hook, pick up the light green yarn, and pull through to complete the stitch.
- Work 5 dc in the light green color while carrying the dark green yarn along with you (to maintain neatness).
- Alternate between dark green and light green blocks (5 dc each) until the end of the row.
- Double Crochet:
- Row 2 (Dark Green & Light Green Continuation):
- Chain 2, turn your work, and continue with the same pattern:
- Ensure dark green stitches are on top of dark green blocks, and light green stitches are on top of light green blocks from the first row.
- Carry the yarn not in use along the back.
- Repeat for two rows per color block to create consistent bands in the gingham pattern.
- Chain 2, turn your work, and continue with the same pattern:
- Row 3 (White & Light Green Blocks):
- After two rows of dark green and light green bands, switch to the next block color set (light green and white).
- Work the same gingham pattern, alternating between blocks of 5 stitches for both colors.
- Continue this process, alternating colors, until you achieve the desired length of your top.
- Tip: Do not cut yarn after each color switch; instead, carry it along the edges. You'll cover this during finishing.
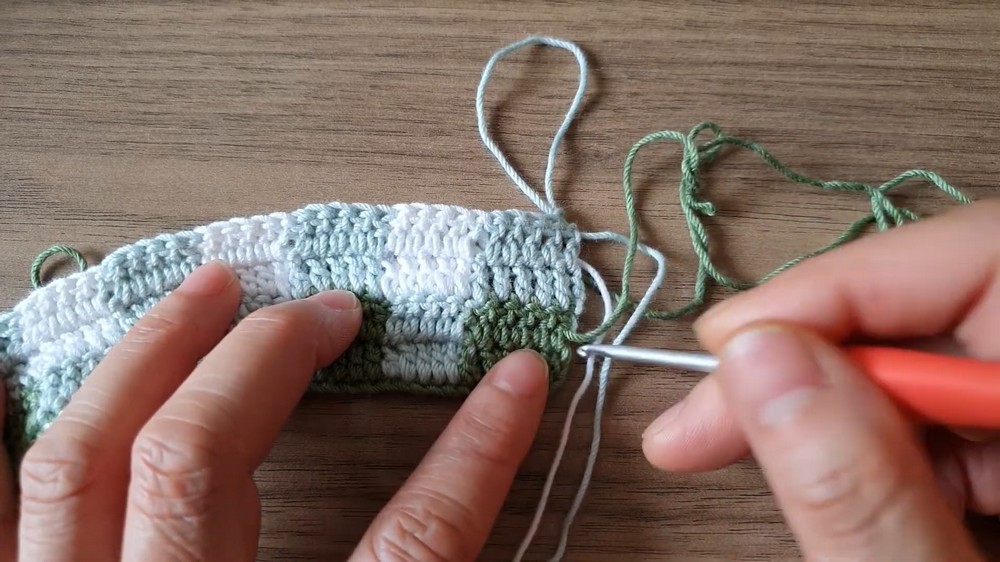
Component 2: Finishing the Edges (Button Side and Buttonholes)
- Edging for Buttons:
- Attach dark green yarn at the left side of your top. Work 3 rows of double crochet (dc) evenly along the edge to create a thick button band capable of holding buttons securely.
- Fasten off.
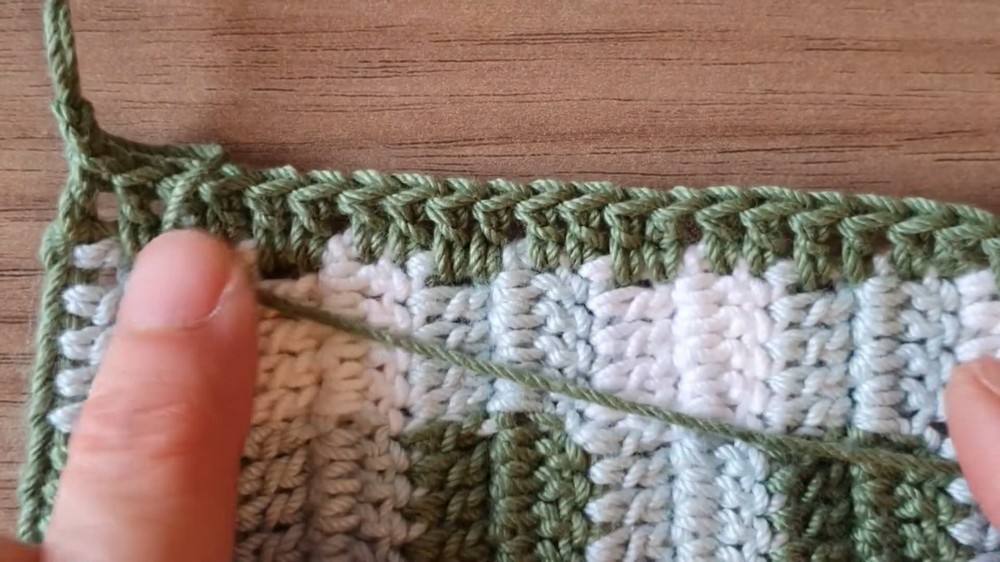
- Edging for Buttonholes:
- Attach dark green yarn to the opposite side.
- Row 1: Work 2 single crochet (sc) stitches into each row-end along the edge.
- Row 2 (Buttonholes): Work sc across the row, but when you decide where the buttonholes will go:
- For large buttons: Work 1 chain space, skip 1 stitch, and continue sc.
- Repeat for the number of buttons you intend to attach.
- Row 3: Work a sc into the chain space created for the buttonholes to secure them.
- Fasten off and weave in ends.
Component 3: Creating the Straps
- Placement of Straps:
- Decide where to attach the straps. Measure equal distances from the center on the front and back of the top to ensure symmetry.
- Mark placement points with stitch markers.
- Crocheting the Straps:
- Attach yarn to the first placement point on the front.
- Work 5 dc stitches for the width of the strap.
- Chain 2, turn, and continue working rows of 5 dc until the desired strap length is reached.
- Repeat for the second strap.
- Connecting the Straps to the Back:
- Ensure straps are not twisted. Attach them to the back placement points using slip stitches (sl st).
- Fasten off and weave in ends.
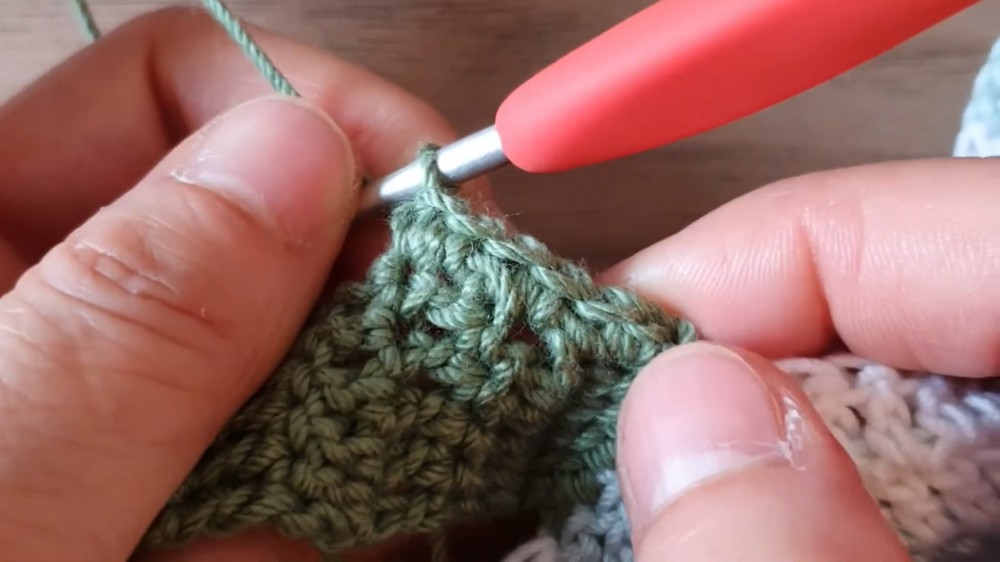
Component 4: Finishing the Top with a Single Crochet Edging
- Edging for the Entire Top:
- Attach dark green yarn to a corner of the top and work a single crochet (sc) edging around the entire top:
- Work sc stitches along the bottom edge, up the sides, around the straps, and all the way back to the starting point.
- Add 2 sc in each corner for a smooth look.
- Attach dark green yarn to a corner of the top and work a single crochet (sc) edging around the entire top:
- Weaving in Ends:
- Weave in all loose yarn ends with a lining needle for a polished finish.
Final Touch
Your crochet gingham crop top is complete! Attach buttons securely to one side of the top (matching your buttonholes). Try it on to ensure the straps fit perfectly and the buttons align properly.