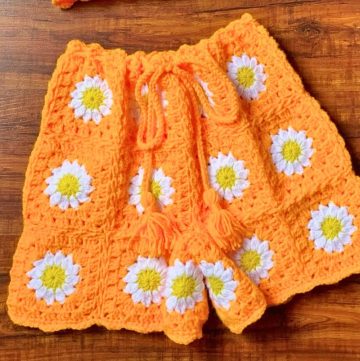
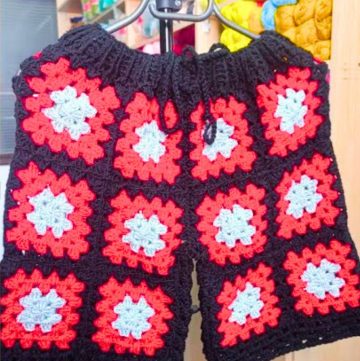
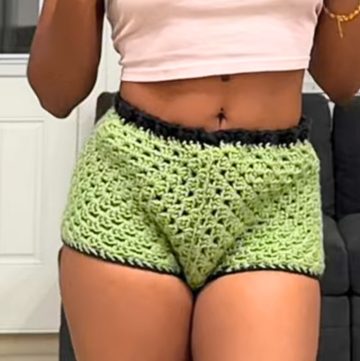
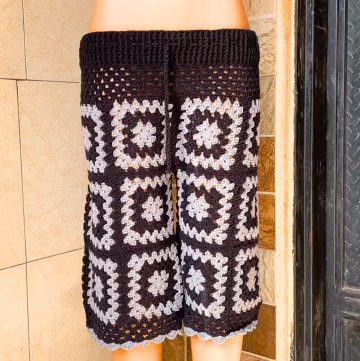
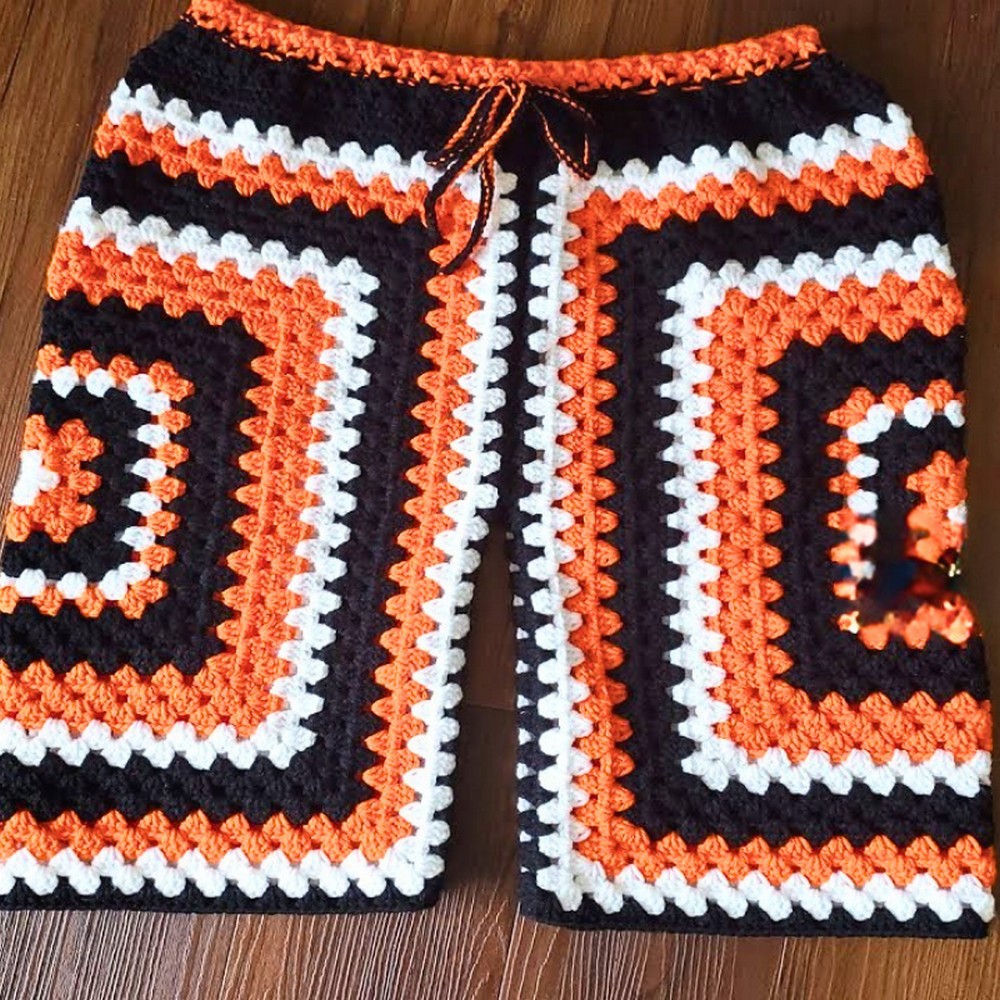
Granny square basketball shorts are a fun and creative way to bring crochet into wearable fashion. These shorts are not just cozy but also feature a vibrant pop of color, making them stylish and unique. Perfect for lounging, working out, or gifting, they’re designed to be both comfortable and eye-catching. Whether made for kids or adults, they are adjustable to fit nearly anyone.
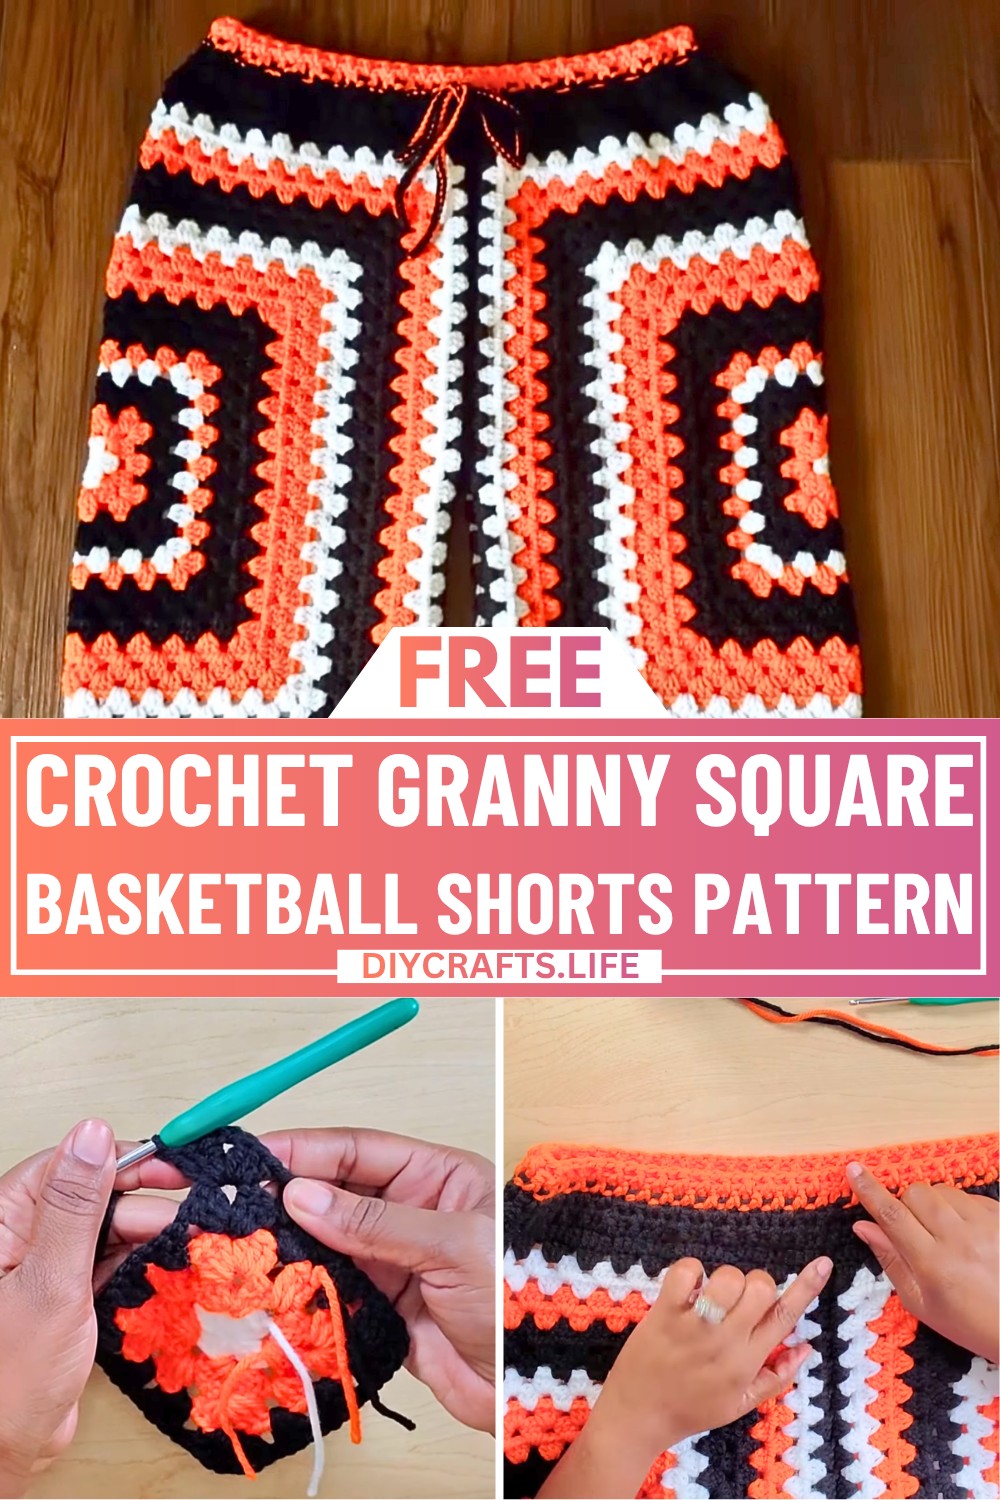
The magic of these crochet shorts begins with simple granny square panels you can stitch in your favorite colors. Made by combining panels into shorts, the design offers a creative use of classic crochet techniques. You’ll love how straightforward it is to measure and customize the fit—just use a measuring tape for accurate sizing, ensuring they’re breathable and snug. Switch up the waistband or length with color accents to make the design truly your own. Add the drawstring for a finished look that fits well and feels secure.
Credit Creative Hands by SHAY
Materials & Tools Needed
- Yarn: Medium weight (size 4) yarn in three colors: Black, White, and Orange.
- Hook: 4.5 mm crochet hook & 4.0 mm crochet hook (optional for size adjustments).
- Additional Tools:
- Scissors
- Measuring tape
- Darning needle or tapestry needle
- Stitch markers (optional for precision)
Finished Size & Customization Ideas
- Size in the Tutorial: The shorts were made for a child measuring 22 inches wide (each panel) and a length of 23 rows.
- Customization:
- Measure the thigh circumference of the person you're making the shorts for and adjust the number of rows accordingly.
- Use additional rows or larger hooks for adult sizes.
- Experiment with different color combinations to personalize the look.
Key Measurements:
- Panel width: Should comfortably wrap around the thigh.
- Shorts inseam: Adjust rows based on leg length or preference.
- Waistband: 117 stitches in the waistband for the size shown, but adjust based on fit.
Pattern Abbreviations & Terminology
(US Terminology)
- ch - Chain
- dc - Double Crochet
- sc - Single Crochet
- sl st - Slip Stitch
- YO - Yarn Over
- sp - Space
- rep - Repeat
Step-by-Step Detailed Crochet Instructions
We'll break the pattern into sections for clarity.
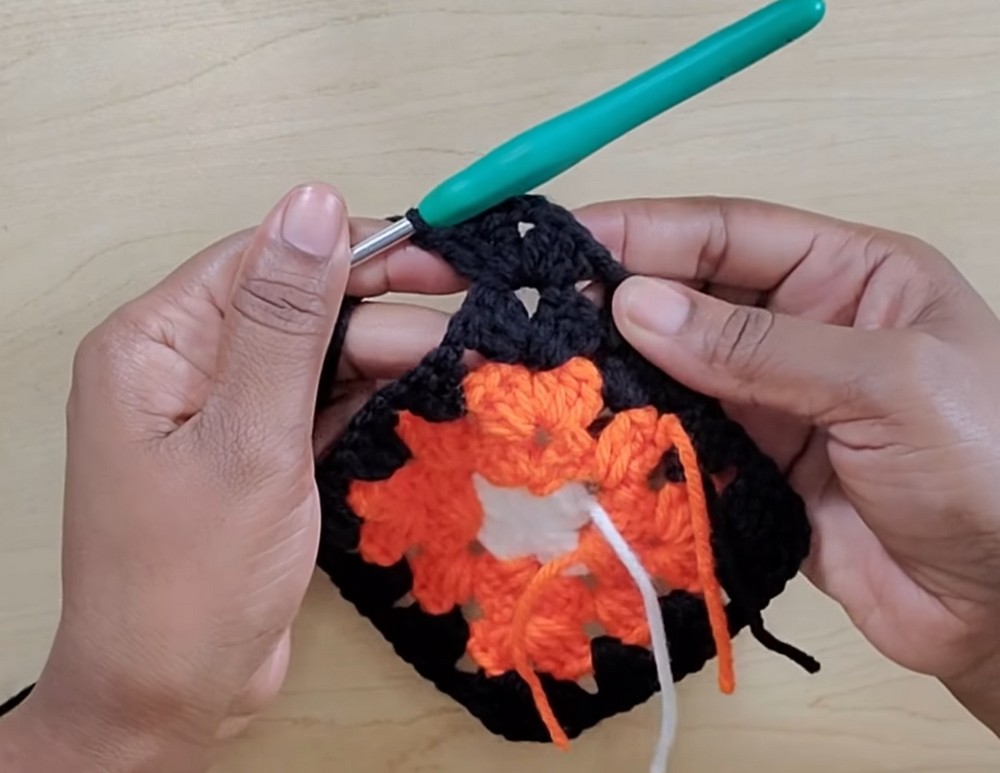
Step 1: Create the Granny Square Panels
- Center Start:
- Create a magic ring (or chain 4 and join to form a ring).
- Chain 3 (counts as the first double crochet).
- Inside the ring, work 3 double crochet (dc) clusters separated by ch-2 spaces. Repeat until you have 4 clusters total.
- Pull the magic ring tight to close.
- Slip stitch into the top of the chain-3 to join. This completes Round 1.
- Fasten off (if changing colors).
- Expand the Square:
- Change color if desired (e.g., Orange as shown in the video). Attach yarn to any ch-2 corner space.
- Chain 2 (counts as the first dc), then work:
- 2 dc, ch 2, 3 dc in each corner space to form new corners.
- Chain 1 between corner clusters.
- Slip stitch into the top of the chain-2 to complete the round.
- Continuing the Granny Square:
- Repeat the process for subsequent rows:
- Work (3 dc, ch 2, 3 dc) into each corner space.
- Work 3-dc clusters separated by chain-1 into the chain-1 spaces between corners.
- Repeat the process for subsequent rows:
- Color Changes:
- Follow the color sequence in the video:
- Start with white, then add orange, and alternate to black.
- Use two rows per color after the first round.
- Follow the color sequence in the video:
- Final Panel:
- Create a total of 23 rows for each square (or adjust based on size needed).
- Make Two Panels:
- Repeat the above steps to create a second identical granny square.
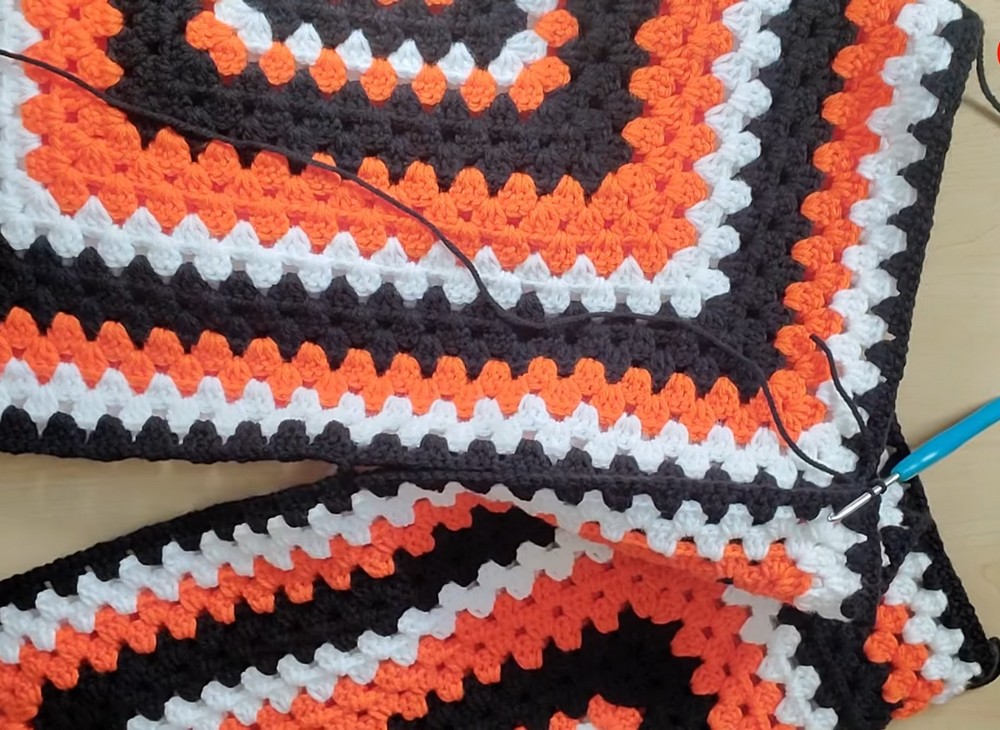
Step 2: Assemble the Shorts
- Prepare the Panels:
- Fold each square in half. The fold should line up to form one leg of the shorts.
- Place the two folded squares together, with the right sides facing inward (inside-out).
- Sew the Crotch:
- Use stitch markers or pins to mark the top 10 inches from the waistband. This will create the leg opening.
- With black yarn and a darning needle (or crochet hook for slip stitching), sew the marked sections on both folded edges of the squares. This forms the shorts' crotch.
- Sew the Inner Legs:
- Sew or slip stitch to join the inseam (down the inner legs) to complete the shorts' basic assembly.
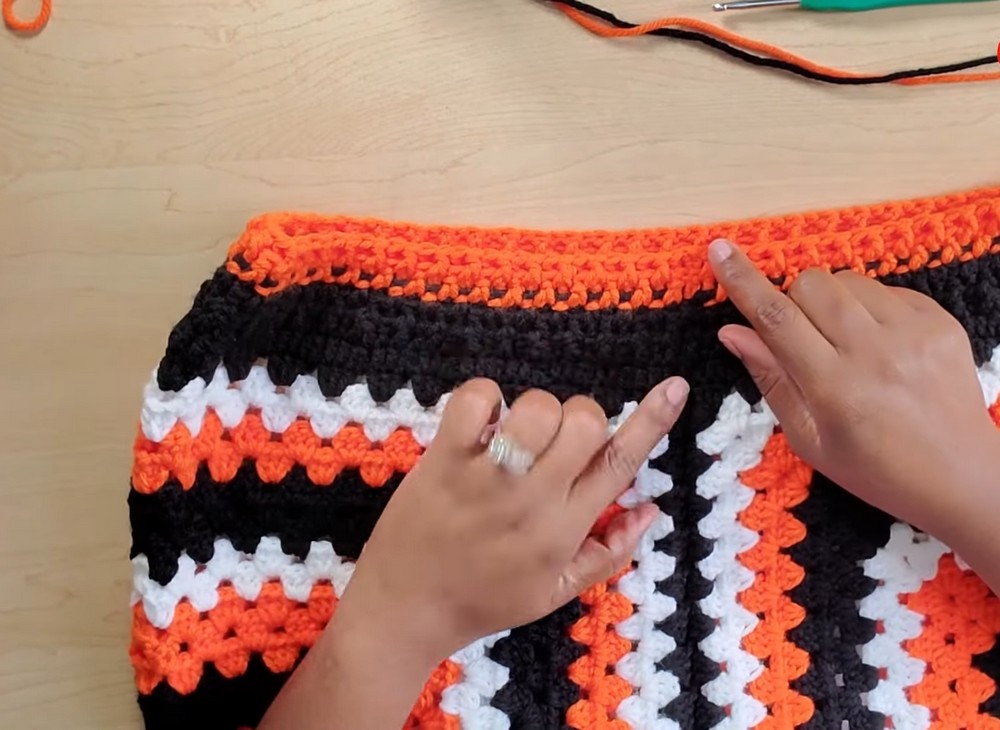
Step 3: Waistband
- Create a Fitted Waistband:
- Turn the shorts right side out.
- Attach black yarn to any chain-2 space at the waistband.
- Chain 3 (counts as the first dc), and then work 1 dc in each stitch around, including chain-1 spaces.
- To reduce the waistband size slightly:
- Work dc2tog in chain-1 spaces followed by a regular dc cluster.
- Add Elasticity – Front Post and Back Post Stitches:
- Work alternating front post double crochet (FPdc) and back post double crochet (BPdc) in each next stitch.
- Repeat the FPdc/BPdc pattern for 2-3 rows (the tutorial ends with 3 rows, switching to orange for the topmost row for contrast).
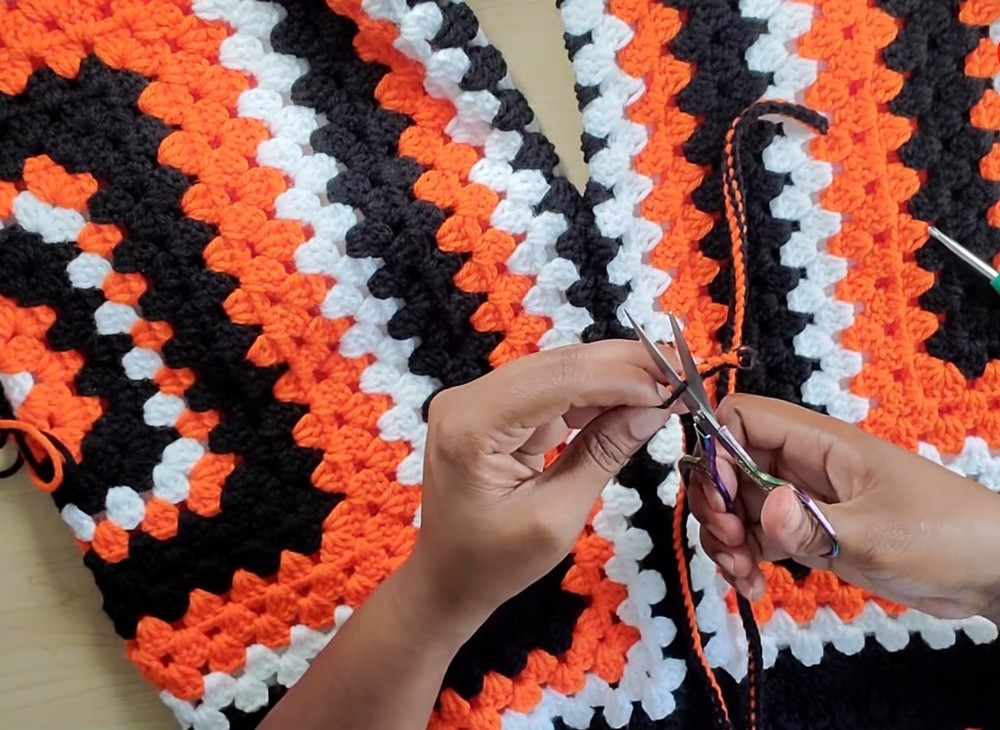
Step 4: Drawstring
- Create the Drawstring:
- Use the black and orange yarn to form a slip-stitch chain (or simple braid) measuring 26 inches unstretched.
- Weave the Drawstring:
- Use a latch pin or tapestry needle to weave the drawstring around the waistband:
- Skip 2 stitches, insert, and pull through.
- Repeat, leaving even gaps, until you reach the front.
- Adjust the length and tie into a bow.
- Use a latch pin or tapestry needle to weave the drawstring around the waistband:
Finishing Instructions
- Weave in all loose ends securely using a darning needle.
- Check for any uneven seams and reinforce if necessary.
- Block the shorts if needed for a neat finish.
- Optional: Add decorative tassels to the ends of the drawstring.
Additional Tips
- Customization:
- Adjust the number of rows on the panels for longer or shorter shorts.
- To make them wider, add a few extra rows to your granny square panels.
- Colors:
- Use any combination of colors to create a unique design!