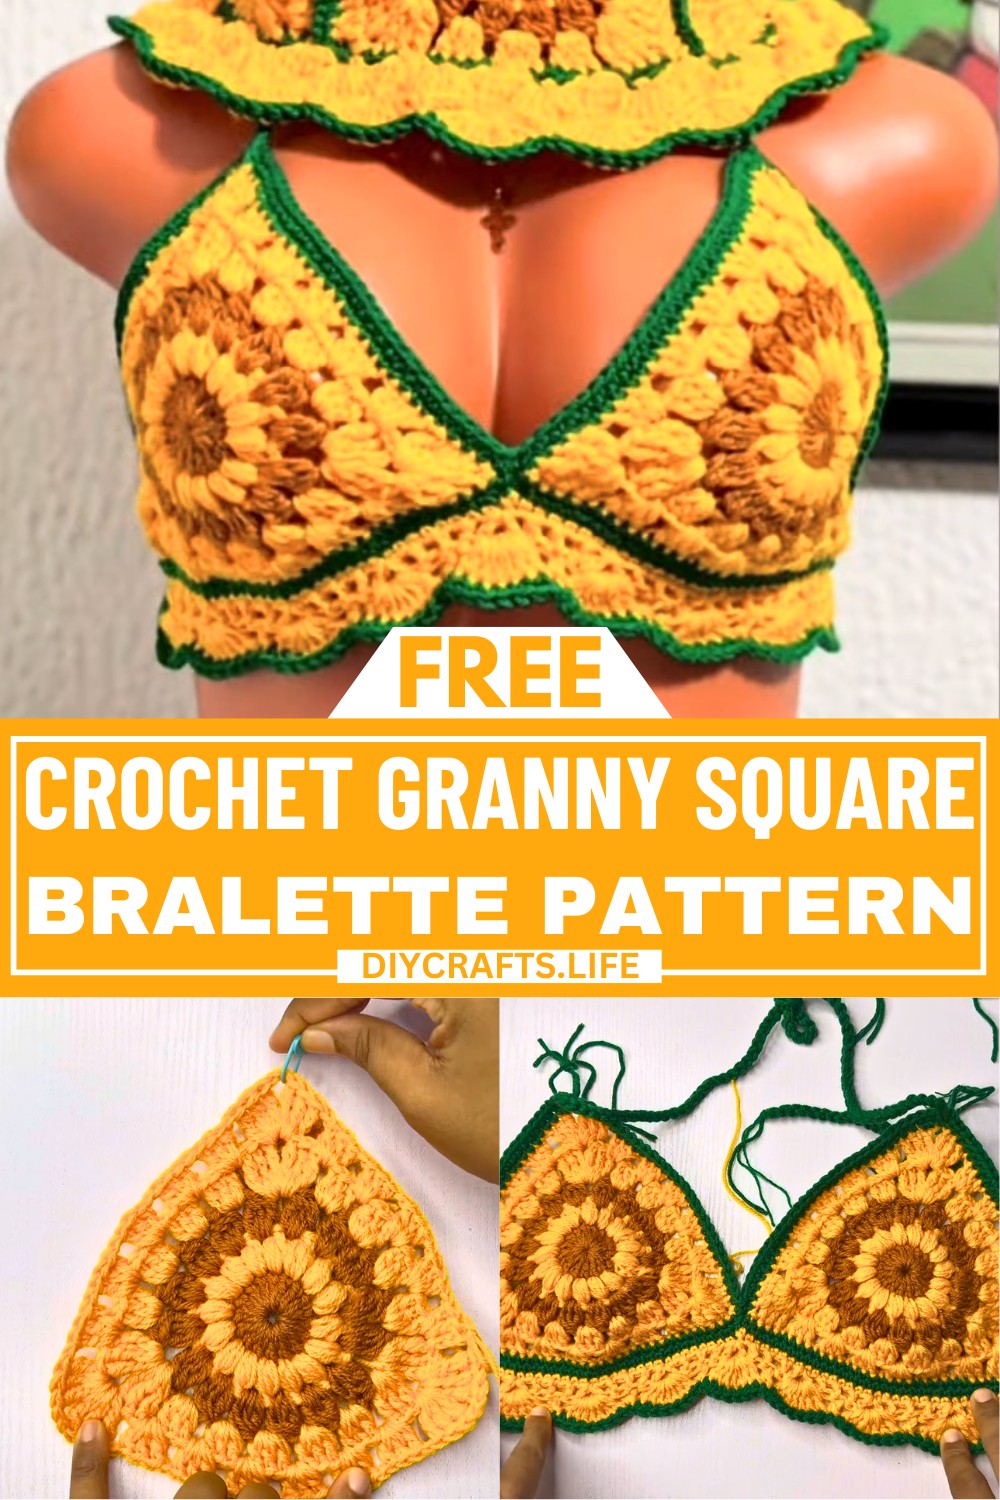
The crochet granny square bralette is a stylish and unique item that marries creativity with function. Perfect for sunny days, this bralette transforms granny square designs into wearable art, giving you an outfit that’s both eye-catching and personal. Whether you pair it with high-waisted skirts, shorts, or jeans, it’s sure to stand out while keeping you comfortable throughout the day.
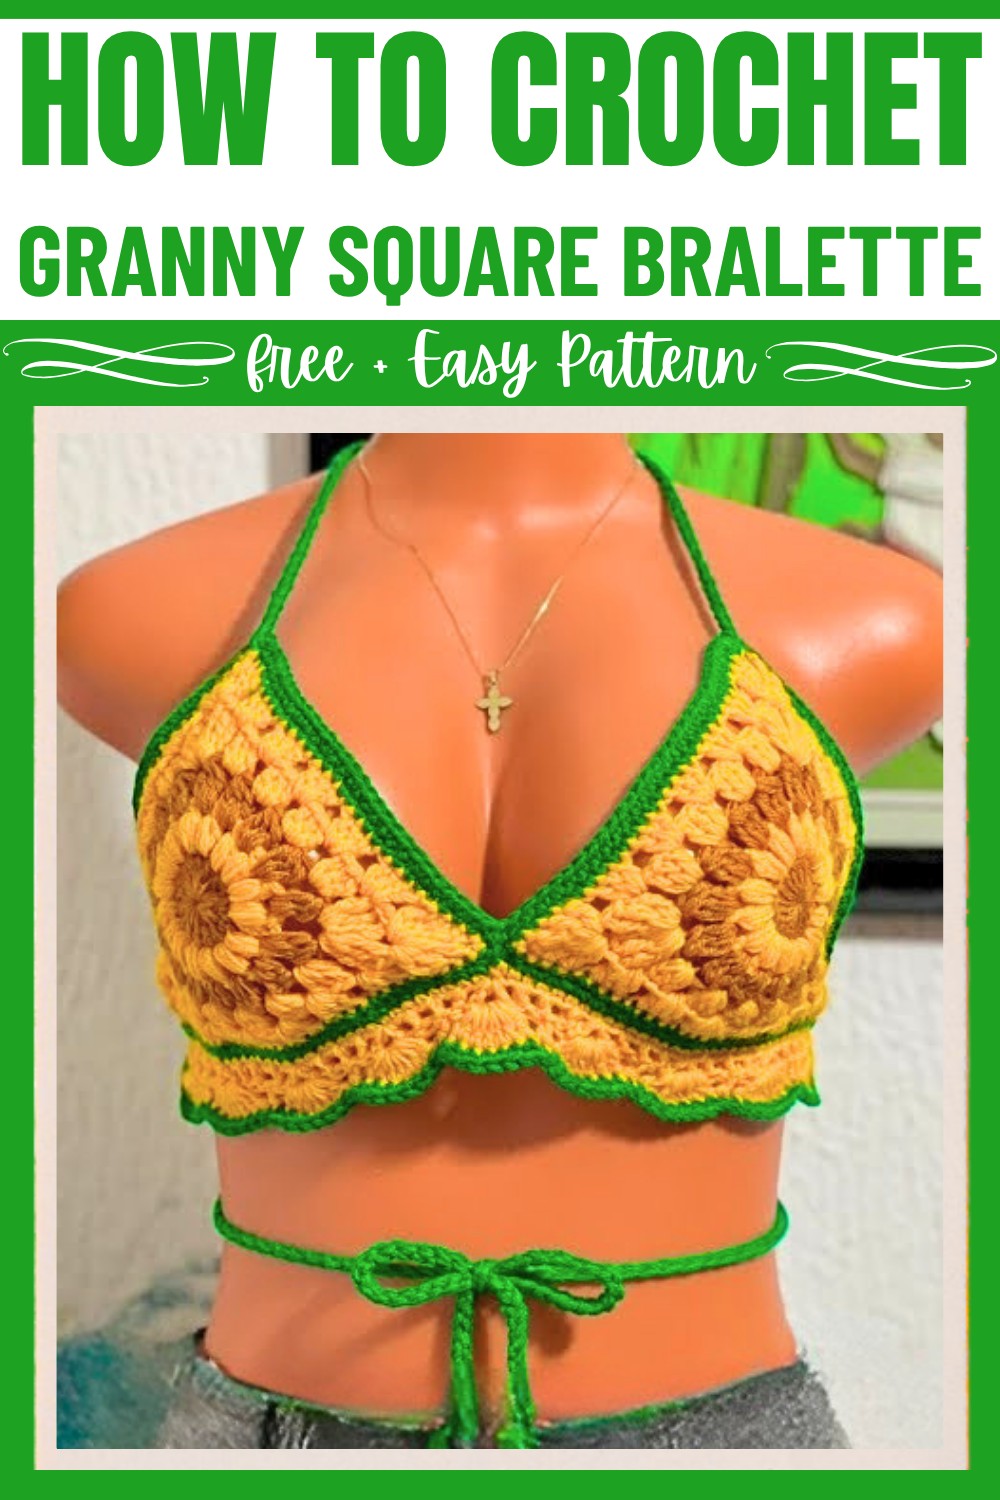
Creating this Crochet bralette has a fun rhythmic process. With carefully chosen colors and stitches, you’ll see a beautiful sunflower-inspired pattern come to life in each cup. The addition of delicate straps and neat edges makes this design practical and wearable. Plus, this piece can be personalized to fit any size or color combination, making it as special as the person wearing it. Whether you’re experienced in crochet or just curious, this tutorial makes the design approachable.
Credit FTK Crochet
Materials & Tools Needed
- Yarn: Milk Cotton Yarn
- Hook Size: 4.5 mm (as in the tutorial)
- Scissors
- Stitch Markers (optional but recommended)
- Measuring Tape
- Tapestry Needle (to weave in ends)
Finished Size & Customization Ideas
- Size: Suitable for a bust size determined by creating additional rows of the “bra cups” based on personal measurements. Adding rows allows customization for larger busts.
- Customization:
- Adjust the number of rows for a larger/smaller fit.
- Use different yarn colors for unique effects (match or contrast with outfits).
- Add decorative edging or extra straps for flair.
Pattern Abbreviations & Terminology
- ch = Chain
- dc = Double Crochet
- tr = Treble Crochet
- sc = Single Crochet
- sl st = Slip Stitch
- st = Stitch
- sp = Space
- YO = Yarn Over
- cluster stitch = Three double crochets (dc) worked together in one stitch
Step-by-Step Crochet Instructions
Breakdown of the tutorial's detailed steps follows. Each round/component is explained with complete attention to stitch counts, joining methods, color changes, and finishing techniques.
Bra Cup
Step 1 - Round 1: Foundation Row (Brown Yarn)
- Magic Ring: Create a magic ring.
- Foundation Stitches:
- Chain 2 (does not count as a stitch).
- Make 16 double crochets (dc) into the magic ring.
- Close Round: Join with a slip stitch into the first stitch of the round.
- Fasten Off: Chain 1, cut off yarn, and secure. Switch to yellow yarn.
Step 2 - Round 2: Puff Stitch Row (Yellow Yarn)
- Reattach Yarn: Attach yellow yarn anywhere.
- Chain: Chain 2.
- Puff Stitches:
- In each stitch, create 1 puff stitch:
- Yarn over, pull up a loop (repeat 3 times into the same stitch) until there are 6 loops on the hook.
- Yarn over and pull through all 6 loops.
- Chain 1 to secure the puff stitch.
- Repeat for all 16 stitches in the round.
- In each stitch, create 1 puff stitch:
- Close Round: Slip stitch into the first puff stitch from the row. Chain 1, fasten off.
Step 3 - Round 3: Cluster Stitch Row (Brown Yarn)
- Reattach Yarn: Attach brown yarn into any space between puff stitches.
- Cluster Stitches:
- Chain 2 (counts as 1 dc in this row).
- Into each space between the puff stitches:
- Create 1 cluster stitch (3 double crochets into the same space).
- Chain 2 in between clusters.
- Repeat until there are 16 cluster stitches.
- Close Round: Slip stitch into the first stitch; chain 1, fasten off.
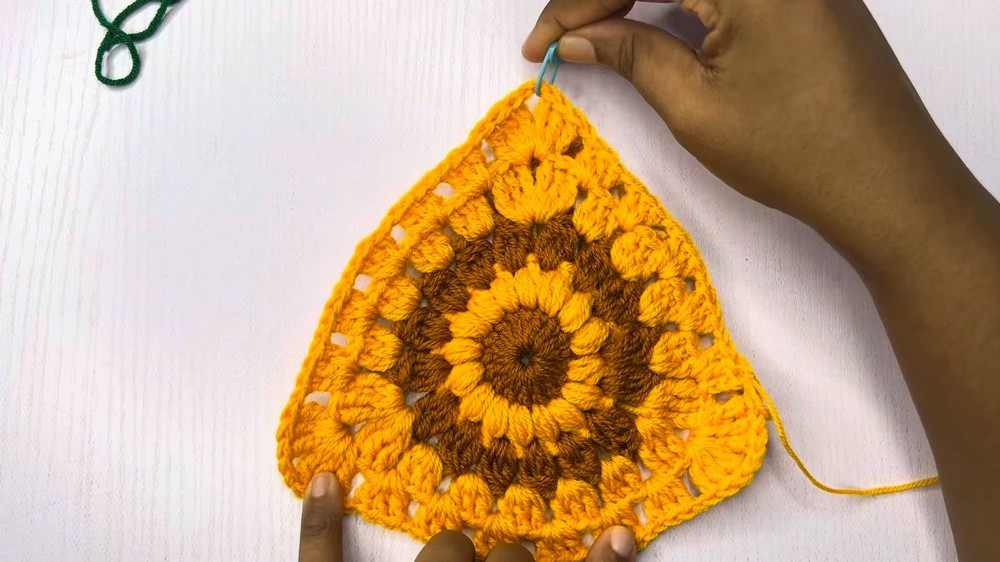
Step 4 - Turning Circle into Triangle
- Reattach Yellow Yarn: Attach yellow yarn to any space.
- Form the Base:
- Chain 4 (counts as the first treble crochet).
- Make 2 treble crochets into the same space.
- Sides of Triangle:
- Chain 1, make 3 double crochets in the next space.
- Repeat 3 dc in the next space until the triangle’s side has 4 clusters of 3 dc each.
- Corners:
- In the next space, create:
- 3 treble crochets, chain 2, 3 treble crochets (corner formed).
- Repeat for the final corners but ensure the bottom edge has 5 clusters, and each side has 4 clusters (making the bottom wider).
- In the next space, create:
- Close Round: Slip stitch at the start of the round; chain 1, fasten off.
Step 5 - Optional Row (For Larger Sizes)
- Create additional rows if needed by repeating the triangle pattern, maintaining corners and cluster distribution across the bottom and sides.
Step 6 - Single Crochet Edging (Green Yarn)
- Attach green yarn and chain 1.
- Create single crochet stitches evenly along the edges of the bra cup. Slip stitch in certain areas (such as trebles) to maintain shape.
- Fasten off at the end.
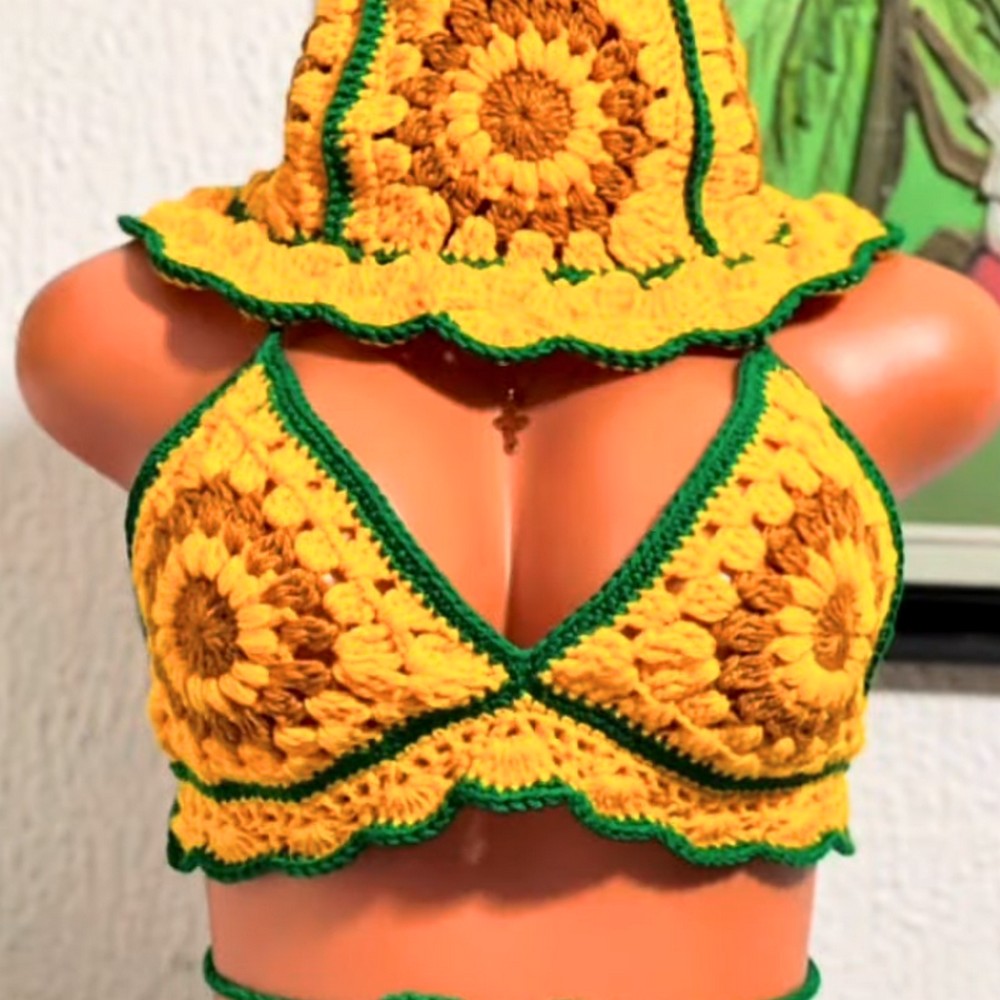
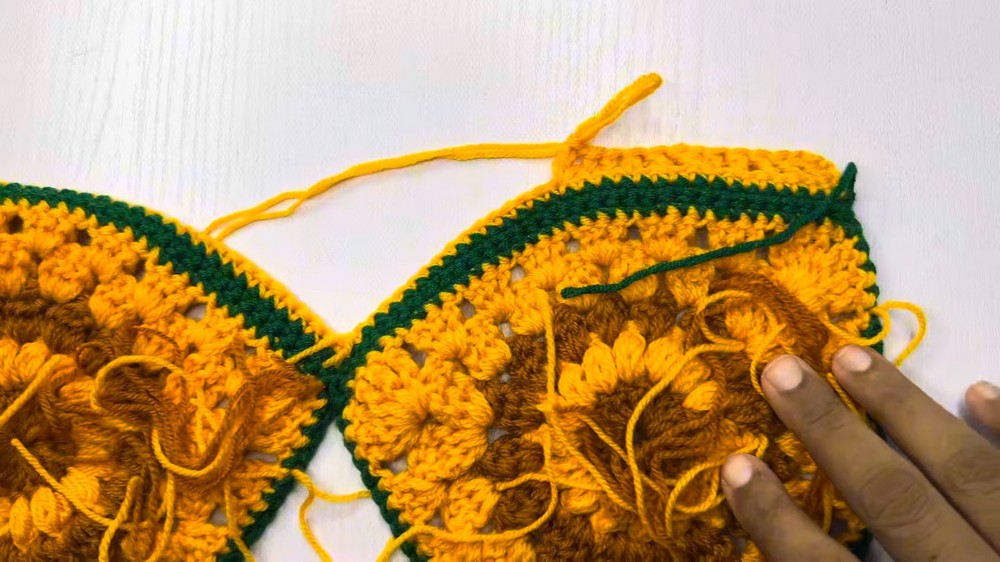
Joining Cups
- Position the cups with the wider edges at the bottom (use stitch markers to identify tops/bottoms).
- Join with Green Yarn:
- Attach yarn at the corner of one bra cup.
- Work single crochet along that edge until the middle.
- Slip stitch the two middle stitches of both cups together.
- Work single crochet down the edge of the second cup.
- Fasten off, ensuring cups are securely attached.
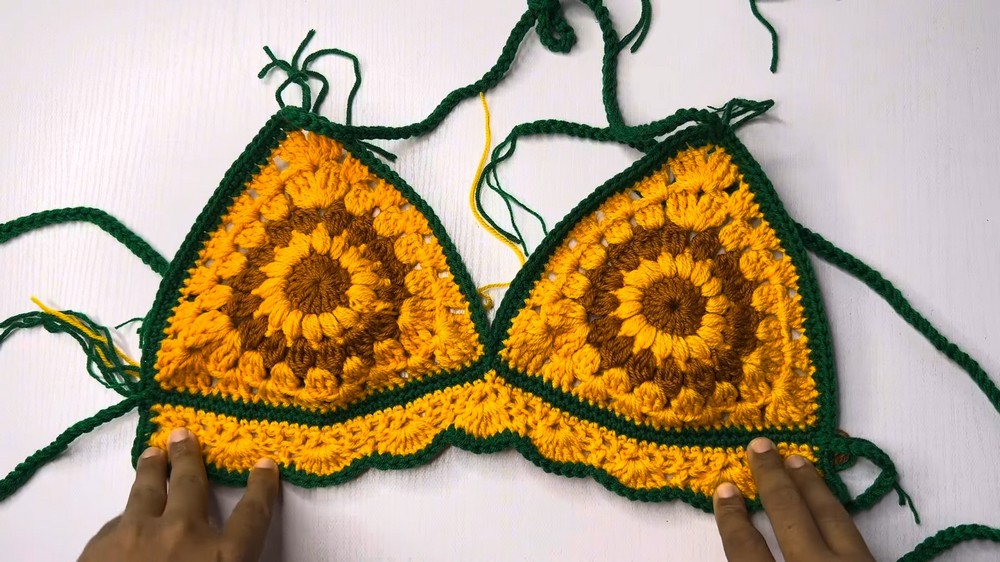
Bottom Edging
- Attach yellow yarn at the bottom edge.
- Work single crochet along the bottom row of the cups.
- At the middle join, perform a decrease:
- Insert hook into a stitch on one cup, draw yarn through.
- Insert hook into the next stitch on the other cup, YO, pull through all loops. This creates a smoother curve.
- Finish the row and fasten off.
Straps
Neck Straps
- At the top corner of each bra cup:
- Attach yarn and chain 80.
- Fasten off.
Back Straps
- At the bottom corners of each bra cup:
- Attach yarn and chain 100 (or longer based on personal fit).
- Fasten off.
Final Touches
- Weave in all ends with a tapestry needle.
- Block the bralette for even stitches and shape retention.