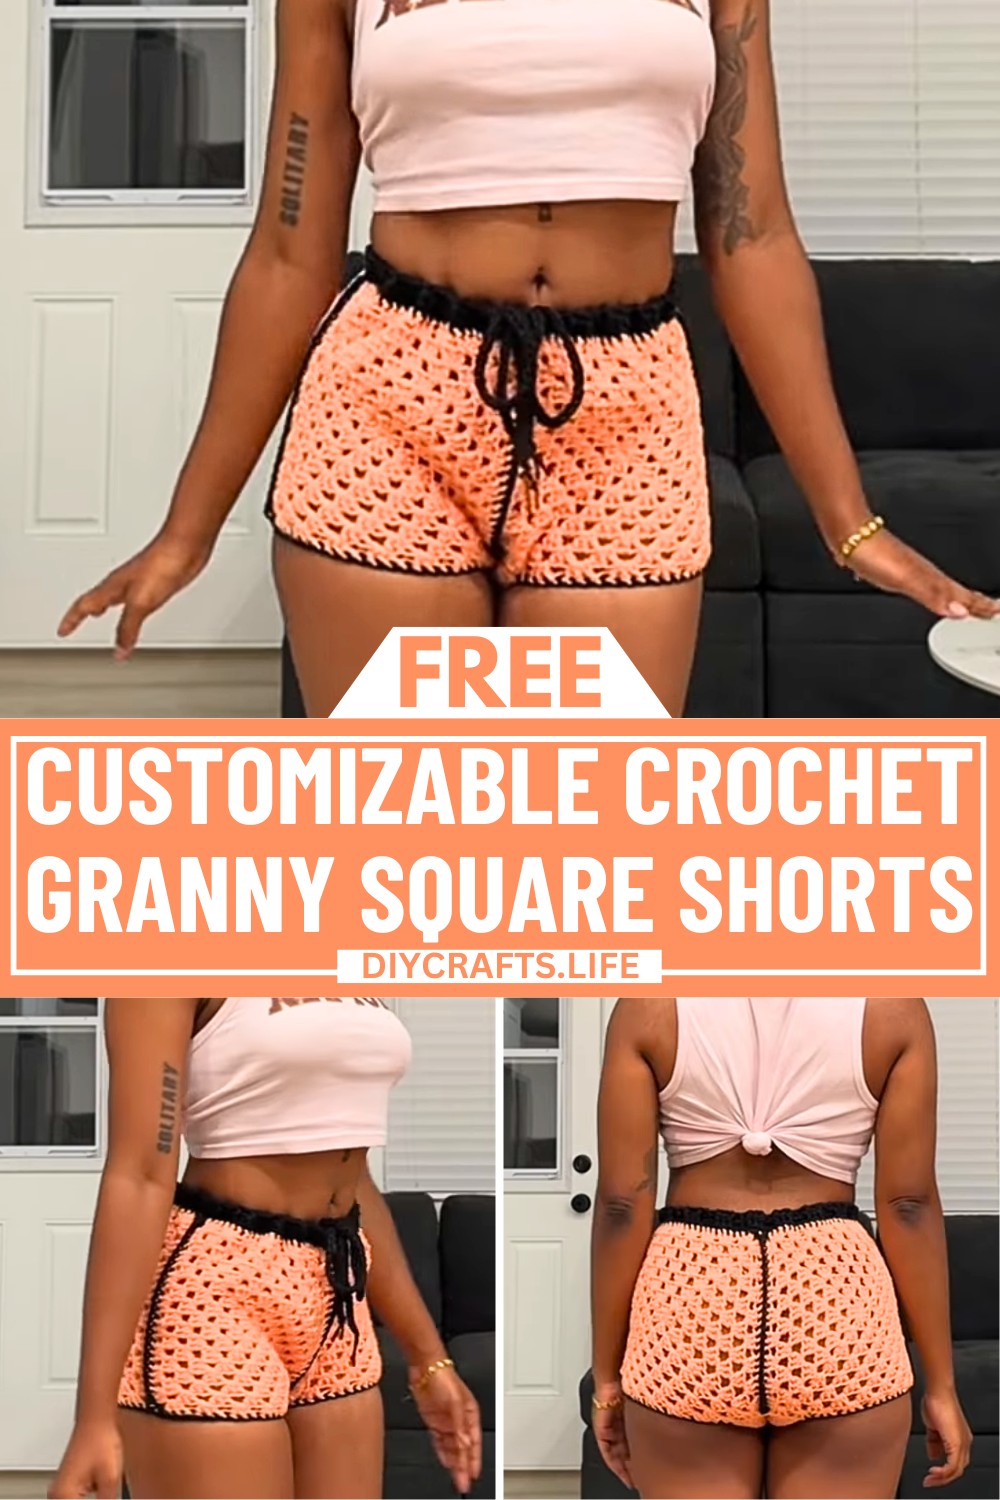
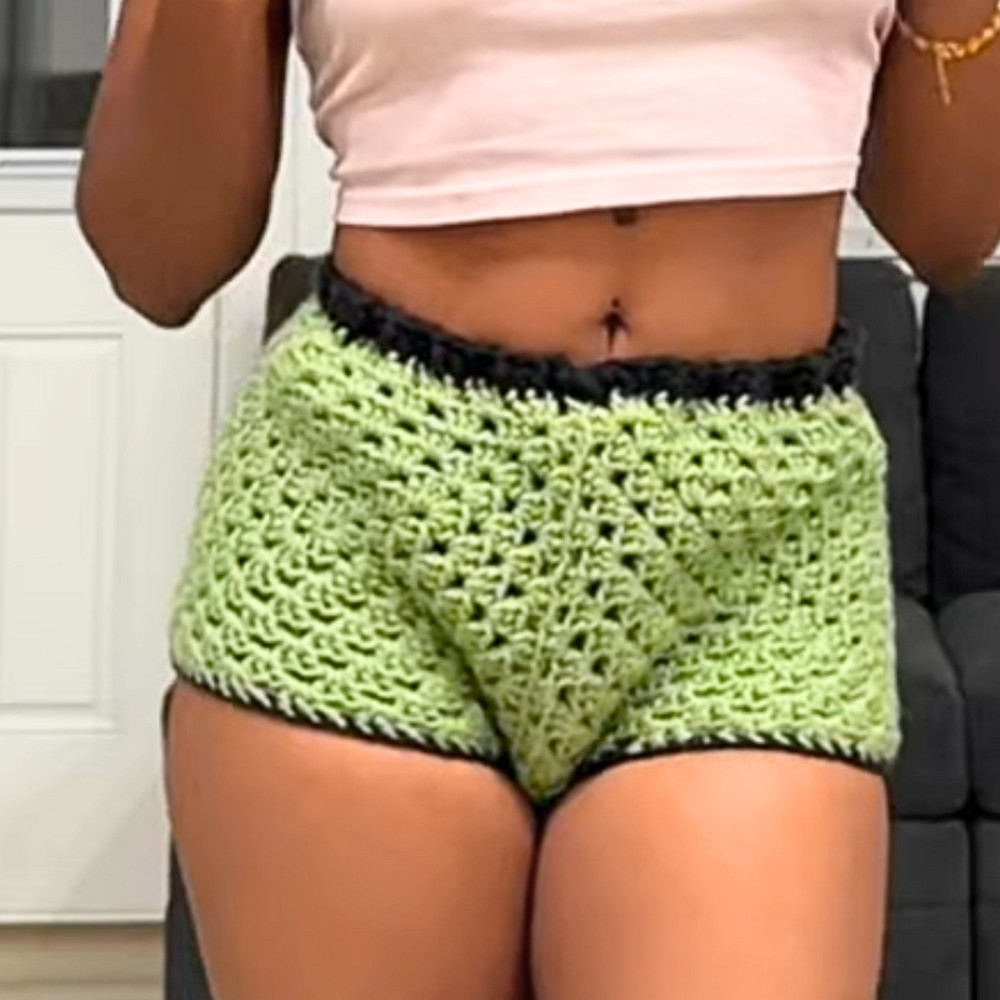
Granny square shorts are a fun and wearable crochet masterpiece. Perfect for sunny days, lounging, or even as a beach outfit, they combine vibrant patterns with comfort. What makes them special is their blend of creativity and functionality — a unique way to turn classic crochet squares into trendy, everyday clothing.
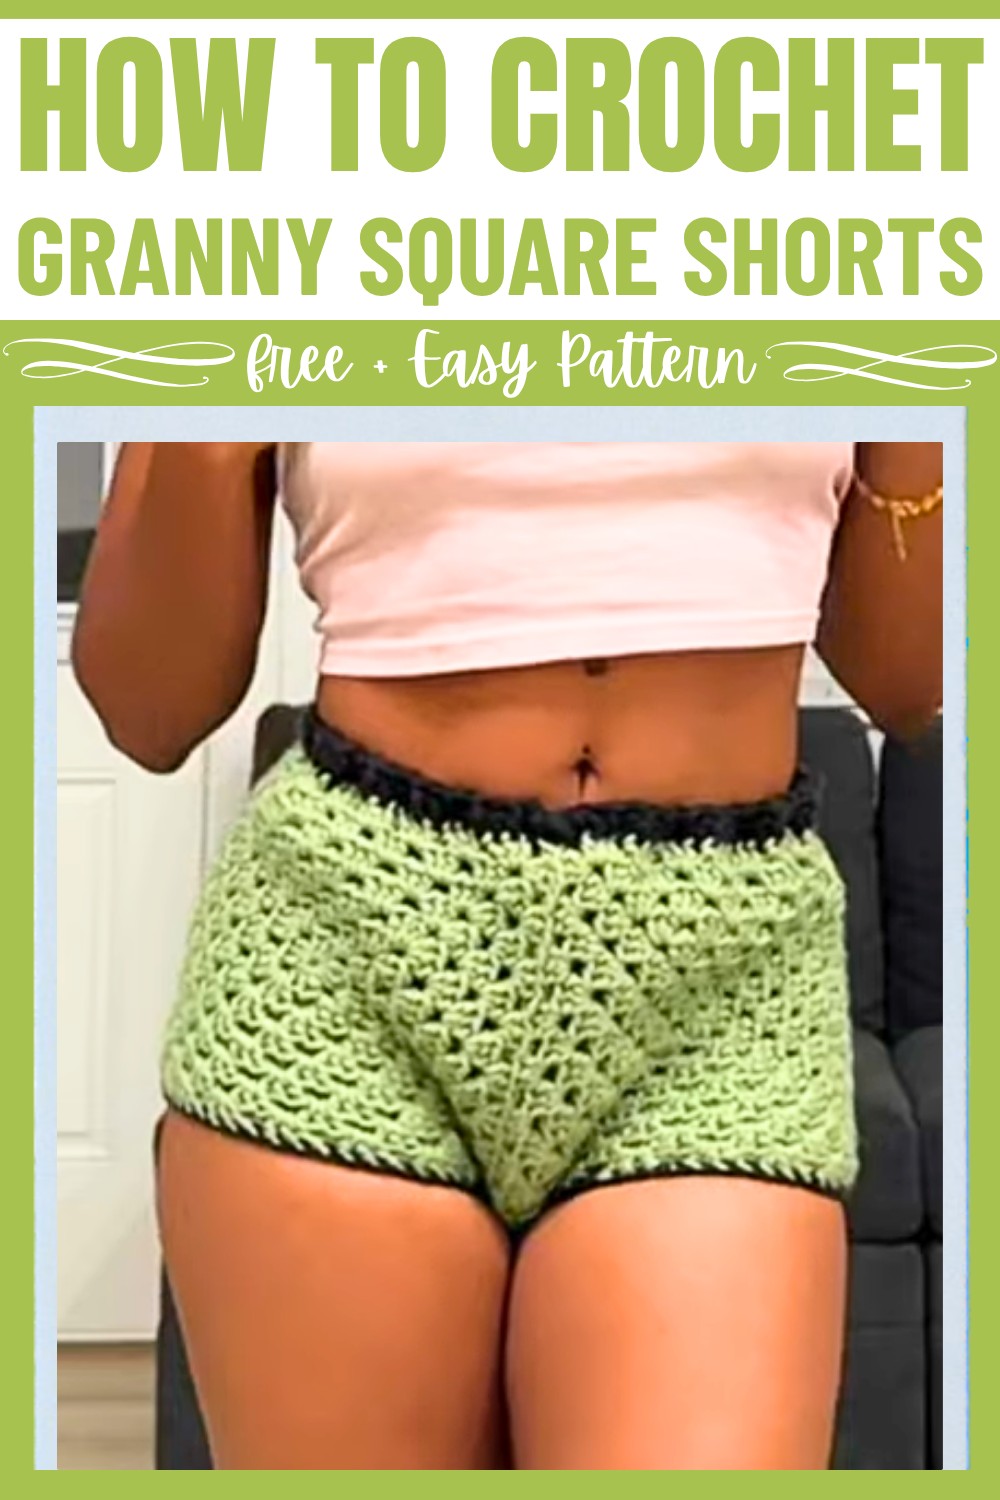
Using just a few basic supplies like yarn, hooks, and scissors, you can make shorts tailored to your ideal fit with sizes ranging from extra small to 3X. The process involves crocheting individual squares, assembling them, and adding functional elements like a waistband and drawstring for adjustability. This allows you to personalize both the look and fit, whether you prefer bold, bright colors or something neutral.
Granny square shorts stand out because they merge traditional crochet designs with a modern twist, making them both stylish and versatile. They’re perfect for anyone looking to add handmade charm to their wardrobe, and they’re sure to turn heads wherever you go.
Credit Lovely Liyah
Materials & Tools Needed
- Yarn: Choose your preferred fiber type and colors. You can use as many colors as you like for the squares.
- Hooks:
- 6mm crochet hook (granny squares)
- 6.5mm crochet hook (optional for crochet seam sections)
- 12mm hook (optional for loose ends/seam finishes)
- 7mm hook (waistband crochet)
- Other Tools:
- Measuring tape
- Darning needle
- Scissors
Finished Size & Customization Ideas
The tutorial offers sizes from Extra Small (XS) to 3X. While the creator has primarily tested XS to XL, the instructions extend for larger sizes based on custom measurements.
Customization Ideas:
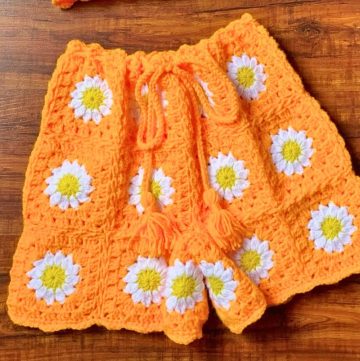
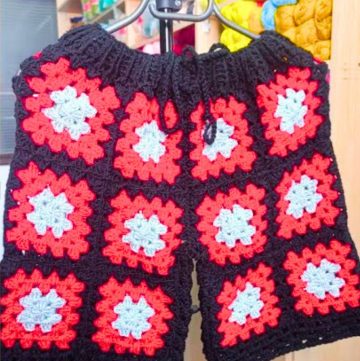
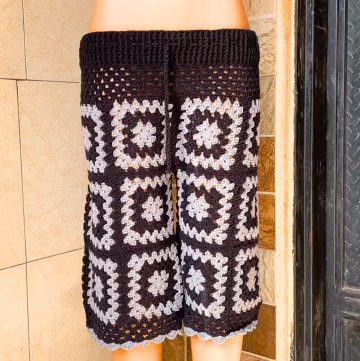
- Color Theme: Experiment with vibrant granny square combinations or muted tones.
- Square Size: Adjust the size of granny squares to modify shorts dimensions or to create a skirt instead.
- Additions: You can make the waistband wider or add embellishments like pom-poms or tassels to the drawstring.
Pattern Abbreviations & Terminology
- Ch = Chain
- Sl st = Slip Stitch
- Sc = Single Crochet
- Dc = Double Crochet
- FPDC = Front Post Double Crochet
- BPDC = Back Post Double Crochet
- Rep = Repeat
- St(s) = Stitch(es)
Step-by-Step Detailed Crochet Instructions
To create the Granny Square Shorts, break your work down into several components: Granny Squares, Crotch Panel, Assembly, Leg Seams, Waistband, and Drawstring.
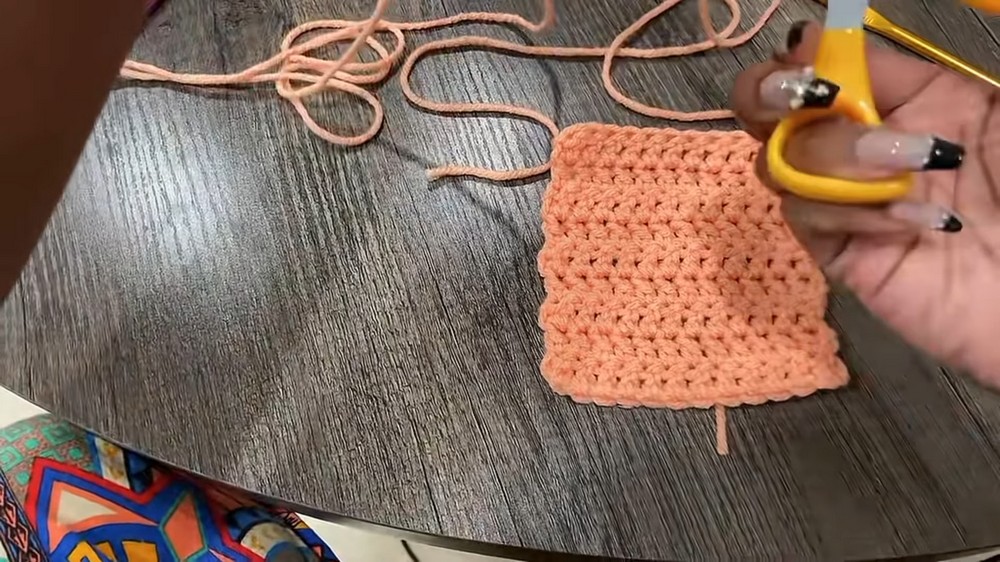
1. Granny Squares
For a size Small, you will need 4 Granny Squares. Refer to the provided size chart in the video to adjust square dimensions for your chosen size. Each granny square is worked in rounds.
Step-by-Step for Granny Square:
- Round 1: Begin with a magic ring (or chain 4 and join with a sl st to form a ring). Work (3Dc, Ch2) four times inside the ring. Sl st to join.
- Round 2: Sl st to the corner space, then (Ch2, 3Dc, Ch2, 3Dc) in the same space. Repeat for all corners, with Ch1 between each corner cluster. Sl st to join.
- Round 3: Continue expanding your granny square by working (3Dc, Ch2, 3Dc) in each corner space and 3Dc into each Ch1 space from the previous round. Sl st to join.
- Rounds 4-8: Repeat the pattern, adding 3Dc clusters into each Ch1 space between corners, and working (3Dc, Ch2, 3Dc) into each corner space. Sl st to join at the end.
Repeat these steps to make 4 squares for a size Small. Adjust the number of granny squares based on the tutorial’s size chart for other sizes.
2. Crotch Panel
For the crotch area, you will create a rectangular panel based on the size chart. Use a measurement of 4 inches wide for Small, or consult the chart for your specific size.
Steps to Make Crotch Panel:
- Foundation Chain: Chain 12 (for Small) or the number of chains indicated on the chart. Add 1 extra chain as the turning chain.
- Row 1: Start Dc into the second chain from the hook and continue across the row. Chain 1 at the end and turn.
- Row 2 (and following rows): Dc across, Ch1, and turn.
- Continue until the rectangle reaches the desired length (customized based on the size chart and your tape measure).
- Leave a tail on both ends of the panel for sewing onto the shorts later.
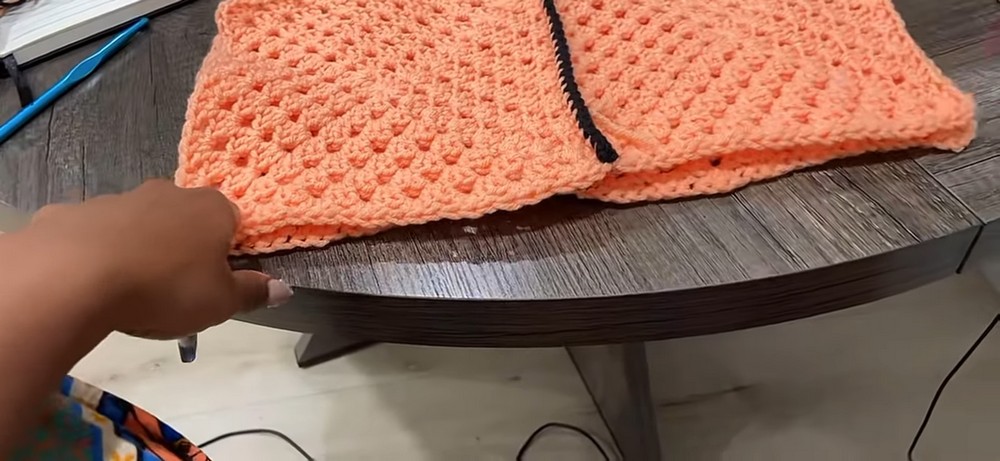
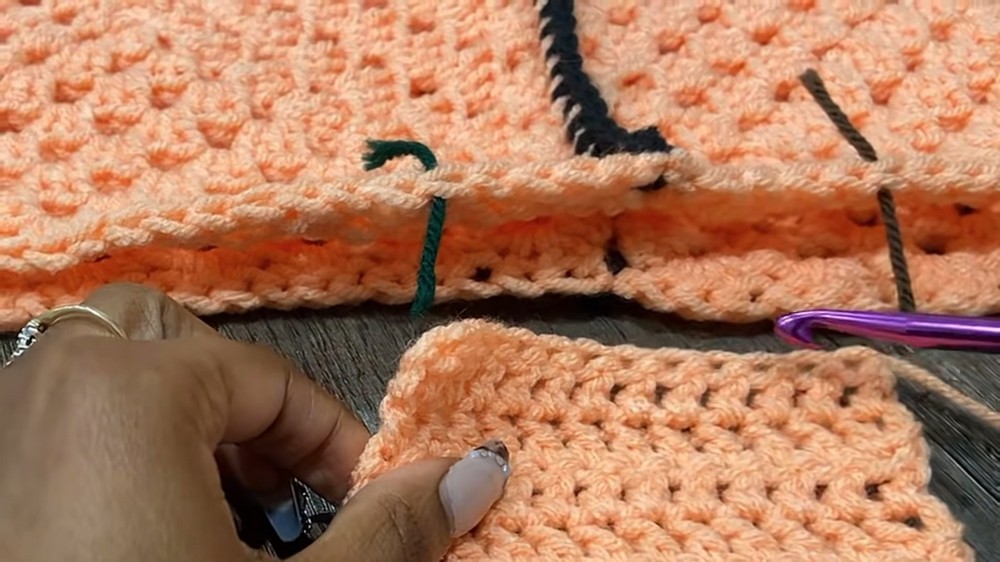
3. Assembly
Sewing Granny Squares & Crotch Panel:
- Place wrong sides together to join squares. Attach yarn to the corners using a contrasting color or the same color as desired.
- Seams:
- Corner: Work 2 Sc stitches into each corner.
- Edges: Match the stitches of the adjoining squares and work one sc in each stitch along the edge.
- Continue joining squares until you form a circular shape resembling shorts.
- Add the crotch panel:
- Fold shorts to align crotch panel placement.
- Use the ends of the crotch panel tail and sew onto shorts using back loops only for a clean, flat seam.
4. Leg Seams
- Attach yarn to one of the corners of the leg opening.
- Work 2 Sc stitches into each corner.
- Then work 1 Sc stitch into each stitch around the entire leg opening.
- For the crotch seam, insert into every other space (not all spaces) for a tighter fit or insert into every space for a looser leg seam.
- Connect with a Sl st at the end of the round.
Repeat for the second leg.
5. Waistband
- Row 1: Without cutting yarn after the last seam round, work 1 Dc stitch into each stitch around the waistband. Sl st to join.
- Row 2: Work alternating Front Post Double Crochet (FPDC) and Back Post Double Crochet (BPDC) into each Dc from Row 1.
- FPDC: Yarn over, insert hook around the front of the post, pull up a loop, and complete Dc as normal.
- BPDC: Yarn over, insert hook behind the post, pull up a loop, and complete Dc as normal.
Once the waistband is complete, Sl st to finish, leave a small yarn tail, and tuck in loose ends.
6. Drawstring
- Combine two strands of yarn and make a slip knot.
- With the hook, yarn over and pull through to make loops, forming a chain-like cord.
- Continue until the drawstring reaches the desired length (e.g., 44–50 inches depending on size).
- Weave the drawstring into the waistband using a darning needle. Skip 2 stitches and insert, repeating until the drawstring is threaded through.
Finishing Touches
- Stretch the shorts slightly to ensure seams are aligned and fit properly.
- Tuck loose ends from squares and seams using the darning needle.
- Block the shorts if needed.
Your Granny Square Shorts are now complete! Enjoy wearing them or gift them to someone special!