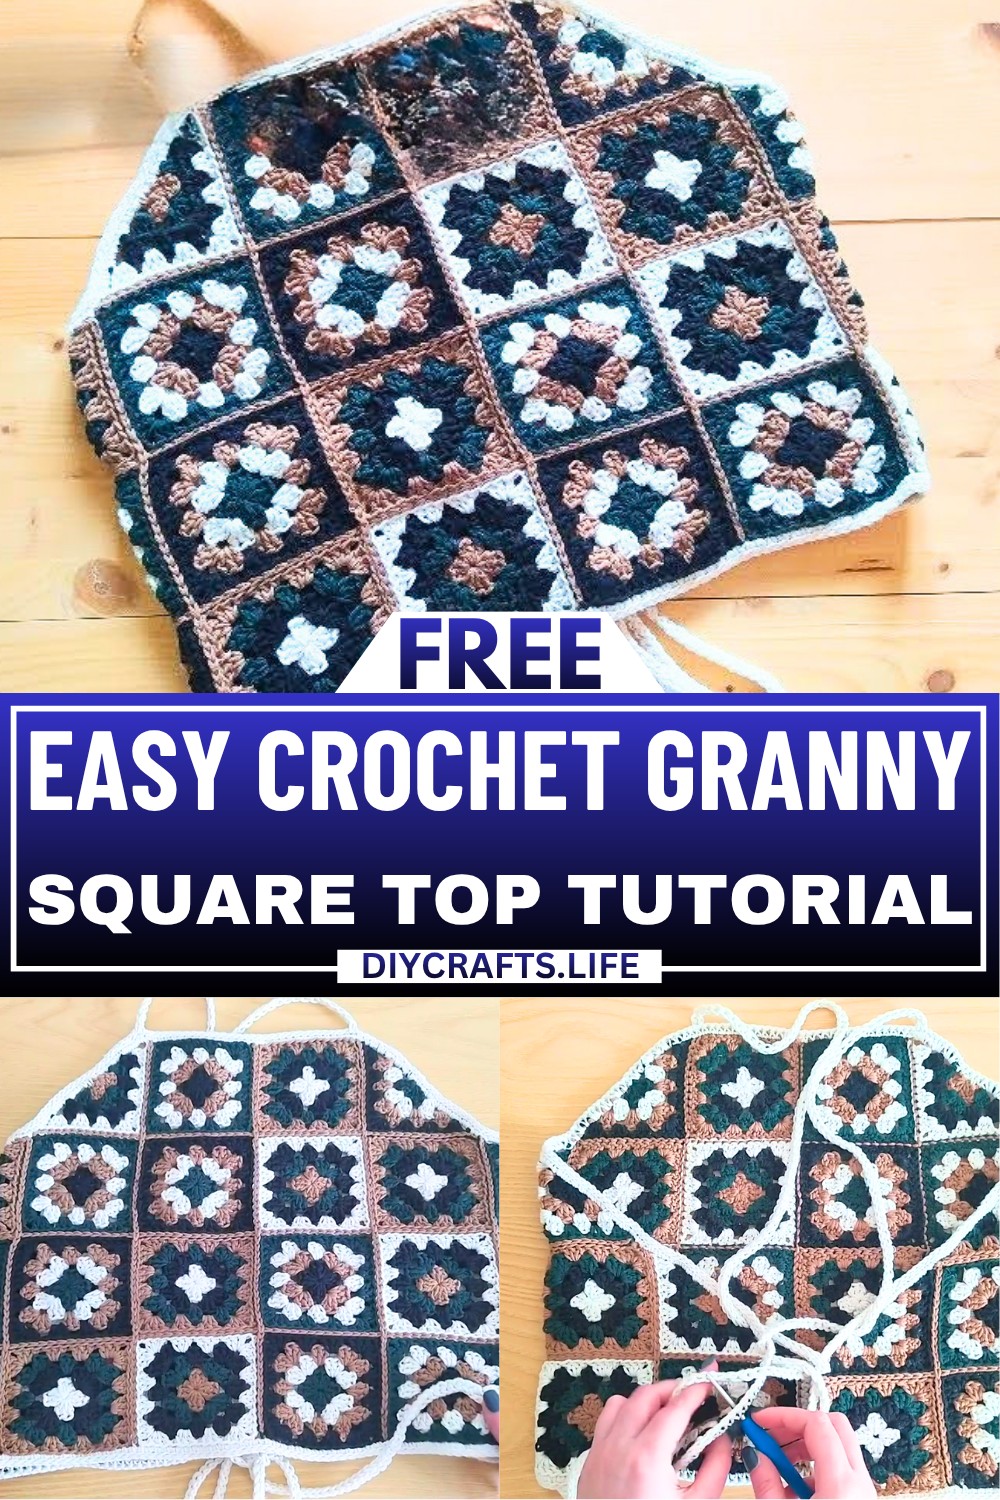
A granny square top is a fun and stylish piece of clothing made using small crochet squares. These crochet squares, arranged in beautiful patterns, create a unique and colorful top that’s comfortable to wear and perfect for sunny days. It's a great way to mix creativity with fashion, and you can make it as bright or as subtle as you like by choosing your favorite colors.
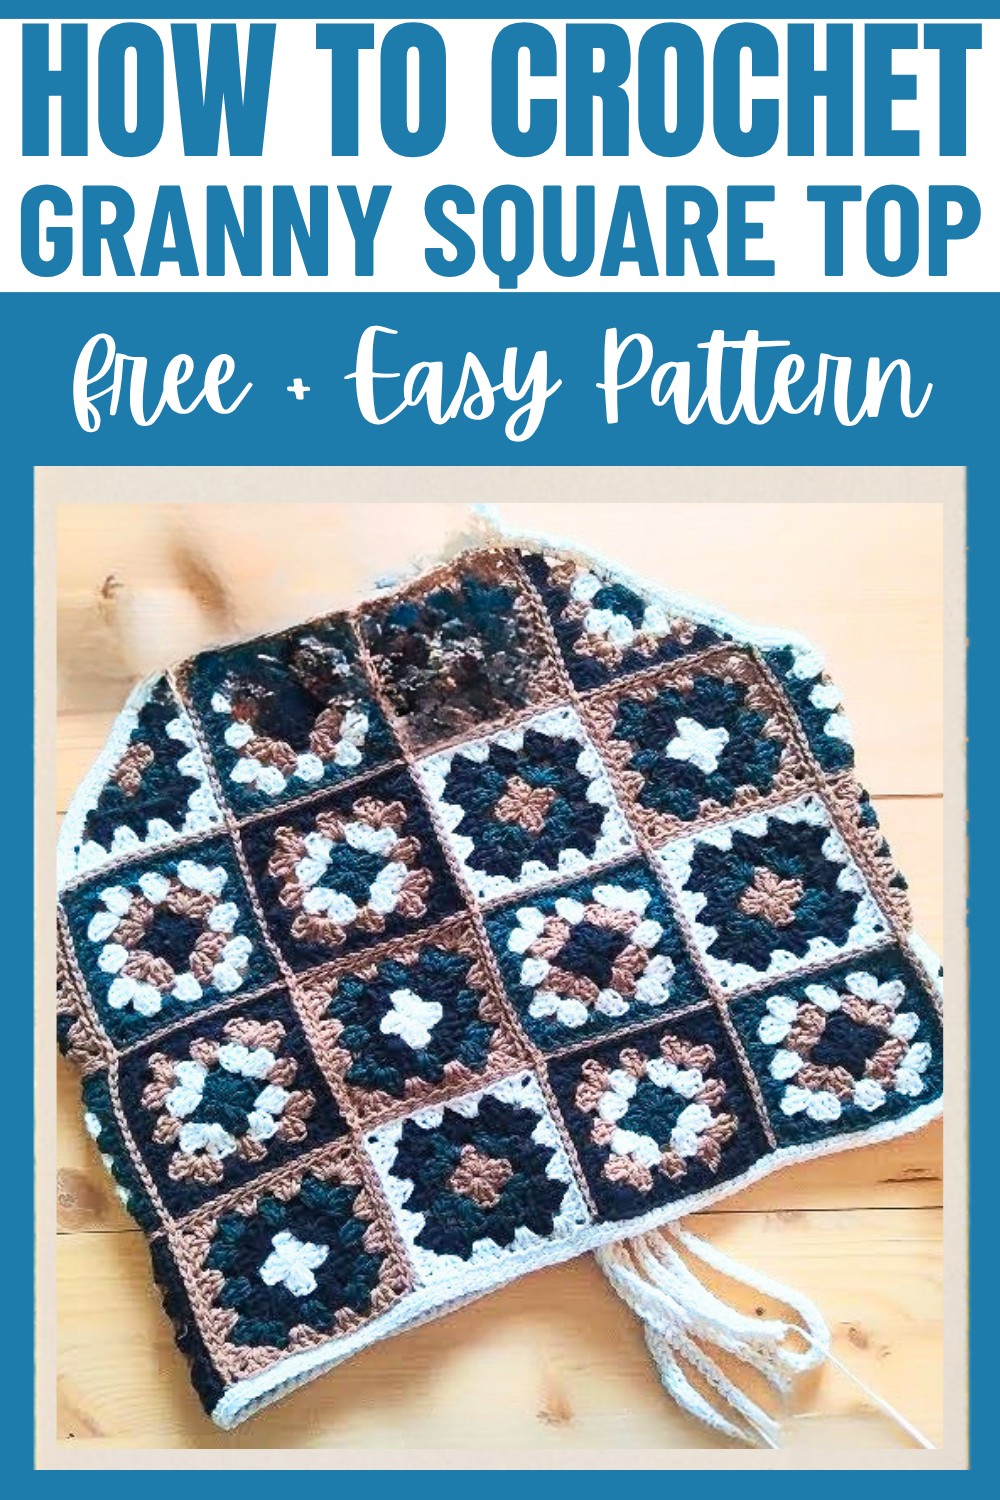
To create this top, you’ll crochet several granny squares and half-squares, then carefully join them together to form the front, back, and sides. Once stitched together, you’ll add a neat border and criss-cross straps for a perfect fit. What makes this crochet top special is how customizable it is—you can play with different color combinations and sizes to create your personal style. It's lightweight, versatile, and lovely for casual outings, festivals, or even as a layering piece.
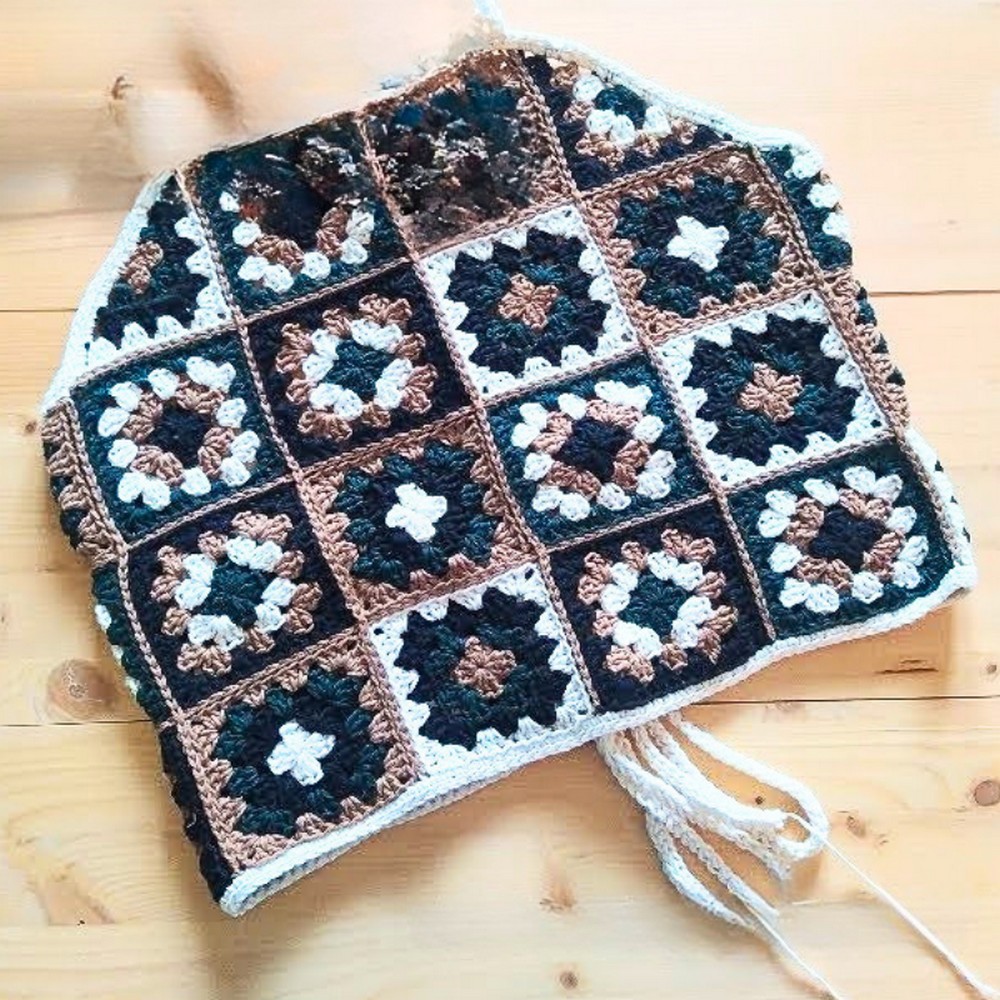
Credit Veroknitcrochet
Materials & Tools Needed
- 50 g Dk cotton yarn Color 1
- 50g DK cotton yarn Color 2
- 50 g Dk cotton yarn Color 3
- 100 g DK cotton yarn Color 4 ( for the border and the straps)
- 4 mm hook
- mesuring tape
- tapestry needle
- a pair of scissors
Finished Size & Customization Ideas
Finished Size: The size of the top depends on the number of granny squares used and their size. The tutorial uses 4 large squares for the front, 4 for the back, additional squares for the sides, and half-squares positioned to shape the neckline. Adjust the number of squares as needed for custom sizing.
Customization Ideas:
- Adjust yarn colors for seasonal or personal preferences.
- Use larger or smaller granny squares by adding or removing rounds.
- Modify strap length for a better fit.
Pattern Abbreviations & Terminology
- ch: chain
- sc: single crochet
- dc: double crochet
- sl st: slip stitch
- st(s): stitch(es)
- rep: repeat
- sp: space
- yo: yarn over
- RS: right side
- WS: wrong side
- [ ]: Repeat instructions within brackets the indicated number of times.
Terminology: US crochet terminology.
Step-by-Step Crochet Instructions
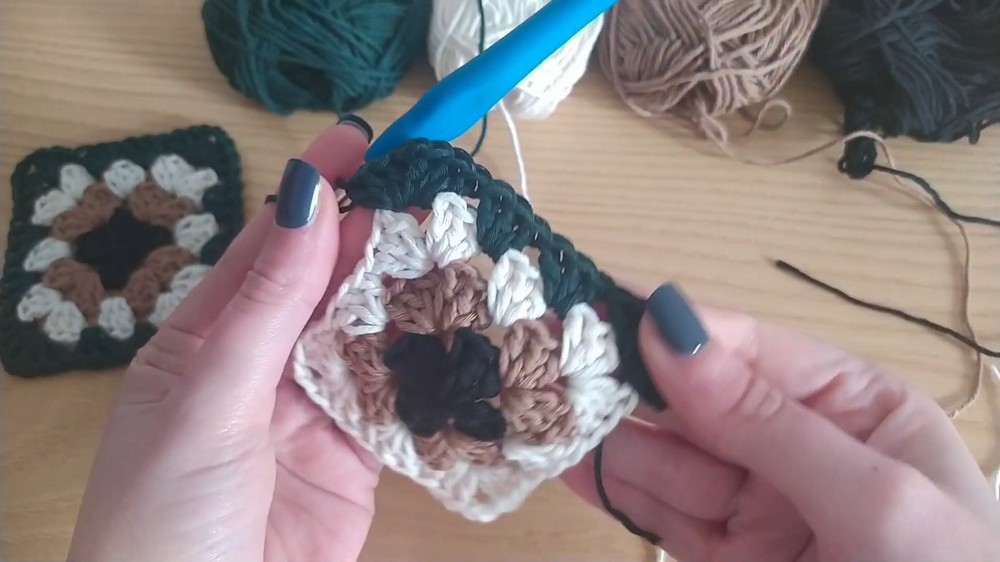
Granny Square Pattern
Each granny square consists of 4 rounds, with color changes on every round. You will need multiple squares for the top.
Round 1: Create the Magic Ring and First Round of Clusters
- Start with a magic ring:
- Hold the yarn end with your thumb, wrap the yarn around your index and middle fingers, creating an "X." Insert the hook under the bottom string, yo and pull up a loop. Yo and pull through once more.
- Ch 2 (counts as first dc), make 2 dc in the ring to form your first cluster.
- Ch 2, then make 3 dc in the magic ring. Repeat 2 more times, for a total of 4 clusters with 2 ch spaces in between each cluster.
- After the last cluster, ch 2 and join with a sl st to the top of the initial ch 2.
- Tighten the magic ring. Finish off and cut the yarn, leaving a tail.
Round 2: Attach Second Color
- Insert your hook into any corner ch-2 sp. Attach the new color with a slip knot.
- Ch 2 (counts as first dc), make 2 dc in the ch-2 sp.
- Ch 2, then make 3 dc in the same corner (this completes the first corner).
- Without chaining, move to the next ch-2 sp:
- Make 3 dc, ch 2, 3 dc in the same space. Repeat for the remaining corners.
- Join with a sl st to the top of the starting ch-2.
- Hide the tail under the corner stitches and cut the excess yarn.
Round 3: Attach Third Color
- Insert your hook into any corner ch-2 sp. Attach the new color with a slip knot.
- Ch 2 (counts as first dc), make 2 dc in the corner sp, ch 2, then make 3 dc in the same corner sp.
- Move to the next space between clusters (not a corner). Without chaining, make 3 dc in this space.
- In the next corner: 3 dc, ch 2, 3 dc. Repeat this pattern around.
- Join with a sl st to the top of the starting ch-2. Finish off and weave in the ends.
Round 4: Attach Fourth Color
- Start in any corner ch-2 sp. Attach the new color with a slip knot.
- Ch 2 (first dc), make 2 dc in the corner sp, ch 2, then make 3 dc in the same corner sp.
- On the sides:
- Make 3 dc in each space between clusters (there should be 2 spaces per side after Round 3).
- In each corner: 3 dc, ch 2, 3 dc. Repeat around.
- Join with a sl st and finish off.
Your granny square is complete.
Half Granny Square
The half squares are used for shaping the neckline. Follow these instructions:
Row 1: Magic Ring
- Create a magic ring.
- Ch 4, make 3 dc inside the ring, ch 2, make 3 dc, ch 2, then make 1 last dc.
- Tighten the magic circle and finish the last dc with the color change (cut first color).
Row 2: Attach Second Color
- Turn your work, ch 4.
- In the first ch-2 sp, make 3 dc.
- In the next corner ch-2 sp, make 3 dc, ch 2, 3 dc.
- In the last space, make 3 dc, ch 2, 1 dc, finishing with a color change.
Row 3: Attach Third Color
- Turn, ch 4.
- Work 3 dc in each space across.
- For the corner: 3 dc, ch 2, 3 dc.
- At the end, finish with 2 dc (total: 3 dc, ch 2, 2 dc in the last space).
Row 4: Attach Fourth Color
- Work 3 dc in each space from beginning to the corner. In the corner, work 3 dc, ch 2, 3 dc.
- Finish off after crocheting across the spaces.
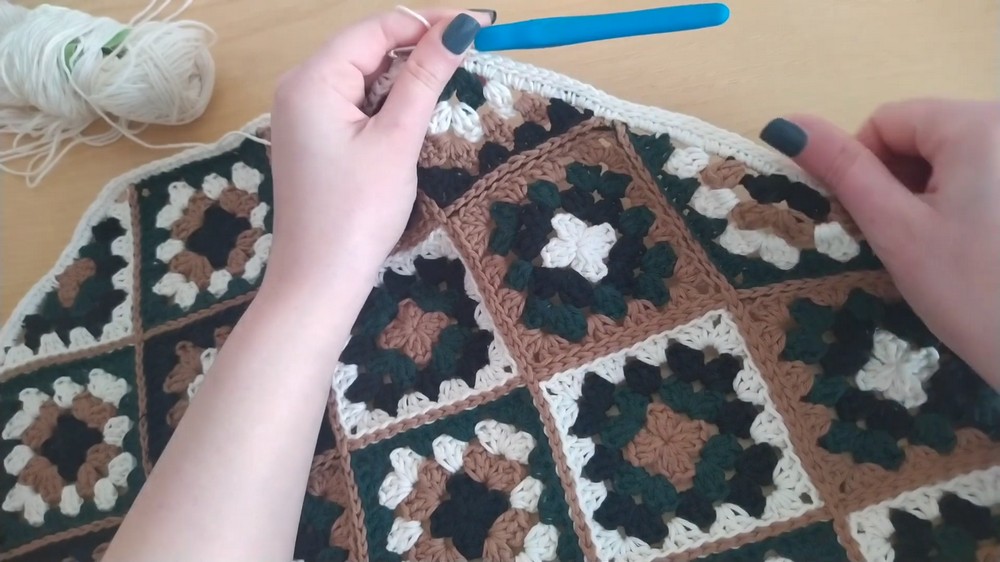
Joining the Granny Squares
The tutorial uses the Flat Slip Stitch Method:
- Position two squares together RS facing up.
- Insert the hook into the back loop of the first st on both squares (on the right square and the left square).
- Yo and pull through both loops and the loop on your hook (sl st).
- Continue working sl st across, picking up the back loops of both squares.
- When reaching a corner, sl st into the first chain of the corner, then proceed to join the next set of squares.
Border
- Once all squares are joined, crochet a complete border of single crochet (sc) around the top.
- After the sc round, add a round of slip stitches in the back loop only for a clean finish.
Straps
- Use a single crochet foundation chain for the straps:
- Insert your hook into the border stitch, yo and pull up a loop. Yo and pull through one loop. Insert the hook into the previous st, yo and pull up a loop. Yo, pull through one loop, yo, pull through two loops.
- Repeat for the desired length. Straps in this tutorial measure 120 cm each.
- Weave the straps through the granny square edges to create a crisscross back design.
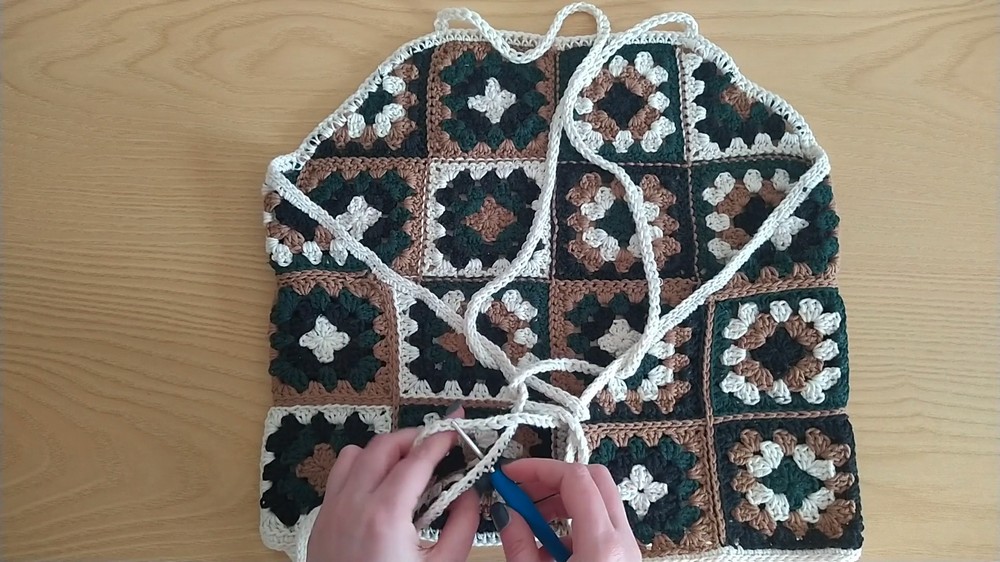
Final Steps
- Weave in all ends using a yarn needle.
- Adjust the strap positioning for the perfect fit.
- Your granny square top is complete!