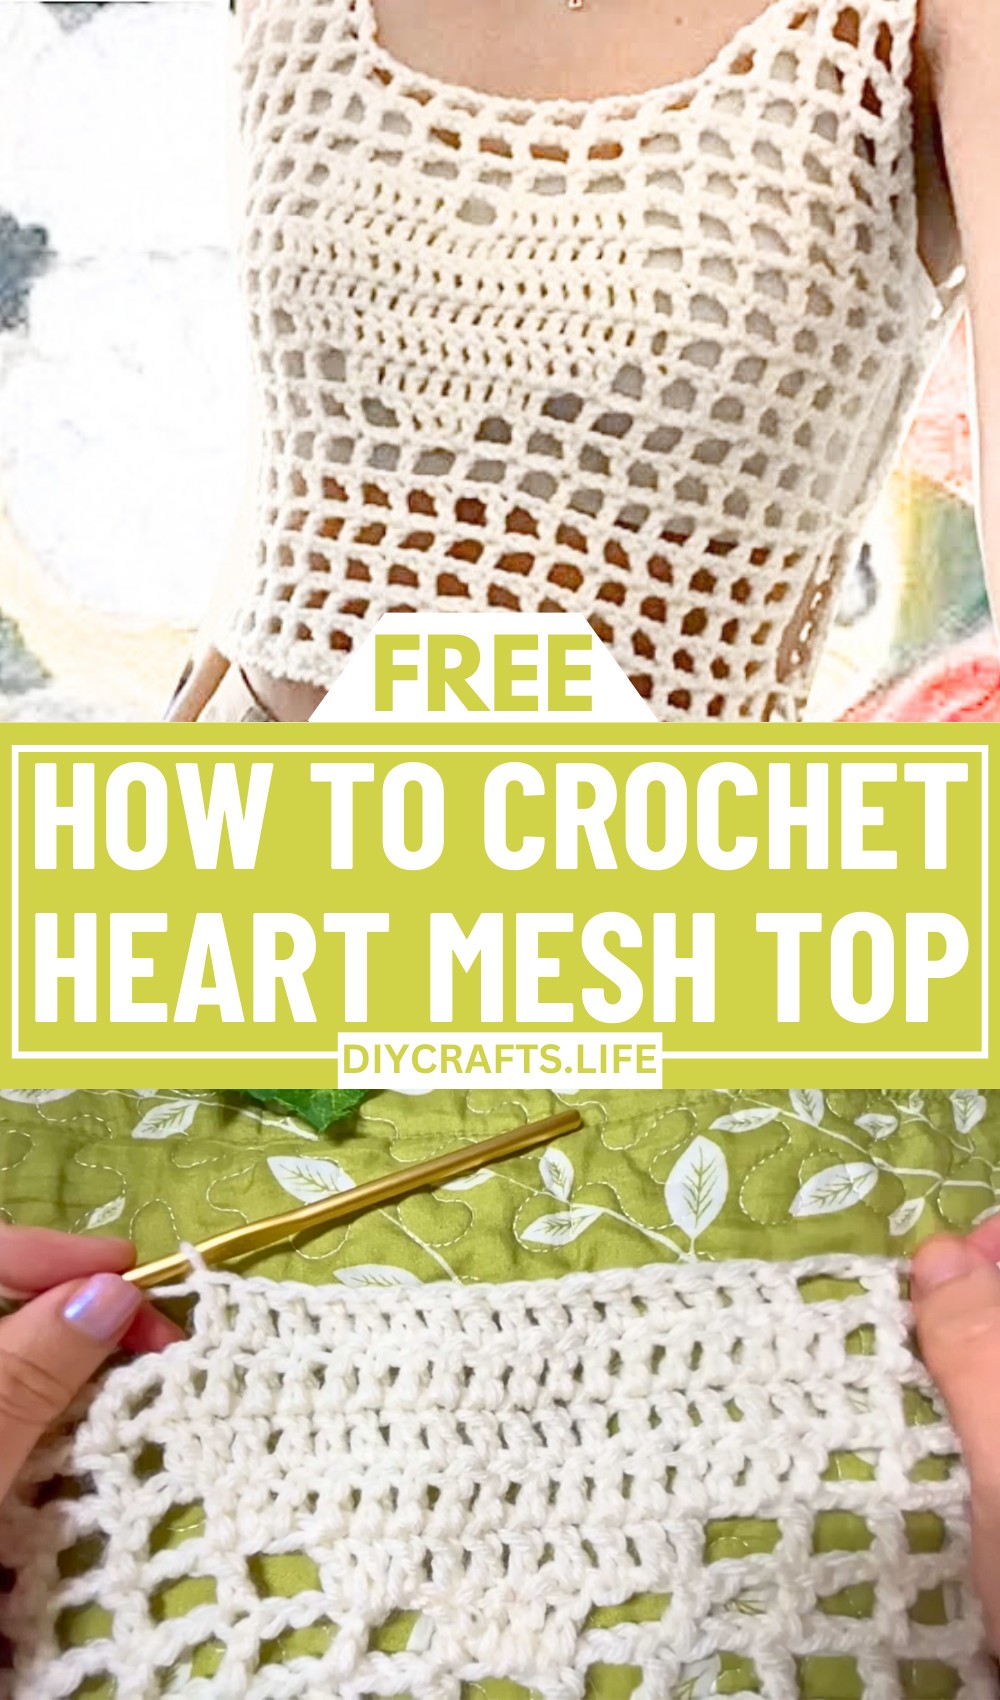
Step into a world of delicate charm with this crochet heart mesh top! Perfectly blending bold design with soft, romantic details, this pattern turns timeless craftsmanship into eye-catching style. Whether you picture it as the centerpiece of a casual outfit or something to elevate your evening look, this top brings elegance and originality to the forefront.
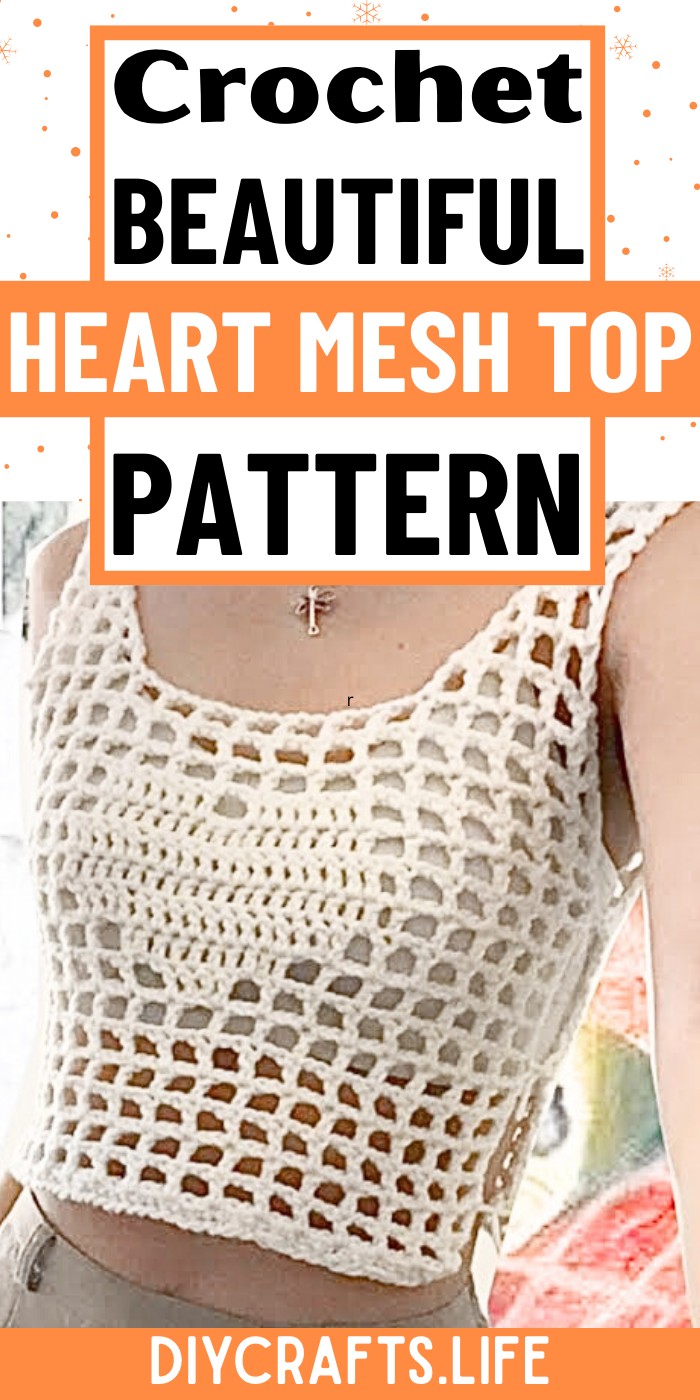
Crochet Heart Mesh Top
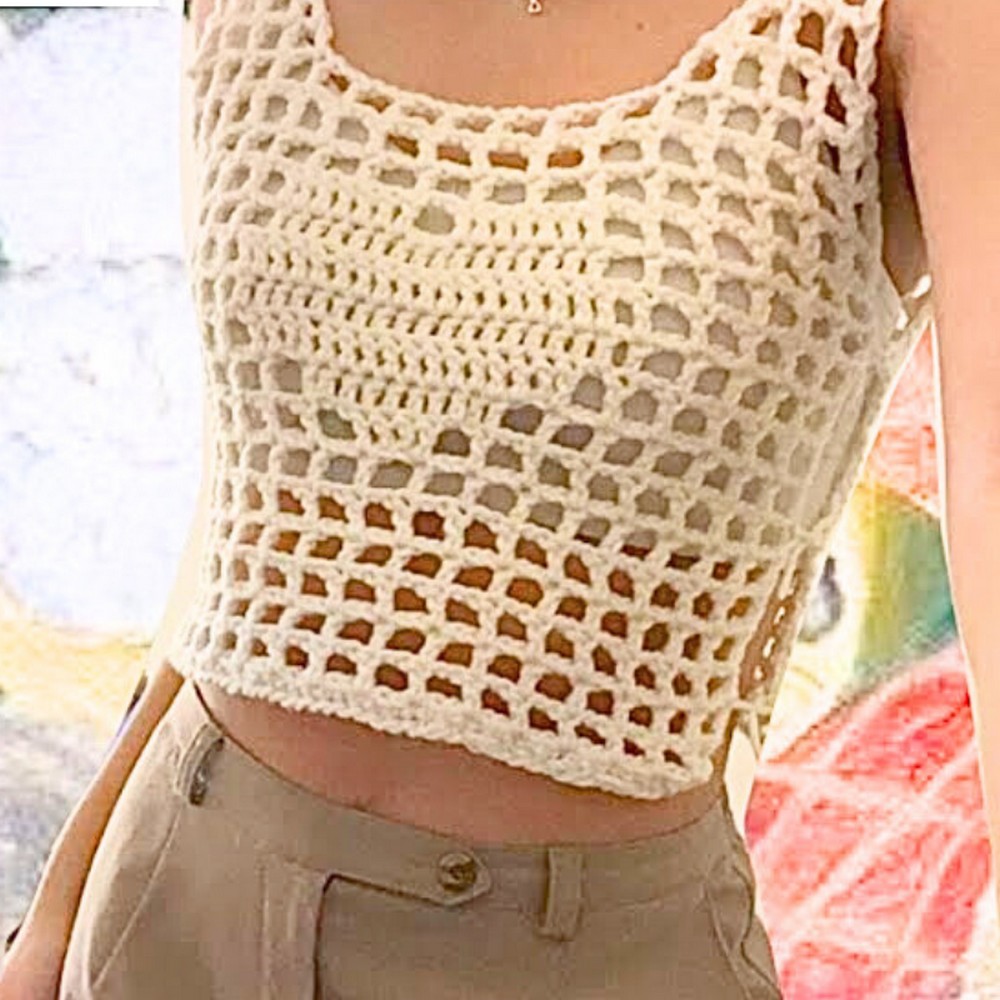
This design celebrates creativity with its carefully crafted heart-shaped mesh patterns, which give the top texture and uniqueness. The openwork detail not only makes it airy and lightweight, but also adds a touch of graceful balance. Its seamless integration of art and fashion makes it perfect for expressing personal flair. The versatility of this pattern ensures you can customize it to suit your style, creating a standout piece that reflects your individuality.
Credit janie
Materials & Tools Needed
- Yarn: Any 4-weight yarn (recommended for balanced structure and durability). Consider experimenting with different colors or textures to customize the look.
- Hook: 5mm crochet hook (ideal for a stable yet flexible mesh design).
- Scissors: Sharp scissors to cut yarn cleanly.
- Sewing/Darning Needle: Useful for weaving in ends and attaching straps for assembly.
Finished Size & Customization Ideas
Approximate Size:
- The top includes a front and back panel, with straps and ties for customization.
- Size adjustments can be made by modifying the starting chain or strap lengths.
Customization Ideas:
- Size Adjustment:
- Increase or decrease the starting chain to match your desired width (following the mesh grid design).
- Adjust strap length based on your personal fit (e.g., fewer or more rows).
- Yarn Weight: Try using different yarn weights if you want a more delicate or chunky look (e.g., switching to 3-weight or 5-weight yarn). Adjust hook size accordingly.
- Color Variations:
- Use contrasting colors for the heart design and border.
- Add decorative edging with slip stitches for a pop of color.
- Additional Features:
- Embroider or sew on a heart applique (as demonstrated in the video).
- Consider adding beads or sequins along the straps or the heart for embellishment.
Pattern Abbreviations & Terminology
- Ch = Chain
- SC = Single Crochet
- DC = Double Crochet
- Sl St = Slip Stitch
- Sk = Skip stitches
- Rep = Repeat
All instructions follow U.S. crochet terminology.
Step-by-Step Crochet Instructions
Front Panel
- Foundation Row:
- Ch 53, then SC 52 starting in the second chain from the hook. This creates the base for the mesh.
- Mesh Rows:
- For Row 2:
- Start by Ch 5 (to form a square side).
- Sk 2 stitches of the base row, then DC into the next stitch.
- Repeat: Ch 2, Sk 2, and DC until the end of the row.
- You should end up with 17 squares following this pattern.
- Repeat the process for 6 total rows, adjusting the length as desired.
(Example: For a cropped top, stop at fewer rows.)
- For Row 2:
- Heart Design:
- Row 7:
- Begin with Ch 5, Sk 2, DC until you have 8 mesh squares.
- Fill in the middle square by DC into the chains that would normally be skipped (use 3 DCs to form a solid square).
- Finish the row by creating 8 more mesh squares.
- Row 8:
- Follow the same process but fill in 3 squares in the middle.
- Continue Rows 9–13 by adding more filled squares (like a grid) to create the heart shape.
- Refer to the video or pattern for the exact details on how many squares to fill in per row, ensuring the heart is centered.
- Row 7:
- Finishing Rows:
- Once the heart is complete, make 3 rows of mesh squares (Row 14–16).
- Adjust length by adding extra rows if needed.

Straps for Front Panel
- Work directly on the front panel edges for the first strap:
- Row 1:
- Ch 2, Sk 2, DC to form the sloped edge. Then, create 3 mesh squares.
- Finish the row with Ch 1, Sk 2, DC.
- Row 2 to Row 10:
- Continue creating mesh squares, gradually narrowing/sloping the strap based on the notes in the video.
- Row 1:
- For the second strap, tie new yarn to the opposite side of the panel and follow the same process.
- Assembly suggestions: Ensure the straps mirror each other exactly.
Back Panel
- Foundation Row:
- Create the same base as the front panel (Ch 53, SC 52).
- Mesh Rows:
- Work 16 rows of mesh squares (Ch 5, Sk 2, DC, then Ch 2, Sk 2, DC across).
- Keep the panel simple and uniform, as there is no additional heart design for the back.

Back Straps
- Follow the same process as the front panel straps (Ch 2, Sk 2, DC).
- Once complete, assemble the back and straps, ensuring alignment.
Assembly
- Attach Straps:
- Lay the front and back panels flat. Match and sew together the straps.
- Use darning needles or a crochet hook to weave ends into the strap connections.
- Side Ties:
- Cut 6 6-inch pieces of yarn.
- Tie them at third, seventh, and twelfth rows from the bottom of both panels to hold the sides together securely.
- Adjust tie placements for better fit.

Finishing Touches and Extra Customizations
- Border Edging: To add detail, consider using slip stitches along the bottom edge or straps.
- Heart Applique (Optional): Use an additional tutorial for smaller decorative hearts and attach as desired.
- Weaving Ends: Finish by tucking in all loose threads with your needle.