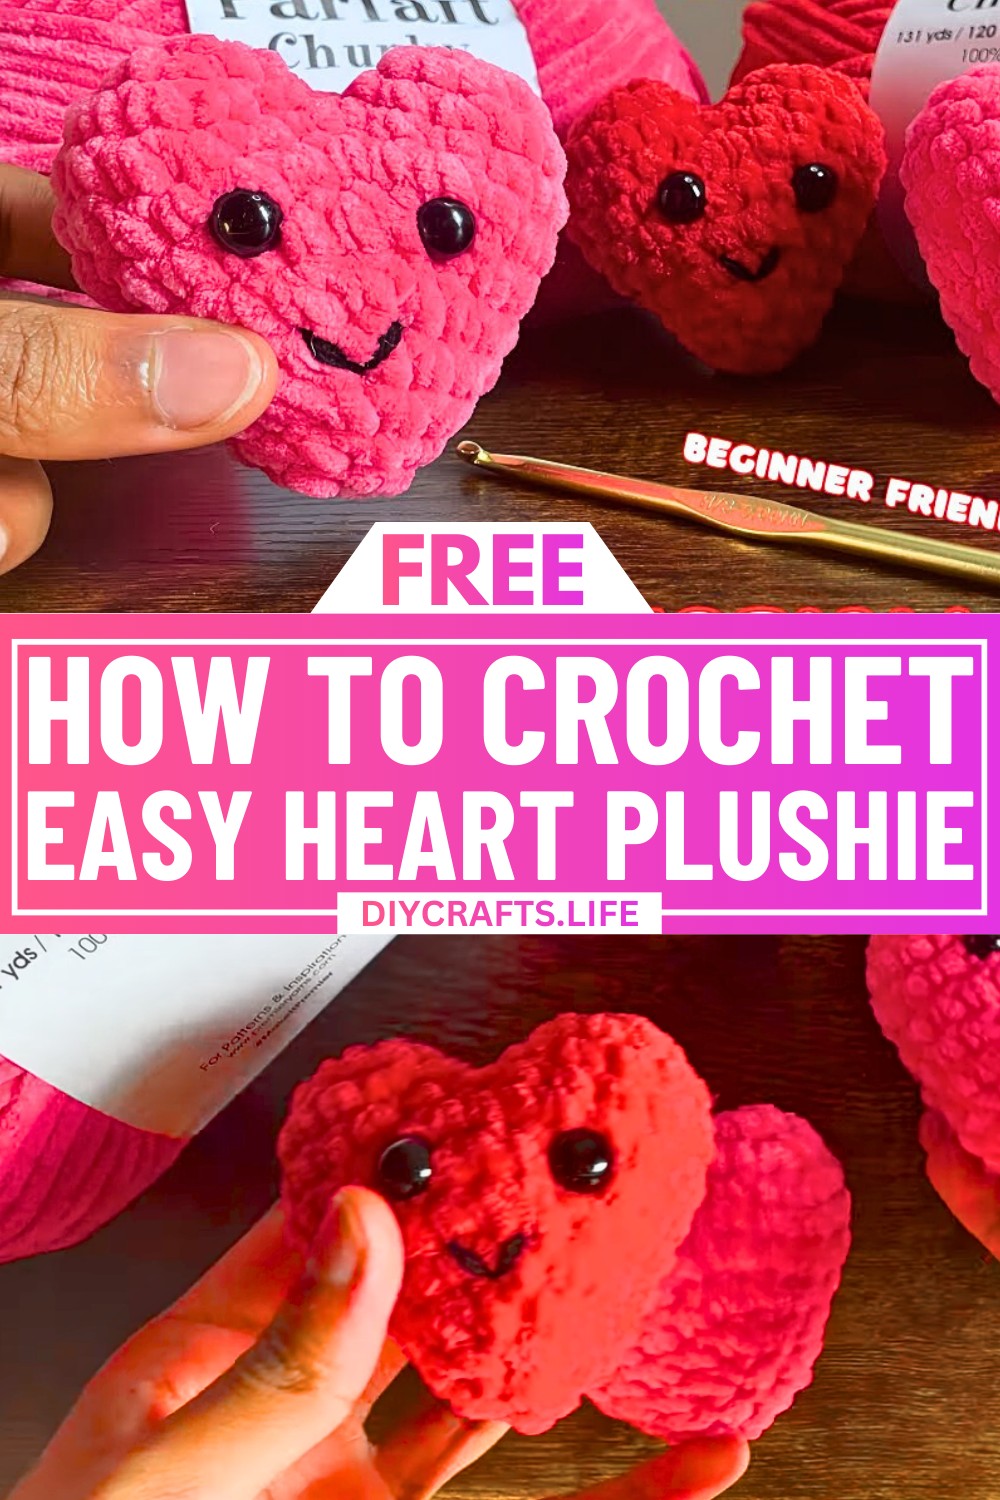
Soft, sweet, and full of charm, this crochet heart plushie is the perfect little creation to bring warmth to your hands and heart. Whether you're looking to add a handmade touch to your space or create a heartfelt gift for someone special, this design combines coziness and cuteness in the most delightful way. Plus, who could resist the option of adding an adorable smile for extra personality?
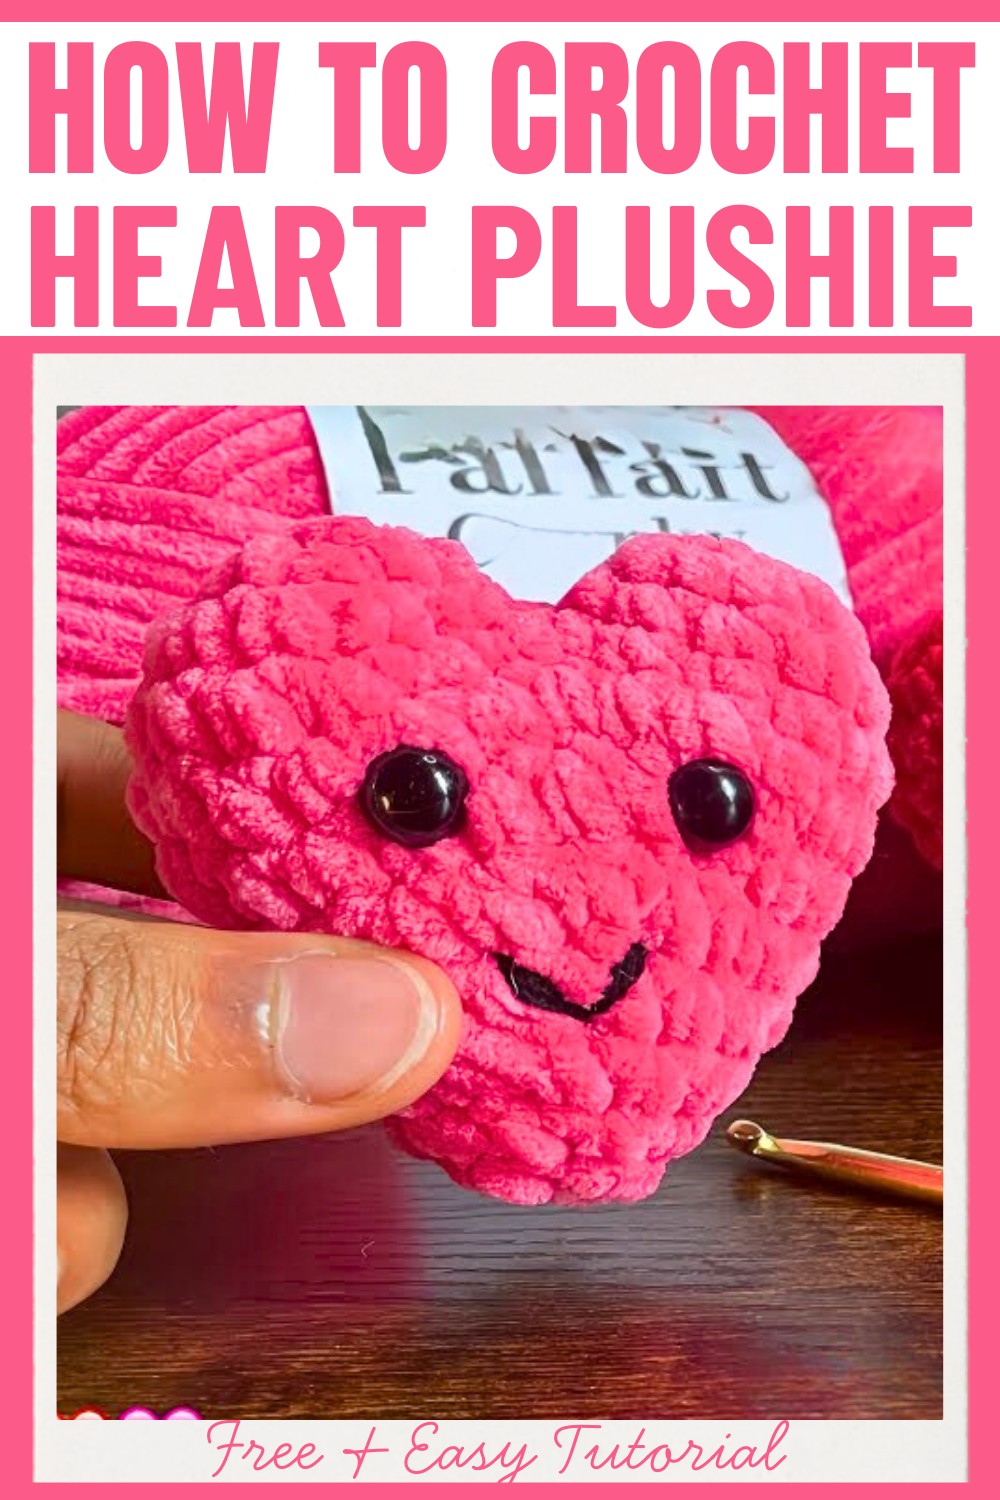
This heart plushie truly stands out with its simple yet effective design. The chunky texture, created with super bulky yarn, gives it a pillowy softness, while customizable features such as safety eyes and embroidered expressions make it personal to your style. The magic happens as you form each arch and join them seamlessly to shape the heart—an approachable and satisfying process for beginners and seasoned crocheters alike. Add an artistic flair to your surroundings or create a unique keepsake filled with love.
Credit Divine Crochets
Required Materials:
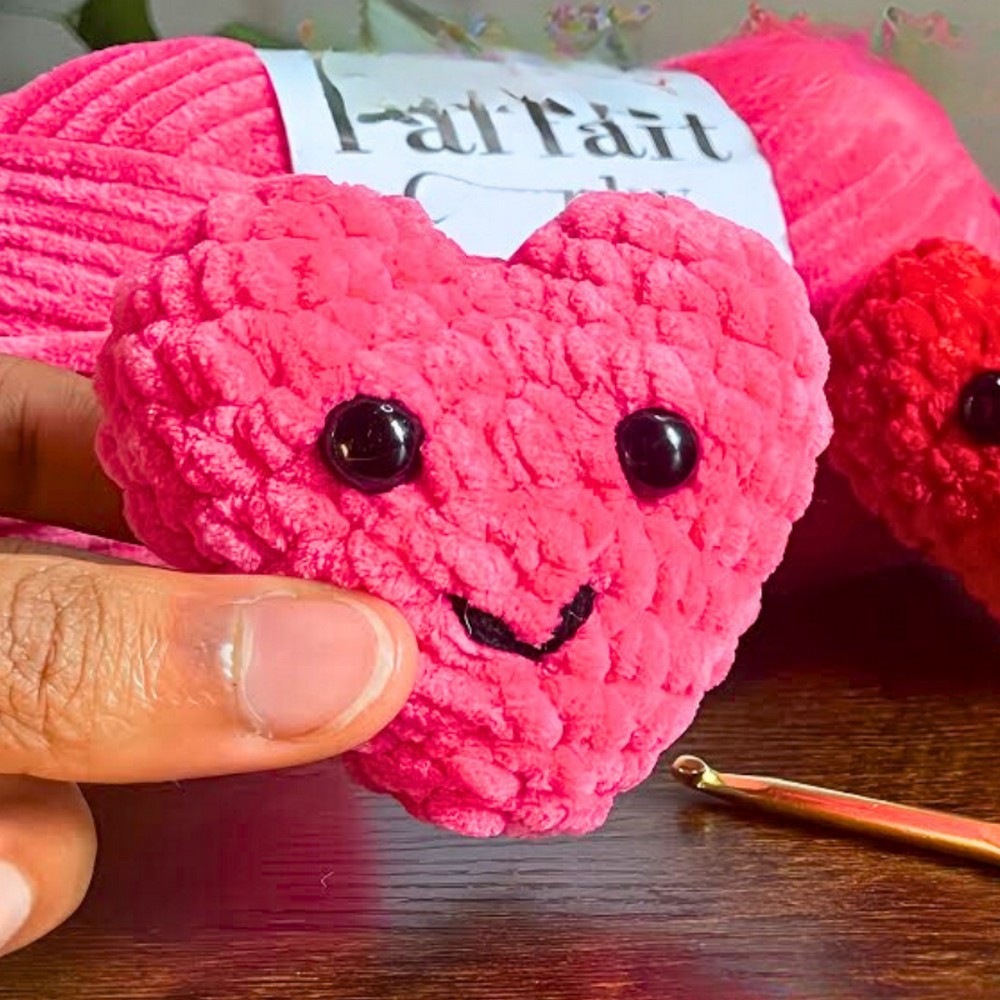
- Super bulky yarn (e.g., Parfait Chunky or similar)
- 5 mm crochet hook
- Stitch marker
- Scissors
- Sewing needle
- Stuffing
- Safety eyes (for optional face)
- Black yarn/thread (for optional smile)
Important Notes:
- Magic Ring: This technique is used to begin the plushie. Ensure the ring is tight to avoid gaps.
- Stitch Marker: Helps track progress in rounds, especially for marking the first stitch.
- Stuffing: Stuff the plushie incrementally, especially as it becomes harder to access the interior in later rounds.
- Finishing: Use a sewing needle to close off the last round neatly and hide yarn tails within the plushie.
- Optional Face: The smile and safety eyes can be added for extra personality but are not required.
- Joining Arches: Pay close attention to joining techniques, as this forms the heart shape.
Step-by-Step Crochet Instructions:
Arches of the Heart (Make 2 identical pieces):
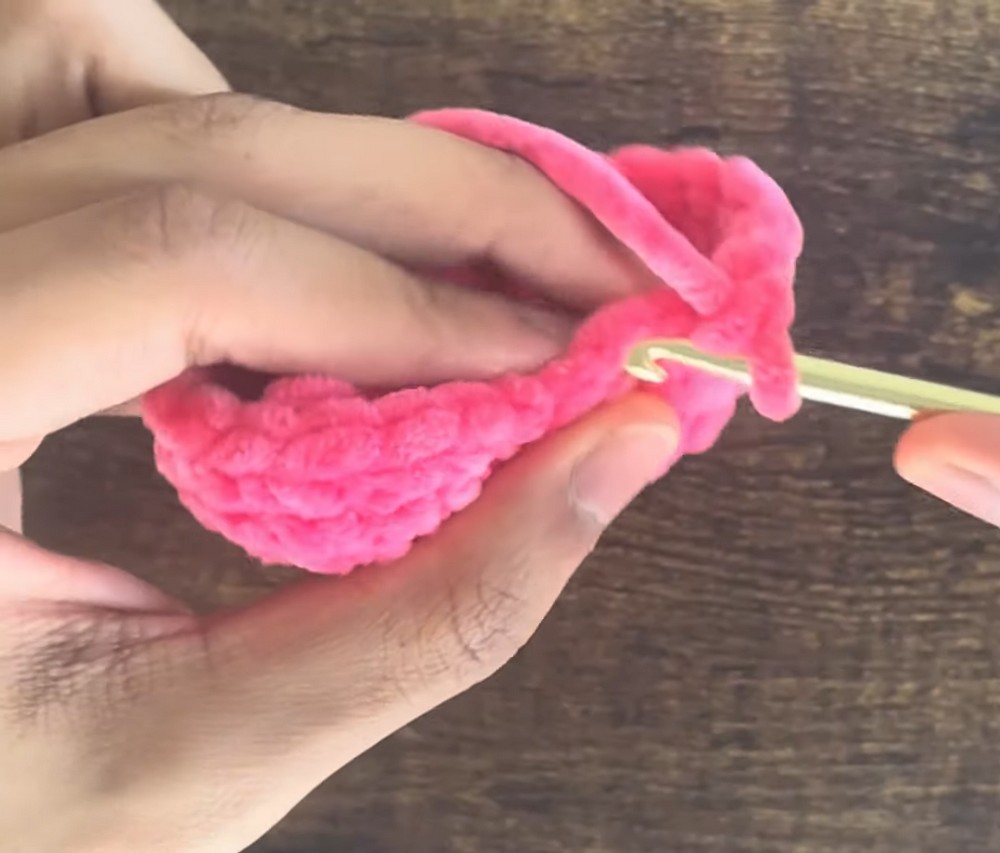
Round 1:
- Create a magic ring.
- Crochet 6 single crochets (SC) into the magic ring.
- Tighten the magic ring.
Round 2:
- Insert your hook into the first stitch of Round 1, make a single crochet (SC).
- Use a stitch marker to mark the first stitch of the round.
- Increase all around: Place 2 single crochets into each stitch. (6 increases total)
- At the end of Round 2, you should have 12 stitches.
Round 3:
- Place 1 single crochet in each stitch all the way around. (No increases)
- Count your stitches to confirm a total of 12 stitches.
- Finish Round 3 and cut your yarn, leaving a long tail for sewing later.
- Follow the same steps to create the second arch, but do not cut the yarn for the second piece—you'll need it to join.
Joining the Two Arches:
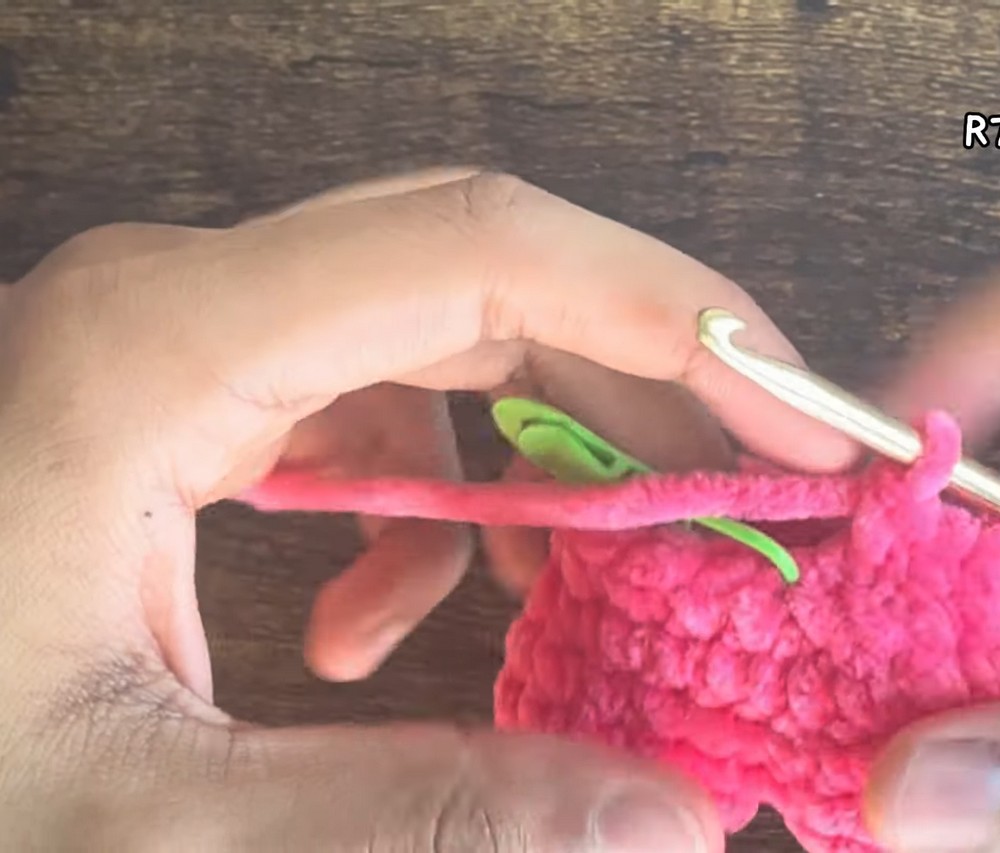
Round 4:
- Position both arches with tails showing. Insert your hook into the stitch next to the yarn tail of the second arch.
- Place a single crochet into that stitch, marking it with the stitch marker.
- Continue to single crochet around the remaining 11 stitches of the second arch.
- To join the arches: Move to the first arch and crochet into its next stitch.
- Single crochet around all 12 stitches of the first arch.
- After completing Round 4, there should be 24 stitches around the heart.
- Sew the hole between the two arches using the yarn tail from the first arch.
Body of the Heart:
Round 5:
- Single crochet 1 stitch in each stitch around. (No increases)
- Total stitch count remains 24.
Round 6 (Start decreasing):
- Crochet 6 single crochets, then work an invisible decrease over the next 2 stitches.
- Repeat 6 single crochets + 1 decrease two more times.
- At the end of Round 6, you should have 21 stitches.
Round 7:
- Crochet 5 single crochets, then work an invisible decrease over the next 2 stitches.
- Repeat 5 single crochets + 1 decrease two more times.
- At the end of Round 7, you should have 18 stitches.
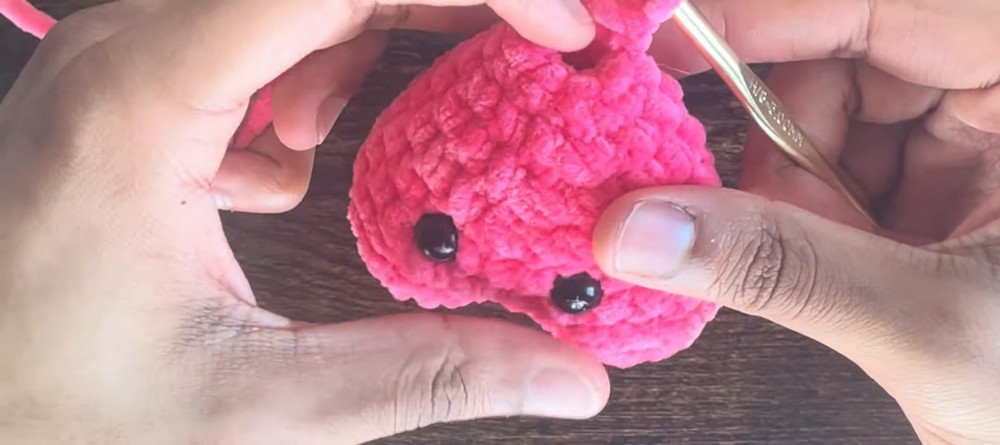
Add the Eyes:
- Identify the prettier side of the heart where the face will go.
- Count 5 rounds down from the top and insert the safety eyes between rounds 5 and 6.
- Place the second eye 3-4 stitches apart. Secure both using the back fasteners.
Round 8:
- Crochet 4 single crochets, then work an invisible decrease over 2 stitches.
- Repeat 4 single crochets + 1 decrease two more times.
- At the end of Round 8, you should have 15 stitches.
Round 9:
- Crochet 3 single crochets, then work an invisible decrease over 2 stitches.
- Repeat 3 single crochets + 1 decrease two more times.
- At the end of Round 9, you should have 12 stitches.
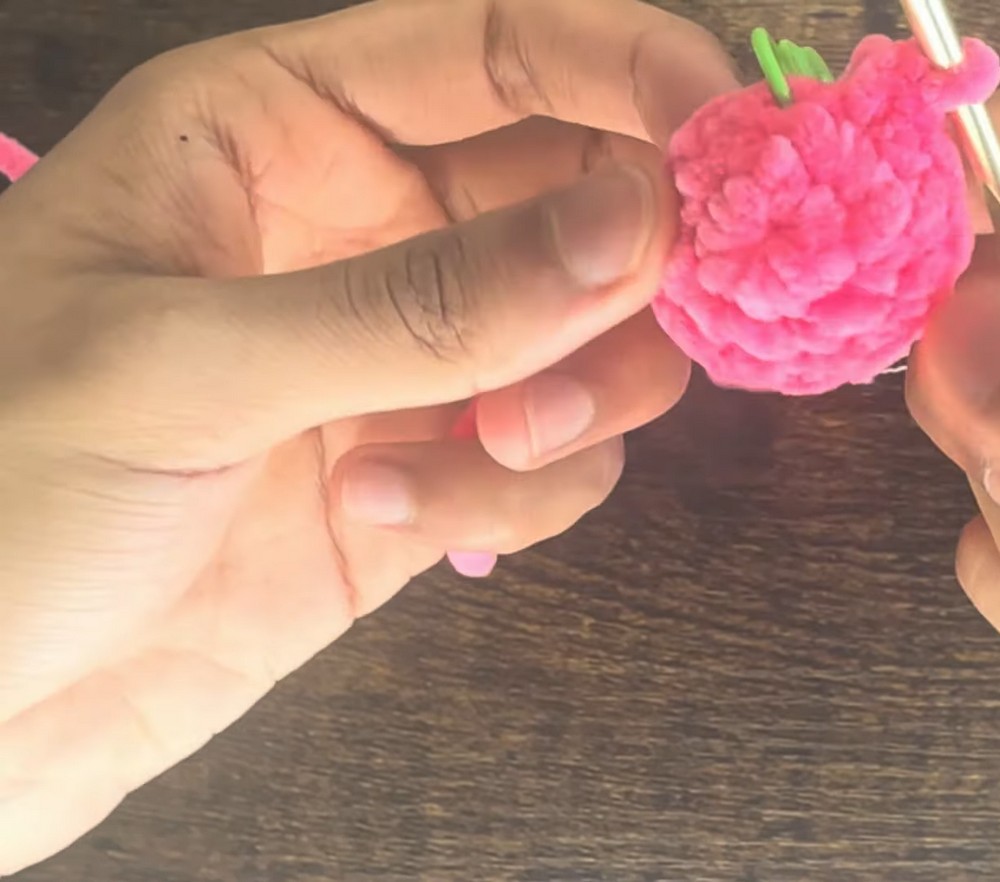
Stuff the Heart:
- Begin stuffing the heart with polyester filling, ensuring it reaches every corner for an even shape.
Round 10:
- Crochet 2 single crochets, then work an invisible decrease over 2 stitches.
- Repeat 2 single crochets + 1 decrease two more times.
- At the end of Round 10, you should have 9 stitches.
Round 11:
- Crochet 1 single crochet, then work an invisible decrease over 2 stitches.
- Repeat single crochet + 1 decrease two more times.
- At the end of Round 11, you should have 6 stitches.
Closing the Heart:
- Cut the yarn, leaving a long tail. Thread the tail through a sewing needle.
- Insert the needle through the front loops of the remaining stitches and pull tight to close the hole.
- Hide the yarn tail by passing it through the plushie and cutting off any excess.
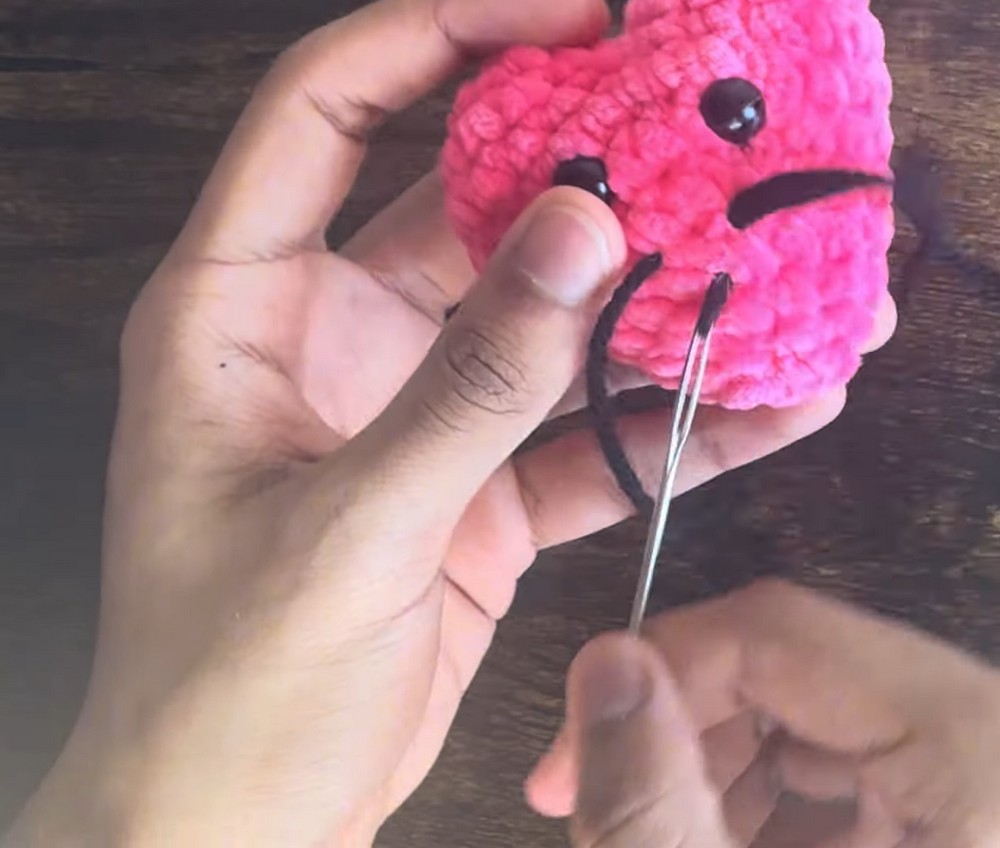
Optional Face:
- Smile: Use black yarn or thread to embroider a smile.
- Start 2 rows below the safety eyes.
- Map out the length and shape of the smile.
- Use small stitches to form the curve.
- Secure and hide the yarn tails in the back.
Finishing Touches:
- Ensure all yarn tails are hidden inside the plushie.
- Adjust the stuffing to refine the heart’s shape.
This completes your crochet heart plushie! 🎉