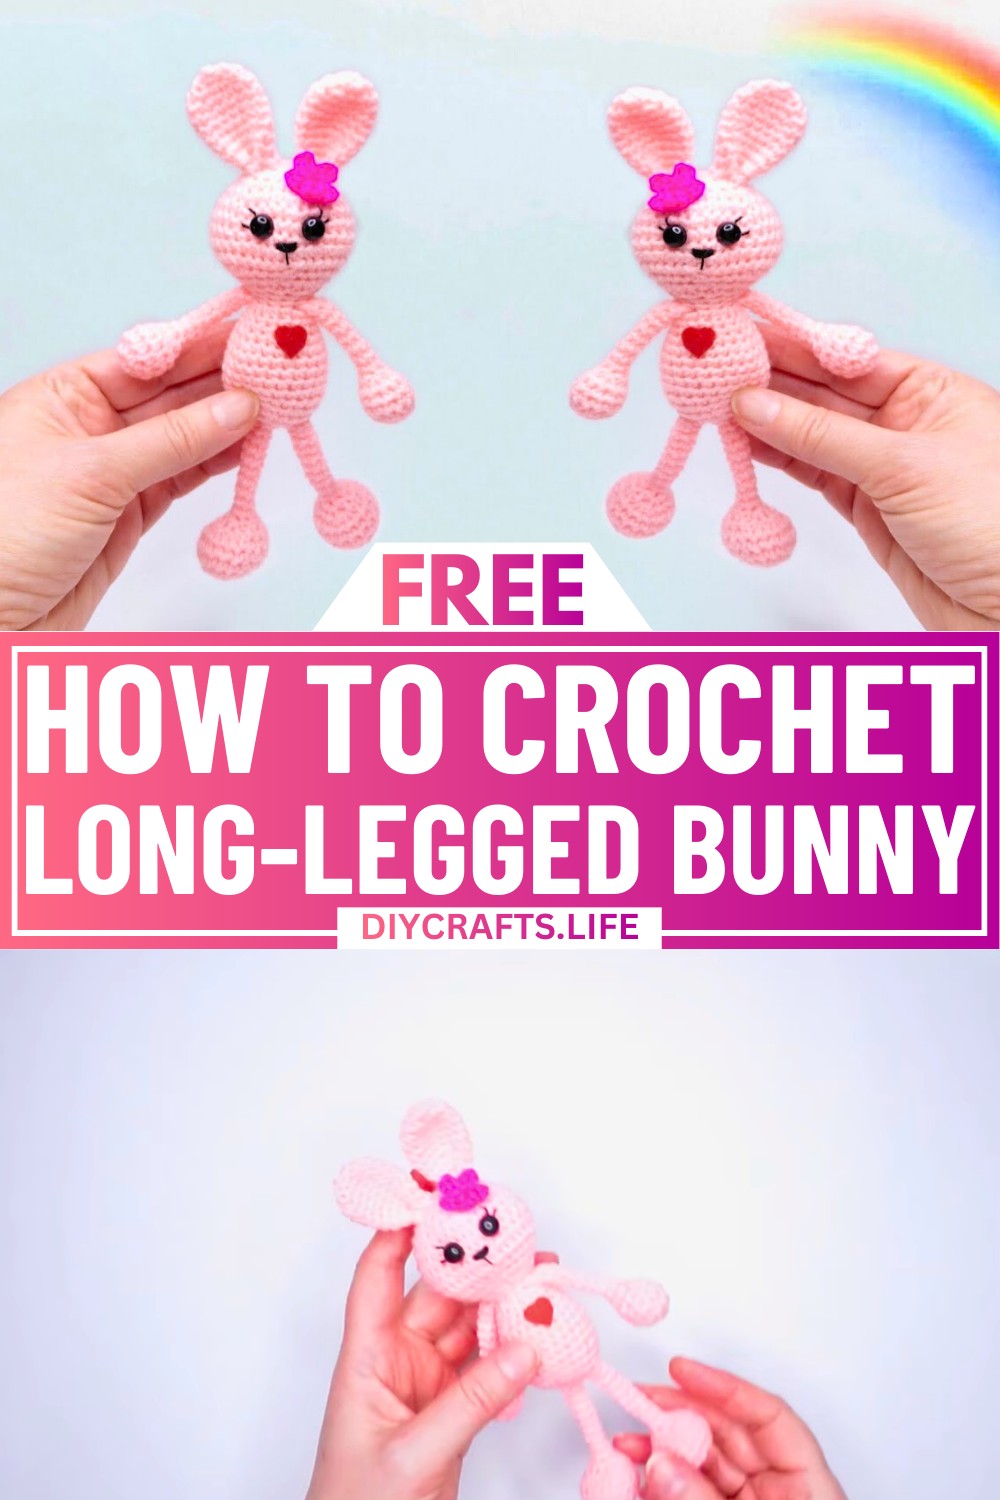
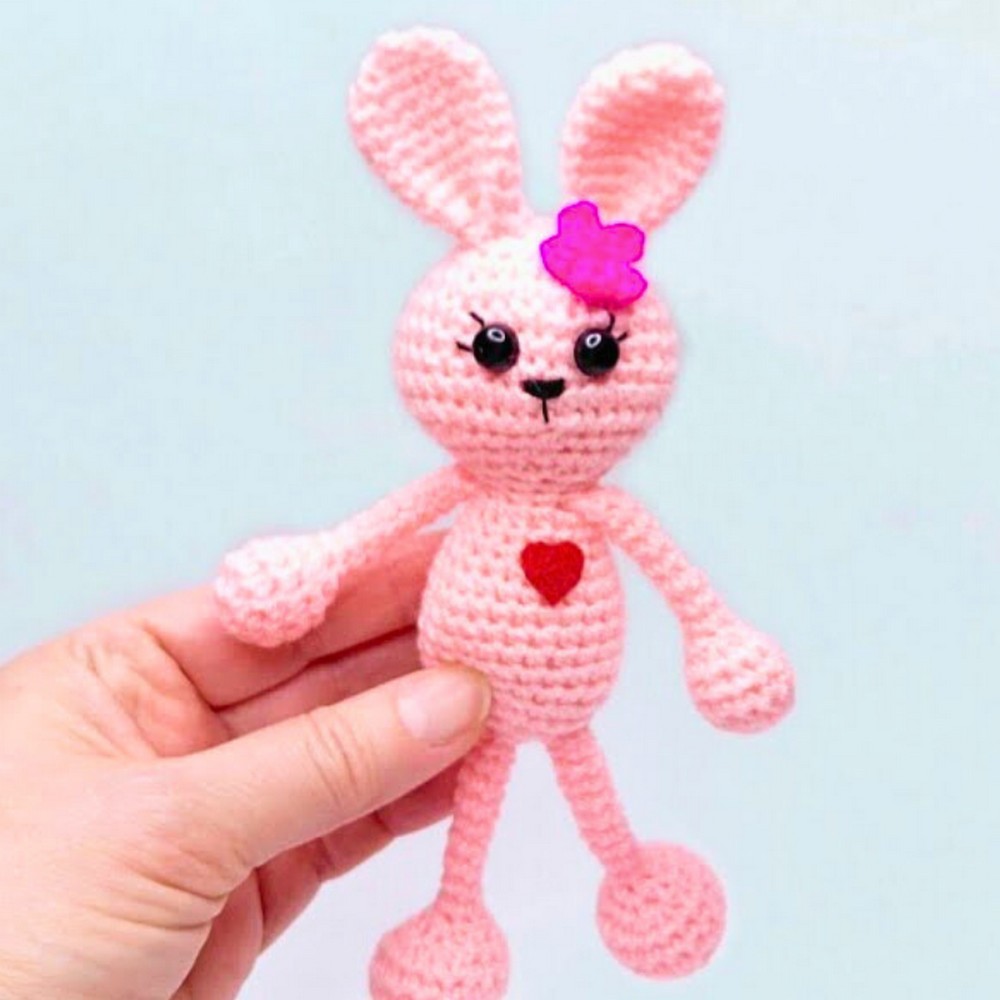
Bring charm and creativity to your crochet projects with an adorable long-legged bunny design. This little bunny isn’t just another crochet toy—it’s a personality on its own! Picture a soft plush friend with floppy ears, long legs, and a sweet demeanor, ready to hop into the hearts of anyone who sees it. Whether you’re looking to create a meaningful keepsake or a playful gift, this bunny design adds a touch of whimsy to your crochet creations.
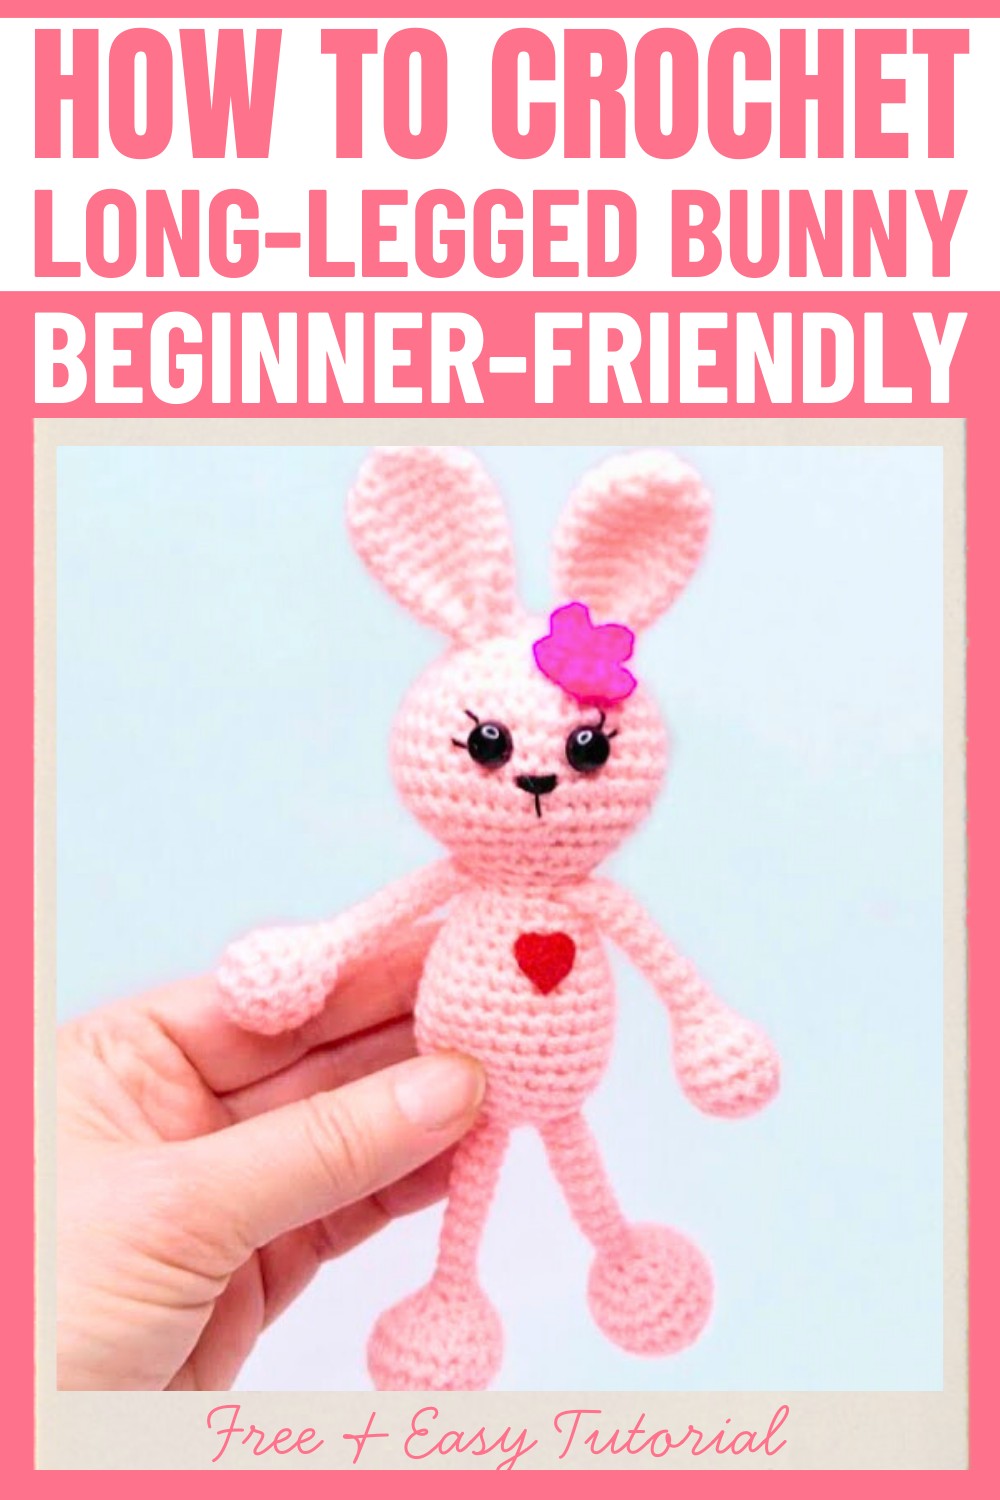
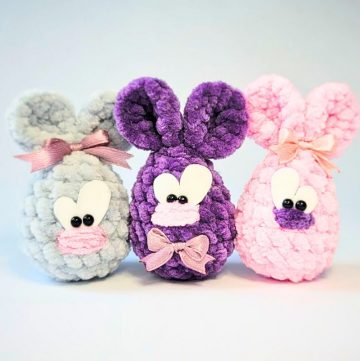
What sets this bunny apart is its versatility and heartfelt details. Standing at a compact size, it’s perfect as a keychain, pocket charm, or even a decorative pendant. From carefully crocheted arms and legs to a dainty felt heart on its chest, each stitch gives life to a bunny that feels truly special. The combination of simple shaping, soft textures, and thoughtful accents allows you to customize it with colors, accessories, or even tiny embroidered expressions for a unique and personal touch.
Credit Olga Garkusha
Materials & Tools Needed:
- Pink yarn: For the bunny's body, ears, and limbs.
- Thin black thread: For embroidering the facial features (nose, mouth, and eyelashes).
- Holofiber stuffing: To fill the bunny and give it a plush appearance.
- A small felt heart: Approximately 10 mm in size for decoration.
- Hot glue: For attaching some details like the felt heart.
- Two small buttons: About 8-9 mm in diameter (optional, for eyes; safety eyes can also be used).
- Crochet hook size 1.75 mm: For working with yarn.
- Scissors and tapestry needle: For finishing touches like sewing parts together.
Finished Size:
- The finished bunny will be approximately 19 cm long.
- Customization Ideas:
- Experiment with different yarn colors for the body, ears, or details.
- Add accessories like bows, flowers, or a scarf to personalize the bunny.
- Adjust the hook size or yarn thickness to create larger or smaller bunnies.
Step-by-Step Crochet Instructions:
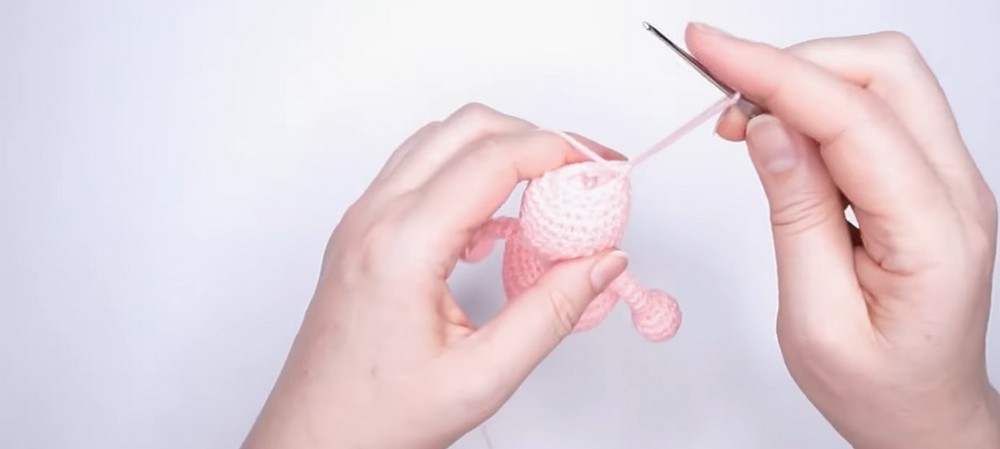
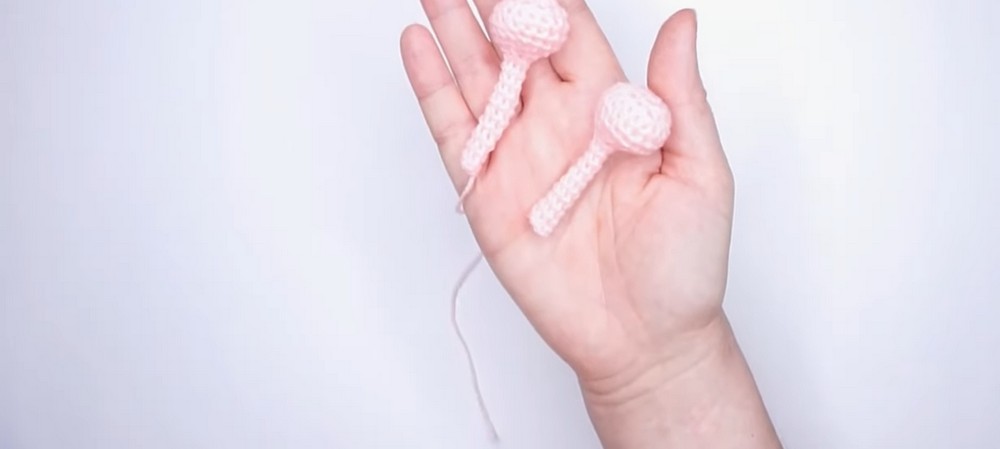
I. Crochet the Upper Paws:
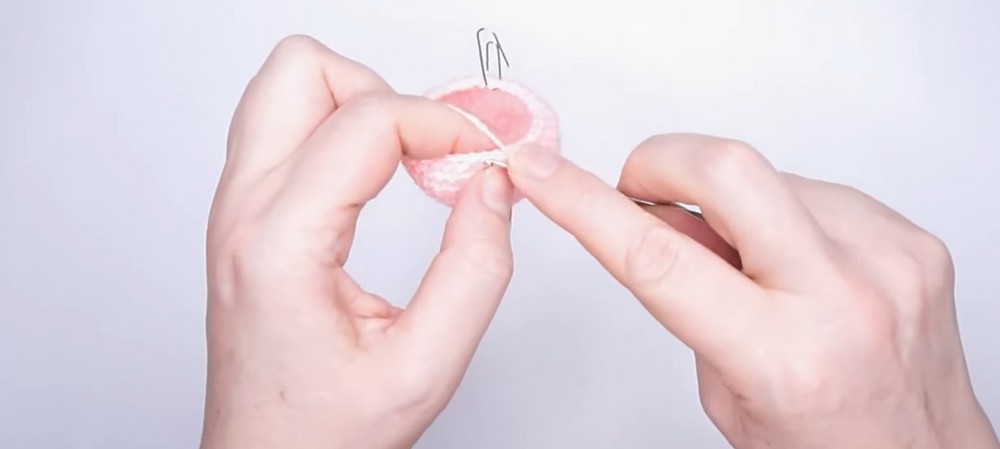
- Row 1: Start with 6 single crochet (sc) in a magic ring. (6 sts)
- Row 2: Increase (inc) in each stitch: 6 increases (6 inc) = 12 sts.
- Rows 3-5: Work 12 single crochet (1 sc in each st). (12 sts per row)
- Row 6: Decrease (dec) in every 2 stitches: 6 decreases (6 dec) = 6 sts.
- Fill the paw with holofiber stuffing.
- Rows 7-14: Work 6 sc in each round. (6 sts per row)
- Fasten off and cut the yarn, leaving a long tail for sewing later.
- Make 2 upper paws following the same steps.
II. Crochet the Lower Paws (Legs):
- Row 1: Start with 6 sc in a magic ring (6 sts).
- Row 2: Increase in every stitch: 6 inc = 12 sts.
- Row 3: 1 sc, inc (repeat * around) = 18 sts.
- Rows 4-6: Work 18 sc in each round. (18 sts per row)
- Row 7: Work 3 sc, 6 decreases, 3 sc = 12 sts.
- Insert holofiber stuffing into the leg.
- Row 8: 6 decreases (6 dec) = 6 sts.
- Rows 9-18: Work 6 sc in each round. (6 sts per row)
- Fasten off and cut the yarn, leaving a long tail for sewing later.
- Repeat to make the second leg.
III. Crochet the Ears:
- Row 1: Start with 6 sc in a magic ring. (6 sts)
- Row 2: Increase in every stitch: 6 inc = 12 sts.
- Row 3: [3 sc, inc] x3 = 15 sts.
- Rows 4-8: Work 15 sc in each round. (15 sts per row)
- Row 9: [3 sc, dec] x3 = 12 sts.
- Rows 10-11: Work 12 sc in each round. (12 sts per row)
- To shape the ear: Fold the top corners of the ear together and sew them closed with a couple of stitches.
- Fasten off and cut the yarn, leaving a long tail for sewing.
- Repeat to make the second ear.
IV. Crochet the Body:
- Row 1: Start with 6 sc in a magic ring. (6 sts)
- Row 2: Increase in every stitch: 6 inc = 12 sts.
- Row 3: [1 sc, inc] x6 = 18 sts.
- Row 4: [2 sc, inc] x6 = 24 sts.
- Row 5: [3 sc, inc] x6 = 30 sts.
- Row 6: [4 sc, inc] x6 = 36 sts.
- Rows 7-10: Work 36 sc in each round. (36 sts per row)
- Row 11: [4 sc, dec] x6 = 30 sts.
- Row 12: [3 sc, dec] x6 = 24 sts.
- Row 13: 12 decreases (12 dec) = 12 sts.
- Row 14: Work 12 sc in the round. (12 sts)
- Row 15: Attach the upper paws:
- Work 3 sc along the body, 3 sc into one upper paw and back onto the body, 3 sc, then 3 sc into the other upper paw. (12 sts total)
- Row 16: [1 sc, inc] x6 = 18 sts.
- Rows 17-18: Work 18 sc in each round. (18 sts per row)
- Row 19: [2 sc, inc] x6 = 24 sts.
- Rows 20-27: Work 24 sc in each round. (24 sts per row)
- Row 28: [2 sc, dec] x6 = 18 sts.
- Row 29: [1 sc, dec] x6 = 12 sts.
- Fill the body firmly with holofiber stuffing.
- Fasten off and close the opening by weaving the front loops together with a needle.

V. Assembly:
- Attach the lower paws:
- Position them so they bend slightly forward, then sew them securely to the bottom of the body.
- Attach the ears:
- Position them on top of the head and sew with the long tails left from crocheting.
- Embroider the nose and mouth:
- For the nose, step 8 rows down from the top of the head.
- Place the nose between rows 8 and 9, and make a few stitches to form the triangle shape.
- For the mouth, step down one row from the nose and stitch two curved lines.
- Sew or glue on the eyes:
- Place the eyes 5 stitches apart.
- Tighten them into place by sewing through the back and securing them.
- You can add eyelashes with black thread for extra detail.
- Add the felt heart using hot glue.
- Optional: Crochet a small flower for decoration:
- Chain 4 stitches, slip stitch into the first chain.
- Repeat 4 times to create petals, fastening off when complete.
Finishing Touches:
- Check all seams to ensure they're secure.
- Trim any loose threads.
- Shape and adjust the stuffing as needed to make the bunny huggable.