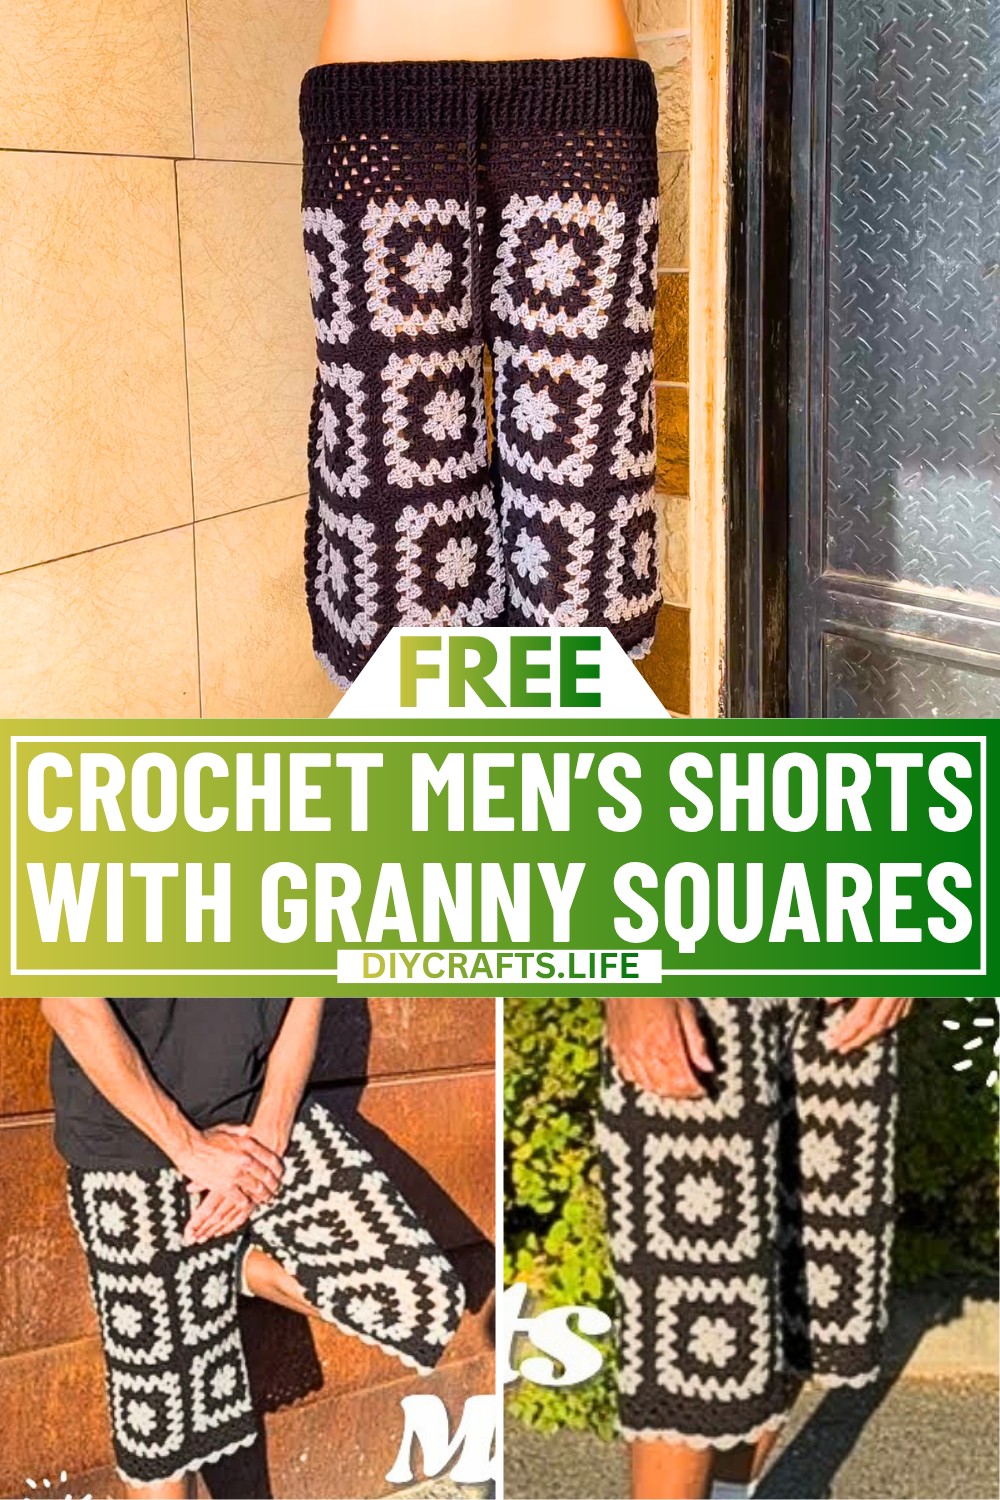
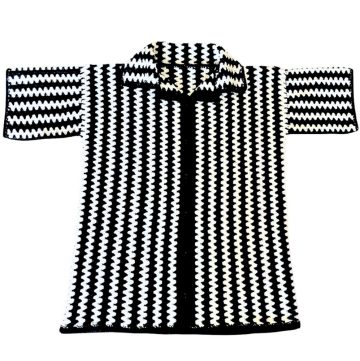
Granny square shorts are a fun and stylish piece of clothing that's perfect for summer or lounging at home. These shorts are made with colorful granny squares, giving them a unique and vintage look that suits everyone – dads, brothers, friends, or even yourself! The design is both creative and practical, combining comfort with charm. They’re a great way to show off your crochet skills while making something wearable.

These crochet shorts stand out because they are adjustable and customizable in both size and style. By combining different colors and patterns of granny squares, you can make them truly one of a kind. The construction involves joining squares, working on the waistband, and making the legs neat with simple finishing touches. While the process uses basic crochet techniques like double crochet clusters and post stitches, the designer offers step-by-step guidance to make this easy for beginners too.
Whether you’re looking to create something stylish for yourself or a thoughtful gift, these granny square shorts are a rewarding crochet pattern to try. Pair them with a simple top or use them as comfy lounge wear – they’re versatile, eye-catching, and full of personality.
Credit CBH Academy
Materials & Tools Needed
- Yarn: Alise Cotton Gold Yarn (100g, 361 yards)
- 1½ skein of gray
- 3 skeins of black
- Crochet Hooks:
- 2.5mm hook (for smaller squares and waistband)
- 3.0mm hook (for ribbing)
- 3.5mm hook (for larger squares for the thighs)
- Additional Tools:
- Stitch markers
- Darning needle
- Measuring tape
- Scissors
- Optional: Pen and paper for measurements and planning
Finished Size & Customization Ideas
Default Sizes in Tutorial:
- Waist: 36 inches
- Hips: 45 inches
- Crotch/round fly: 26 inches
- Thighs: 27 inches each
- Shorts Length: 27 inches
Customization:
- Adjust the number of granny squares according to measurements (use the hips and thigh measurements for scaling).
- Experiment with different colors or larger/smaller granny square sizes based on hook size and yarn.
- You can skip baggy legs for a fitted look by minimizing square size differences.
Pattern Abbreviations & Terminology
- SC: Single Crochet
- DC: Double Crochet
- Ch: Chain
- Sl St: Slip Stitch
- Beg DC: Standing Double Crochet
- Dec: Decrease
- Granny Cluster: A group of 3 DC stitches worked into the same chain space
- Back Post DC (BPDC): Double crochet worked around the back of the post of a stitch
- Front Post DC (FPDC): Double crochet worked around the front of the post of a stitch

Step-by-Step Detailed Crochet Instructions
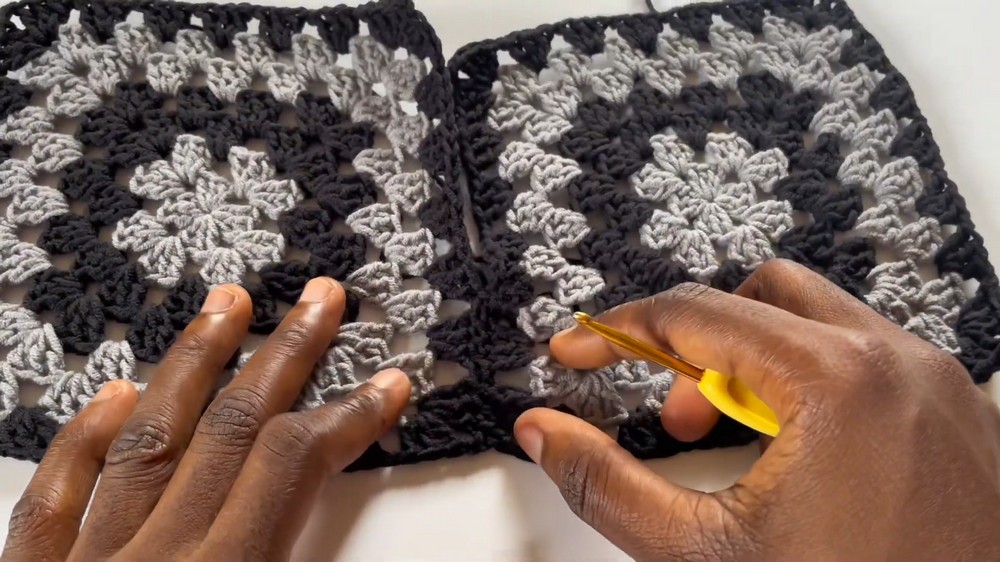
Component 1: Making Granny Squares
Types of Squares:
- Smaller Squares:
- Hook size: 2.5mm
- Size: Approximately 5.7 inches per square, blocked.
- Eight squares total (for hip region).
- Larger Squares:
- Hook size: 3.5mm
- Size: Approximately 6.7 inches per square, blocked.
- 16 squares total (for thigh region).
Instructions to Make Squares:
Follow the linked tutorial for granny squares (mentioned in the scraped transcript). Each square consists of 7 rounds of granny stitches.
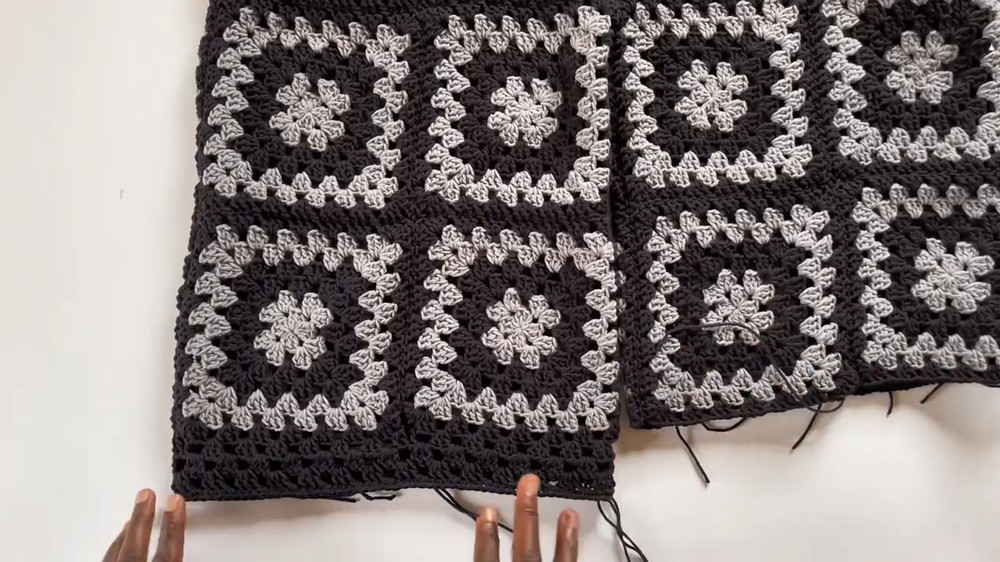
Component 2: Calculating and Arranging Granny Squares
Panel Layout:
- Front Panel (Hip): 2 smaller squares + 4 larger squares (arranged in rows of two).
- Back Panel (Hip): 2 smaller squares + 4 larger squares (arranged the same way).
- Total Squares: 24 squares.
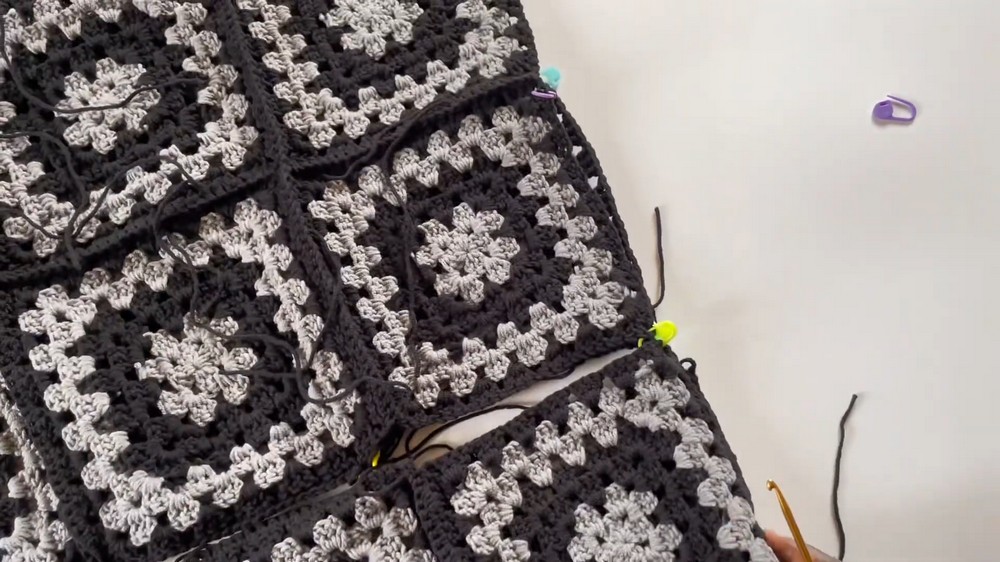
Assembly:
- Join squares into panels:
- Use single crochet to join two squares at a time (matching stitch counts).
- Repeat for both hip and thigh portions of each leg.
- Join panels together:
- First join thigh panels to the hip panels.
- Then join two complete panels to form the first leg.
- Complete assembly to create the second leg.
Component 3: Joining Legs and Forming the Shorts
- Fold the two completed panels for the legs.
- Mark the crotch measurement (26 inches total) and stop joining accordingly:
- 5 inches for the waist portion (2.5 inches granny row + 2.5 inches waistband).
- 8 inches marked for space between legs.
- Attach both leg portions together by joining front and back seams.
Component 4: Adding the Waistband
Instructions:
- Granny Stitch Rows:
- Attach yarn at the top edge, using a 2.5mm hook.
- Work 6 rows of granny stitch (chain 1 between clusters), turning after each row.
- Use decreases at the sides (marked points) every other row for a cinched fit.
- Ribbed Waistband:
- Switch to a 3.0mm hook.
- Round 1: Make 1 DC into every stitch.
- Rounds 2–9: Alternate FPDC and BPDC stitches for ribbing.
- Reduce every few rows at the marked points for desired waist measurement (36 inches).
- Strap for Drawstring:
- Create a 60-inch chain using gray and black yarn strands held together.
- Thread through waistband openings evenly, entering and exiting at the front.
Component 5: Working the Legs
Instructions:
- Optional Granny Stitch Rows:
- Attach yarn at the bottom seam using a 4.5mm hook.
- Work additional granny rows at the edges if you want more length. Chain 1 between clusters.
- Finish with a round of SC for a polished edge.
- Cleaning Ends:
- Make a single crochet round at the leg openings and trim any loose yarn ends.
Final Touches
- Trim and Secure Yarn Ends:
- Use scissors to cut off excess yarn after knotting.
- Block the Shorts:
- Stretch and shape the shorts using blocking techniques, if necessary, for proper fit.
Tips
- Tension: Adjust hook sizes based on your crochet tension to meet the size measurements mentioned.
- Stretch Factor: Cotton yarn has some elasticity, so sizing should account for slight stretch.
- Customization: Experiment with smaller granny squares for a more fitted style.