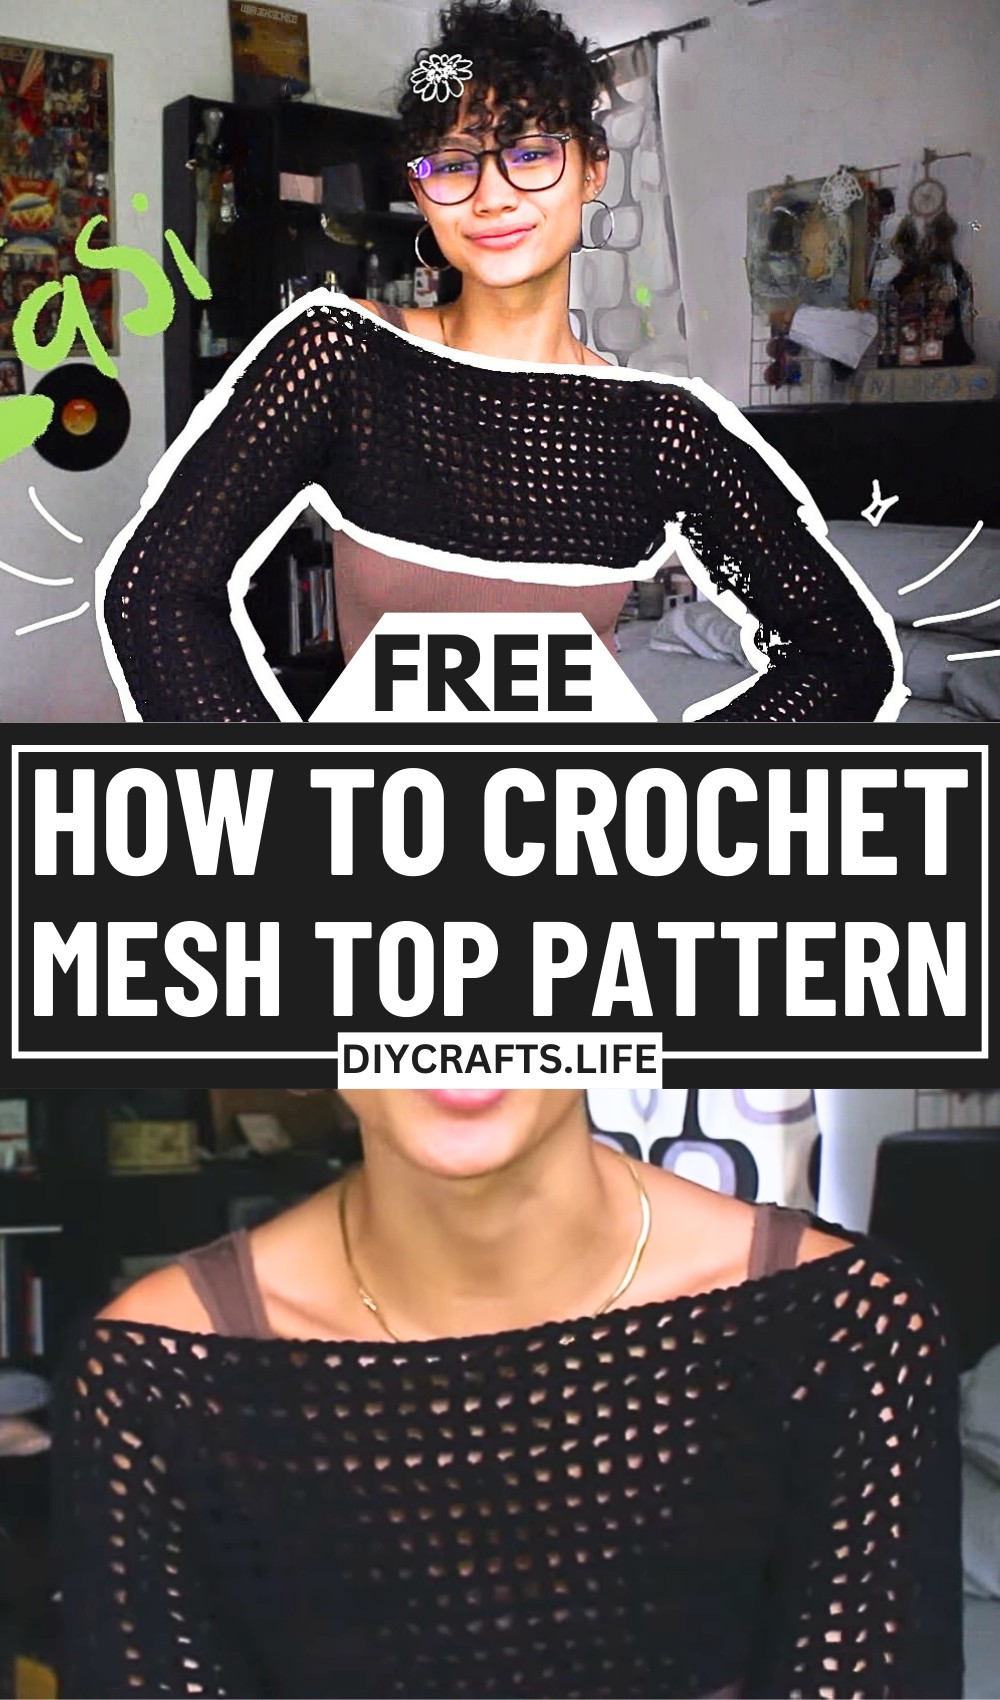
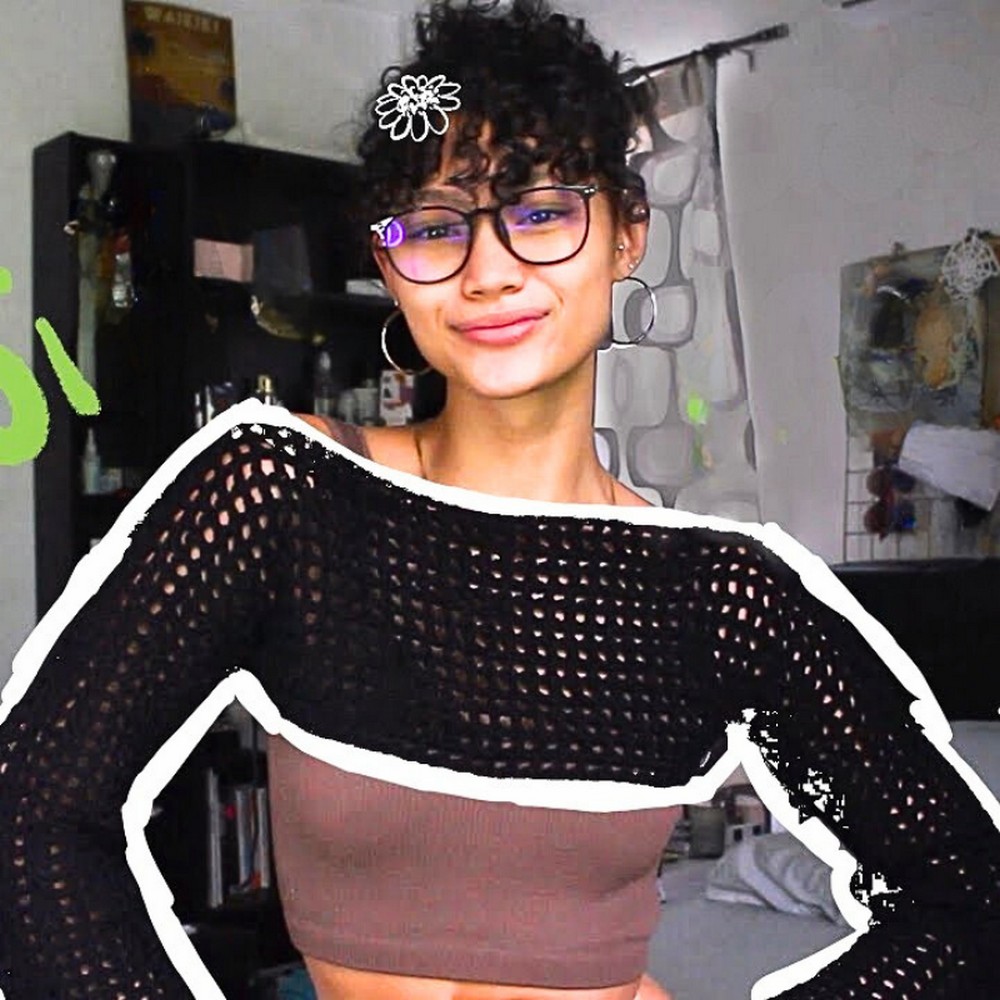
Step into effortless style with the crochet mesh top that defines casual elegance. This design captures the beauty of handcrafted fashion while offering a light, breathable garment perfect for layering. Whether dressed up for an evening outing or paired with jeans for a laid-back day, this top transforms your wardrobe through the artistry of crochet.
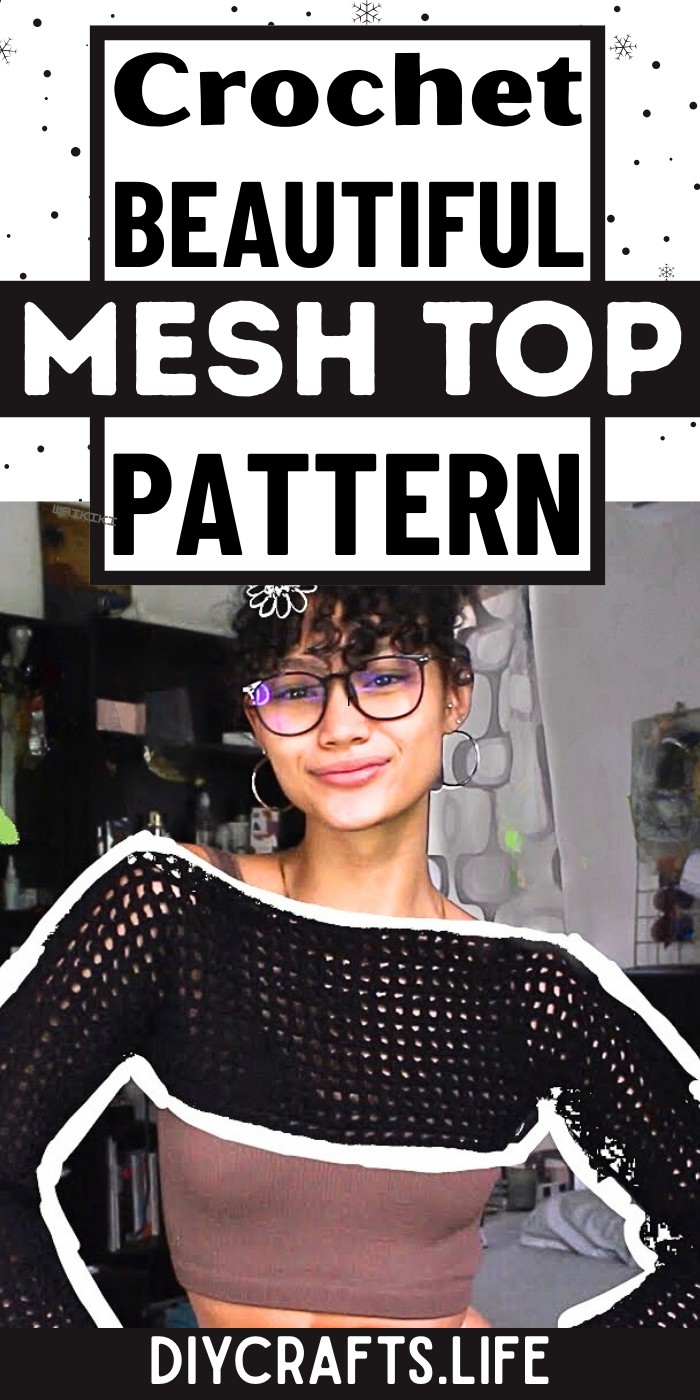
Crochet Mesh Top Pattern
This pattern combines intricate mesh detailing with a versatile fit, making it a standout piece for all seasons. The openwork design gives it a modern and airy look, while its structured finish keeps it flattering on all body types. With its unique stitch pattern and customizable sizing, this crochet top is not only fashionable but also highly adaptable to individual tastes, making every creation truly personal.
Credit Nikita Nightingale
Materials & Tools Needed
- Yarn:
- Any yarn type can be used. A lightweight yarn works well (e.g., DK, sport weight, or acrylic).
- The tutorial uses inexpensive yarn sourced from Shopee, but feel free to choose yarn of your choice for the desired texture and finish.
- Opt for lighter colors for visibility during stitching unless you're confident with darker yarns.
- Crochet Hook:
- Recommended size: 5 mm hook (adjust based on your yarn weight or tension preference).
- Tapestry Needle:
- For joining pieces and weaving in ends.
- Scissors:
- To trim yarn.
- Stitch Markers:
- Useful for marking areas, such as the neckline or body portion.
Finished Size & Customization Ideas
Approximate Size Details:
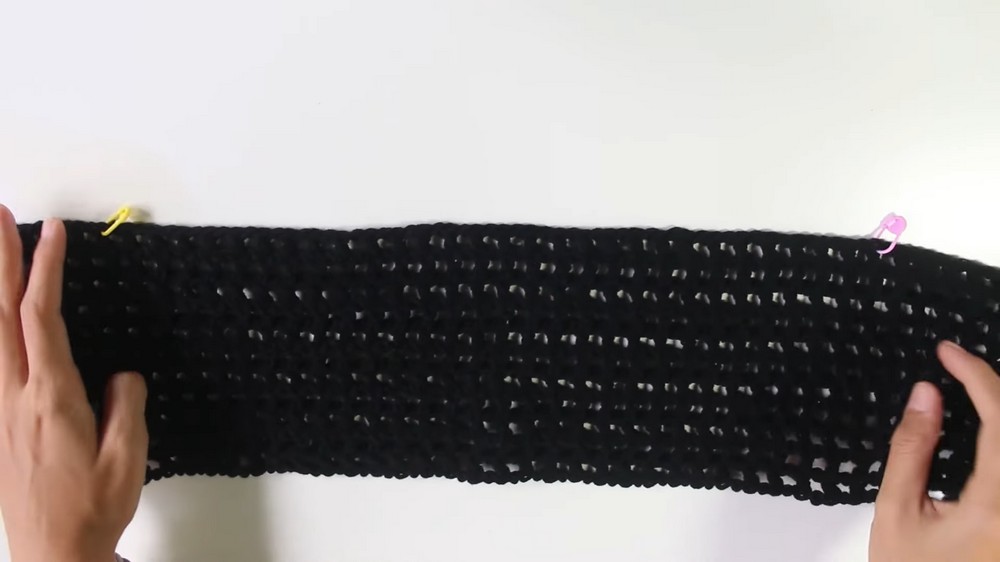
- The top consists of two rectangular panels of mesh stitches:
- Each rectangle should be wide enough to span from sleeve to sleeve and long enough for the desired sleeve/body coverage.
- Example: 11 rows were used for sleeves and 3 rows for the body portion, but this can be adjusted.
Customization Options:
- Size adjustments:
- Modify width: Increase or decrease the number of initial chains depending on your size, ensuring the chain count is an odd number (important for the pattern to work).
- Modify length: Add or reduce rows until the panels reach the desired sleeve/body length.
- Style variations:
- Change yarn weight: Using thinner yarn creates a delicate, airy look, while thicker yarn results in a chunky, textured appearance.
- Colors: Introduce color changes every few rows for visual interest or use multicolored yarn for unique blending effects.
- Straps or detailing: Add longer straps for neckline ties or borders for a finished edge.
Pattern Abbreviations & Terminology
(Note: US terminology is used.)
- Chain (ch): Yarn over, pull through the loop.
- Double Crochet (dc): Yarn over, insert hook into stitch, yarn over, pull through (3 loops on hook), yarn over, pull through two loops, yarn over, pull through remaining two loops.
- Skip (sk): Skip one stitch without working into it.
- Turn: Rotate your work to begin the next row.
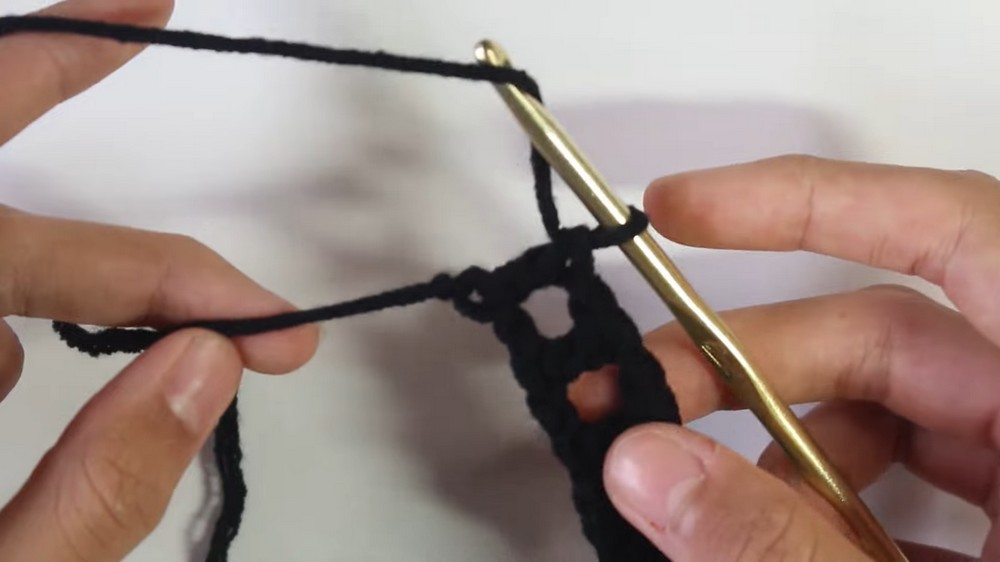
Step-by-Step Crochet Instructions
Creating the First Panel:
- Start with a foundation chain:
- Chain a number long enough to reach across your body from arm to arm. Example: 209 chains. Ensure your chain count is odd.
- Add setup chains:
- Chain 3 extra chains for turning at the beginning of the row.
- Begin Mesh Stitch (Row 1):
- Double crochet into the 6th chain from the hook.
- Chain 1, skip 1 chain, then double crochet into the next chain.
- Repeat the pattern: ch 1, sk 1, dc into the next chain until the end of the row.
- Turn Work & Start New Row:
- Chain 3; this counts as a turning chain and the first dc + ch 1 space.
- Work a double crochet into the next stitch and resume the mesh pattern: ch 1, sk 1, dc.
- Repeat Rows:
- Continue repeating rows of the mesh stitch until the panel reaches the desired sleeve width. Example provided: 11 rows.
Adding the Body Portion (Optional):
- Mark the section:
- Use stitch markers to measure where the sleeve ends and the body begins. Example: 30 double crochets for the body width, leaving 37 for sleeves.
- Attach yarn:
- Join your yarn to the corresponding marked location and begin the mesh stitch section.
- Work rows:
- Crochet rows of mesh stitch for the body portion. Example given: 3 rows, but this can be adjusted depending on preference.
- Fasten off:
- Cut yarn, leaving a long tail to stitch the panel.
Creating the Second Panel:
- Repeat all the above steps for the second panel, ensuring both are identical in terms of rows, size, and body/sleeves.
Joining the Panels:
- Align panels:
- Place both rectangles flat and align them with stitch markers marking the neckline or sleeve regions.
- Stitch sleeves together:
- Using a tapestry needle and long tail, whip stitch or use preferred sewing method along the edges of the sleeves until the marked neckline opening.
- Body and sides:
- Fold the panels in half, matching corresponding edges. Stitch the side seams, beginning from the sleeve edge, down to the body portion until fully closed.
Finishing Touches:
- Weave in ends:
- Use a tapestry needle to neatly weave in all loose ends.
- Optional edge finishing:
- Add a border around the neckline, sleeves, or hem to neaten and reinforce edges, using single crochet or picot stitches.

Final Notes:
- This simple crochet mesh top is versatile and can be easily adjusted to fit various sizes and styles. Don't shy away from experimenting with different yarn weights, patterns, or color combinations. Happy crocheting!