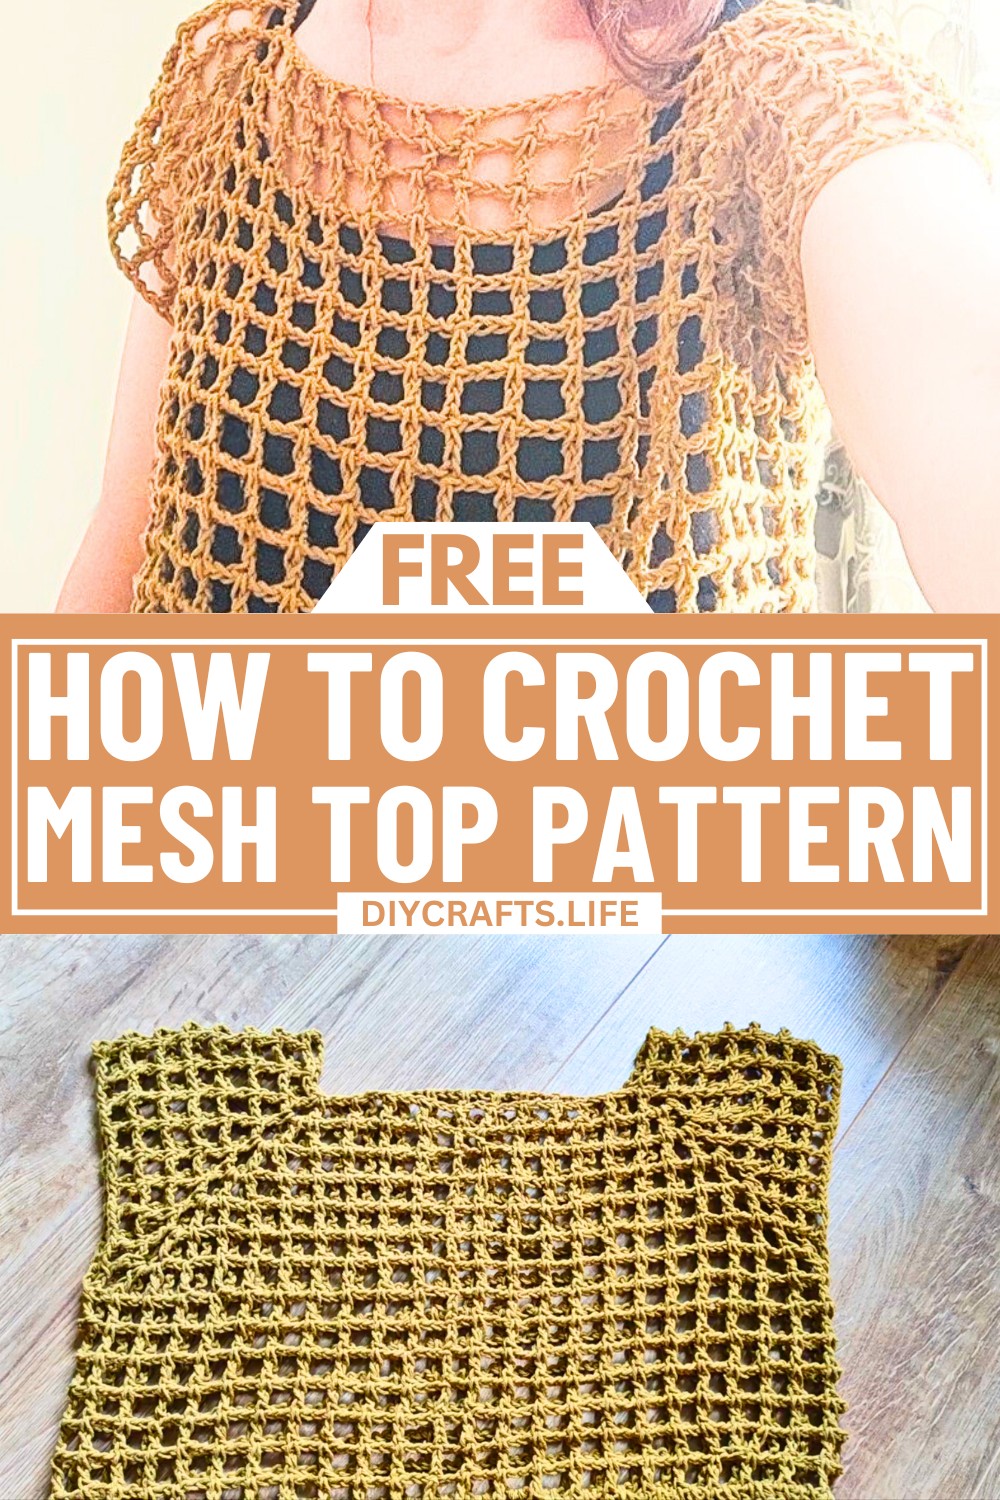
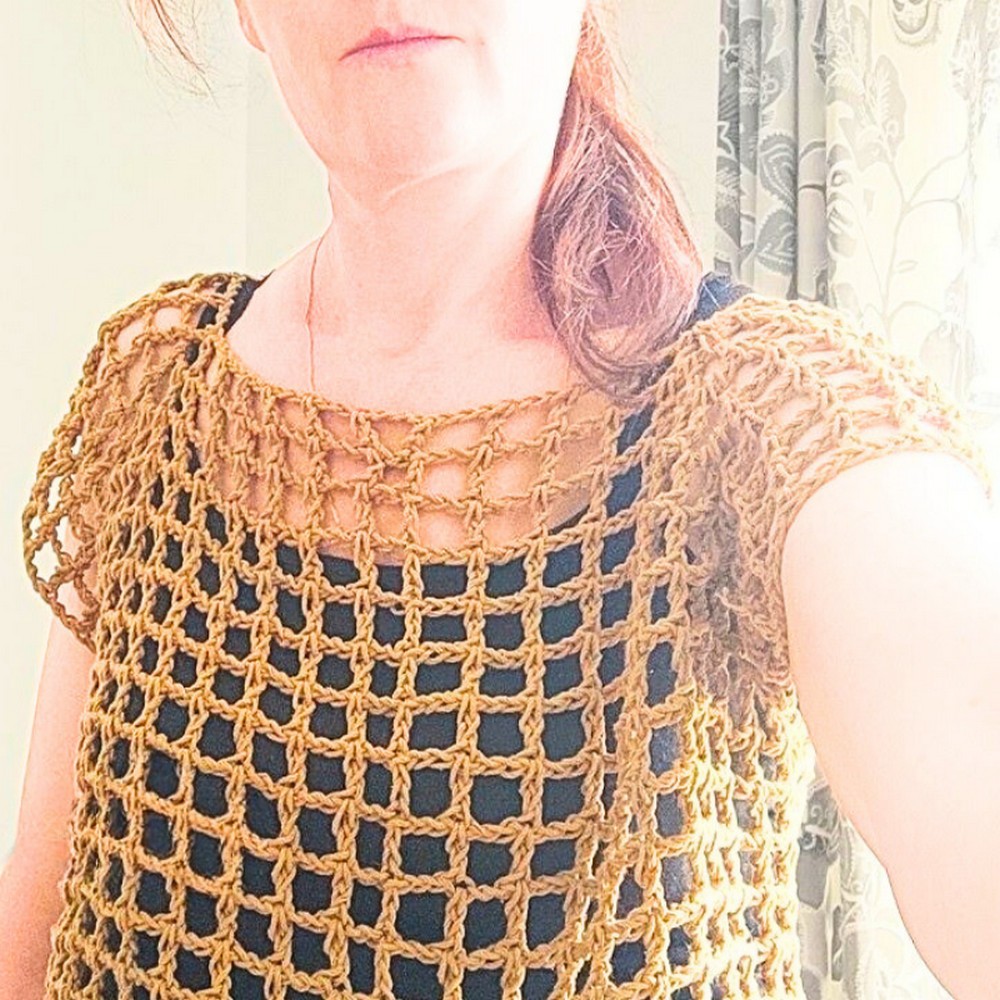
Bring a fresh breeze into your wardrobe with the perfect mix of elegance and comfort. This crochet mesh top design is more than just a handmade piece—it's a statement of style and individuality. Whether layered for a chic look or worn casually, this unique creation adds texture and personality to any outfit. Let its timeless charm turn heads every single time.
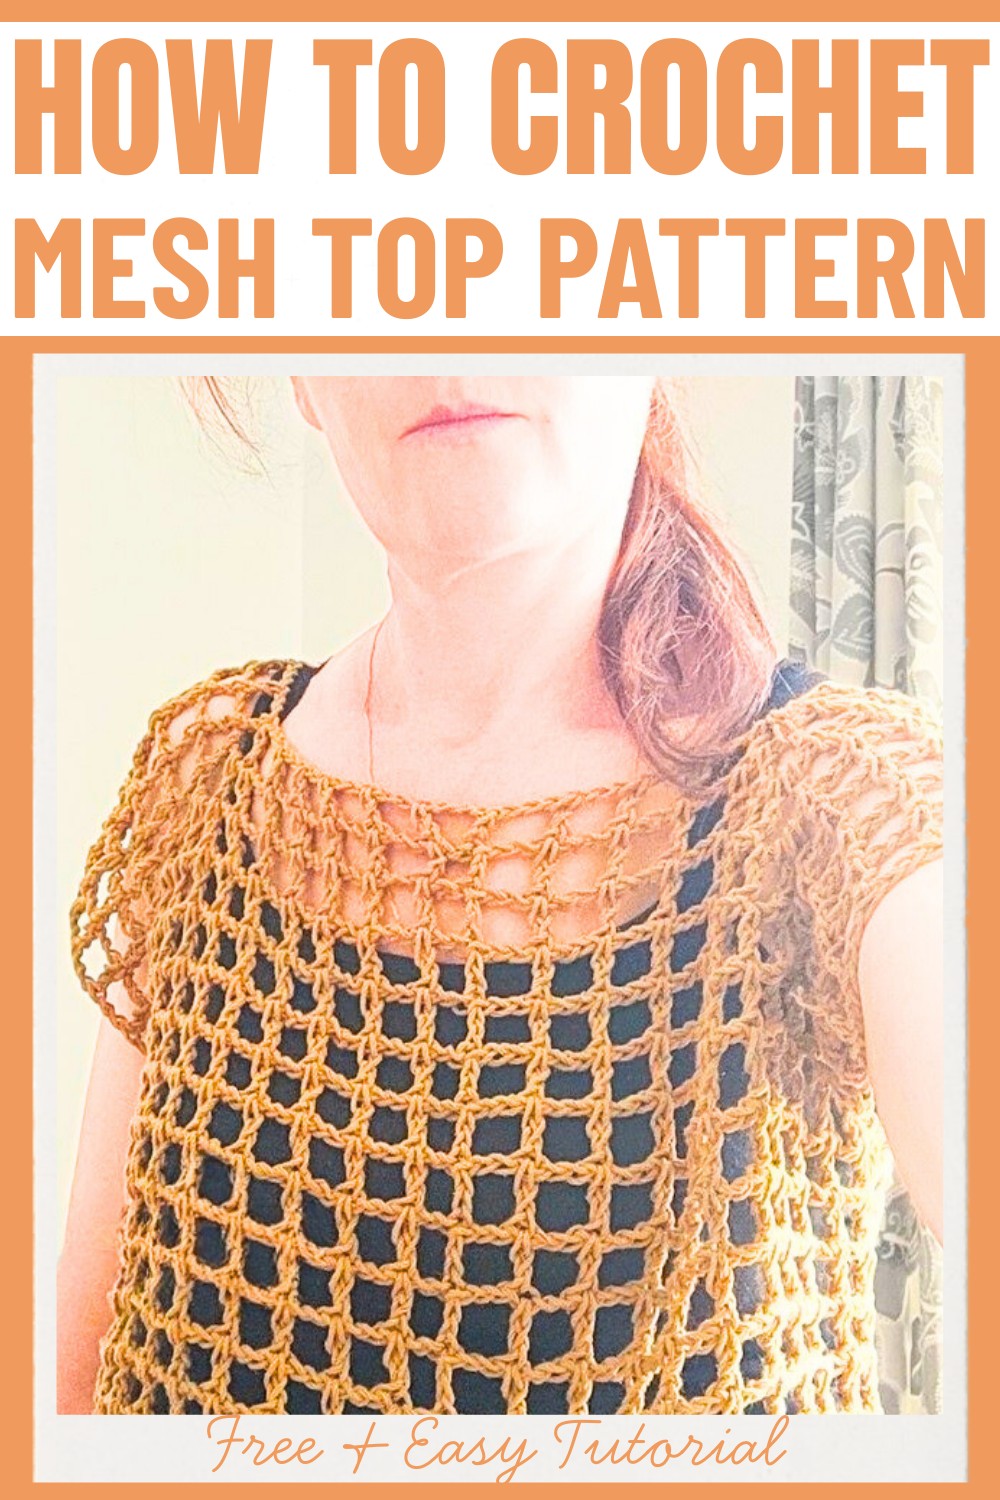
This crochet mesh top stands out with its delicate openwork pattern that creates a lightweight and airy feel. Its design blends simplicity with sophistication, making it a versatile choice for both sunny strolls and cozy evenings. The flexible style allows you to easily adjust the size and add your own touch, highlighting its beauty for any color or material you choose. This is not just a pattern; it’s an opportunity to craft a wearable art piece tailored to your style.
Credit Hobbi CROCHET
Required Materials
- Yarn:
- 100% cotton yarn (approximately 155 meters per 100g)
- Suggested color: Bronze (or your preferred color)
- Crochet Hook:
- 5.5 mm for the body portion
- Optional: 4 mm hook for finishing the bottom edge for a neater effect.
- Additional Tools:
- Stitch markers (minimum of 4)
- Scissors
- Yarn needle (for weaving in ends)
Important Notes
- Sizing: To customize, adjust the neckline chain to fit comfortably over your head, ensuring it is a multiple of 3 + 1 for the mesh stitch pattern. The starting chain will also depend on your desired size.
- Construction: This top is constructed seamlessly, starting from the neckline and working down the body with raglan-style increases.
- Customization: Adjust length and waist shape as per your preference.
- Stitch Type: The tutorial uses extended double crochet stitches (slightly taller than basic double crochets). If unfamiliar, feel free to use standard double crochets (dc).
- Formula for Raglan Division: Divide the neckline chain into six sections:
- 2 parts for the back
- 2 parts for the front
- 1 part per sleeve
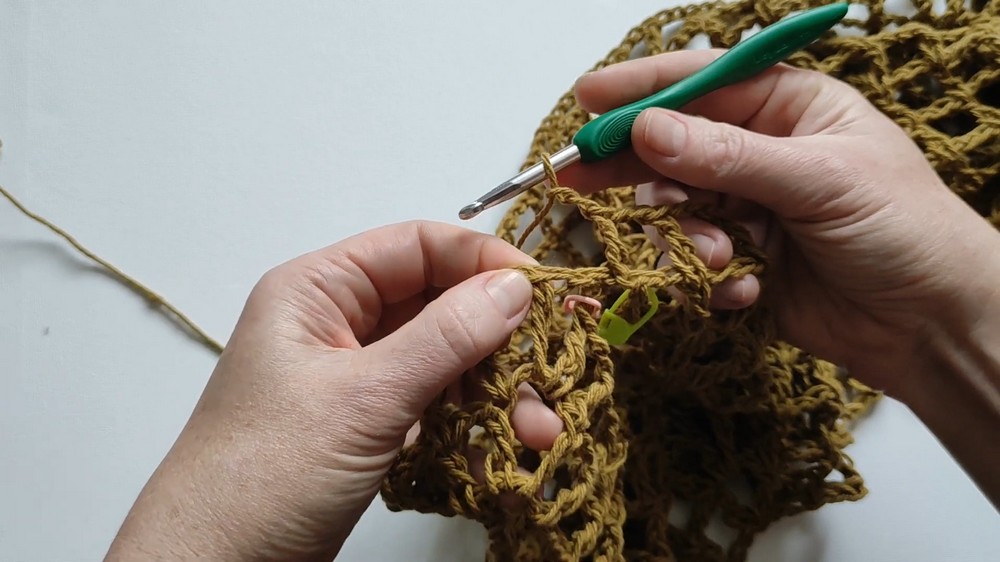
Step-by-Step Crochet Instructions
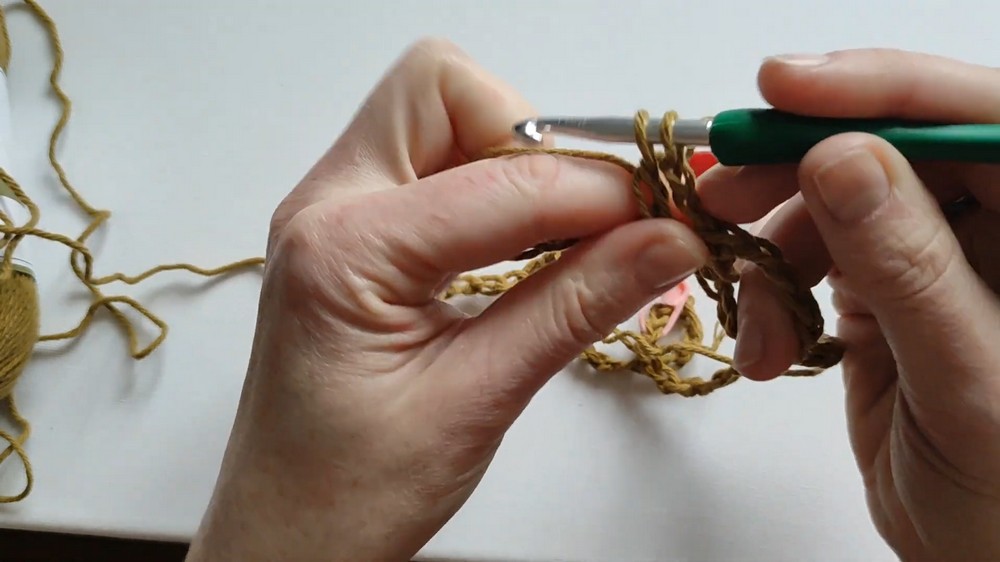
1. Starting the Neckline (Foundation Chain)
- Make a foundation chain in multiples of 3 + 1 to fit your desired size.
- For a medium size (M), 90 chain stitches are recommended.
- Join the chain into a circle using a slip stitch, ensuring it is not twisted.
2. Dividing for Raglan Sections
- Divide the chain into 6 parts as follows:
- Front: 30 stitches
- Back: 30 stitches
- Sleeves: 15 stitches each
- Mark the separation points using stitch markers at the end of each section.
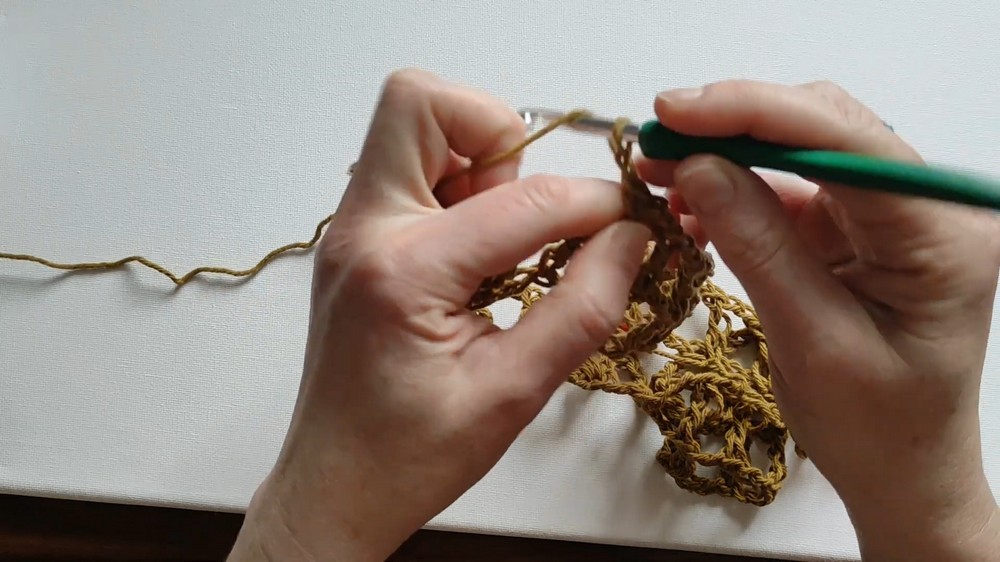
3. Row 1: Starting the Mesh Stitch
- Begin with chain 3 (counts as the first extended double crochet).
- Work the mesh pattern:
- [Chain 2, skip 2 chains, 1 extended double crochet in the next stitch]
- Continue until you reach the first stitch marker.
- At each stitch marker:
- Work 1 extended double crochet, chain 3, 1 extended double crochet in the marked stitch (this creates the raglan increase points). Replace the stitch marker in the chain-3 space.
- Continue this process for the rest of the round, creating 4 raglan increase points.
- Slip stitch into the starting chain-3 to close the round.
4. Row 2 (and Subsequent Rounds to Armhole)
- Begin with chain 3 as your first extended double crochet.
- Continue the mesh pattern:
- [Extended double crochet in each extended double crochet from the previous round, chain 2].
- At each stitch marker:
- Work 1 extended double crochet, chain 3, 1 extended double crochet. Move the marker to the chain-3 space in this increase.
- Repeat this round, creating gradual increases at the raglan points.
- Once the raglan increases reach your armpits (approximately 7 rounds for size M), try the top on to check the fit.
5. Joining for the Body
- To join the body, connect the front and back sections at the stitch markers for the sleeves:
- Chain 2 (or as needed) to connect the underarm gaps, and remove the stitch markers.
- Work continuous rounds of mesh stitch for the body section:
- [Extended double crochet in extended double crochet, chain 2].
6. Adjusting for Waist Shaping
- If you prefer a tapered waist:
- In one or two rows, replace “chain 2” with chain 1 for 3-4 mesh squares to slightly decrease the width.
- Alternatively:
- Weave a drawstring into the waist for a more tailored fit.
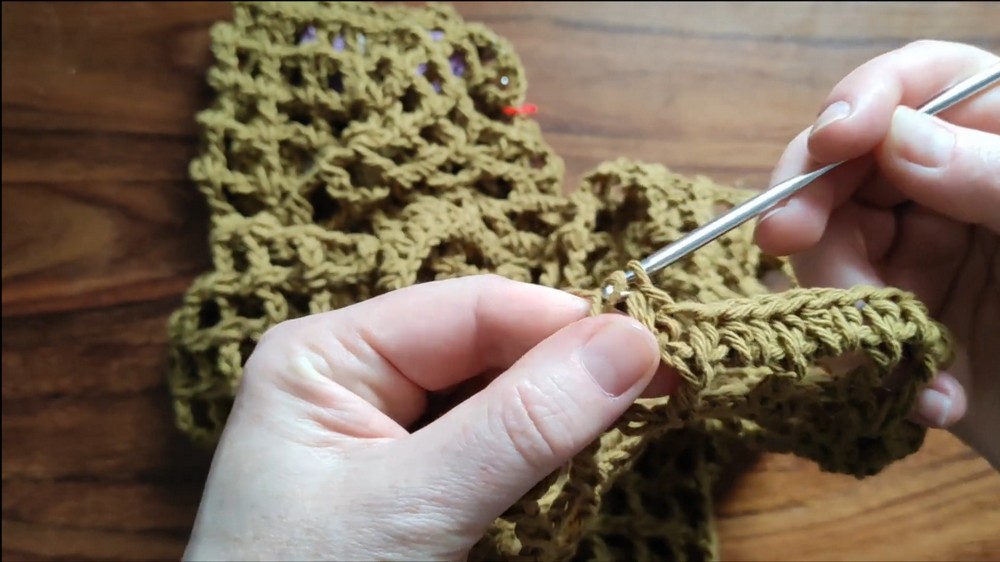
7. Finishing the Bottom Edge
- Switch to a smaller hook (4 mm) for a tighter finish.
- Work 1 row of half-double crochet (hdc) at the bottom:
- [2 hdc in the chain spaces, 1 hdc in each extended double crochet] across.
- To seamlessly finish:
- Cut the yarn and pull through.
- Insert the hook into the first half-double crochet, pull the tail through, then weave the tail back into the final stitch. This creates a clean join.
8. Adding the Sleeves
- For each sleeve, reattach the yarn at the underarm join:
- Continue with the mesh pattern (extended double crochet, chain 2).
- Customize the sleeve length:
- Repeat rounds of the mesh pattern until the sleeves reach your desired length.
- Optional: Create a snug cuff by switching to a smaller hook and working 1-2 rounds of half-double crochet at the edge.
9. Adding a Neckline Border (Optional)
- If the neckline seems too loose, add a simple row of half-double crochet or single crochet to tighten it slightly.
10. Finishing
- Ensure all loose ends are woven in neatly.
- Lightly block the top for the best fit and to relax the stitches.
Tips for Customization
- Length: Continue the body rounds to make a cropped version or a full-length top.
- Fit: Adjust the stitch count in the waist or add variations in the sleeve length to suit personal preferences.
- Yarn Choices: Experiment with different yarn types (e.g., linen blends) to suit various weather conditions.
With this guide, you'll be able to create a trendy crochet mesh top that's easily customizable for any size or style. Enjoy your pr