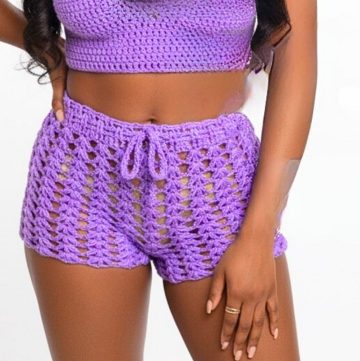
Ready to create the summer staple that you’ll never want to take off? These crochet mini shorts bring together comfort and elegance with bold design elements, allowing you to make a statement while staying cozy. Whether worn at the beach, lounging at home, or paired with your favorite top for a chic outfit, these shorts radiate charm and individuality.
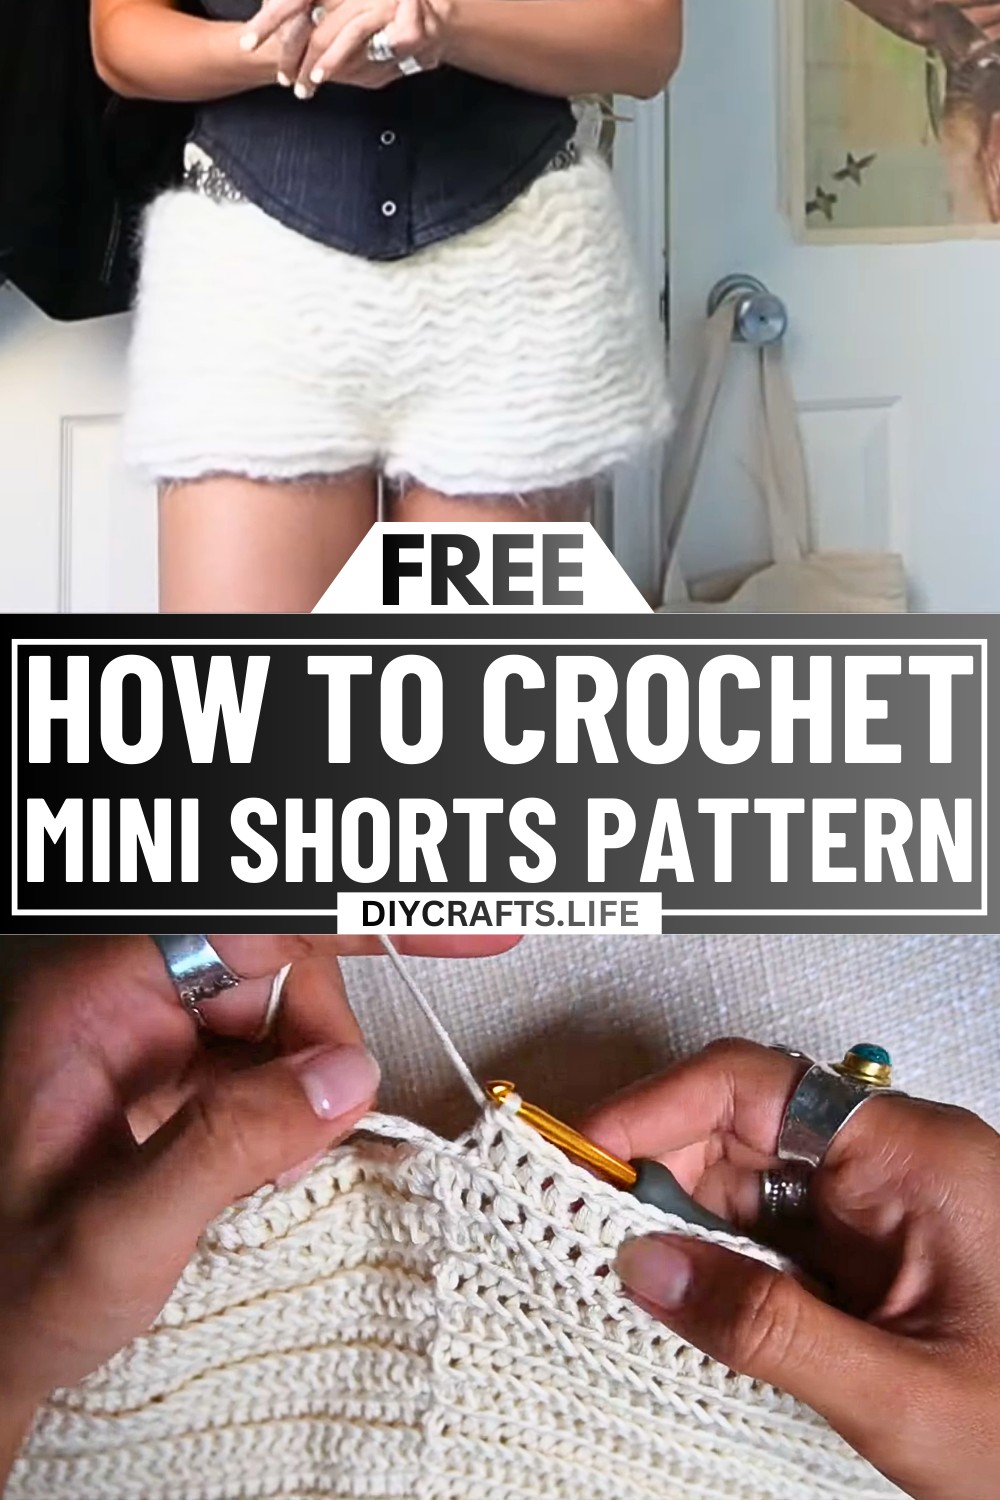
Crochet Mini Shorts Pattern
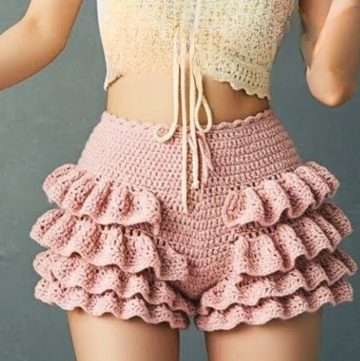
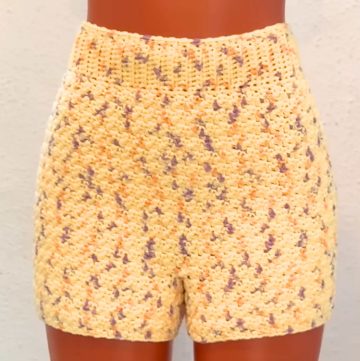
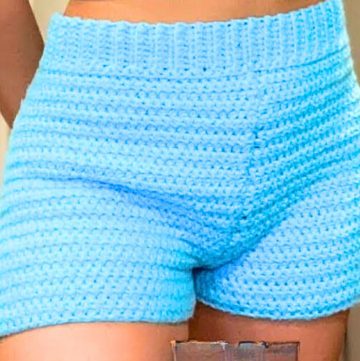
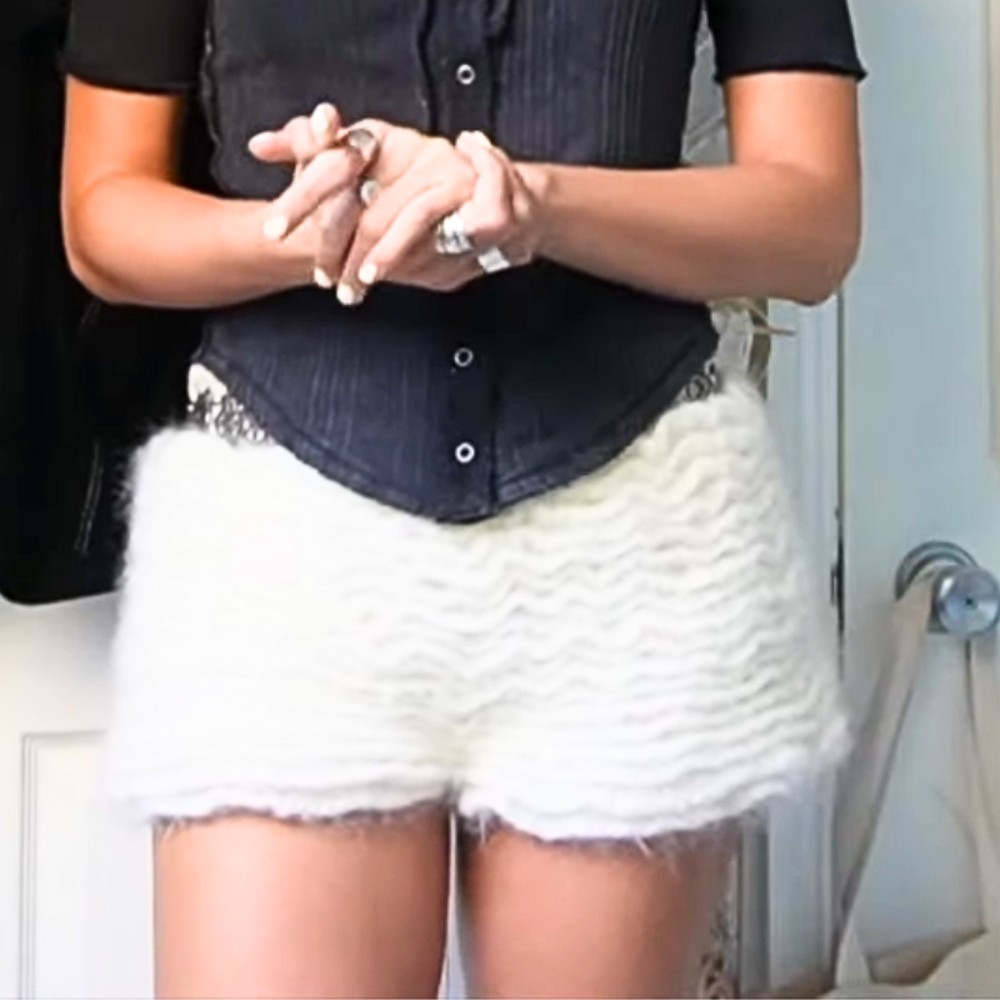
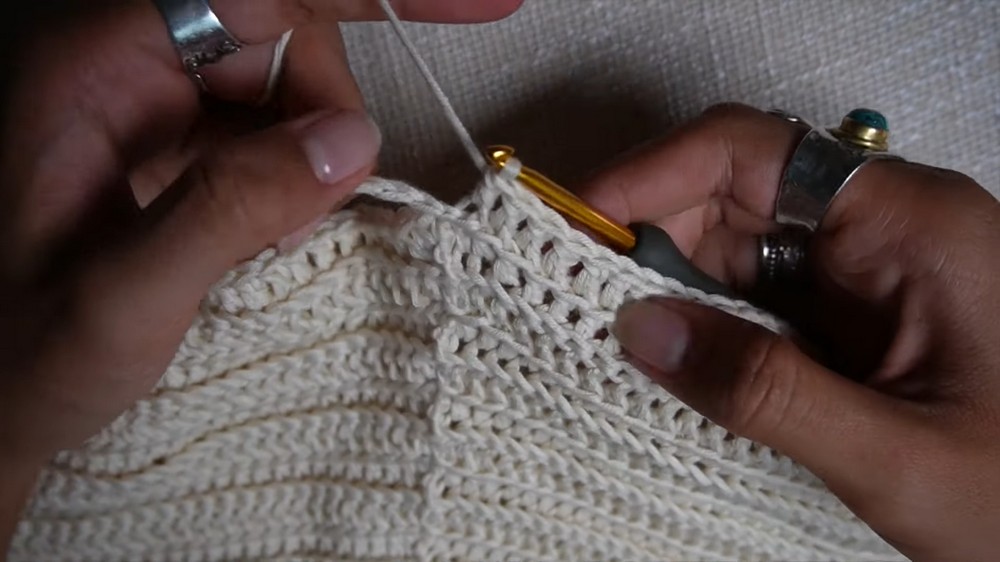
This pattern is perfect for beginners and experienced crocheters alike, with simple stitches such as single, double, and optional triple crochet. The design includes a customizable ruffled bloomer layer or a more classic sleek finish, ensuring it fits your personal taste. Every detail, like the ridged texture and optional frilly edges, brings a romantic, handmade touch. Transform basic yarn into a wearable work of art that’s uniquely yours.
Credit Nikita Nightingale
Materials Needed
- Yarn:
- Cotton yarn (approximately 150g; 1.5 balls of "We Are Knitters" cotton yarn).
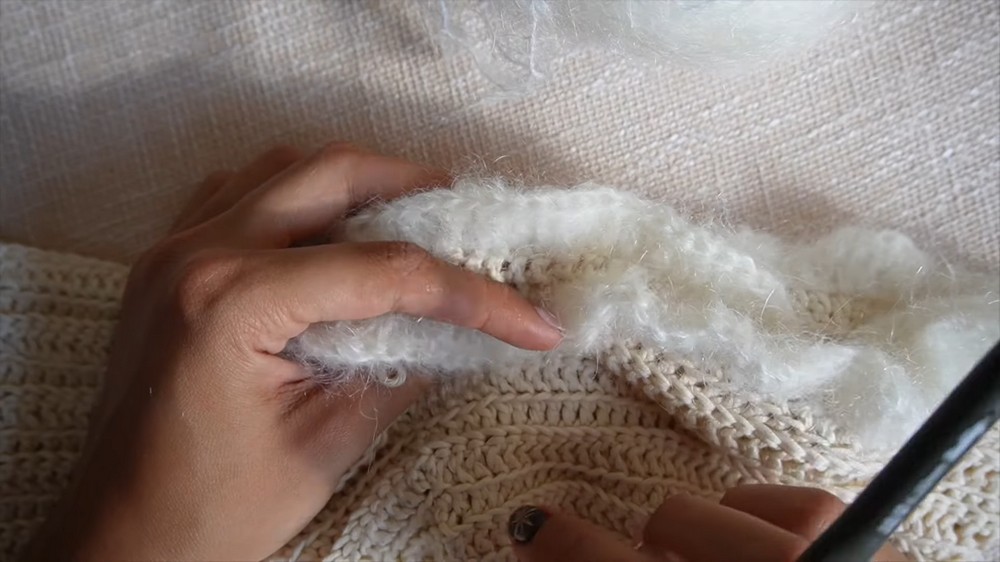
- Mohair yarn for the ruffles (linked in the original video description).
- Crochet Hooks:
- 4mm hook for the shorts.
- 6mm hook for the ruffles.
- Optional Tools:
- Stitch markers (highly recommended for marking critical points).
Step-by-Step Process
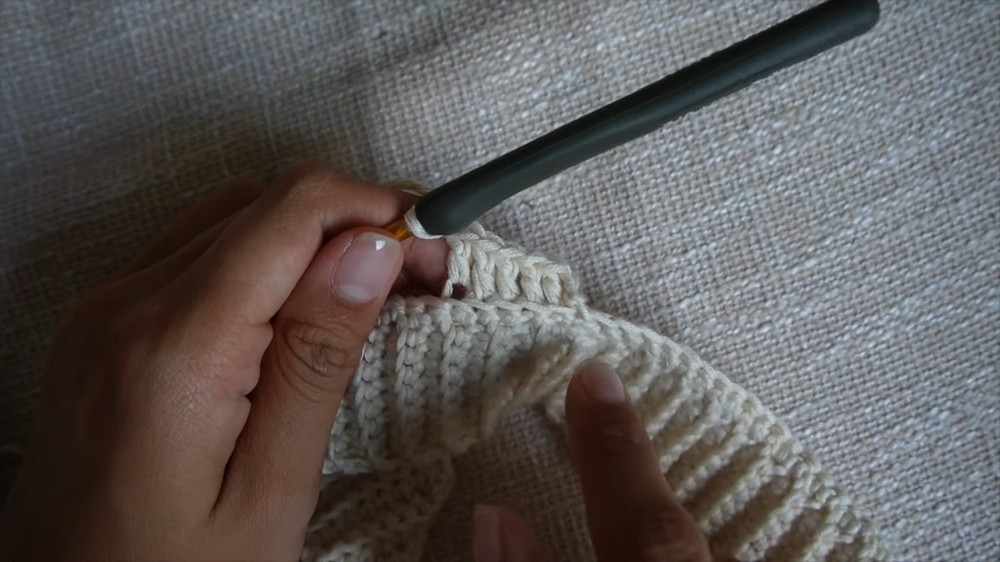
1. Create the Waistband
- Start with the ribbing (waistband):
- Begin with a slip knot and then chain 10 (or adjust width for preferred waistband thickness, e.g., chain 8 for thinner or chain 12 for thicker).
- Single crochet (SC) into each chain.
- Turn Work:
- Chain 1 (counted as a stitch in this tutorial).
- Skip the first stitch and back loop single crochet (BLSC) into the following stitches. Back-loop stitching creates a ribbed texture.
- Repeat rows of BLSC until the waistband is long enough to wrap around your hips or waist (depending on desired sitting position of the shorts).
- Example provided: 128 rows.
- Join Ends:
- Slip stitch the two ends together (ensuring a neat seam for working in rounds).
2. Create the Base of the Shorts
- Once the waistband is joined:
- SC around the top edge in each row of ribbing (working into the "V" shape or gap created by each row).
- Slip stitch to the first stitch once you finish the round.
- Switch to Double Crochet (DC):
- Chain 3 (does not count as a stitch).
- Alternate DC into front loops and back loops for the bloomers version to create rows of ridges (important for adding ruffles later).
- Example provided: 17 rows of DC for a good length.
3. Divide for the Legs
- Count total stitches and divide by two for two equal legs.
- Example provided: 142 total stitches divided into 71 stitches per leg.
- Chain 10–15 stitches (for the crotch area).
- Slip stitch to the opposite side where the stitch marker is placed.
- Work Each Leg Separately:
- For each leg, continue alternating DC rows into front and back loops.
- Example provided: approximately 3 rows per leg.
4. Add Ruffles
- Switch to Mohair yarn and 6mm crochet hook.
- Ruffle pattern:
- Use rows of ridges (created earlier) to crochet into.
- Begin with standing DC (or attach your yarn and chain 3).
- In each ridge stitch, alternate:
- 1 DC into first stitch.
- 2 DC (increase) in next stitch.
- Repeat this process for one full round across the selected ridges.
- Add additional rows for the ruffles:
- Example provided: 2 rows per leg and additional rows around the waistband for the entire border.
- You can adjust by experimenting with hook size or increasing frequency to customize the ruffles as desired.
Final Touches
Once all ruffle rows have been completed:
- Weave in ends.
- Try on the shorts to ensure proper fit.
- Block the shorts if necessary to achieve an even finish.
Customizations
- For higher-waisted shorts, add extra rows during the main base section.
- To create regular shorts (not bloomers), skip the ridges and simply crochet through the full stitch (instead of alternating loops).