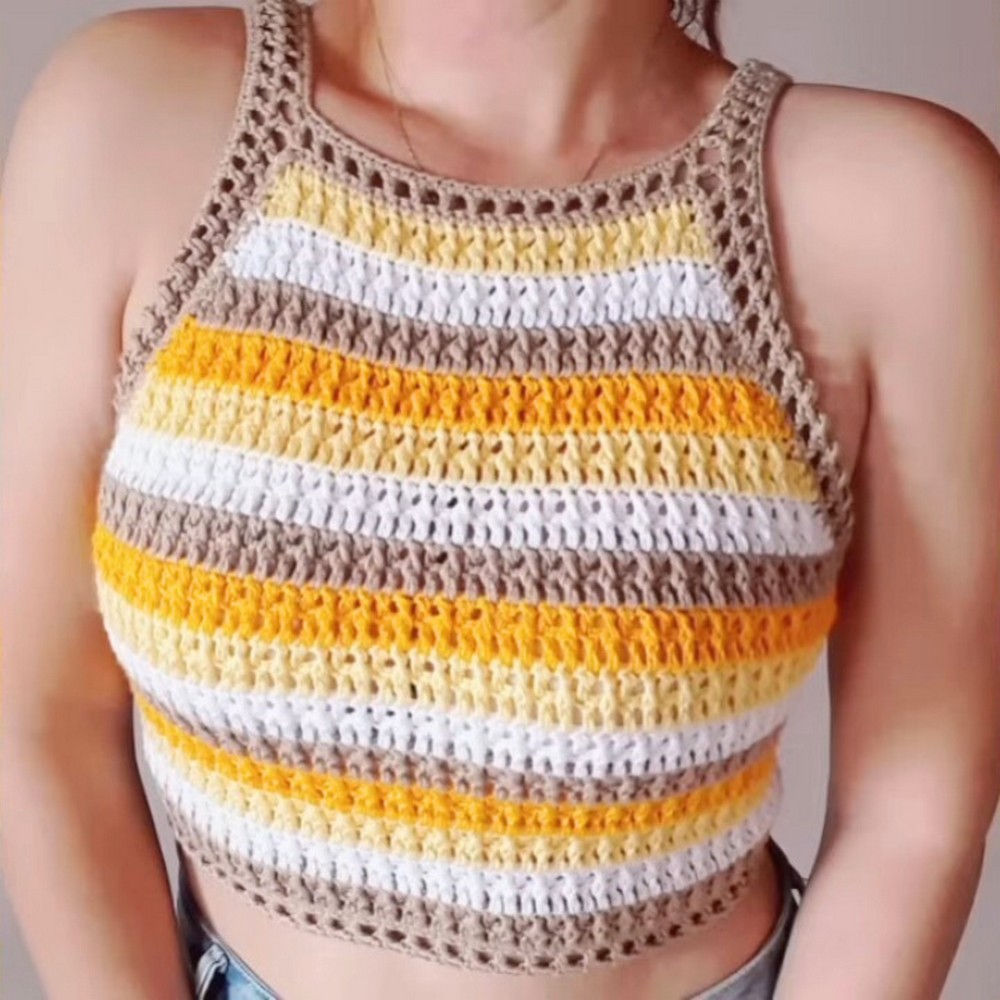
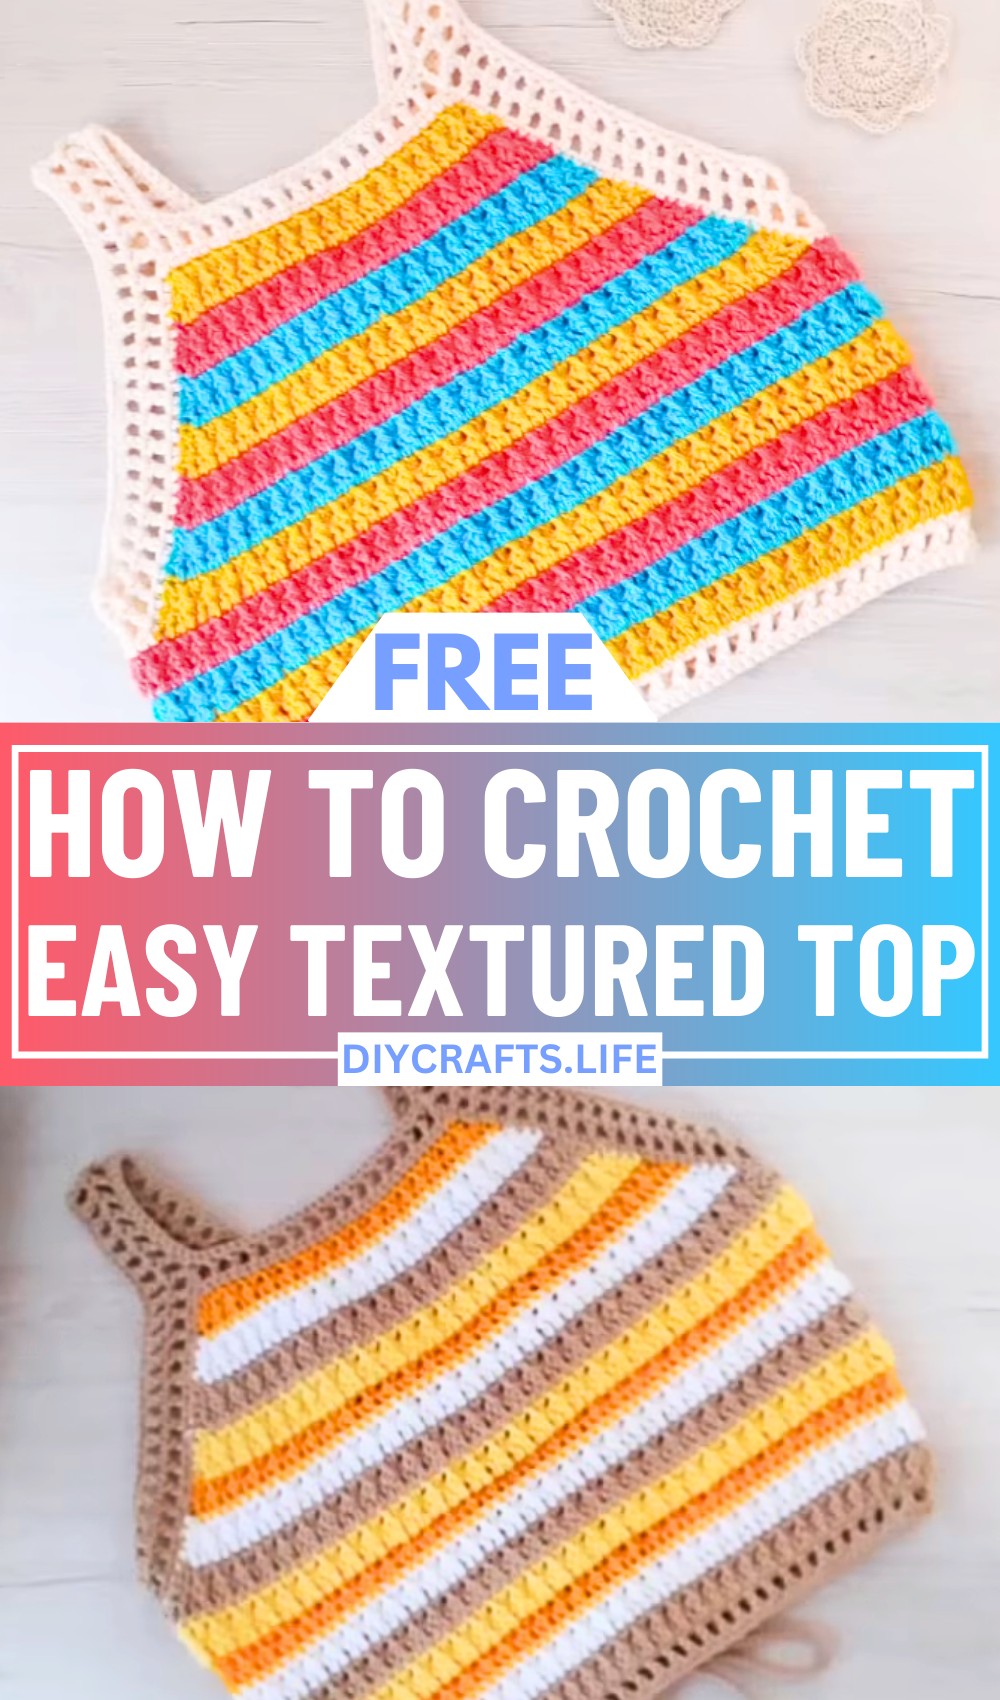
Create a stylish and functional crochet top that's perfect for any occasion! This versatile and stunning design combines modern patterns with classic textures, making it an excellent handmade addition to your wardrobe. Whether casual or dressy, this crochet top shines.

This crochet top is both elegant and durable, with interlocking double crochet stitches that ensure lasting wear. It offers a chic aesthetic while being incredibly comfortable and customizable, making it a standout piece that effortlessly complements different styles.
Crochet Top Tutorial
This crochet top is ideal for beginners and advanced crafters alike! With easy-to-follow steps and endless color options, you can create a truly personalized garment of any size. Embark on this crochet journey and explore your creativity while enhancing your wardrobe.
Materials and Preparation
To get started, gather the following materials:
- Yarn:
- Brown yarn
- Cream yarn
- Pink yarn
- White yarn
- Crochet Hook: A 3.5-mm crochet hook
- Additional Tools:
- Stitch markers
- Scissors
- Optional Items:
- Measuring tape for custom sizing.
Abbreviations and Notes
Here’s a helpful list of abbreviations used in the pattern:
- CH: Chain
- SC: Single Crochet
- DC: Double Crochet
- HDC: Half Double Crochet
- SL ST: Slip Stitch
Notes:
- This tutorial provides steps to make a size M. Adjust by increasing or decreasing the chains accordingly, as explained below:
- XS/S: 120 chains
- M: 125 chains
- L: 130+ chains.
Gauge, Approximate Size, and Pattern Notes
Gauge: Not provided in the video. For best results, work a swatch to confirm appropriate sizing.
Finished Dimensions (when worked for an M size): Length and width depend on the number of rows worked for the base and whether you choose to extend or modify.
Pattern Notes:
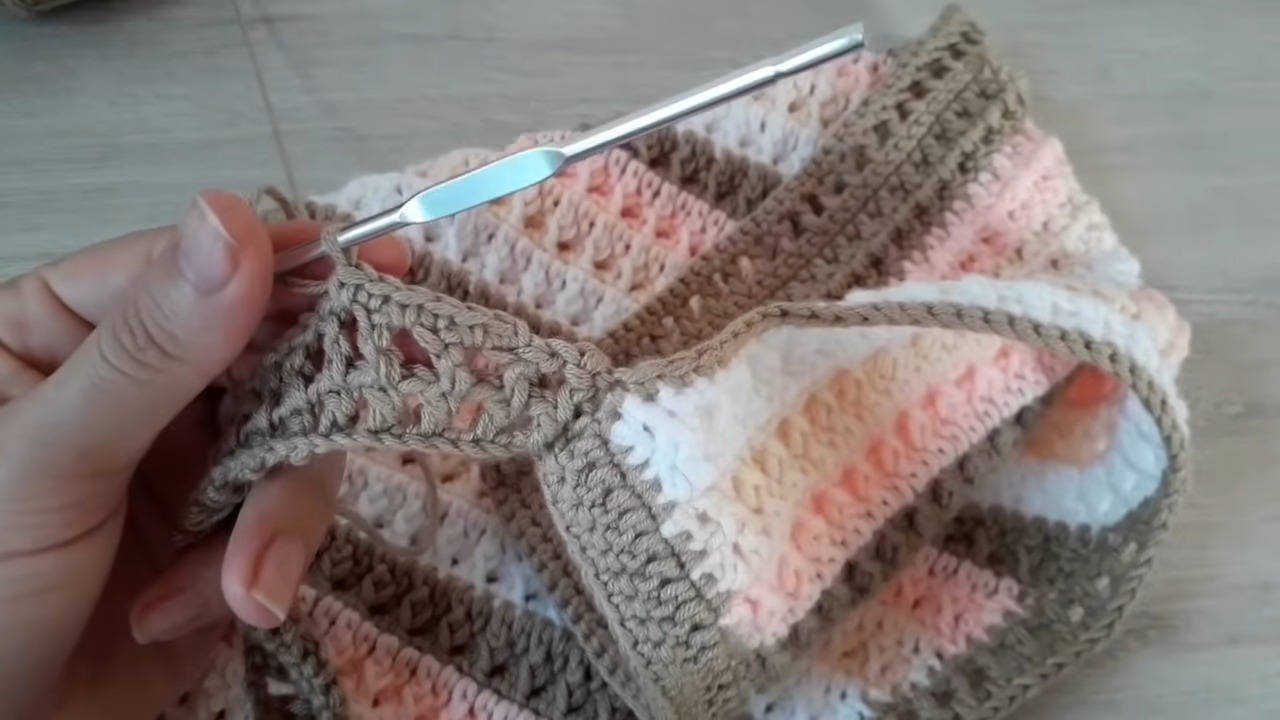
- This beginner-friendly pattern alternates between normal DCs and front-post DCs for texture.
- Each color change is done every two rows, with seamless transitions.
Step-by-Step Pattern
Foundation + Base Pattern
- Step 1: Create Chains
- For size M, start with 125 chains.
- Add 2 additional chains for turning.
- Step 2: DC Foundation Row
- Turn your work, yarn over, and start the first row of double crochets (DC). Skip the first two chains, and begin in the third chain.
- Continue working DCs across the entire row until the last chain.
- Step 3: Alternate DCs and Front-Post DCs
- Turn your work, create 2 chains, and begin the second row:
- Work normal DC in the first stitch.
- Work a front-post DC (FPDC) for the next stitch (the hook goes under the DC in the previous row).
- Repeat this sequence (DC, FPDC) across the row.
- Turn your work, create 2 chains, and begin the second row:
- Step 4: Change Colors
- At the end of every 2 rows, change the yarn color seamlessly by pulling the new yarn through at the final stitch of the last row.
- Secure with a knot and trim any excess.
Building Rows (Texture and Colors)
- Repeat Step 3 alternating textures while switching colors in this order: brown → cream → pink → white.
- Continue this sequence until you’ve completed 16 rows.
- Adjust the number of rows depending on the desired length (e.g., fewer rows for a shorter top or more rows for a longer top).

Bust Pattern
- Mark Your Stitch Points
- Place stitch markers to divide the bust section.
- For size M, count 32 stitches inward from both corners and place markers.
- Work between marked points only.
- Place stitch markers to divide the bust section.
- Decreases (Shaping the Bust):
- Start from one marked point and create decreases by joining two stitches into one.
- Continue alternating between DCs and FPDCs for texture.
- Decrease at the beginning and end of every row.
- Change colors every 2 rows and continue reducing rows until you complete 14 rows for the bust section.
Straps
- Creating Chains
- Attach the yarn to the upper bust corner.
- Work 50 chains for the strap length (adjust to preference).
- DC Structure
- Turn and create DCs across the chain.
- Add texture to the straps using SCs or slip stitches in subsequent rows.
- Attach Straps
- Using SL ST, attach each strap to the back panel securely.
Finishing Touches
- Edging
- Work SCs evenly around the armholes and neckline for a polished look.
- For the bottom edge, work alternating DCs and chains to create a decorative border.
- Cord
- Make a 300-chain cord.
- Return through all chains with SL ST to complete the cord.
- Weave the cord into the back panel for tightening and adjustment.
- Hide Loose Ends
- Use a needle or hook to weave in any loose threads securely.
Pattern Question:
Question: What size crochet hook should I use for this pattern?
Answer: You’ll need a 3.5-millimeter crochet hook for this top. It works perfectly with the suggested yarn types, ensuring the fabric is smooth and the stitches are accurate.
Conclusion
This crochet top is a satisfying project for crafters of all levels, offering stylish versatility and a chance to experiment with colors. Easy to customize and adapt to your personal style, this pattern is a practical, creative way to expand your wardrobe and refine your skills.