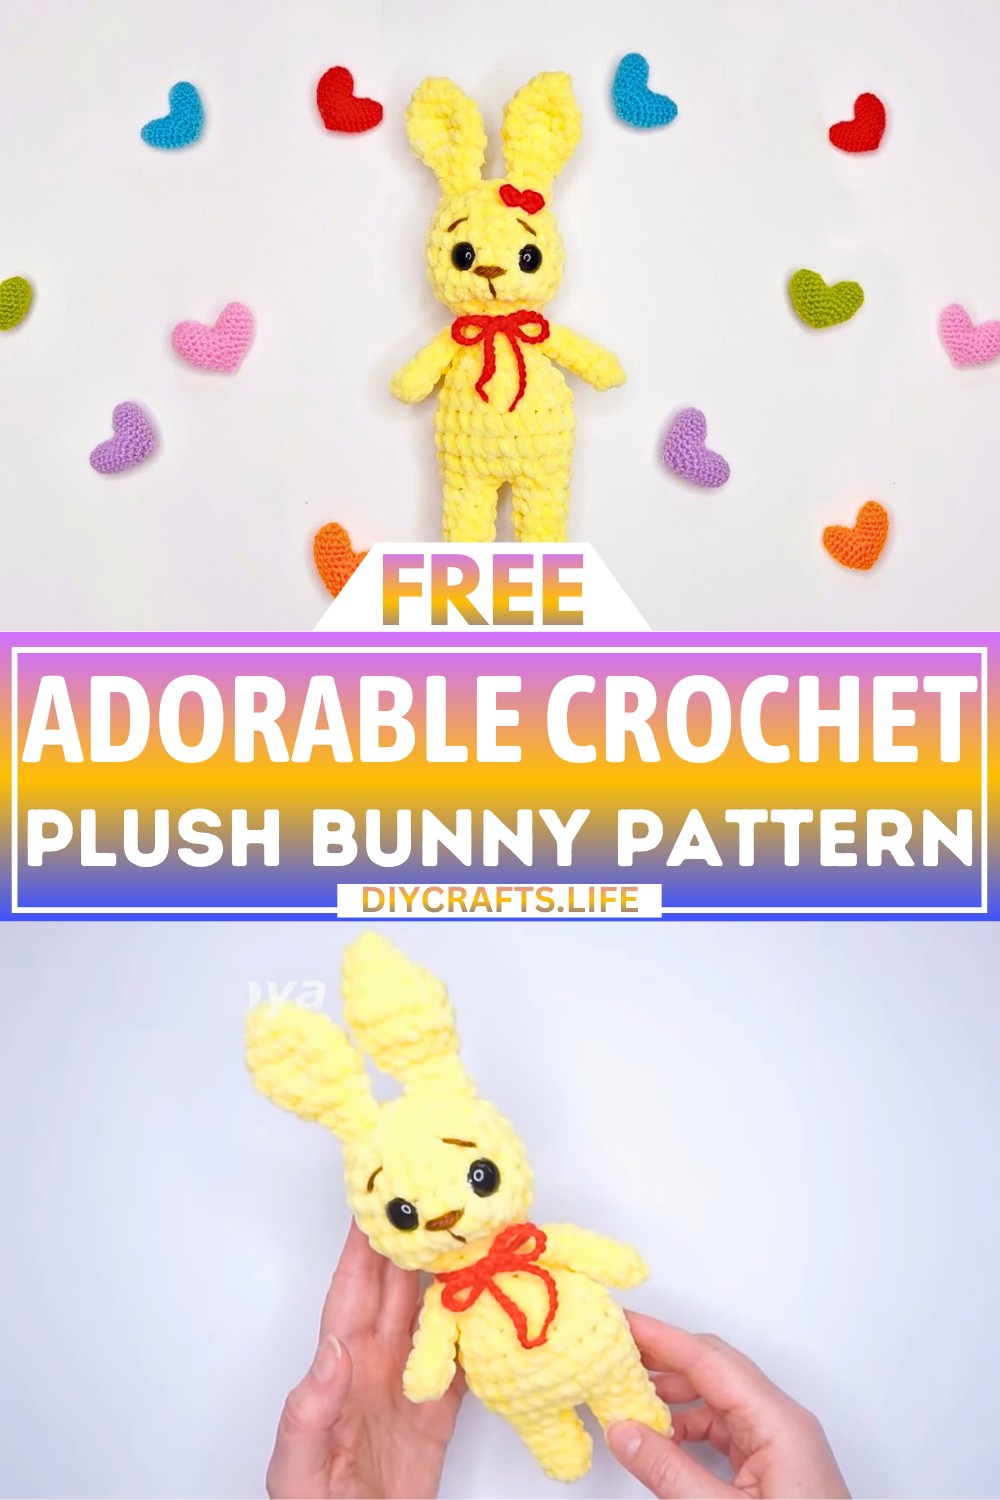
Wrap your imagination in soft stitches and create a charming bunny that warms hearts instantly. This crochet plush bunny captures a timeless sweetness you can craft with your hands, making it the perfect project to express care, creativity, and personality—all in one cuddly design.
Crochet Plush Bunny Pattern
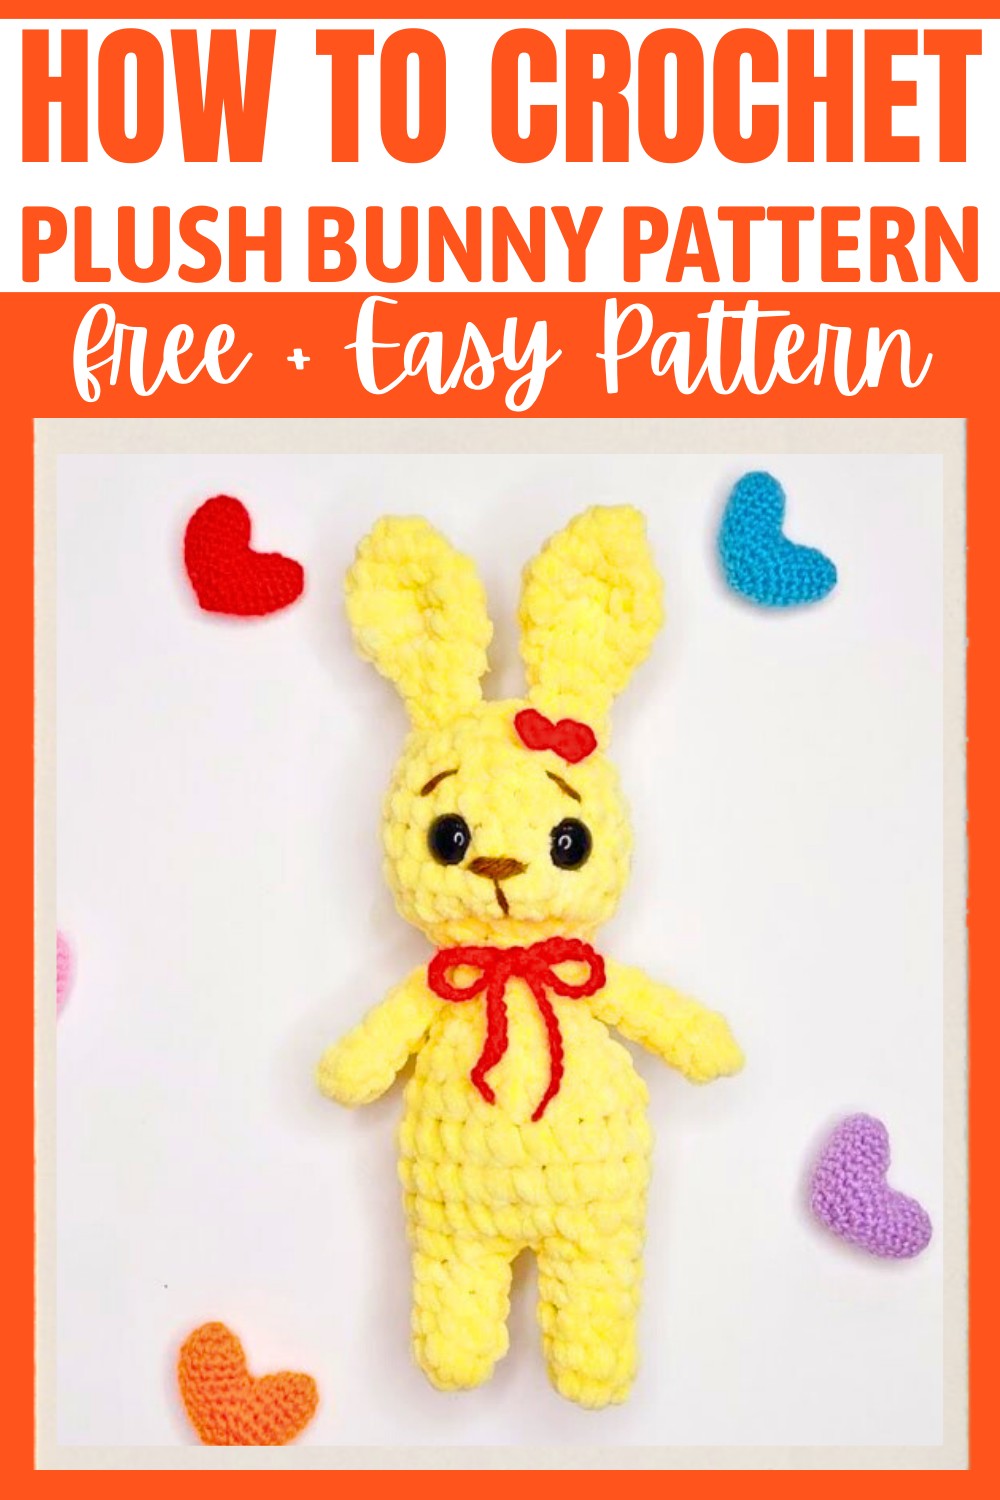
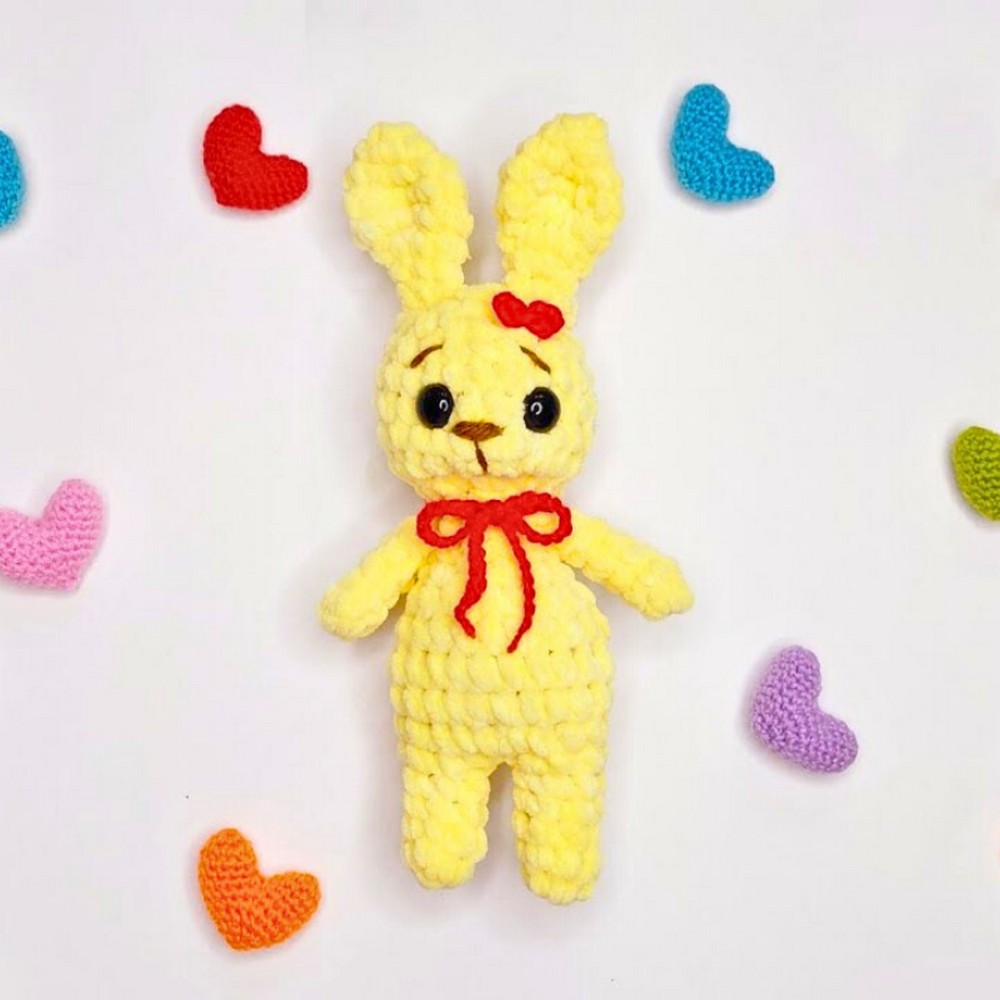
This design features clean lines, adorable floppy ears, and a plush texture that looks and feels luxurious. Its balanced shape makes it ideal for showcasing custom color choices, accessories, or finishing touches. Whether displayed on a shelf, made as a gift, or kept as a personal treasure, the playful details make this bunny both one-of-a-kind and irresistibly lovable.
Credit Olga Garkusha
Materials & Tools Needed
To crochet this plush bunny, you will need:
- Plush yarn (main body of the bunny)
- Holofiber (for stuffing)
- Red yarn (for the ribbon)
- Brown yarn (for adding details like the facial features)
- Two buttons (10 mm diameter for eyes)
- Hot glue (optional, for securing certain parts)
- Crochet hooks: 1.75 mm and 3 mm
- Stitch markers (optional, for tracking rounds)
- Embroidery needle (for sewing and adding details)
Finished Size
The finished bunny is approximately 25-26 cm tall, depending on the tension and exact materials used.
Customization Ideas
- Use different colors for the body, ears, and limbs for variety.
- Embroider personalized patterns, like initials, on the body.
- Add safety eyes instead of buttons for a child-friendly version.
- Attach a pompom tail instead of crocheting one.
- Use a decorative button or charm for the bunny’s ribbon.
Step-by-Step Crochet Instructions
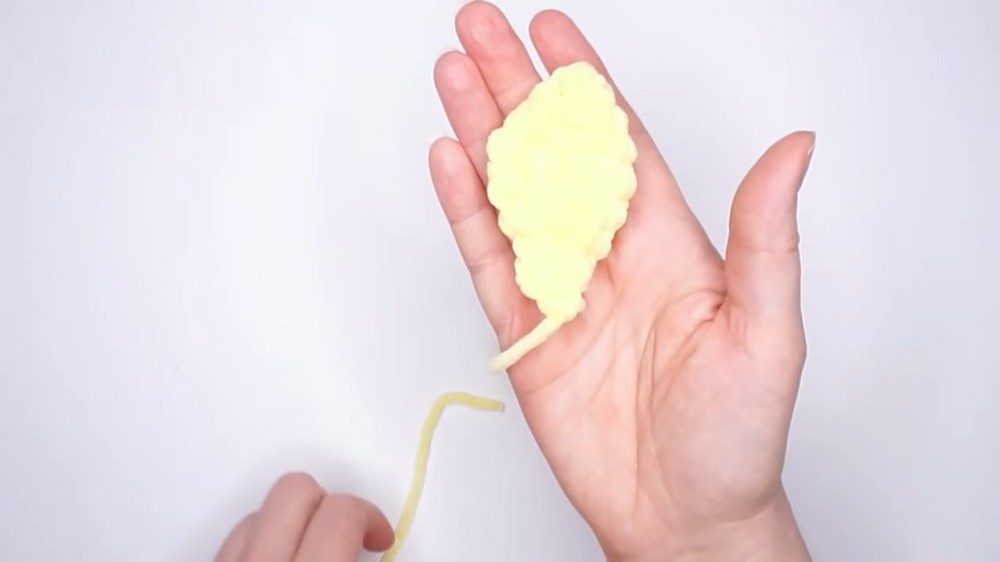
Ears
- Row 1: Crochet 4 single crochet (sc).
- Row 2: Increase every stitch (/), resulting in 8 sc.
- Row 3: Alternate [1 sc, increase (/)] 4 times, resulting in 12 sc.
- Row 4: Alternate [2 sc, increase (/)] 4 times, resulting in 16 sc.
- Row 5: Crochet [1 sc, decrease (/)] 5 times, then finish with 1 sc. Result: 11 sc.
- Row 6: Alternate [2 sc, decrease (/)] twice, followed by 3 sc. Result: 9 sc.
- Row 7: Crochet [1 sc, decrease (/)] 3 times. Result: 6 sc.
- Row 8: Crochet 6 sc.
- Make 2 ears and set aside.
Upper Paws
- Row 1: Crochet 6 sc.
- Rows 2-6: Crochet 6 sc in each round to form the paw.
- Make 2 paws and set aside.
Body
- Row 1: Start with 7 sc.
- Rows 2-5: Crochet 7 sc per row.
- Create a chain stitch to attach the second paw.
- Row 6: Crochet [(7 sc, increase (/)] twice to get 18 sc.
- Row 7: Alternate [3 sc, increase, 4 sc, increase, 3 sc, increase, 4 sc, increase] to reach 22 sc.
- Rows 8-9: Crochet 22 sc.
- Row 10: Alternate [3 sc, decrease (/), 9 sc, decrease (/), 6 sc] to get 20 sc.
- Row 11: Alternate [3 sc, decrease (/)] 4 times to get 16 sc.
- Row 12: Alternate [2 sc, decrease (/)] 4 times to reach 12 sc.
- Row 13: Crochet 12 sc.
- Row 14: Attach the paws at this point, crocheting [2 sc, 3 sc along the paw and body, 3 sc along the body, 3 sc along paw and body, 1 sc]. Maintain 12 sc.
- Row 15: Alternate [2 sc, decrease (/), 4 sc, decrease (/), 2 sc] to reach 10 sc.
- Row 16: Crochet 10 increases across the round to reach 20 sc.
- Row 17: Crochet [4 sc, increase (/)] 4 times to reach 24 sc.
- Rows 18-20: Crochet 24 sc for shaping.
- Row 21: Alternate [4 sc, decrease (/)] 4 times to reach 20 sc.
- Row 22: Alternate [3 sc, decrease (/)] 4 times to reach 16 sc.
- Row 23: Alternate [2 sc, decrease (/)] 4 times to reach 12 sc.
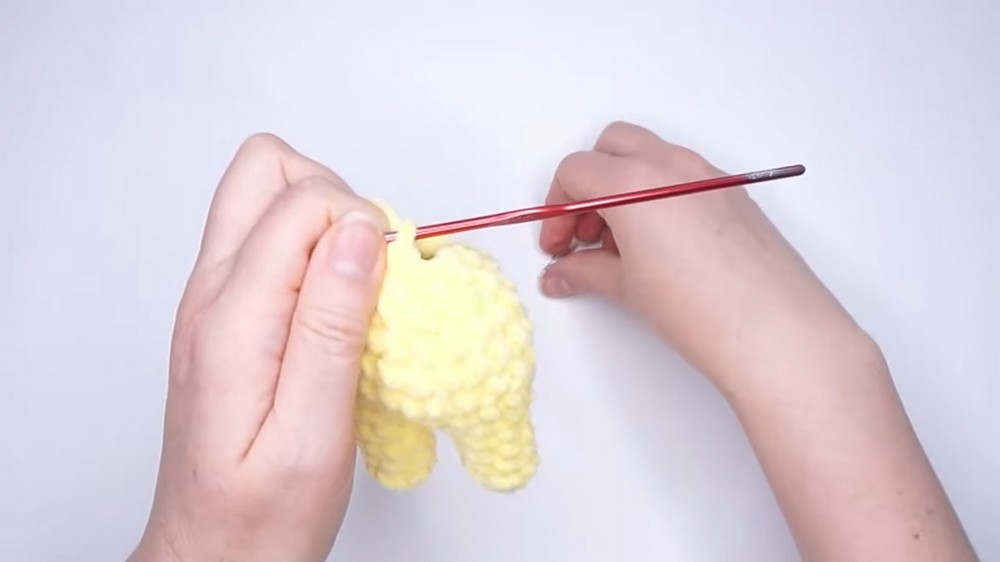
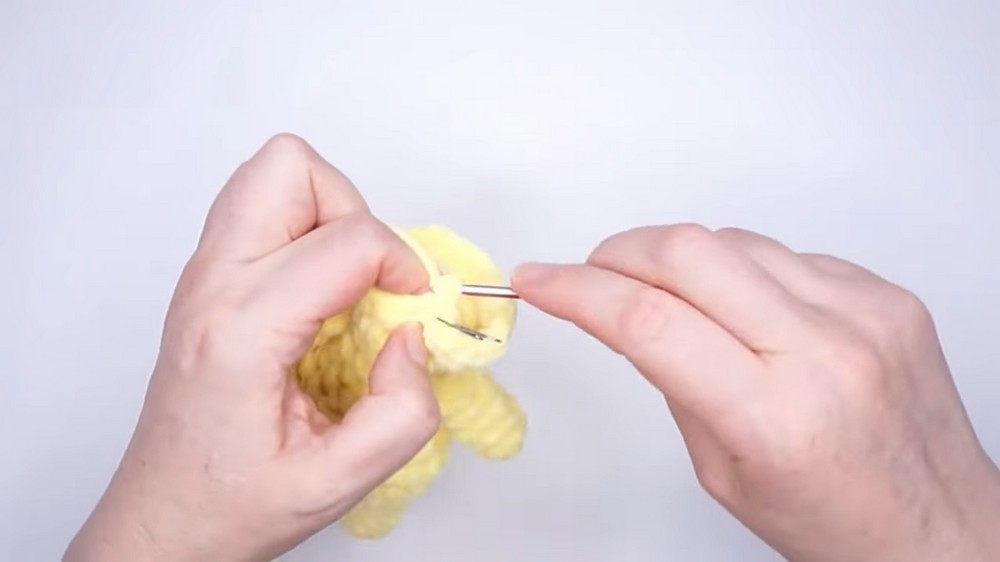
- Row 24: Crochet 6 decreases (/) to close the body to a 6 sc opening.
- Fill the body with holofiber and close the opening.
Head
- Follow the same pattern for the body section (rows 1-24). Add holofiber to shape the head and close the 6-sc opening.
Tail
- Rows 1-2: Crochet 6 sc for a small tail.
- Fill with holofiber if desired and sew the tail onto the back of the bunny.
Assembly
- Sew the ears onto the head, ensuring symmetry.
- Sew the buttons (eyes) 2 rows below the ears, leaving 4 sc space between them.
- For a clean finish, tighten the stitches around the eyes by threading through them a second time.
- Embroider the facial features:
- Muzzle: Step back 3 rows under the eyes, stitching on one column.
- Nose: Make multiple stitches on 2 columns, ensuring they’re not too tight.
- Mouth: Step back 2 rows under the nose and embroider.
- Eyebrows: Optional, stitch just above the eyes.
Ribbon
- Create a chain of 70 stitches with red yarn.
- Tie the ribbon around the bunny’s neck or use hot glue to attach it securely.

Finishing Techniques
- Secure all stitches to avoid unraveling.
- Use invisible knots when sewing pieces together for a polished look.
- For added durability, apply a small amount of hot glue to secure accessories like the eyes or the ribbon.
- Always ensure stuffing (holofiber) is evenly distributed before closing pieces, especially for the head and body.