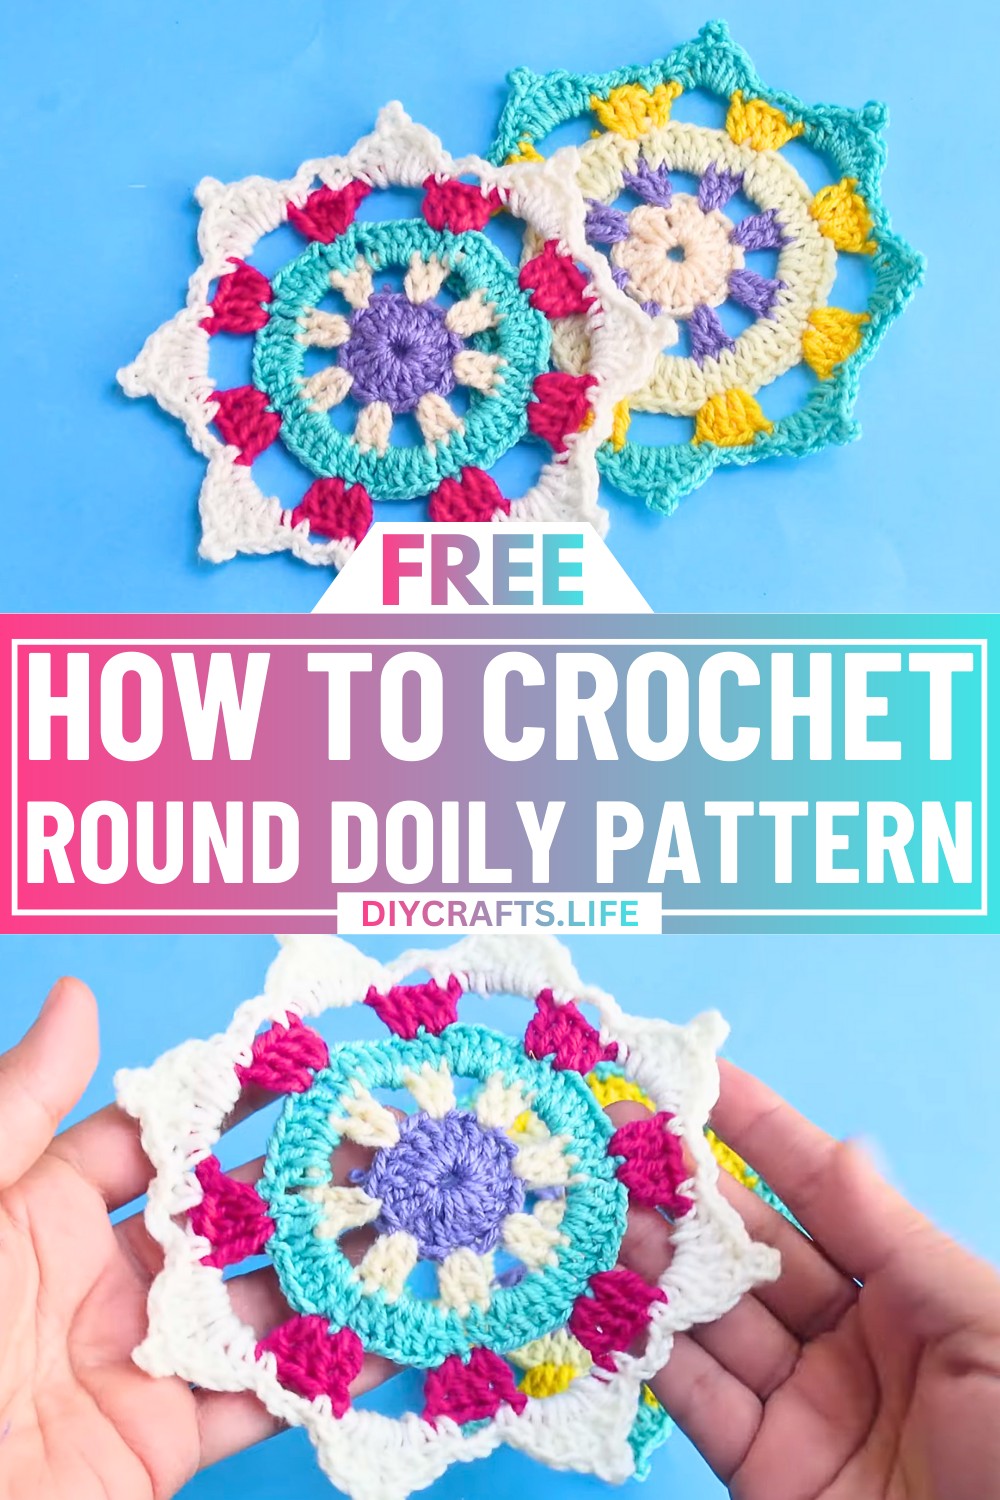
Transform your leftover yarn into a stunning piece of decor! This crochet round doily pattern is here to bring vibrant colors and timeless charm to your home. Whether you're an experienced crocheter or just starting out, this project invites you to create something extraordinary, turning simple stitches into a masterpiece that will brighten up any space.
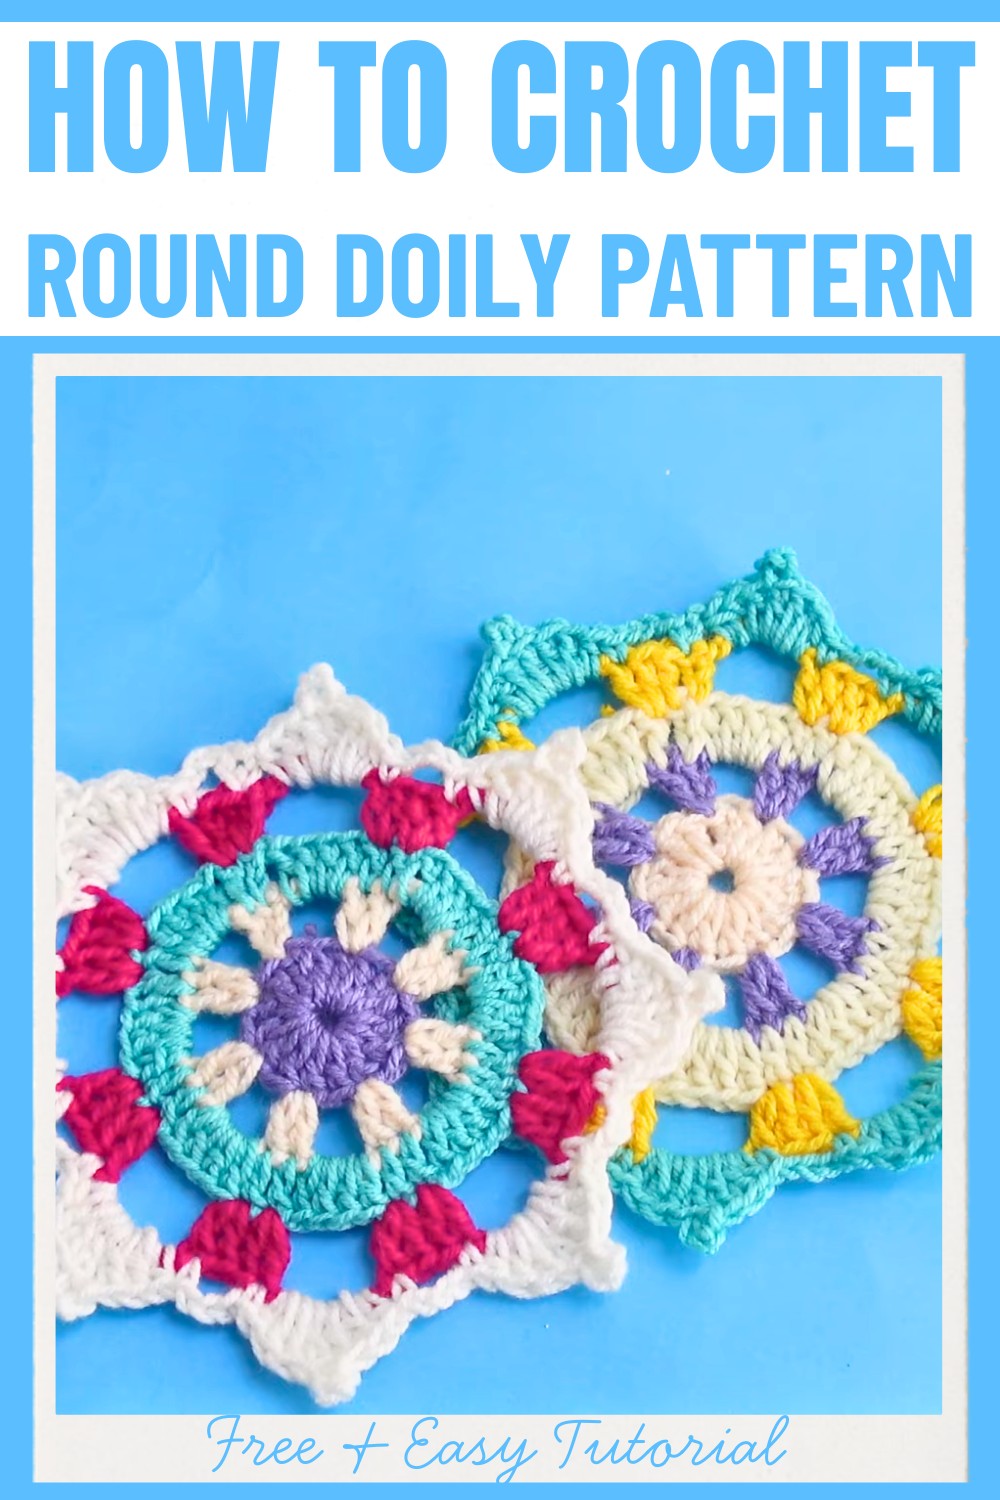
This unique round doily pattern stands out for its intricate structure and adaptability. Featuring delicate chains, double crochets, and loops, its design captures the essence of traditional crochet elegance while allowing room for creativity. Adjust its size effortlessly to suit tables, shelves, or other decorative uses in your home. With colorful combinations or solid tones of your choice, this pattern becomes a personalized piece of art, seamlessly marrying functionality with timeless beauty.
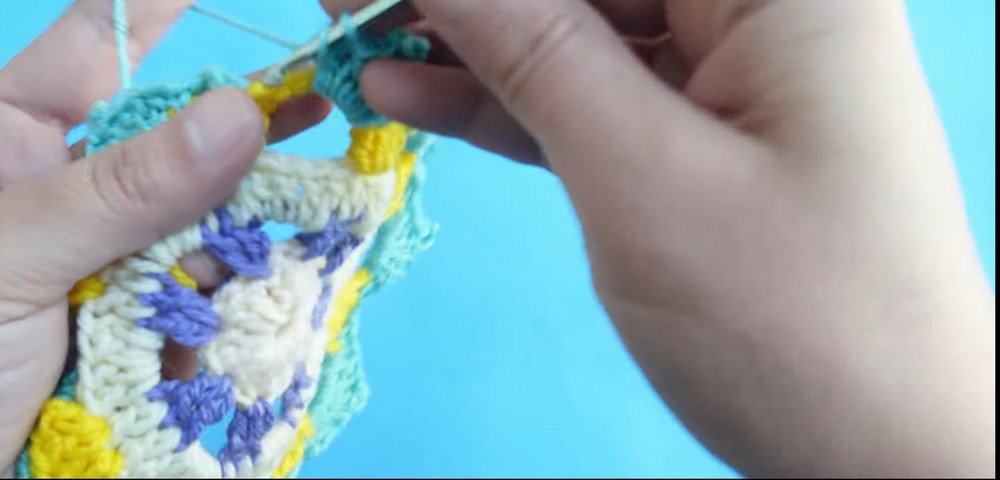
Credit Diy crochet-crosia
Required Materials
- Yarn: Medium weight, four-ply wool (double-knit yarn). Various colors for a colorful design, or a single color for a uniform look.
- Note: Leftover yarn works perfectly for this project.
- Crochet Hook: 4mm crochet hook
- Scissors
- Tapestry Needle: For weaving in the ends.
Important Notes
- This pattern is customizable; you can easily make it smaller or larger to suit your needs.
- For color changes, finish the current round and join the new color with a slip stitch into the appropriate stitch.
- Beginning chains (e.g., 3 chains) count as a stitch (typically a double crochet) unless stated otherwise.
- Always join each round with a slip stitch into the starting chain unless otherwise instructed.
- The pattern has repeating elements. Pay attention to the instructions for skipping stitches and chain spaces.
- Use the magic circle technique for the starting round or chain 5 and connect it with a slip stitch to form a loop.
Step-by-Step Crochet Instructions
Round 1: Foundation Round
- Begin with one of the following:
- Create a magic circle OR
- Chain 5, join with a slip stitch to form a small loop.
- Chain 3 (counts as the first double crochet).
- Work 15 double crochets into the circle. (Including the starting chain, this totals 16 stitches.)
- Join with a slip stitch into the top of the starting chain-3 to complete the round. (16 stitches total)
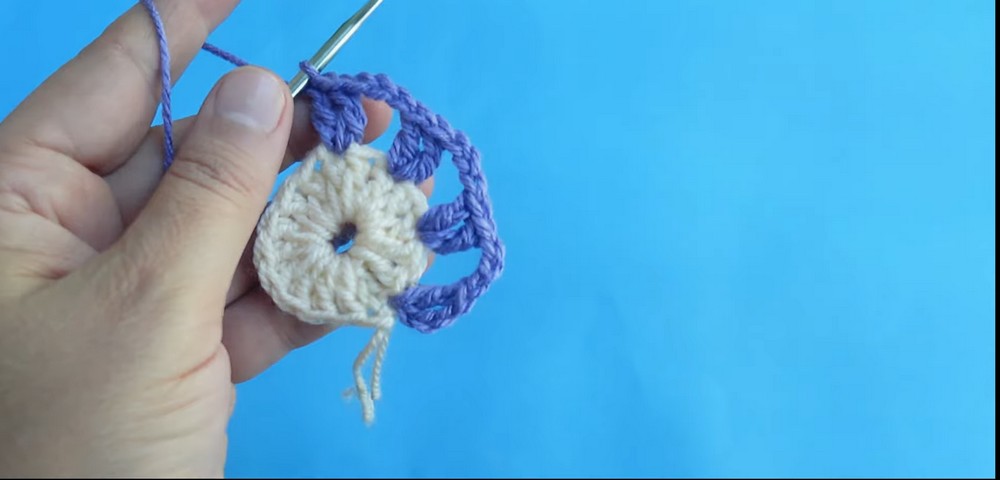
Round 2: First Layer of Petals
- Chain 3 (counts as the first double crochet).
- Work 1 double crochet into the same stitch.
- Chain 3, then skip the next stitch.
- In the next stitch, work 2 double crochets.
- Repeat the pattern: Chain 3, skip 1 stitch, work 2 double crochets in the next stitch.
- Continue around until you complete the round. You should have 8 sets of (2 double crochets + 3 chains).
- At the end, chain 3 and join with a slip stitch into the third chain of the starting chain-3. Fasten off if changing colors.
Round 3: Expanding the Design
- Join new yarn into any chain-3 space or continue in the same color by slip-stitching into the nearest chain space.
- Chain 3 (counts as the first double crochet).
- In the next stitch, work 1 double crochet.
- Into the chain-3 space, work 4 double crochets.
- Now, work 1 double crochet into the next 2 stitches.
- Repeat the pattern: 4 double crochets into the next chain space, 1 double crochet into the next 2 double crochets.
- At the end of the round, join with a slip stitch into the top of the starting chain-3. (The stitch count increases, but is not critical as long as the pattern continues uniformly.)
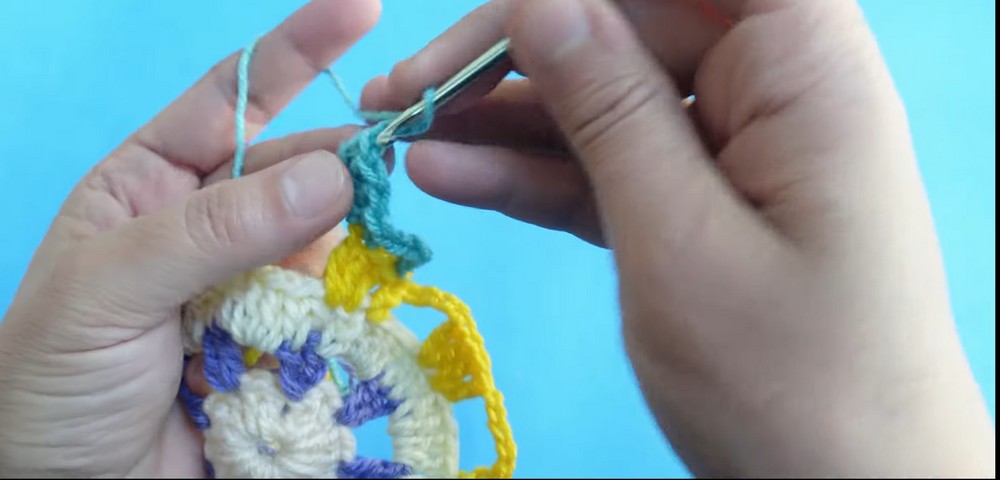
Round 4: Forming the Arched Pattern
- Join new yarn (if changing color) or slip stitch to the first stitch of the next round.
- Chain 3 (counts as the first double crochet).
- In the same stitch, work 1 additional double crochet (total of 2 double crochets in one stitch).
- In the next stitch, work 2 double crochets in the same stitch.
- Chain 5, skip 4 double crochets.
- In the next stitch, work 2 double crochets into the same stitch.
- Repeat the pattern: Chain 5, skip 4 stitches, 2 double crochets in the next two stitches.
- Continue around. Join with a slip stitch into the top of the starting chain-3. (End with chain-5 loops and double crochet groups evenly spaced around the doily.)
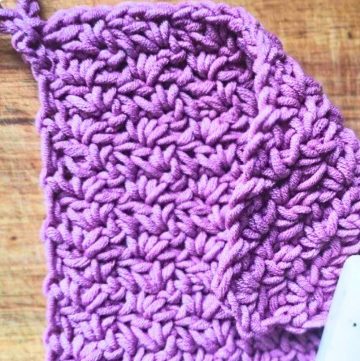
Round 5: Adding Texture to the Chains
- Slip stitch into the first stitch.
- Chain 1. (This starting chain does not count as a stitch.)
- Work 1 single crochet into the first stitch.
- Chain 3, skip the next two stitches, and work 1 single crochet into the next stitch.
- Into the chain-5 space, begin the drop motifs:
- Work 1 half-double crochet.
- Work 3 double crochets into the chain space.
- Chain 3, insert your hook into the middle of the 3-double crochet group from this step, and work a slip stitch. This creates a small picot-like loop.
- Work 3 more double crochets, then 1 half-double crochet into the same chain space.
- Repeat the pattern around: Single crochet between 2 double crochets, drop-stitch motif (as above) in each chain-5 space.
- At the end, join with a slip stitch into the first single crochet. Fasten off.
Final Steps: Finishing the Doily
- After completing your desired number of rounds, create the final edging:
- Join new yarn (if changing the color) with a slip stitch into the first stitch.
- Work 1 single crochet into each stitch and repeat for a clean-edged border.
- For a decorative touch, consider picots (3 chains followed by a slip stitch into the same spot) every few single crochets.
- Secure your yarn by making a tight knot after the last slip stitch. Leave a small tail for weaving in.
- Use a tapestry needle to weave in all loose ends.
- Block the doily by dampening it and pinning it to its desired shape to set the stitches.
Customization
- For a larger size: Add more rounds following a similar pattern of increasing stitches per section and repeating the chain space/drop motif pattern.
- For a smaller size: Remove outer rounds or use fewer double crochets in the earlier rounds.
- You can choose to use a single color or incorporate multiple colors for a fun and vibrant look.