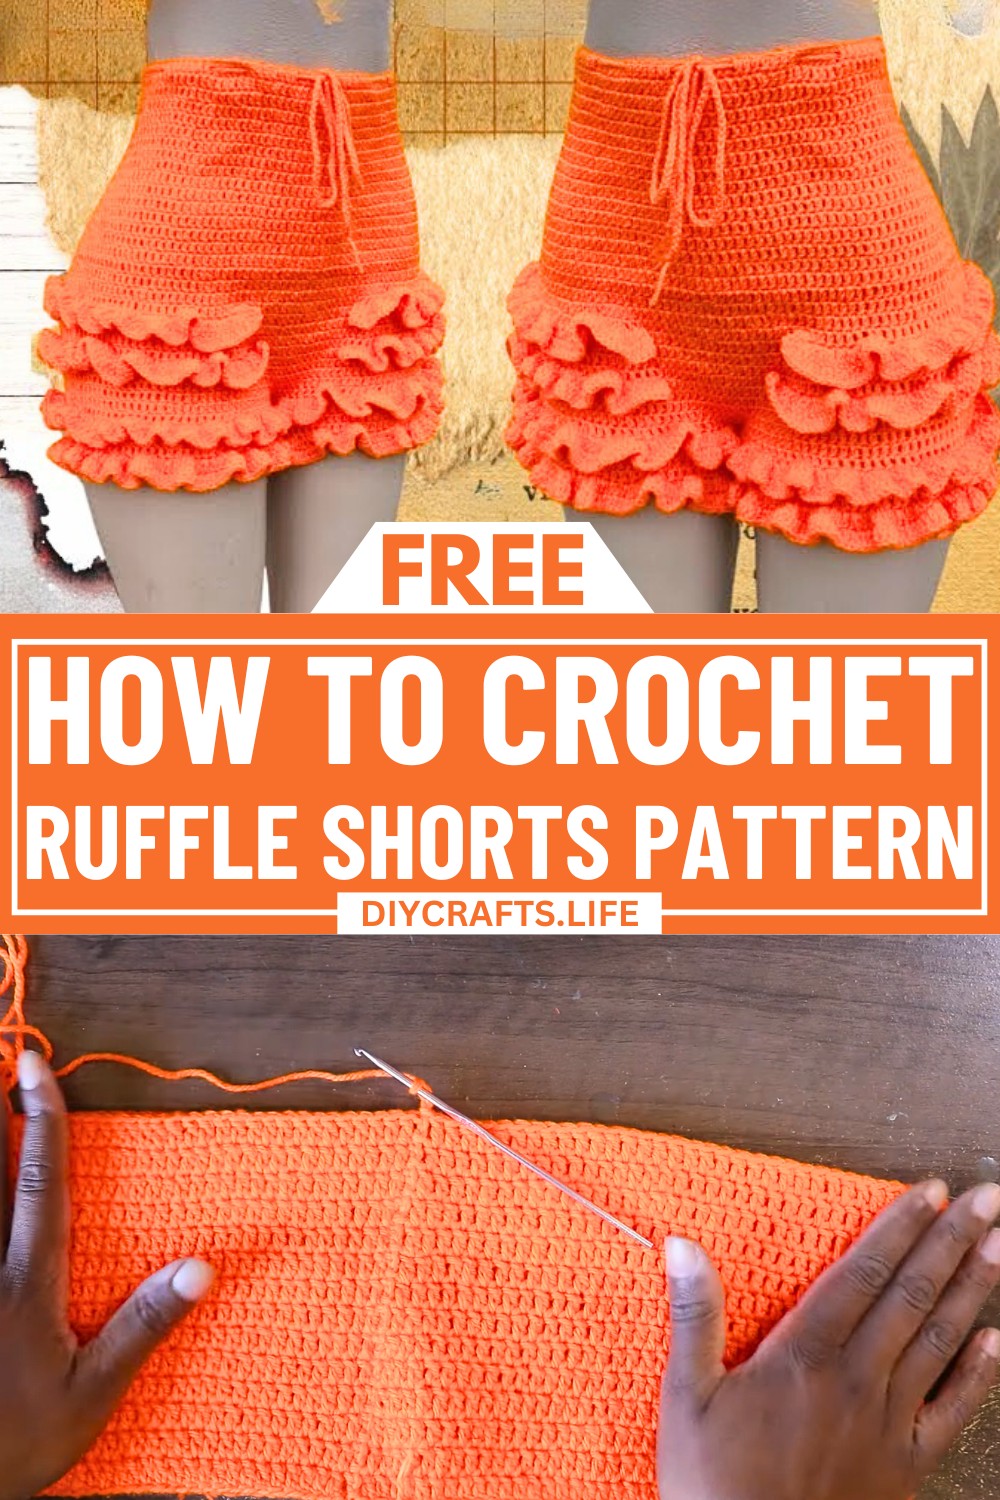
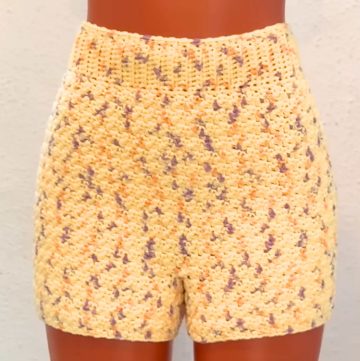
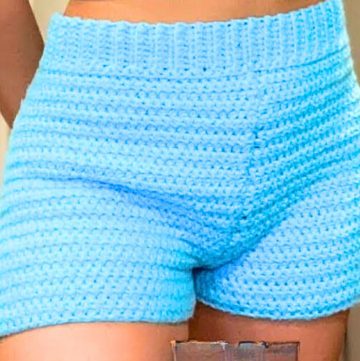
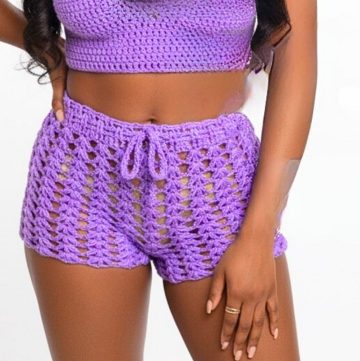
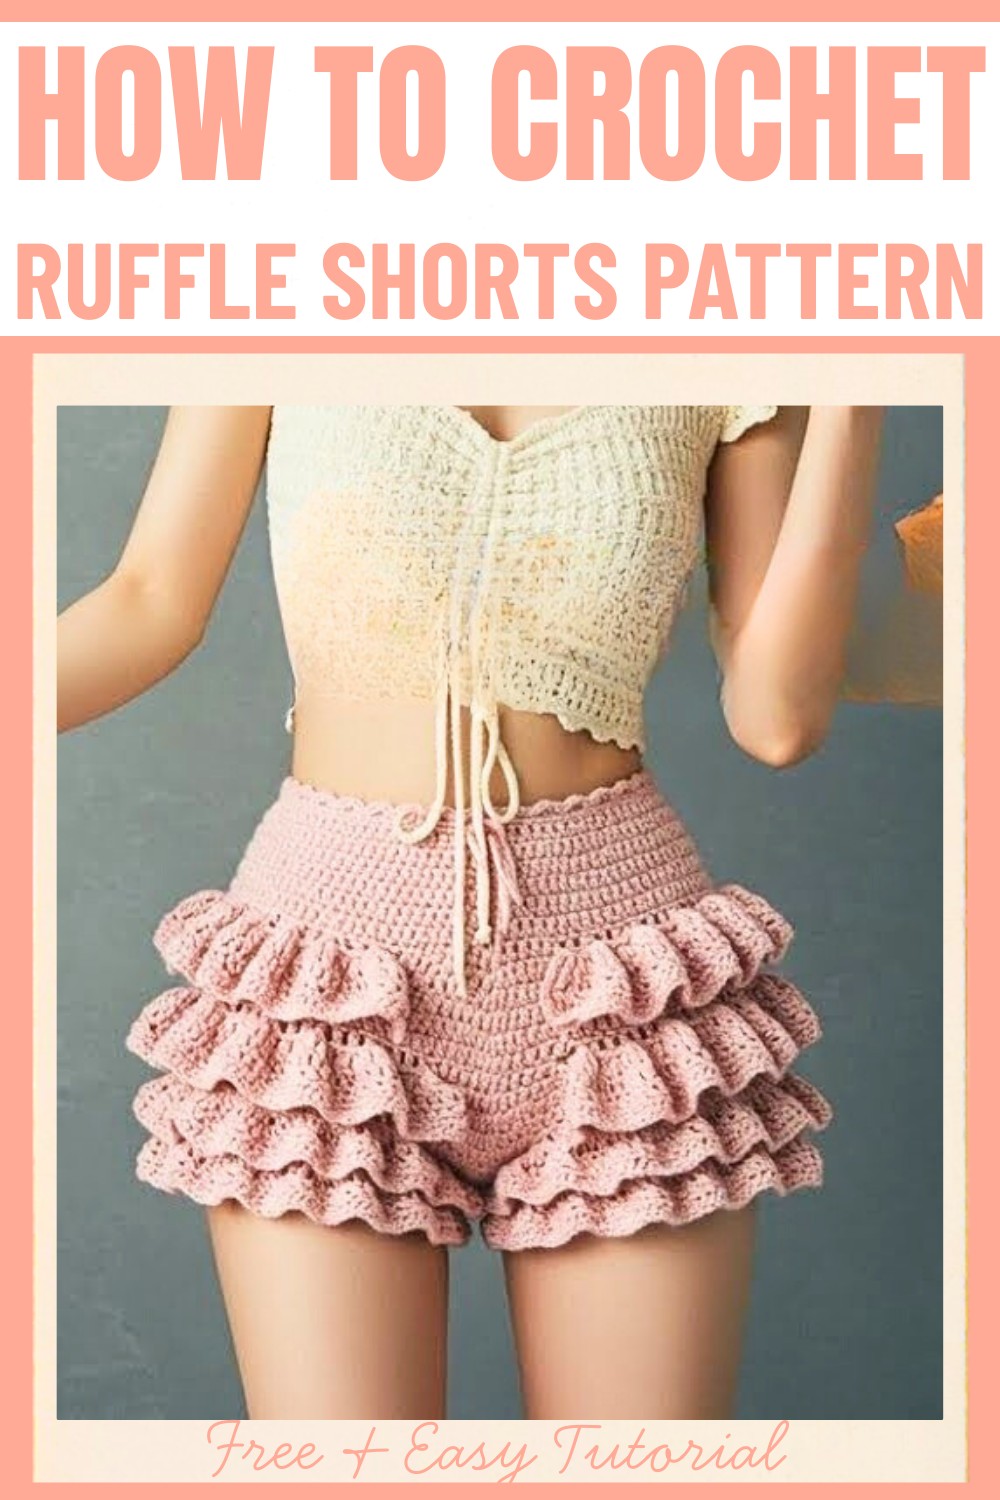
Bring charm and flair to your wardrobe with these playful and stylish ruffle shorts! Perfect for sunny days or casual lounge looks, these crochet ruffle shorts are a fun way to show off your creativity while making something practical and trendy. Whether dressing up for a summer day out or staying comfy indoors, these shorts are the perfect blend of handmade elegance and everyday wearability.
Crochet Ruffle Shorts Pattern
This Crochet Shorts design stands out with its lovely ruffle edging that adds a delicate, flirty touch to a simple yet versatile silhouette. The lightweight fabric and customizable fit make these shorts perfect for fashion-forward makers of any skill level. Let your creativity shine by choosing from your favorite colors or experimenting with different yarns, creating a piece that is uniquely yours. It’s more than just a pattern—it’s a way to turn a simple idea into a statement piece you’ll love to wear.
Credit Stitched_goddess
Materials Needed:
- Charity yarn or your choice of yarn
- 4 mm crochet hook
- Scissors
- Measuring tape

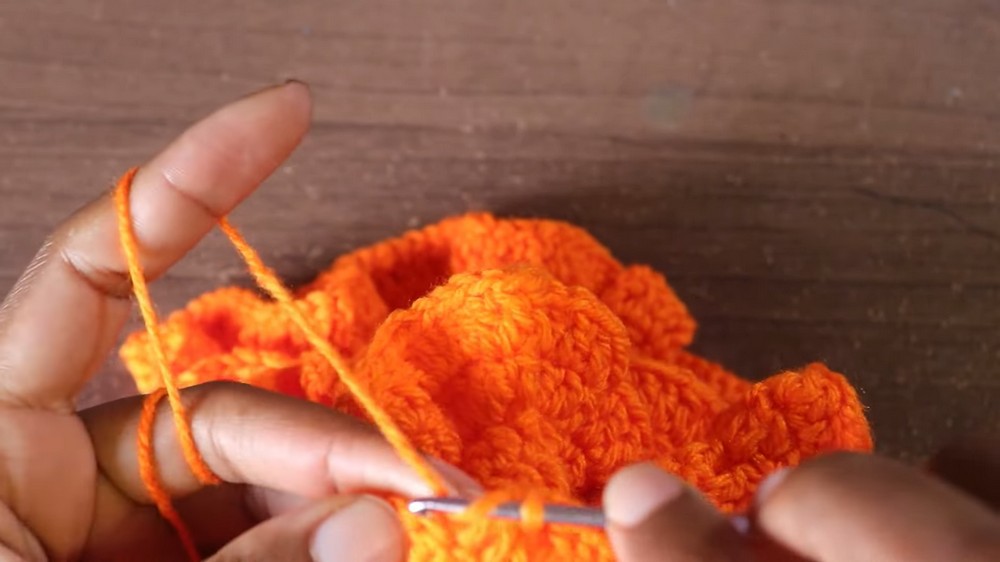
Step-by-Step Pattern:
Step 1: Create the Waistband
- Chain Foundation Set-Up
- Measure your waist using a measuring tape or estimate by chaining directly.
- For medium to large size, chain 140–160 chains.
- Ensure your chain is not too tight to allow for some stretch.
- Join the Chain
- Slip stitch to join the chain into a circle, ensuring it is not twisted.
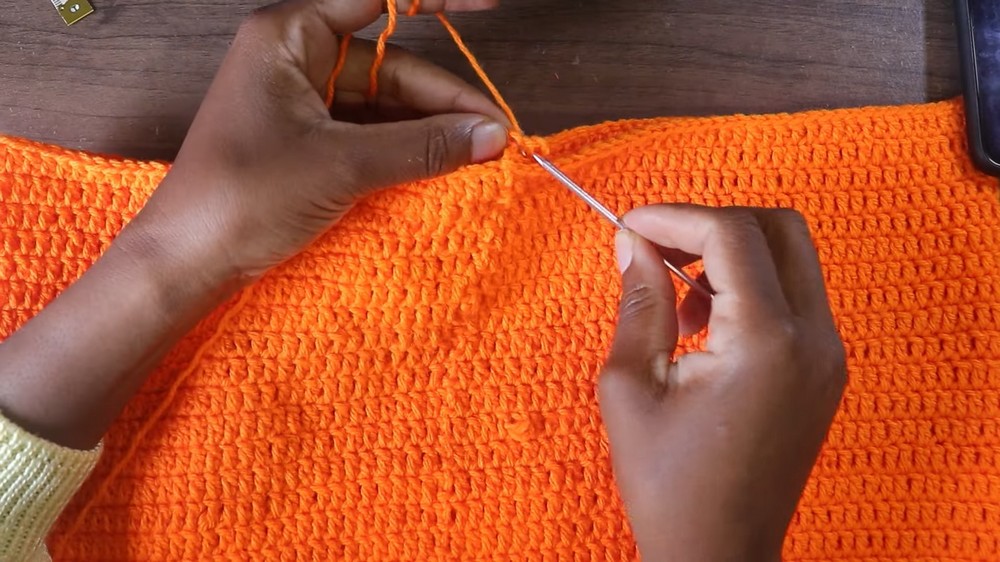
Step 2: Start the Double Crochet Rows
- First Row
- Chain 3 (acts as the first double crochet).
- Double crochet into each chain around the circle.
- Slip stitch into the top of the chain 3 at the start to close the row.
- Add More Rows for the Base
- Repeat double crochet rows until you complete 11 rows.
- Adjust the size and width as needed to ensure the shorts will fit over your hips.
Step 3: Increase Rows
- Mark Areas for Increase
- For a comfortable fit over the hips, increase stitches on the back of the shorts (the "bum area").
- Identify the middle points of each side by measuring and marking the back.
- Perform Increases
- Continue the double crochet pattern.
- At the marked points (middle of the back and sides), make two double crochets in one stitch to increase width.
- Continue Generating Rows
- You will need to do 30 rows total for the body of the shorts.
- Adjust the number of increases (once every 3rd row as suggested) for larger sizes.
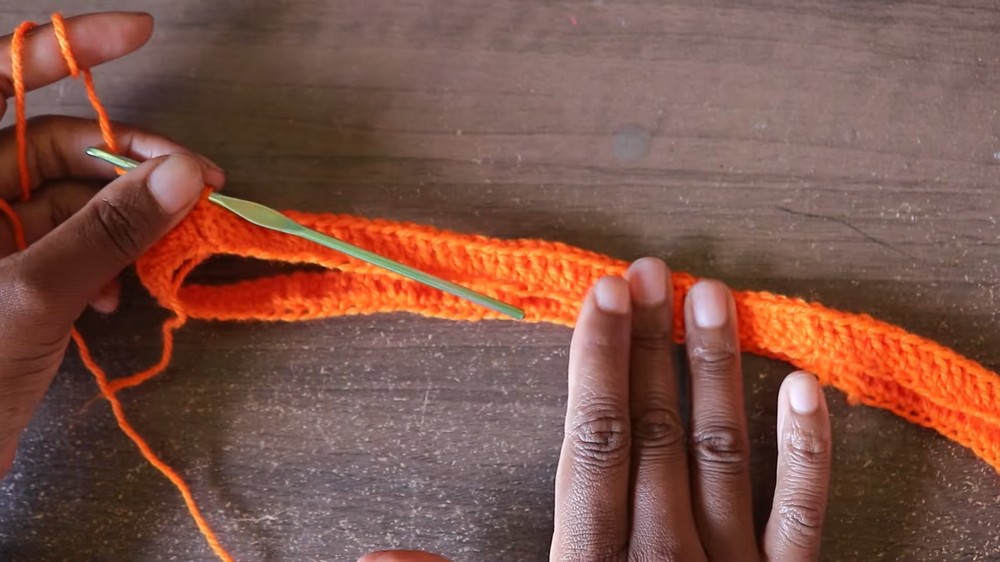
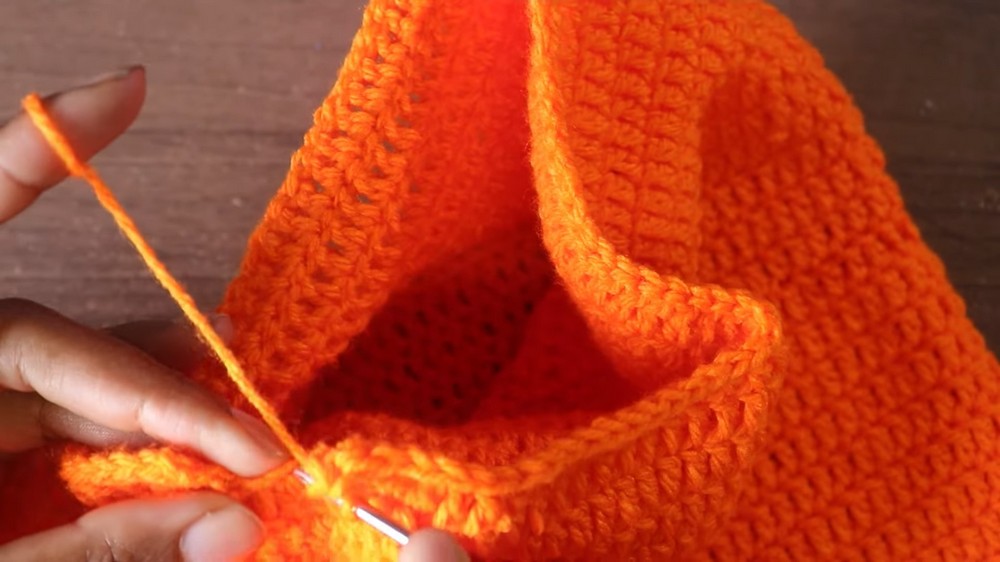
Step 4: Divide for the Legs
- Create Leg Openings
- Locate the midpoint at the bottom of the shorts.
- Use your measuring tape to ensure accurate placement.
- From the center, divide the shorts into two equal sections for the legs.
- Create the Connection (Chain & Slip Stitch)
- From the midpoint, chain 7 and slip stitch to the opposite side to form the opening of a leg.
- Crochet Leg Rows
- Work double crochet in rounds for each leg.
- Crochet 3 rows of double crochet for each leg.
- Adjust if a longer leg is desired.
Step 5: Add Ruffles
- Start the Ruffle on the Legs
- For the first row, alternate between:
- 3 double crochets in one space.
- 2 double crochets in the next space.
- Continue this sequence.
- Slip stitch to close the row.
- For the first row, alternate between:
- Second Ruffle Row
- Chain 3 to begin the row.
- Alternate with 1 double crochet and 2 double crochets to create a softer ruffle.
- Repeat Ruffle Design
- If a more exaggerated ruffle is preferred, use 3 double crochets in every stitch.
- Adding Layers
- Add multiple ruffles for a fuller effect:
- Begin the next ruffle layer slightly higher on the leg.
- Complete the same alternating pattern for each additional layer.
- Add multiple ruffles for a fuller effect:
Step 6: Optional - Add Ruffles to the Sides
- Side Ruffles Setup
- For added decoration, ruffles can be crocheted on the side seams (not the back for seating comfort).
- Start approximately 5 rows up from the bottom of the shorts.
- Crochet Side Ruffles
- Alternate three and two double crochets to create a wavy ruffle effect.
- Repeat for the Other Side
- Mirror the process on the opposite side of the shorts.
Step 7: Finishing
- Trim Loose Ends
- Once all rows are complete, slip stitch, and cut the yarn.
- Weave in loose ends using a yarn needle.
- Add Final Adjustments
- Depending on the look desired, add a drawstring, decorative edging, or customization.