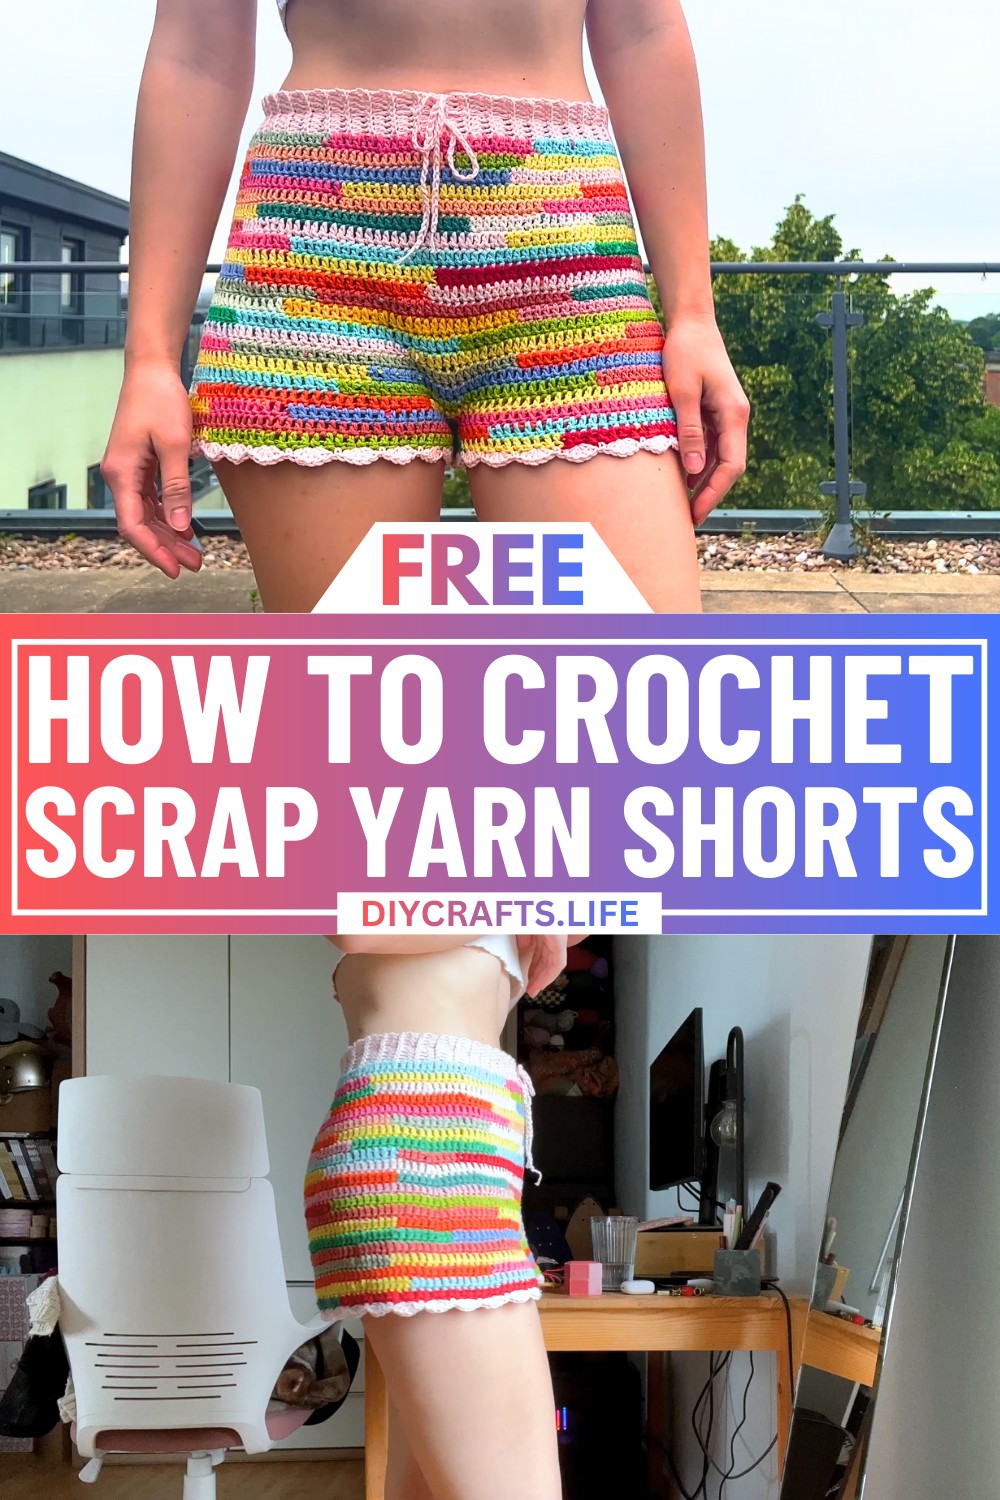
Turn your leftover yarn stash into a stunning piece of cozy fashion that speaks creativity! These Crochet Scrap Yarn Shorts are a fun and practical project perfect for anyone looking to add a unique, handmade touch to their wardrobe. Whether it’s bright colors, soft textures, or playful patterns from your leftover yarn collection, this design allows you to craft something truly personal and one-of-a-kind.
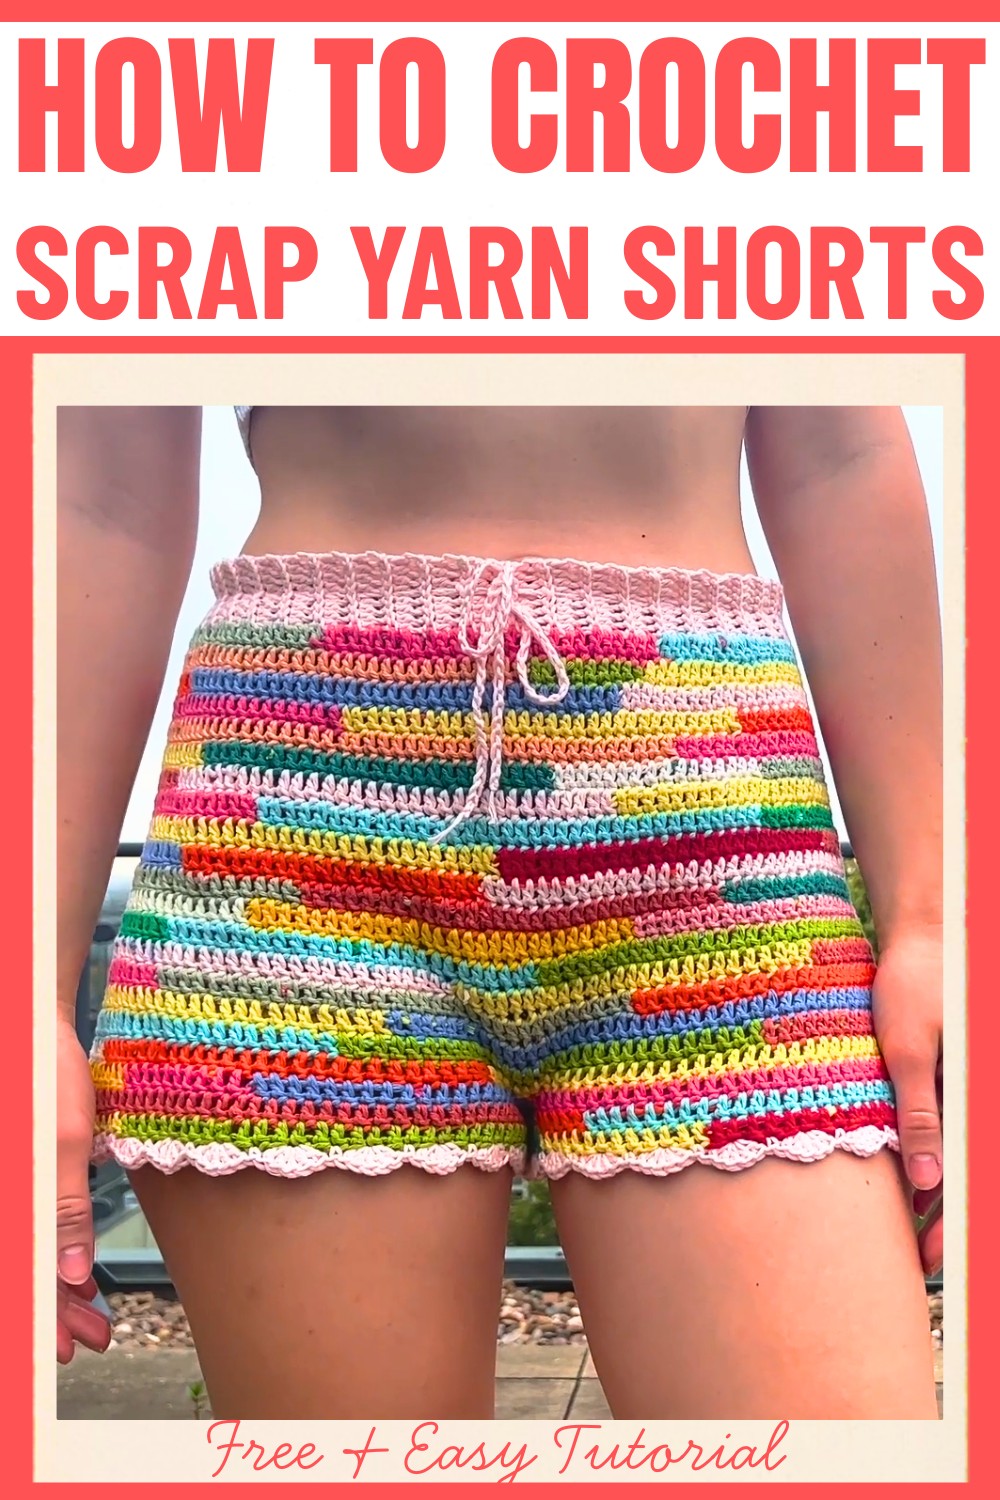
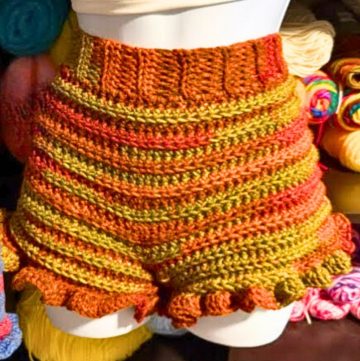
Crochet Scrap Yarn Shorts
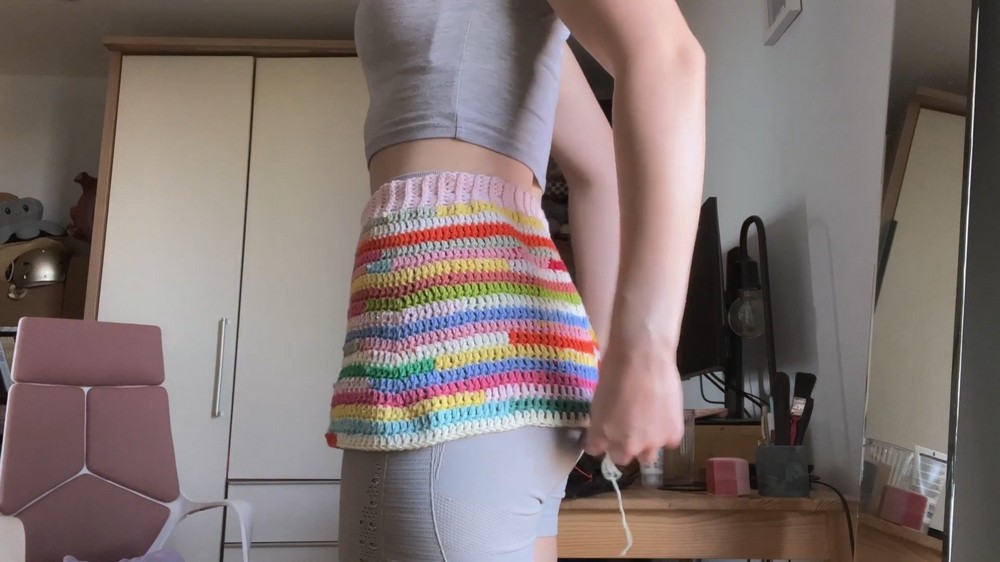
These crochet shorts combine simplicity with style. Featuring a comfortable waistband, easy-to-work stitches, and a customizable fit, they’re as functional as they are fashionable. The step-by-step design allows you to adjust the shorts to your preferred length and width, making it a versatile addition to your wardrobe. With a charming shell border and endless options for color combinations, these shorts celebrate individuality and sustainability in crochet fashion.
Credit Krafty Station
Materials Needed:
- Scrap yarn (various colors)
- Crochet hook (4.5 mm)
- 2 stitch markers
- Scissors
- Tapestry needle

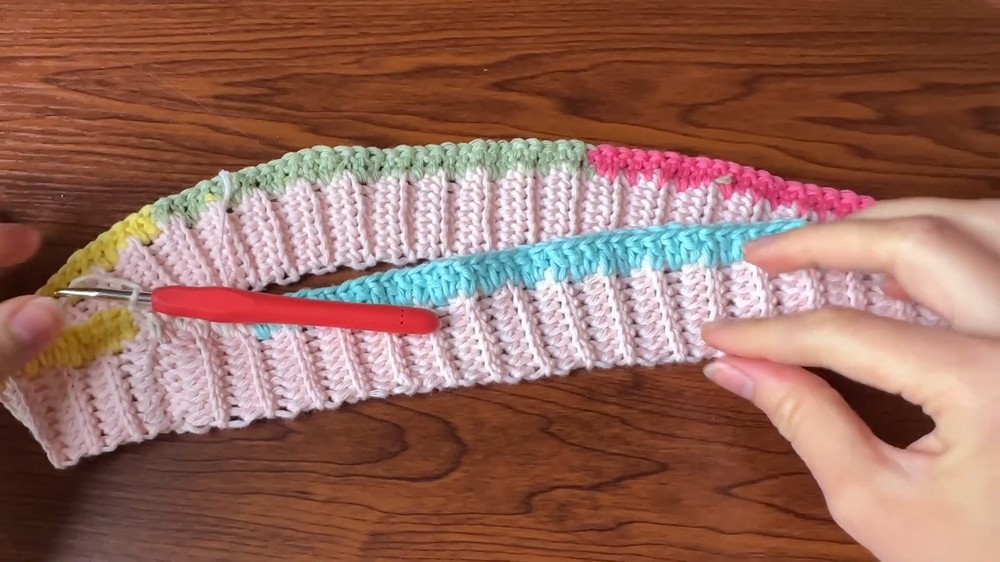
Step 1: Create the Waistband
- Start with a slip knot and chain 8.
- Row 1: Half Double Crochet (HDC)
- Yarn over, insert hook into the second stitch from the hook, pull yarn through. You’ll have 3 loops on the hook.
- Yarn over, pull through all 3 loops. Continue doing HDCs until the end of the row.
- Row 2: Slip Stitch
- Chain 1, turn your work.
- Insert hook into the back loop of the stitch. Yarn over, pull through, then pull through loop on your hook (slip stitch). Repeat until the end of the row.
- Row 3: Back Loop HDC
- Chain 1, turn your work, and do half double crochets in the back loop only across the row.
- Repeat Rows 2 and 3 until you have a waistband wide enough to go around your waist and hips. (It may fit loosely around your waist; you can cinch it later with elastic yarn or a crochet strap.)
- Join both ends:
- Fold the band, insert the hook through the stitches on both sides, yarn over, pull through, and slip stitch across to join.
Step 2: Start the Shorts Body
- Attach your first yarn color:
- Attach a new yarn color to the waistband, knot it securely, and cut off the previous yarn.
- Row 1: Double Crochet (DC) Around
- Yarn over, insert the hook into the stitch, pull through yarn (3 loops on hook). Yarn over, pull through 2 loops, then pull through the last 2 loops.
- Make evenly spaced double crochets around the waistband. (There are no clear stitches here, so space them as evenly as possible.)
- Join the last stitch to the first with a slip stitch.
- Color Changes:
- To change color, complete your DC up to the last two loops, switch to the new yarn, and pull it through. Secure loose ends by tying or hiding them under stitches as you crochet.
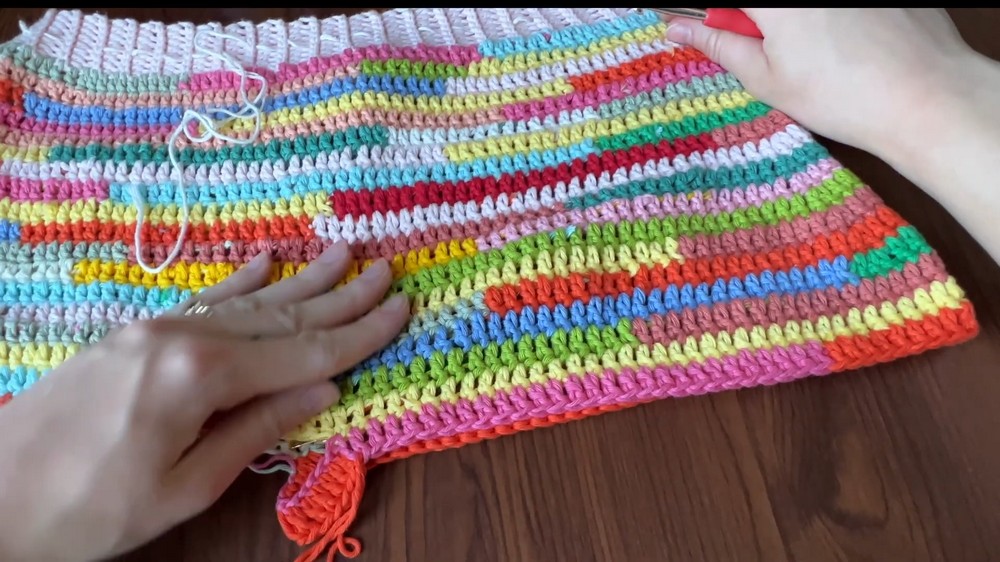
Step 3: Build the Shorts
- Continue with rounds of double crochet.
- Increases for the "bum curve":
- As you approach the middle part of the bum (7 rows in this example), place increases on the sides.
- To increase, put two DC stitches into one stitch at the side marked by a stitch marker.
- Move the stitch marker to the newly created increase stitch after each row.
- As you approach the middle part of the bum (7 rows in this example), place increases on the sides.
- Stop Increases:
- After reaching the middle of the bum (approximately 7 rows of increases), stop increasing and continue with normal double crochet rows until the shorts reach your crotch (about 4 normal rows in this example).
Step 4: Create the Legs
- Divide the Shorts:
- Find the midpoint of the shorts (use stitch markers on both the front and back).
- From one midpoint to the other, join with a chain (e.g., 10 chains, but you can adjust based on your size).
- Connect the chain to the other side with a slip stitch.
- Work One Leg:
- Start with chain 2, then double crochet around the leg opening and along the chain you created.
- Join the row with a slip stitch.
- Repeat double crochet rows until the leg reaches your desired length (e.g., 3 rows in this example).
- Work the Second Leg:
- Repeat the same process on the other leg.
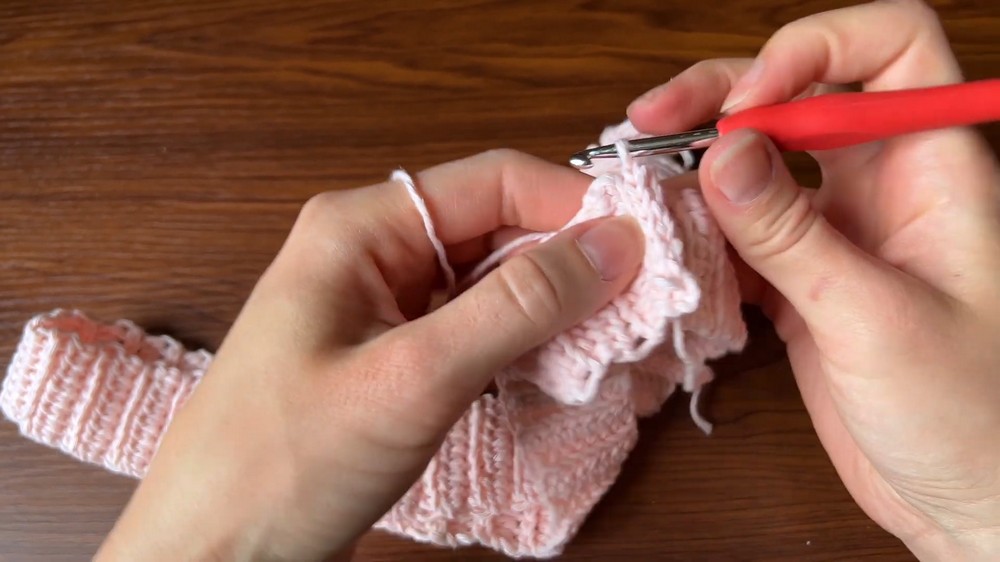
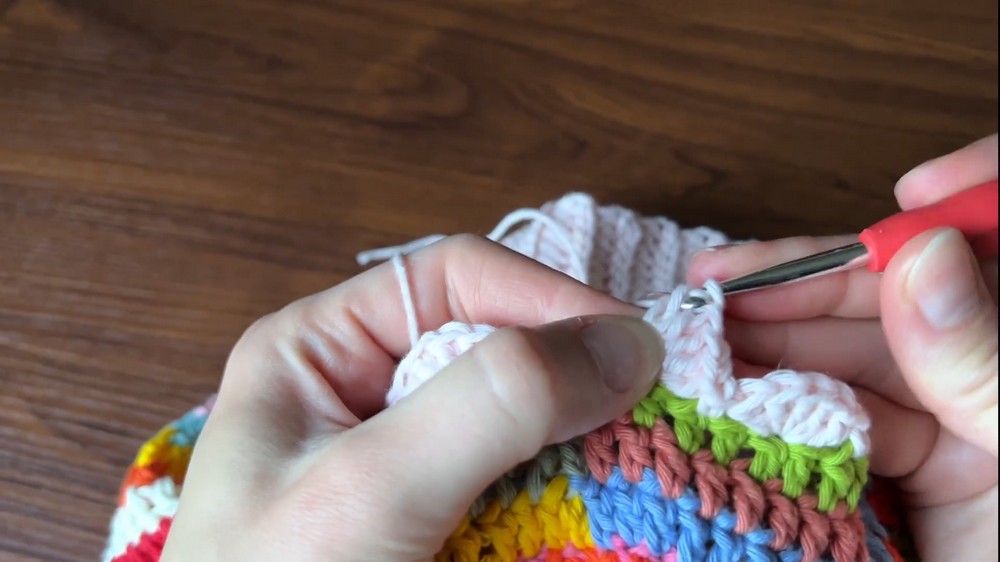
Step 5: Add the Border (Optional)
- Shell Edge Border:
- Tie a new yarn color in the middle of the leg opening to conceal knots.
- Pattern:
- Single crochet (SC) into a stitch.
- Skip the next stitch and do 5 DCs into the next stitch (this creates the wave shape).
- Skip another stitch, then SC into the following stitch.
- Repeat this pattern (SC, skip, 5 DCs, skip) around the leg opening.
- Join the end of the row to the beginning with a slip stitch and fasten off.
Step 6: Cinch the Waist (Optional)
- Make a Strap:
- Create a slipknot, then chain enough stitches to go around your waist with extra length for tying.
- Fasten off the chain.
- Weave the strap:
- Use a tapestry needle or crochet hook to weave the strap through the waistband, skipping a few stitches at a time.
Final Steps:
- Tie any loose ends, and ensure everything is secure and neat.
- Try on the shorts to check the fit!
- Adjust as needed for desired length or better comfort.