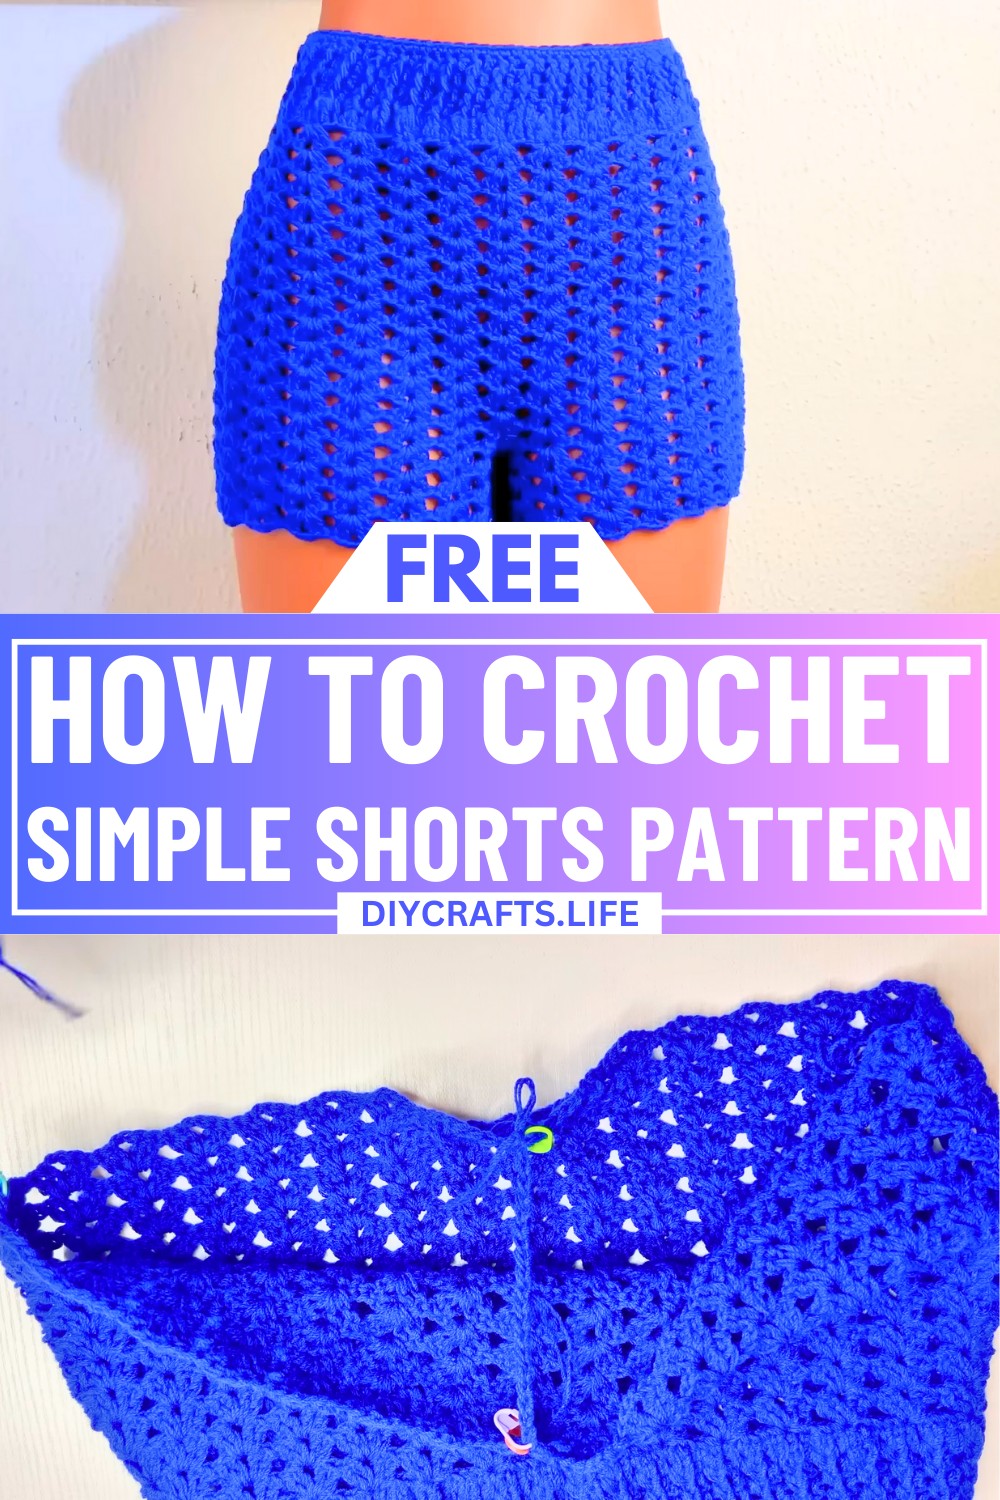
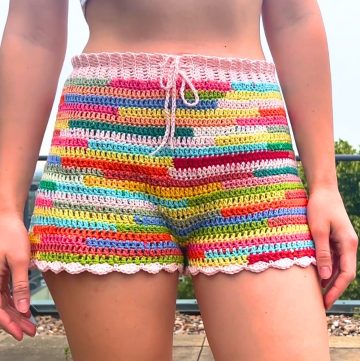
This crochet shorts design is the perfect blend of comfort and contemporary fashion. Whether you're stepping out for a casual day or lounging at home, these shorts offer both sophistication and ease, suiting every occasion with their unique handmade touch.
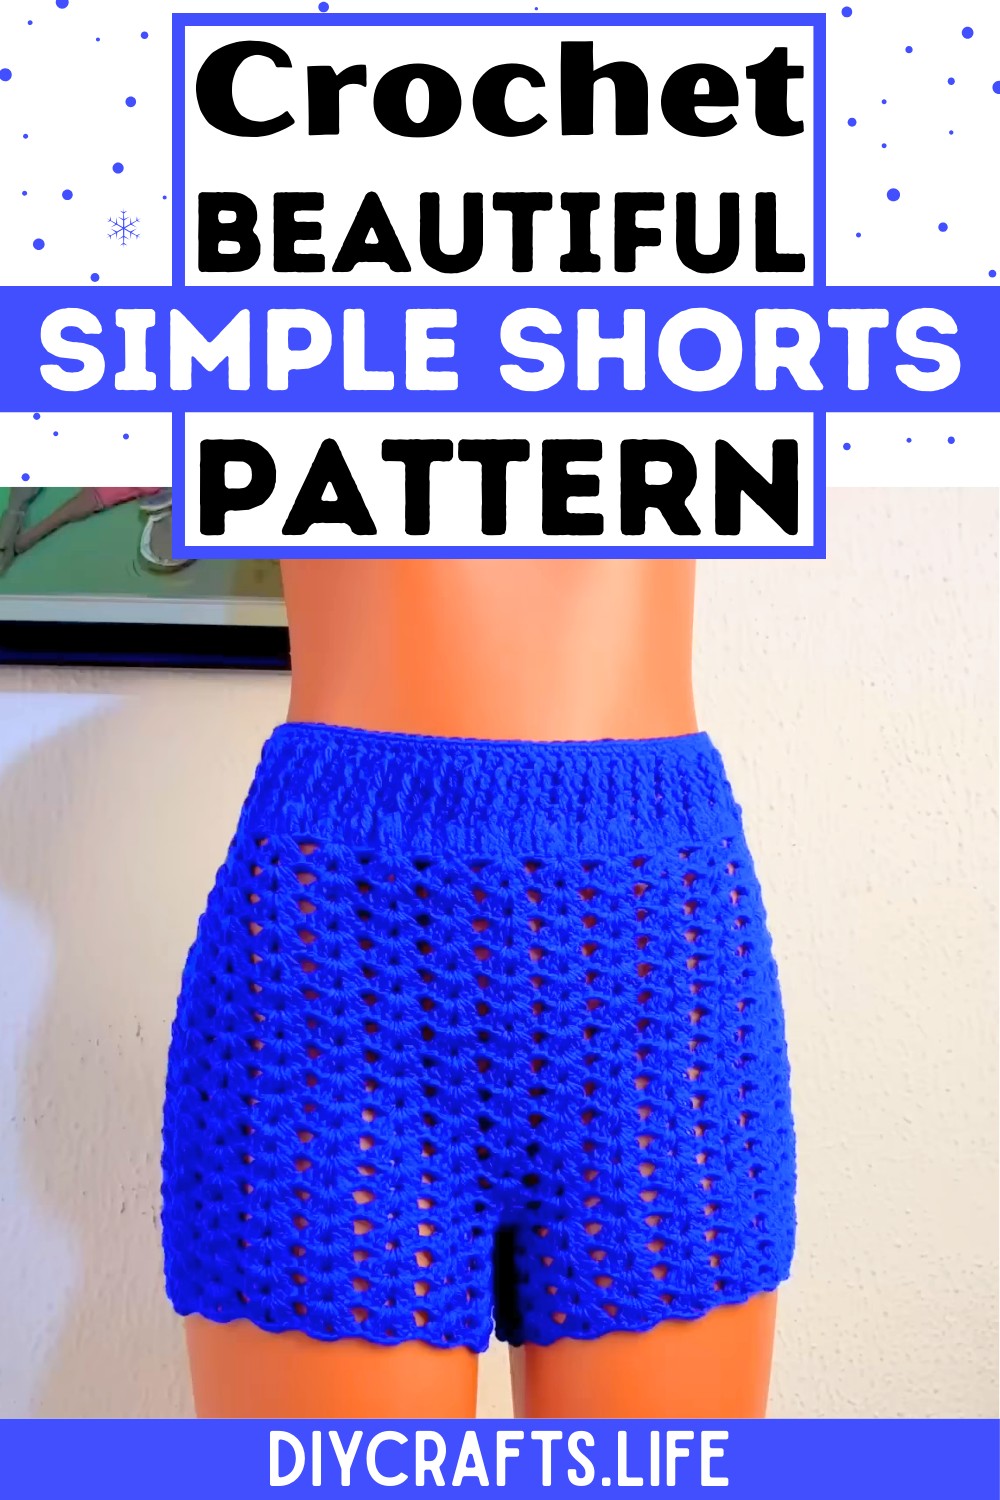
Crochet Shorts Tutorial
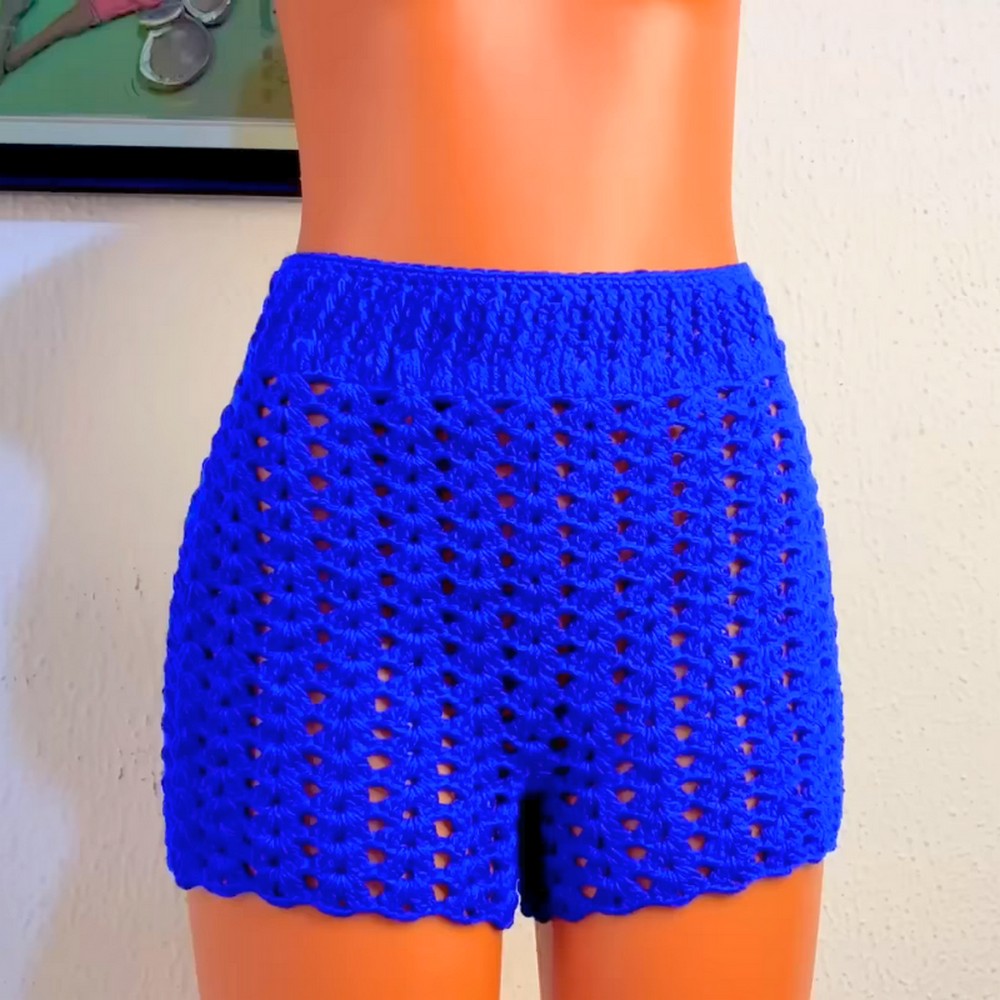
Crafted with the intricate double V stitch, these shorts stand out because of their rich texture and seamless structure. Using a customizable foundation based on your measurements, this design can fit any body shape beautifully. The interplay of tailored edges and a carefully added waistband ensures not just aesthetic appeal but functional wearability, making it more than just clothing—it’s an expressive style statement. With endless opportunities to personalize colors, size, or even add your own artistic flair, this pattern is a celebration of individuality and craftsmanship.
Credit FTK Crochet
Materials Needed
- Yarn: 4-ply acrylic yarn (can approximate by combining two 2-ply strands)
- Hook: 4.5 mm hook size
- Measuring Tape: To ensure accurate sizing
- Scissors
- Stitch Markers
- Tapestry Needle: For weaving the ends
Step-by-Step Pattern for Crochet Shorts
1. Starting the Foundation
- Measure hip circumference for sizing.
- Create a foundation chain in multiples of 5 plus 1.
Example: For the tutorial, 141 chains were made (adjust based on your measurement).
2. Connecting the Foundation Chain
- Join the chain using a slip stitch to form a round. Ensure the chain isn’t twisted.
- Chain 3 to act as the first double crochet.
3. Row 1 – Base Row
- Work 1 double crochet in each chain stitch around.
- End the row with a slip stitch into the chain-3 stitch from the start.
- This row serves as the foundation for the double V stitch pattern.
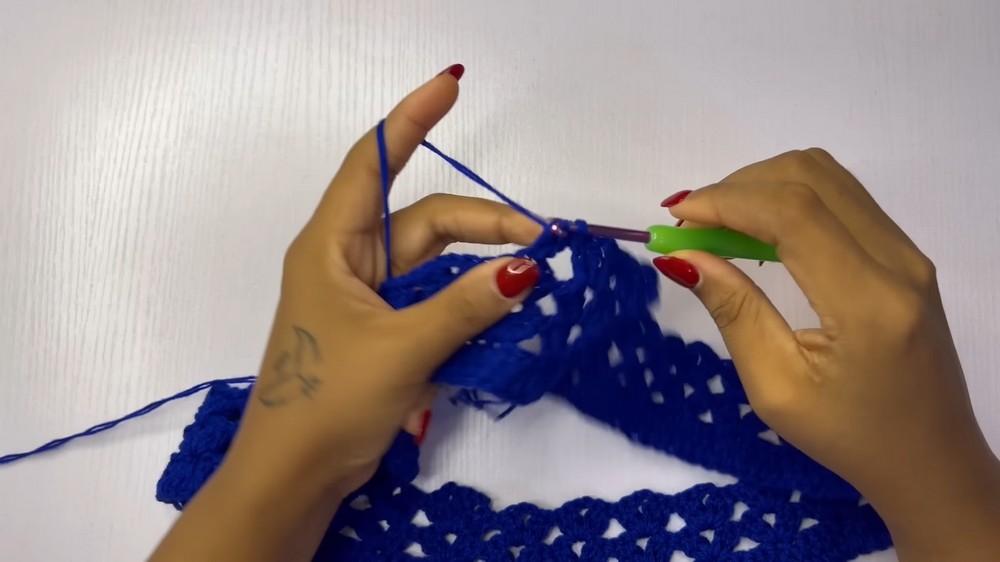
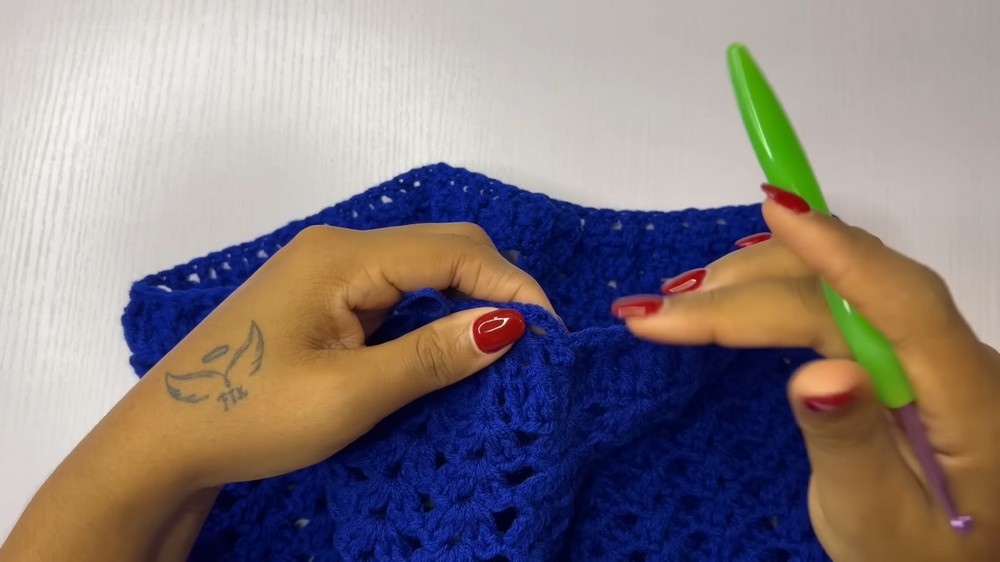
4. Row 2 – Double V Stitch Pattern
- Start with chain 3 (counts as the first double crochet).
- In the same first stitch, work:
- 1 double crochet
- Chain 2
- Another double crochet (creates the first V).
- Skip 4 stitches, then in the 5th stitch:
- Double V Stitch = (2 double crochets, chain 2, 2 double crochets).
- Repeat the double V stitch around.
- End with a slip stitch to connect the row.
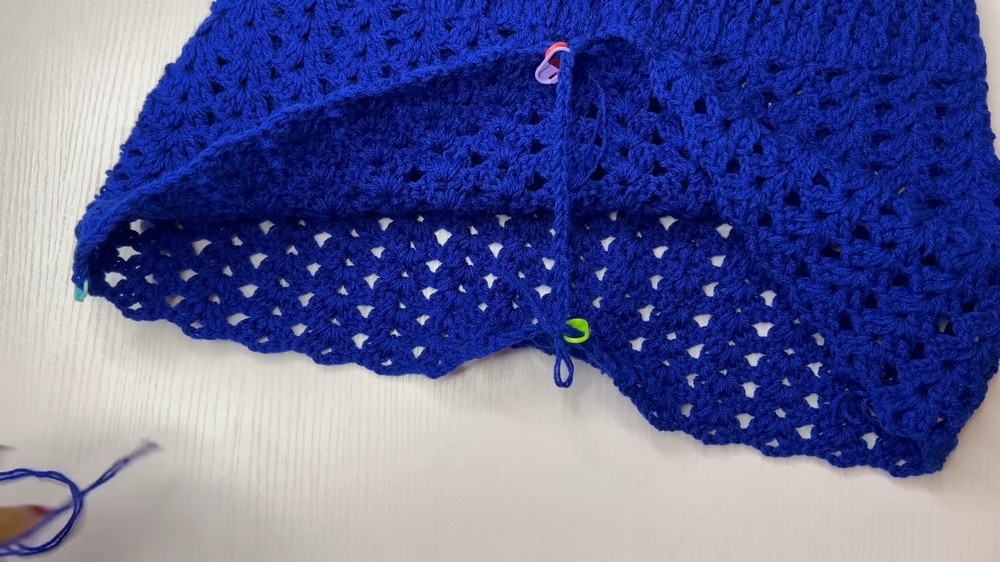
5. Increasing Rows
For larger hips, increases are added:
- At two corners in subsequent rows, work 3 double V stitches in the specified chain space instead of just one.
- Use stitch markers to mark corners evenly for symmetrical increases.
6. Building the Body
- Continue the double V stitch pattern for the body of the shorts, working in rounds.
- No more increases after the appropriate row; ensure straight sides for the desired shape.
- Tutorial example did 12 rows to reach 8 inches for the body.
7. Creating the Waistband
- Switch to a ribbed pattern using front post double crochet (FPDC) and regular double crochet (DC):
- Alternate FPDC and DC stitches around.
- Add decreases by pairing two FPDC stitches throughout the row.
- Work the band for your desired length; 2 inches was used in the tutorial.
8. Dividing for Legs
- Identify the midpoint using stitch markers. Measure thigh circumference to adjust.
- Reattach yarn, and chain for the desired crotch width, ensuring multiples of 5 + 1.
- Attach the chain on the opposite side to begin shaping the legs.
19. Leg Pattern
- Work in rounds using the double V stitch for each leg.
- Tutorial used 5 rows for each leg.
10. Final Details
- Add an elastic band (optional for a snug waist). Alternatively, crochet a chain-string to weave through for tying.
- Weave in ends with a tapestry needle.
Finishing
Your shorts are now ready! Customize the length of the legs or waistband and perfect the fit based on measurements.
Helpful Notes
- Always use a measuring tape to ensure the shorts fit well.
- Mark corners and midpoints accurately to maintain symmetry.
- Adjust the size by increasing rows for the main body, legs, or waistband.