Step into summer with crochet shorts that redefine playful style! These handmade shorts are an exciting blend of artistry, comfort, and functionality. From their snug fit to creative features, these shorts will instantly elevate your wardrobe and showcase your love for handcrafted designs. Whether paired with a casual top or layered over swimwear, they’re perfect for adding a unique charm to your look.

Crochet Shorts with Granny Square Pockets
This crochet pattern stands out with its thoughtful details. Functional granny square pockets add both character and practicality, giving you a place to keep your essentials while flaunting a vibrant, artistic touch. The drawstring element ties it all together, ensuring a perfect fit while enhancing the overall design. With endless color possibilities, you can craft these shorts to complement your personal style and make them uniquely yours. Bring creativity and functionality to your wardrobe in the form of these stylish and cozy crochet shorts.
Credit Yarn and Stix
Step-by-Step Pattern
Materials Needed:
- Yarn of your choice (black and white were used in the video for contrast).
- Crochet hook (5 mm hook mentioned).
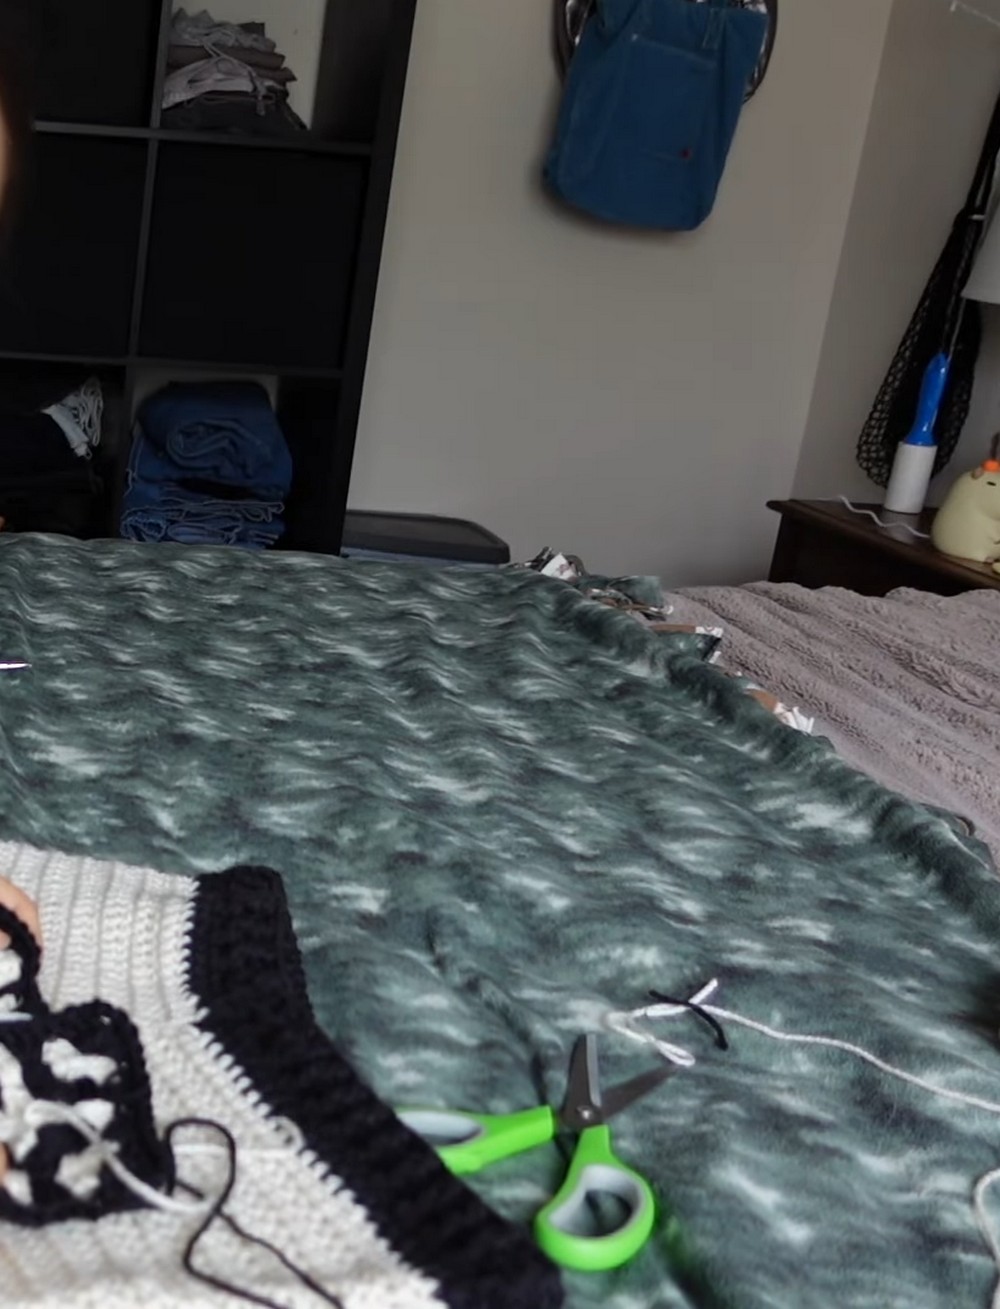
- Scissors.
- Stitch markers.
- Needle for sewing/weaving ends.

Preparation
- Base Structure: Begin by crocheting the base shorts. These are assumed to be done already, as mentioned in the video.
- Granny Squares: Crochet two granny squares to serve as pockets. Use a magic circle to start the squares.
- Focus on ensuring that each square is proportional to ensure symmetry when sewn on the shorts.
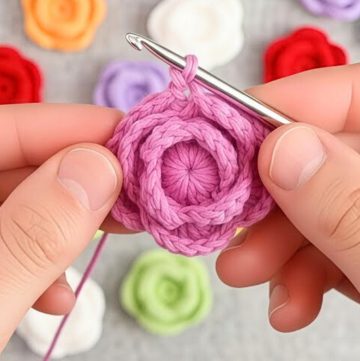
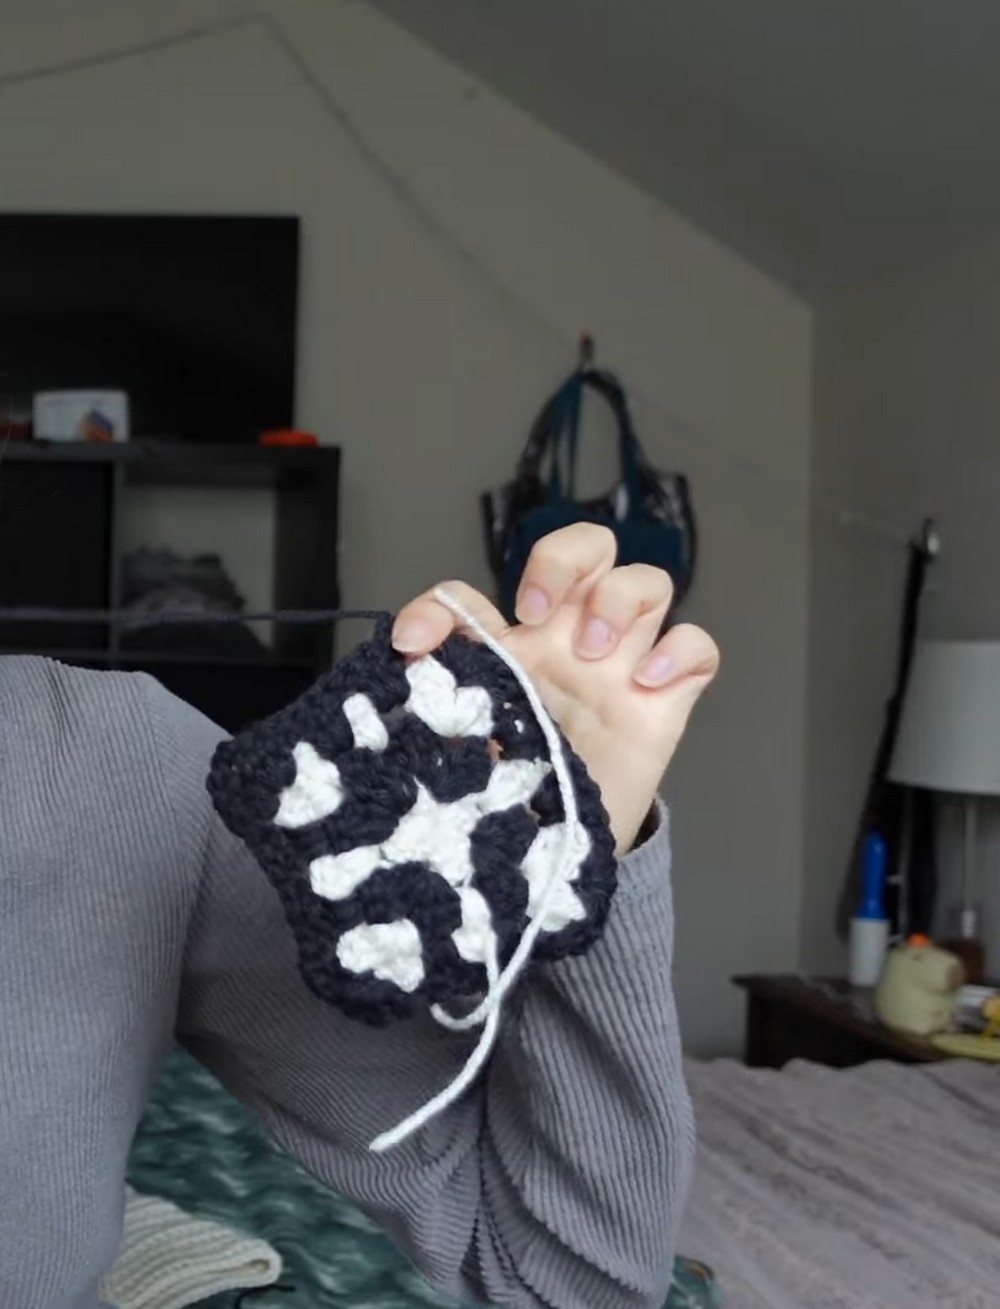
Making the Granny Square
- Start with a Magic Circle:
- Begin with a magic circle to start the granny square. The creator emphasized that they love magic circles.
- Crochet the Granny Square Pattern:
- Work the pattern to create the granny square. A common granny square begins with double crochets and chain spaces arranged in rounds. Find a granny square video tutorial or pattern if you’re unfamiliar with this.
- Finish each Granny Square:
- After completion, cut a big, long tail of yarn for sewing.
Placing the Granny Square
- Weave in Ends:
- Before sewing, weave all the ends into the granny square to ensure a clean finish.
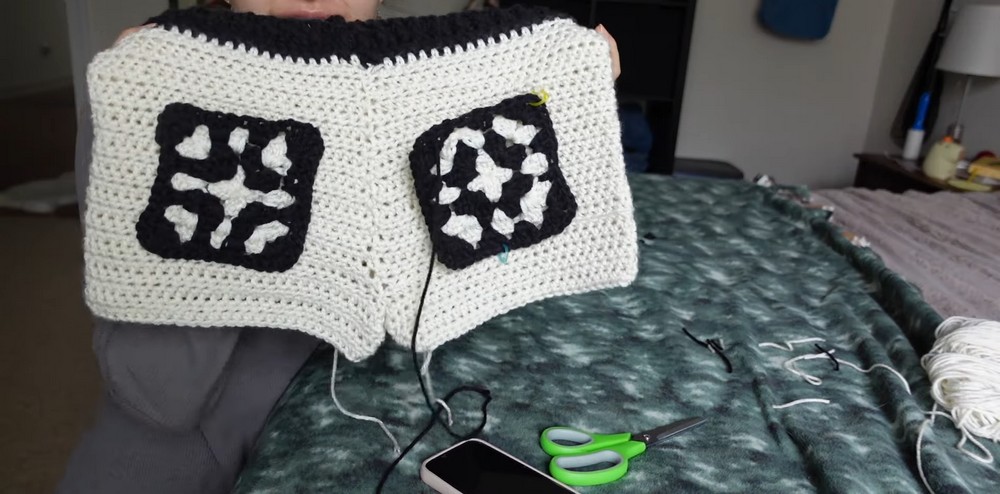
- Position on the Shorts:
- Place the granny square on the desired area of the shorts (usually the back for pockets, as per the video). Adjust alignment for symmetry.
- Use stitch markers to hold the square in place while sewing. This ensures even placement.
Sewing the Granny Squares
- Start Sewing:
- Use the tail from the granny square to sew it onto the shorts. Leave the top of the pocket open to ensure functionality.
- Double-check symmetry after sewing to avoid uneven placement.
- Test the Pockets:
- After sewing, check if the granny squares are functional pockets by placing items inside.
Making the Drawstring
- Foundation Single Crochet:
- Create the drawstring using a foundation single crochet technique to keep elastic and stretchability.
- Use white yarn (for contrast, as mentioned in the video).
- Attach the Drawstring:
- Weave the drawstring through the waistband of the shorts (creating a cinched effect). This provides both aesthetic and practical functionality.
Final Touches
- Try the Shorts:
- Wear the shorts to ensure the fit and functionality of the pockets.
- Pattern Adjustments:
- If adjustments are needed (e.g., symmetry or component alignment), make them before finishing.
Notes and Tips
- Crochet in Silence: The creator mentions moments of sitting in silence to focus while crocheting. This can help ensure precision in your work.
- Take Breaks: Be mindful of wrist injuries. Take breaks if your wrists feel strained during long crochet sessions.
- Personalize Your Shorts: Consider customizing the pattern with additional embellishments (optional).