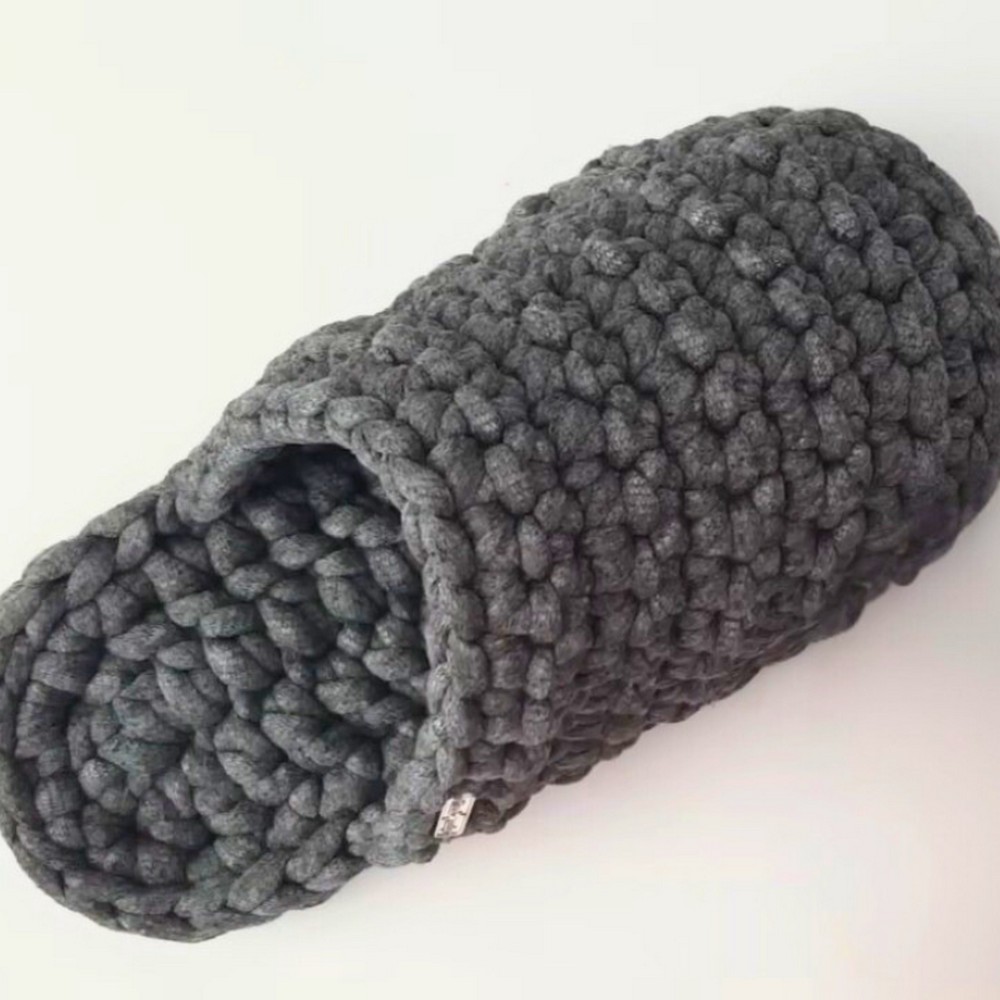
Transform cozy yarn into stylish, comfortable crochet slippers with this versatile project! Perfect for relaxing at home, these slippers are functional, fashionable, and customizable to suit your taste. Whether for yourself or as thoughtful gifts, the possibilities are endless!

These crochet slippers are both practical and durable, made with a unique cotton-polyester yarn blend for strength and comfort. Their lightweight yet sturdy design provides excellent usability, while the snug fit ensures hours of cozy wear. Plus, they’re effortlessly stylish and perfect for everyday use.
Crochet Slippers Tutorial
Creating these slippers is an exciting journey that suits crafters of all skill levels! The pattern allows for customization, from sole size to decorative touches, enabling endless creative potential while ensuring reliable functionality. Crafting them is simple, relaxing, and highly rewarding.
Materials and Preparation
Here's what you'll need for this project:
- Yarn
- Yarn Art Cortian (40% cotton, 60% polyester).
- Two balls of yarn (for a women's European size 38–39).
- Hook
- 7 mm crochet hook.
- Additional Tools
- Scissors.
- Yarn needle.
- Measuring tape.
- Yarn Weight
- Medium-weight yarn (specific weight unstated; gauge provided in the tutorial).
Abbreviations and Notes
Abbreviations
- CH: Chain.
- SC: Single Crochet.
- HDC: Half Double Crochet.
- DC: Double Crochet.
- SL ST: Slip Stitch.
Pattern Notes
- This tutorial is for women's European size 38–39 (sole length: 24.5 cm). Adjust sizing by using a larger or smaller crochet hook.
- Important tip: Hide the tails behind your work as you go for easier finishing.
- Special technique: Invisible slip stitch for joining rounds for a seamless finish.
Gauge, Approximate Size, and Pattern Notes
Gauge
No specific gauge swatch is required, but the sole length is measured to 24.5 cm for size accuracy. Adjust hook size to meet required dimensions.
Approximate Size
European size 38–39 shoes (sole length: 24.5 cm).
Notes and Techniques
- You'll crochet four sole pieces (two per slipper) for extra rigidity.
- Invisible slip stitch technique is used for neat finishing.
- The sole and slipper parts are built incrementally for shaping and structure.
Step-by-Step Pattern
Step 1: Creating the Sole
- Start:
- Make a slip knot and chain 15 using your 7 mm crochet hook.
- Begin in the third chain from the hook and work the following:
- First Side of Sole:
- 2 DC into the third chain.
- 1 DC into the next 11 chains.
- 6 DC into the last chain.
- Second Side of Sole:
- Turn your work and crochet 1 DC into the next 11 chains.
- 2 DC into the final chain where the round began.
- Join the Round:
- Use a SL ST to join the last stitch to the first stitch of the round.
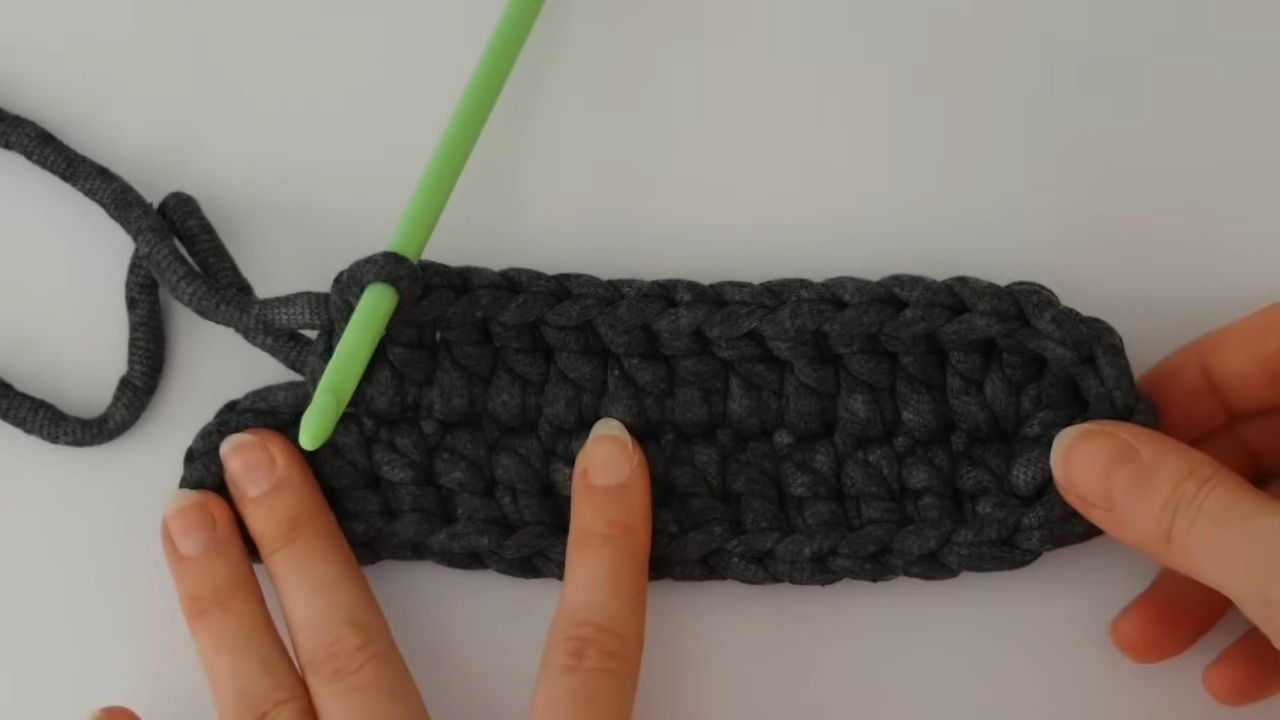
Step 2: Building the Second Round
- Chain 1: Begin the second round with CH 1.
- Increases:
- 2 SC in the next two stitches.
- 1 SC into the next three stitches.
- 1 HDC into the next four stitches.
- Pattern Sequence:
- 1 DC into the next four stitches.
- 2 DC in each of the next six stitches for increased width.
- Repeat the sequence symmetrically on the other side of the sole:
- 1 DC (4 stitches), 1 HDC (4 stitches), 1 SC (3 stitches).
- Finish Round:
- Join with a SL ST. This completes the second sole layer.
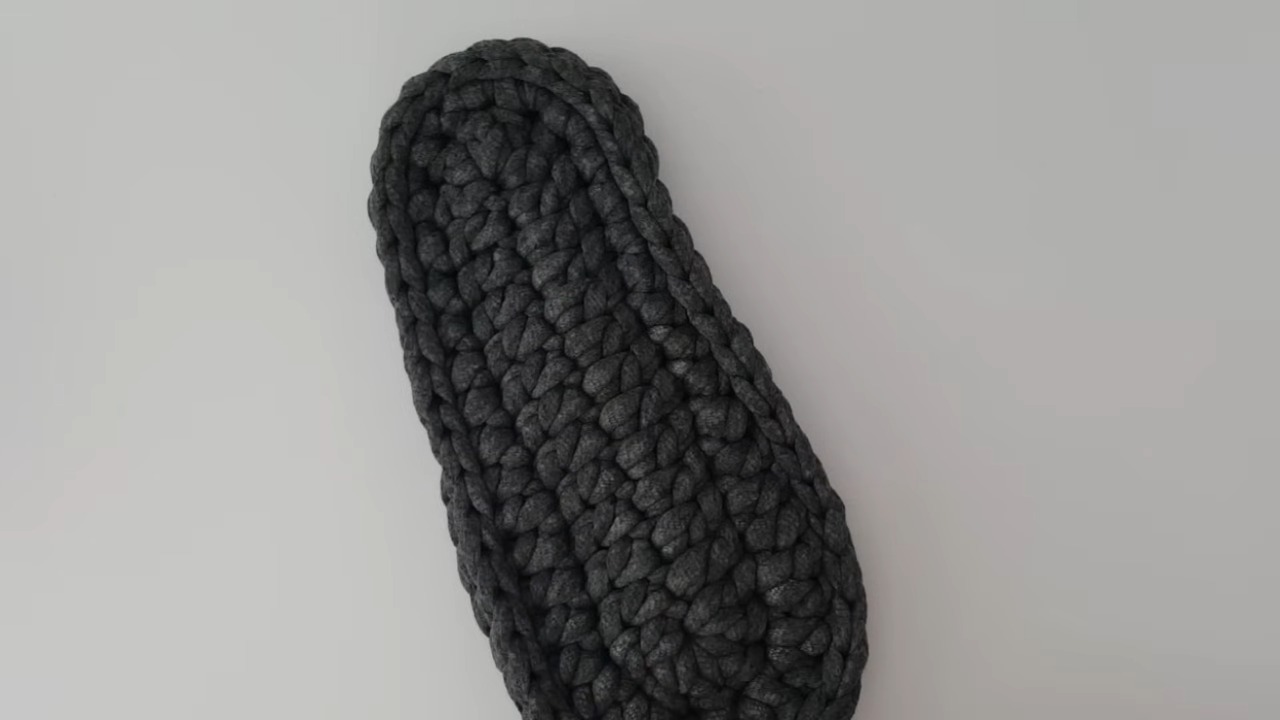
Step 3: Joining Soles Together
- Crochet four sole pieces: two for each slipper.
- Layering and Stitching:
- Align two soles together.
- Start in the front of the slipper and use SL ST through both soles simultaneously.
- Work SL ST all the way around to secure the sole layers.
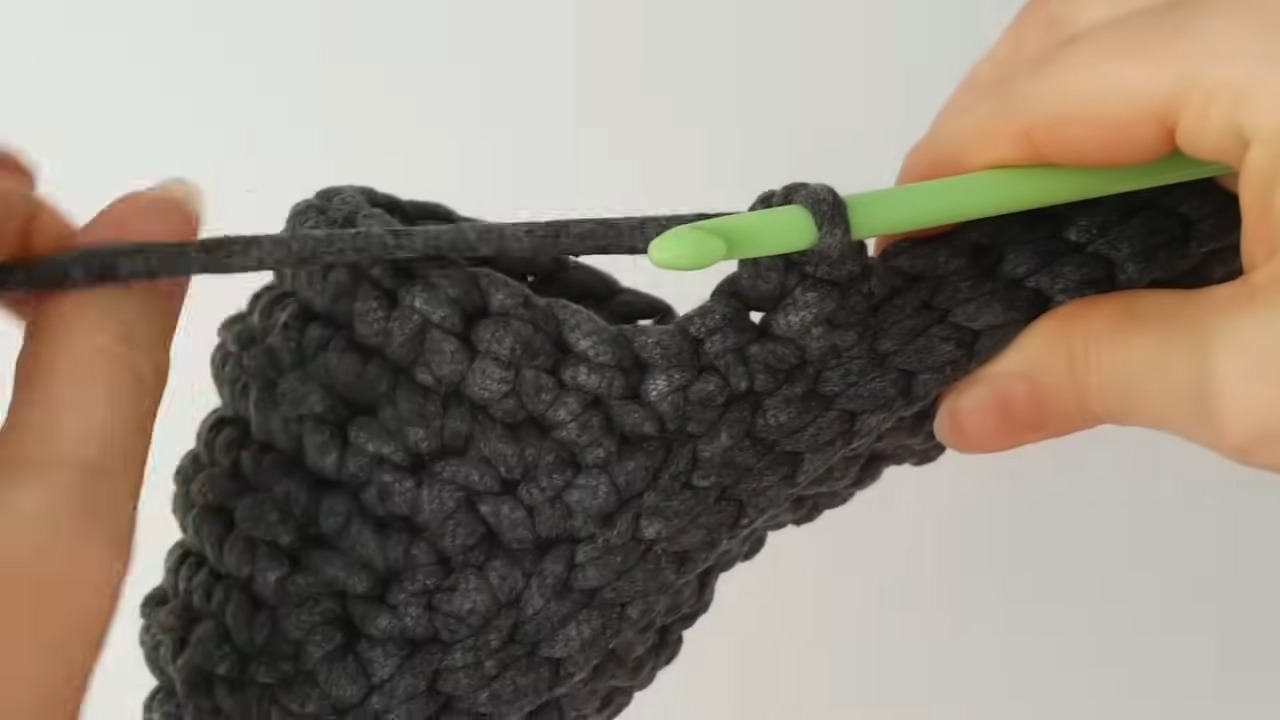
Step 4: Building the Slipper Upper
- Mark Stitches:
- Use stitch markers to mark the center front of the slipper. Count 4 stitches to the left and 4 stitches to the right (a total of 8 stitches).
- Begin Upper:
- Start with CH 1 and SC in each stitch across the marked section.
- Tip: Hide the tail behind your work as you go.
- Extra Rows:
- At the end of each row, add 2 extra SC into the sole for shaping.
- Turn your work and begin each new row in the second stitch (skip the first stitch).
- Repeat Rows:
- Work 8 rows total, maintaining a straight edge by skipping the first stitch of each row while adding space through two sole stitches at the end.
Step 5: Finishing Touches
- Invisible Slip Stitch:
- At the end of row 8, make an invisible SL ST using the method shown in the video tutorial.
- Use a crochet hook or needle to hide any tail ends securely in the sole.
- Optional Adjustments:
- If you want the slipper upper taller, add 1–2 more rows following the same method as before.
- Final Step:
- Adjust and neaten any edges. Trim and secure all yarn tails, ensuring a neat finish.

Pattern Question
Q: Can I adjust the pattern for a different shoe size?
A: Absolutely! Use a larger or smaller crochet hook and modify the number of stitches to adapt the sole length for different sizes. Size recommendations are provided in the video for easy adjustments.
Conclusion
Crochet slippers are the perfect combination of comfort, style, and craft satisfaction. Whether you’re looking for a relaxing project or a meaningful handmade gift, this tutorial empowers you to create something both functional and beautiful. Dive into your creativity today!


