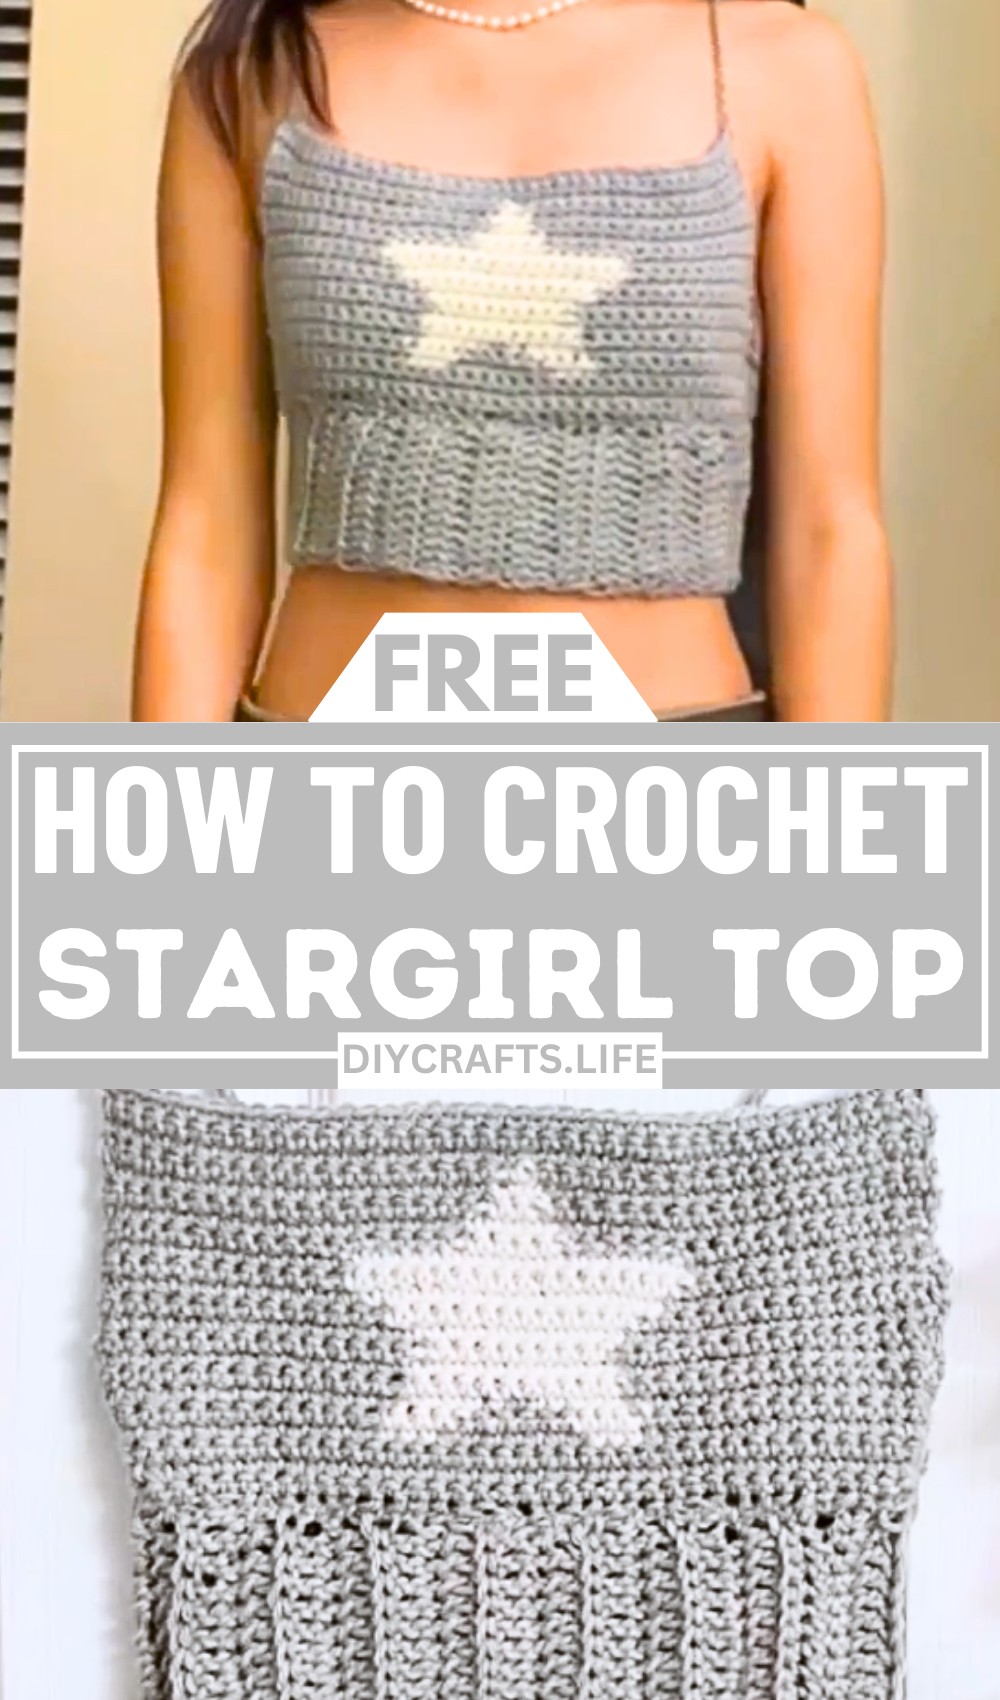
Step into the world of creativity with the stunning Stargirl crochet top, where art meets style in the most effortless way. Whether you're dressing up for an evening out or looking to refresh your wardrobe with handmade charm, this design is a head-turner. With its intricate yet approachable pattern, it's perfect for showcasing your love for modern crochet.
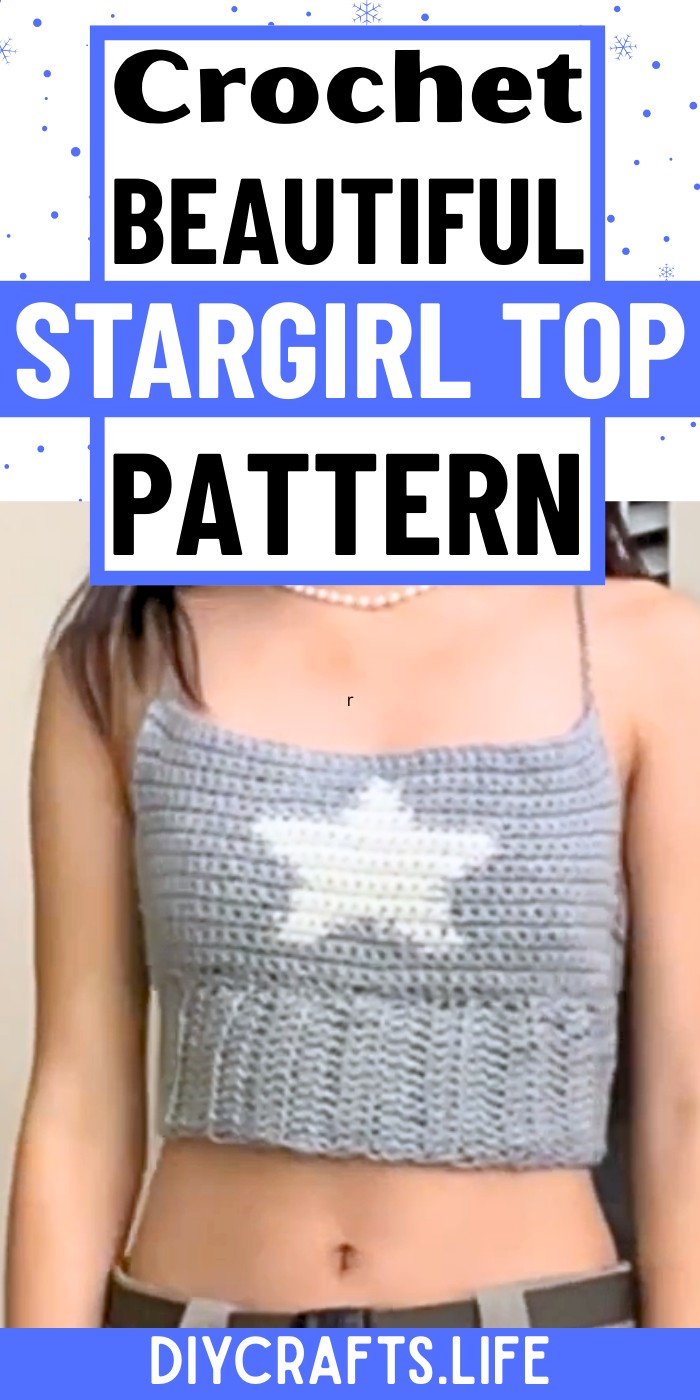
Crochet Stargirl Top
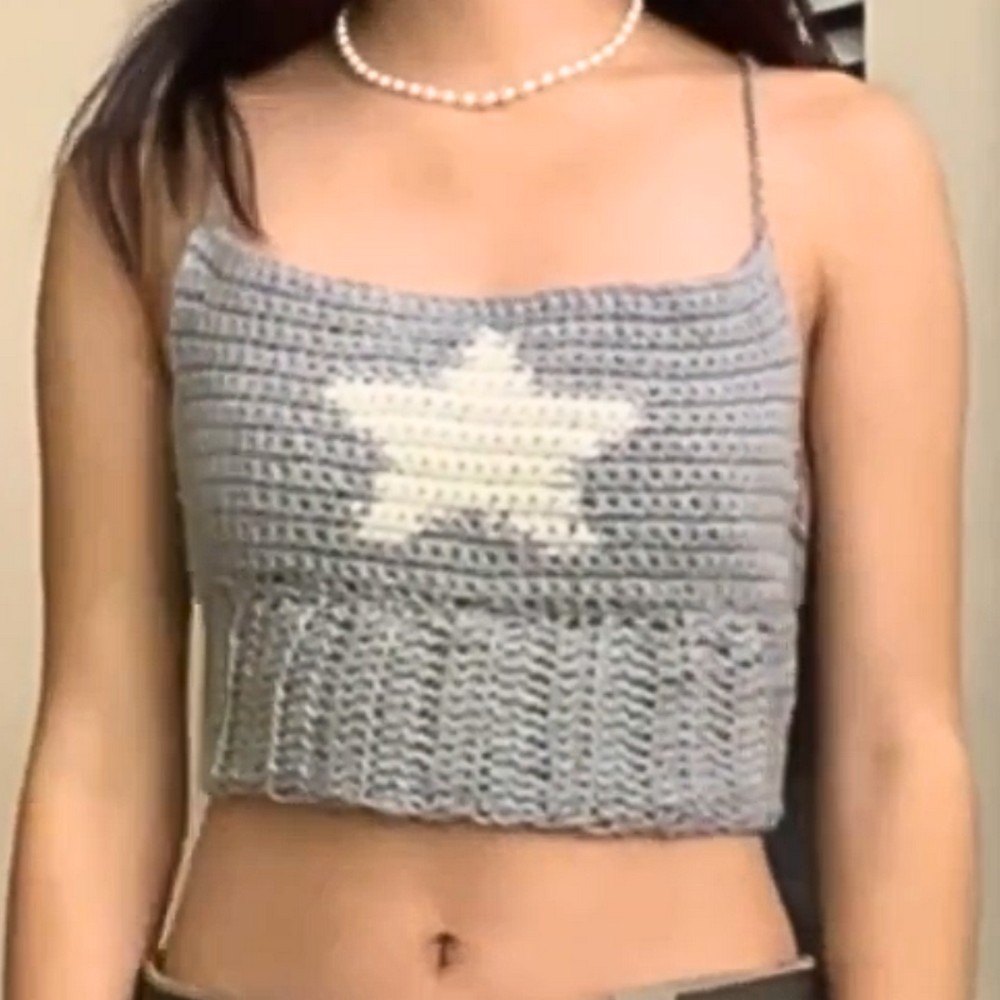
The Stargirl top stands out with its celestial-inspired design, sleek lines, and airy texture that complements every outfit. Its versatile style allows you to play with bold yarn colors or stick to classic tones for a timeless look. The pattern’s dynamic structure blends comfort with elegance, making it an ideal design for all seasons. Bring your imagination to life and create a piece that's not just fashionable but truly yours.
Credit janie
Materials & Tools Needed
- Yarn:
- 2 balls of yarn
- Suggested colors: A base color (e.g., gray) and a contrasting "star" color for the design.
- Ideal weight: Medium worsted weight yarn.
- Crochet Hook:
- Size recommended in tutorial is not specified, but typically works with the yarn weight you choose (likely 4.5mm-5mm).
- Yarn Needle:
- For weaving in the ends and sewing panels together.
- Stitch Markers:
- At least two, to mark areas during assembly or adjustments.
- Optional entertainment:
- "Something cool to watch" during the process.
Finished Size & Customization Ideas
Approximate Finished Size:
- The size depends on individual measurements, specifically the width and length of the front star panel, the waist belt, and the mesh back panel.
- The front star panel is designed to cover the chest area. Adjustments can be made during the creation of the panel.
Customization Ideas:
- Yarn Weights:
- Use thinner or thicker yarn for a more delicate or thicker textured top. Adjust hook size accordingly.
- Lengthening/Shortening:
- Adjust the width and/or length of the star panel by adding rows or stitches. When adding rows, ensure stitch counts are consistent (e.g., 39 stitches per row in the starting panel). This can also be applied to the mesh back panel.
- Strap Length:
- Create longer or shorter straps by adjusting the chain count. Default is 70 chains.
- Adjust strap placement by weaving them differently through the back.
- Color Variations:
- Experiment with gradients, complementary colors, or even multi-colored stars.
- Waistband Belt Customization:
- Shorten or lengthen by adding/removing rows of double crochet.
Pattern Abbreviations & Terminology
- ch = chain
- sc = single crochet
- dc = double crochet
- BL = back loop only
- sl st = slip stitch
Step-by-Step Detailed Crochet Instructions
Star Panel (Front):
- Foundation Row:
- Create a slip knot and chain 40.
- Rows 1-3:
- Single crochet (sc) into the second chain from the hook and continue across (total 39 stitches per row).
- Each row begins by turning the work and chaining 1.
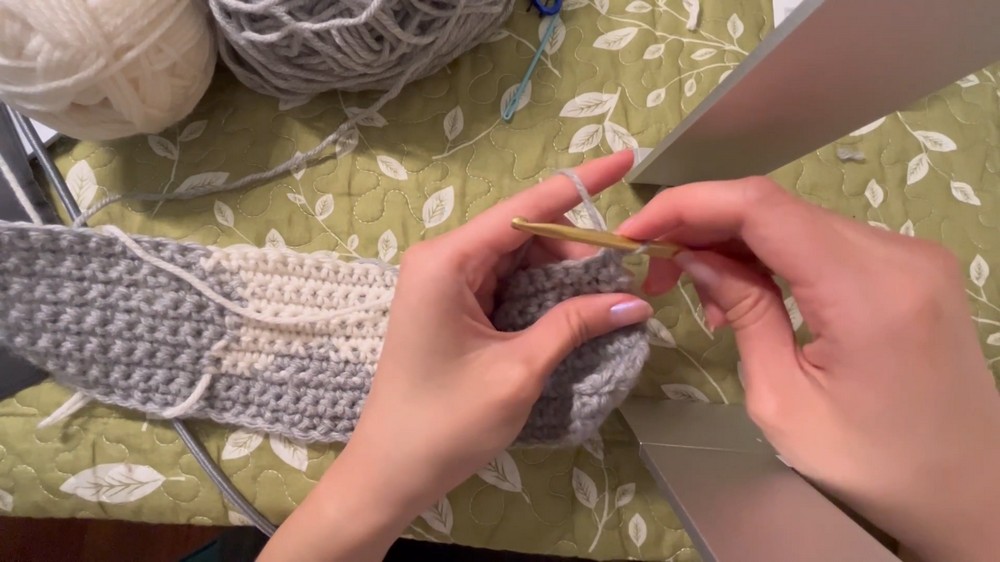
- Star Design Rows:
- Row 4:
- Sc into the first 13 stitches. Change to the star color on the 13th stitch.
- Sc 3 with the star color while weaving in the base color behind. Then switch back to the base color.
- Sc 7 with the base color while weaving in the star color, then switch back to the star color.
- Sc 3 in the star color before switching back to the base color for the last 13 stitches.
- General Pattern for Each Row:
- Follow the same structure as the star evolves, alternating between base color and star color. Adjust the star width (e.g., 13 stitches in the center for the boldest area).
- After each star segment in a row, drop the star color until returning to it later.
- Row 4:
- Ending Rows of the Star Panel:
- After completing the star design (Row 19):
- Finish with 3 rows of 39 sc in the base color.
- After completing the star design (Row 19):
- Customizing the Size of the Front Panel:
- Add more rows of base color sc or extend side edges by single crocheting additional stitches onto the vertical panel edges.
Waist Belt:
- Foundation Row:
- Chain 15.
- Sc into the second chain from the hook and continue across (14 sc).
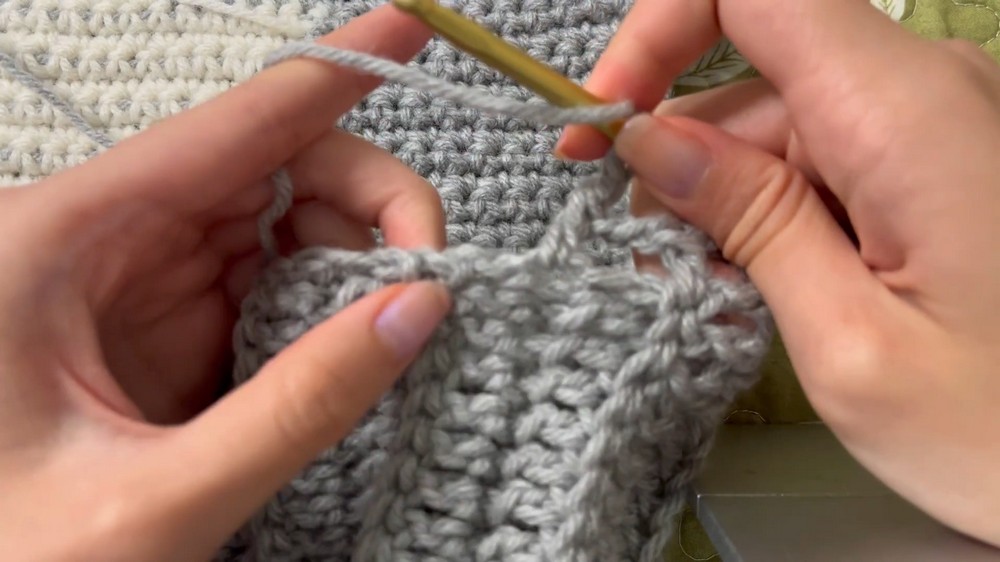
- Double Crochet Rows:
- Each row starts with ch 3 (counts as the first dc). Skip the first stitch, and dc into the back loop only (BL) of each stitch. A total of 14 stitches per row.
- Repeat the back loop only double crochet for as many rows as needed to fit your waist (around 30 rows suggested).
- Final Touch for Waist Belt:
- Finish with 1 row of sc to stabilize.
- Sew the two ends of the belt together to form a band.
Back Panel (Mesh Design):
- Starting the Mesh:
- Attach yarn to the corner of the waist belt.
- Chain 5 (counts as first dc + ch 2).
- Skip 2 stitches and dc into the in-between space of the rows.
- Mesh Rows:
- Chain 5 at the start of each row, then follow this pattern: ch 2, dc into the last dc from the previous row. Continue until the row’s end.
- Approximate result: 16 mesh squares per row.
- Ending the Mesh Back Panel:
- Continue rows of mesh until the back panel aligns with the side tips of the star on the front panel. (Approximately 5 rows, adjustable based on fit).
- Assembly:
- Use a yarn needle to sew the sides of the mesh panel to the sides of the star panel.
Straps:
- Using a corner of the star panel, attach yarn with a slip knot.
- Chain 70 (or longer/shorter according to preference).
- Find the center of the back panel and weave the strap through.
- Attach the strap to the opposite corner of the star panel. Knot securely.
- Repeat this process for the second strap.
Finishing Touches
- Weave in all loose ends using the yarn needle.
- Try on the top to ensure the fit. Adjust the positions of the straps or add length if necessary.
- Add any personal embellishments like beads or decorative stitching.