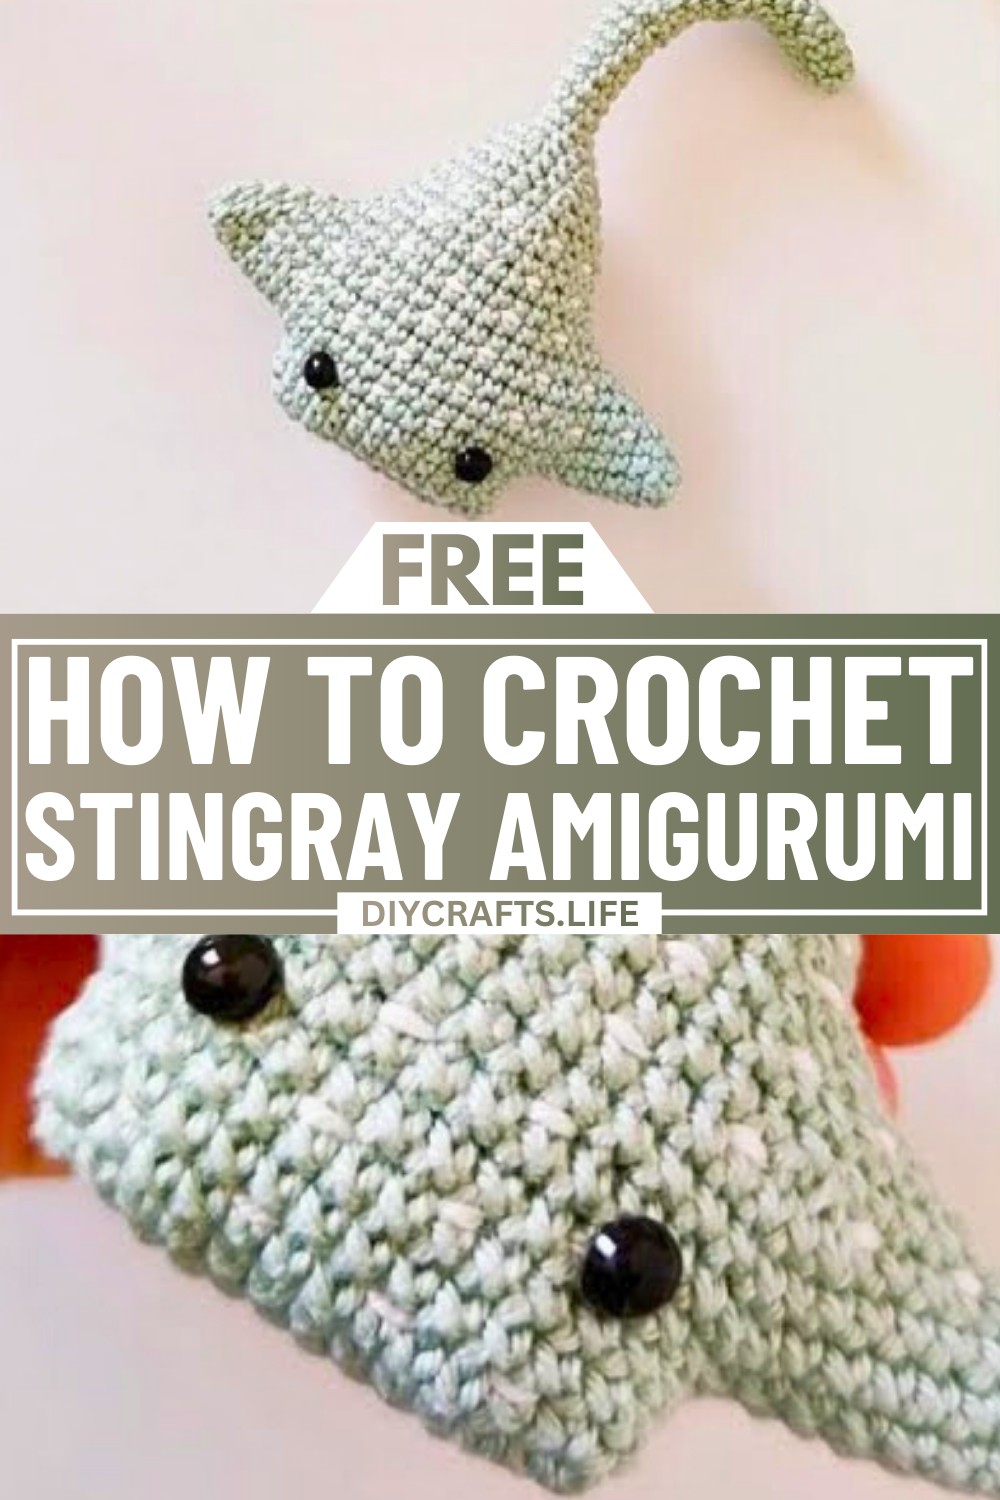
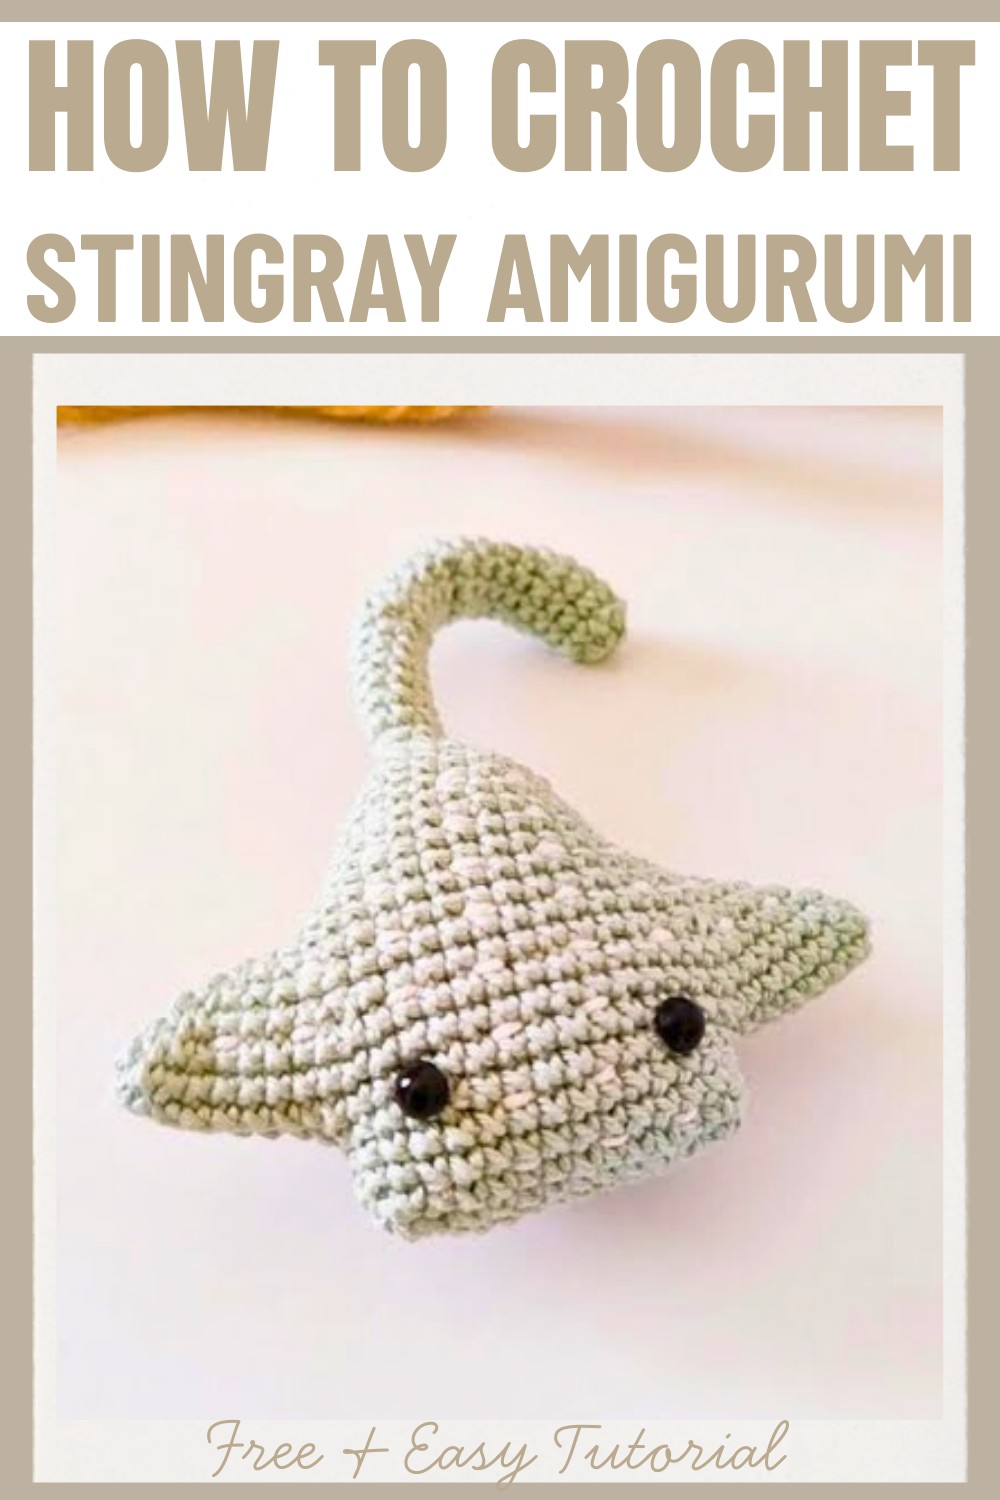
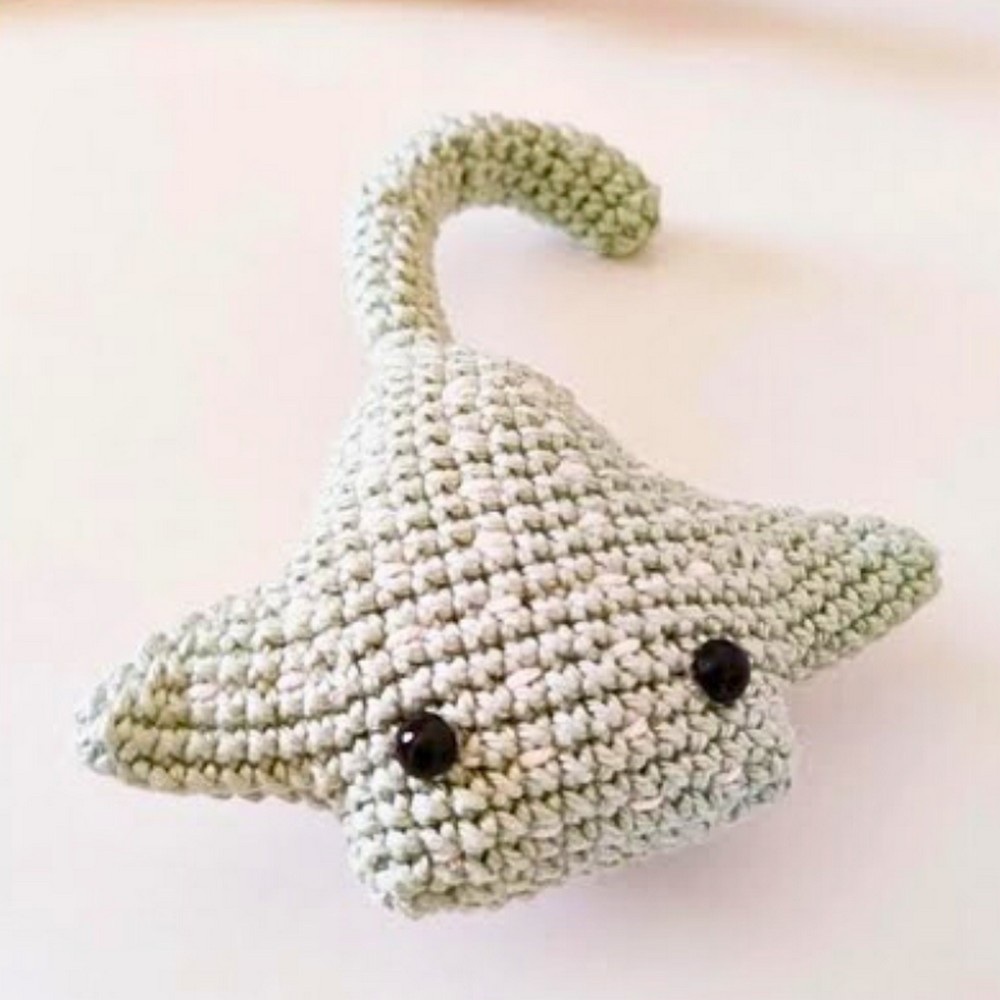
Soft, huggable, and irresistibly adorable, this crochet stingray design will steal your heart the moment you lay eyes on it. With its charming shape and smooth curves, it brings a gentle oceanic vibe into your home or gift-giving. Whether made in a small size or transformed into an oversized cuddle buddy, this stingray has something magical that makes it perfect for every age and occasion.
What sets this stingray apart is its versatility. The design allows you to use light, medium, or bulky yarns to create a stingray that fits your exact vision. From the delicate detail of its wings to the option of adding clever embroidery accents, every stitch gives you the freedom to create a unique piece. Its graceful form is not just a fun addition to your space but an imaginative way to show your crochet creativity.
Credit The Kindness Company
Required Materials
- Yarn (Worsted Weight or DK Weight):
- Color of choice for the stingray body.
- Optional: White or contrasting yarn for accent details.
- Hook Size:
- 4 mm crochet hook for worsted weight yarn.
- Adjust hook size as needed for DK or other yarn weights (e.g., 3.25 mm for DK weight).
- Safety Eyes: 10 mm or preferred size (optional; embroider if making for babies/pets).
- Polyester Fiberfill Stuffing for body/fins.
- Tapestry Needle for weaving in ends and embroidery details.
- Stitch Marker to indicate the beginning of rounds.
- Scissors.
Important Notes
- Skill Level: Beginner-friendly, focusing on single crochet (SC), increases, decreases, and simple embroidery.
- Terminology: Instructions use US crochet terms.
- SC (Single Crochet): Insert hook, yarn over, pull through, yarn over again, pull through both loops.
- Increase: Two SC into the same stitch.
- Decrease: Combine two stitches by single crocheting them together.
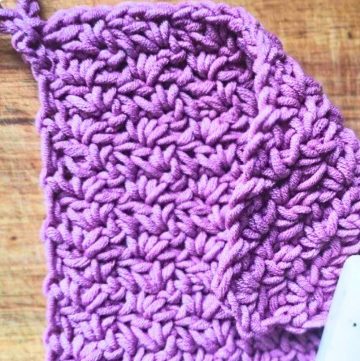
- Right Side vs. Wrong Side: Ensure the "X" pattern on stitches (right side) faces outward.
- Stuffing Timing: Carefully stuff during assembly, especially while working smaller spaces, for a clean finish.
- Adjust Sizing: Use different yarn weights and hook sizes for varying stingray sizes.
Step-by-Step Crochet Instructions
Body & Fins
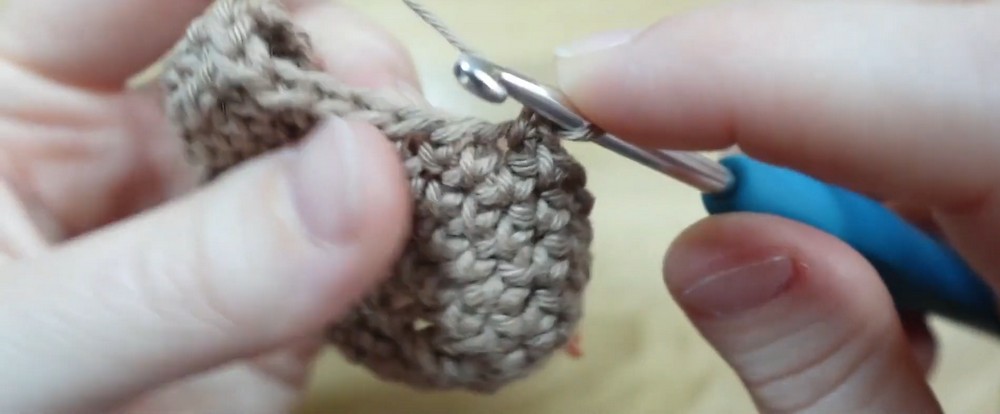
The body is crocheted in a continuous spiral (no joining rounds). Use a stitch marker to track the first stitch of each round.
Foundation Steps
- Make a Slip Knot:
- Follow the slip knot tutorial included in the transcript. Ensure it is snug, but not overly tightened, on your hook.
- Chain 13:
- Hold yarn with your preferred tension method. Chain 13 stitches loosely to avoid tightness.
- Check your chain count by counting the visible "V" loops.
Round 1: Base Row with Increases
- Begin in the Second Chain from the Hook:
- Work 1 SC into the second chain.
- Continue placing 1 SC into each of the next 11 chains.
- Work 3 SC into the Last Chain:
- These stitches will "turn" you around to work on the opposite side of the chain.
- Pull the tail gently to tighten the slip knot if needed.
- Reverse the Chain:
- Begin working along the opposite side of the chain.
- SC 10 evenly into the chains on this side.
- Place 2 SC in the final stitch to form an increase.
- Mark the Start of Rounds:
- Use a stitch marker to indicate the beginning of the first round.
(You should have 27 stitches in total)
Round 2
- Start with an Increase:
- SC 2 into the first stitch and mark it with the stitch marker.
- SC the Next 10 Stitches:
- Place 1 SC in each of the following 10 stitches.
- Follow the Pattern:
- (Increase 1 SC in next stitch, SC 1) x 2.
- SC into the next 9 stitches.
- Increase in the second-to-last stitch and 1 SC in the last stitch.
Rounds 3–4
- Place 1 SC in every stitch working in continuous rounds (no increases or decreases).
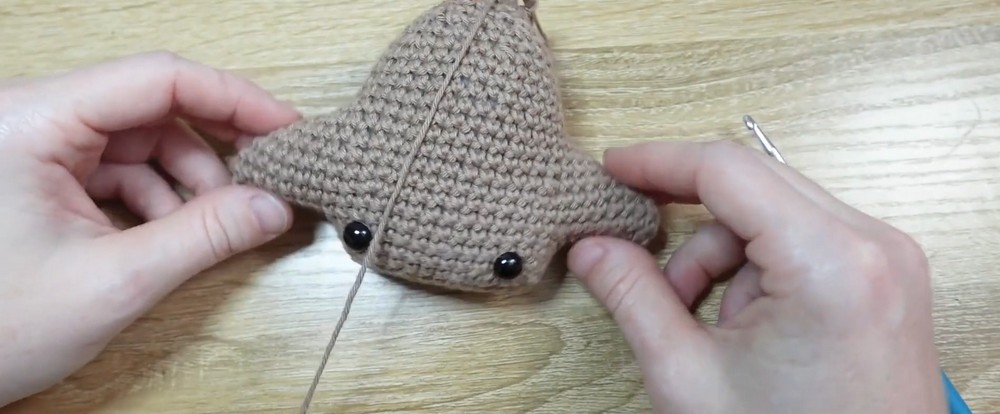
Creating Wings
Large fins (wings) are the standout feature of the stingray. Ensure they sit symmetrically.
Round 5
- Chain 8:
- Mark the first chain stitch to keep track.
- SC Back Through the Chains:
- Insert your hook into the 2nd chain from the hook; place 1 SC in every chain until the end (this makes 7 SC).
- Skip the base chain you're working from.
- SC Along Body:
- SC in the next 15 stitches of the body.
- Create the Second Wing:
- Chain 8, and repeat Step 2 working into the chain.
- SC in the remaining 15 stitches of the round.
Round 6
- Work SC in every stitch, including along each chain section worked in the previous round.
- Add 3 SC into the "corner" of each wing section to maintain the rounded shape.
Round 7
- SC in every stitch again.
- Check alignment of your stingray body and wings—adjust by gently pulling or reshaping stitches.

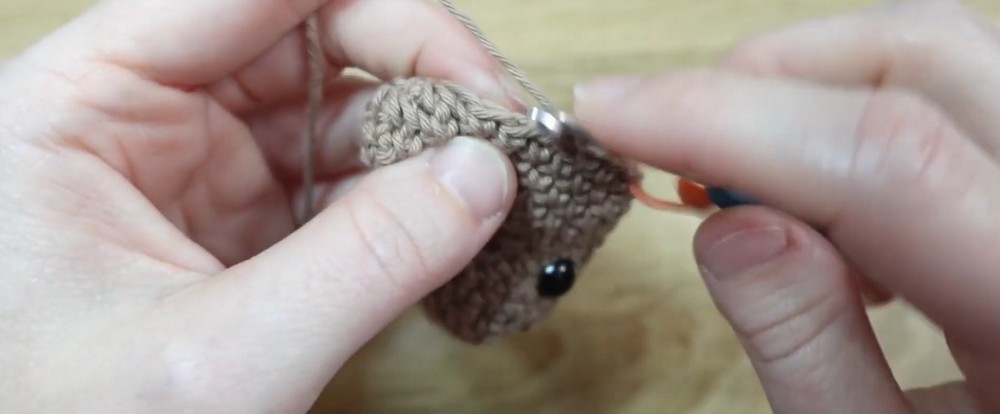
Adding Features (Eyes & Stuffing)
- Safety Eyes:
- Place between rounds 5-6, about 8 stitches apart.
- Ensure they are aligned symmetrically.
- Snap on safety backings.
- Stuff the Fins:
- Add a small amount of fiberfill to ensure fins are structured.
- Avoid overstuffing to maintain a soft texture.
Tail
The tail is formed using a gradual decrease in stitches, creating a tapered effect.
Rounds 15–16
- Continue SC evenly across each stitch.
Round 17+
- Follow the pattern of (SC, decrease) to taper the tail. Alternate between rounds of SC and decreases.
Round 30
- Introduce back loop/front loop stitching for added texture on the tail.
Round 39
- Fasten off:
- Use a slip stitch to finish off. Leave a 6-inch tail.
- Thread the tail through a tapestry needle. Weave it through the last 9 stitches, pull to tighten and close the hole.
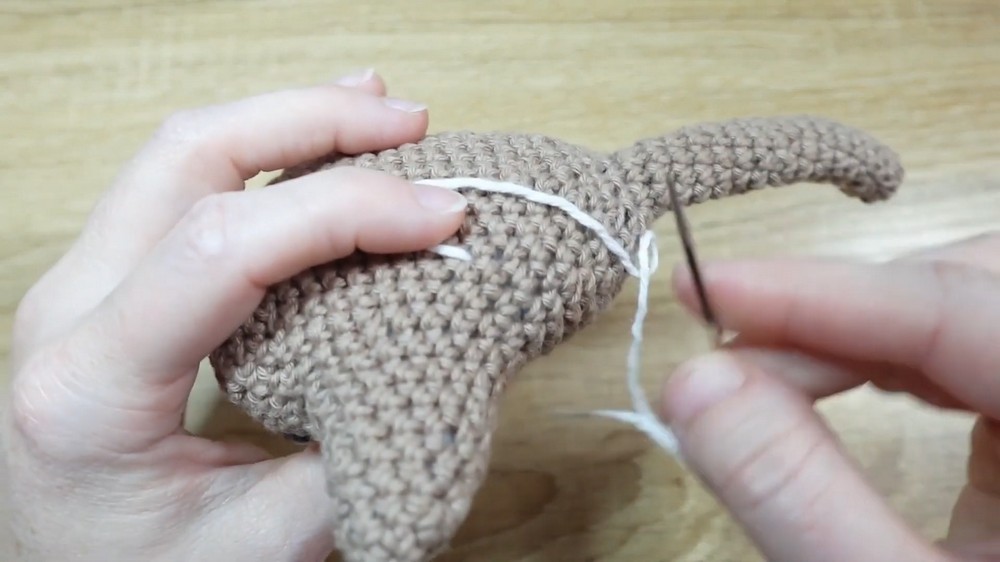
Adding Embroidery
- With a contrasting yarn (e.g., white):
- Create stitching detail along the back of the stingray using rows as a guide.
- Make small straight stitches along the body to mimic the natural texture of a stingray.
- Weave in Ends:
- Secure end knots by pulling them into the body with the needle. Clip excess thread.
Finishing Up
- Inspect your work for any loose ends and weave them in securely.
- Shape the stingray by gently pressing and reshaping the fins, body, and tail to ensure everything sits naturally.