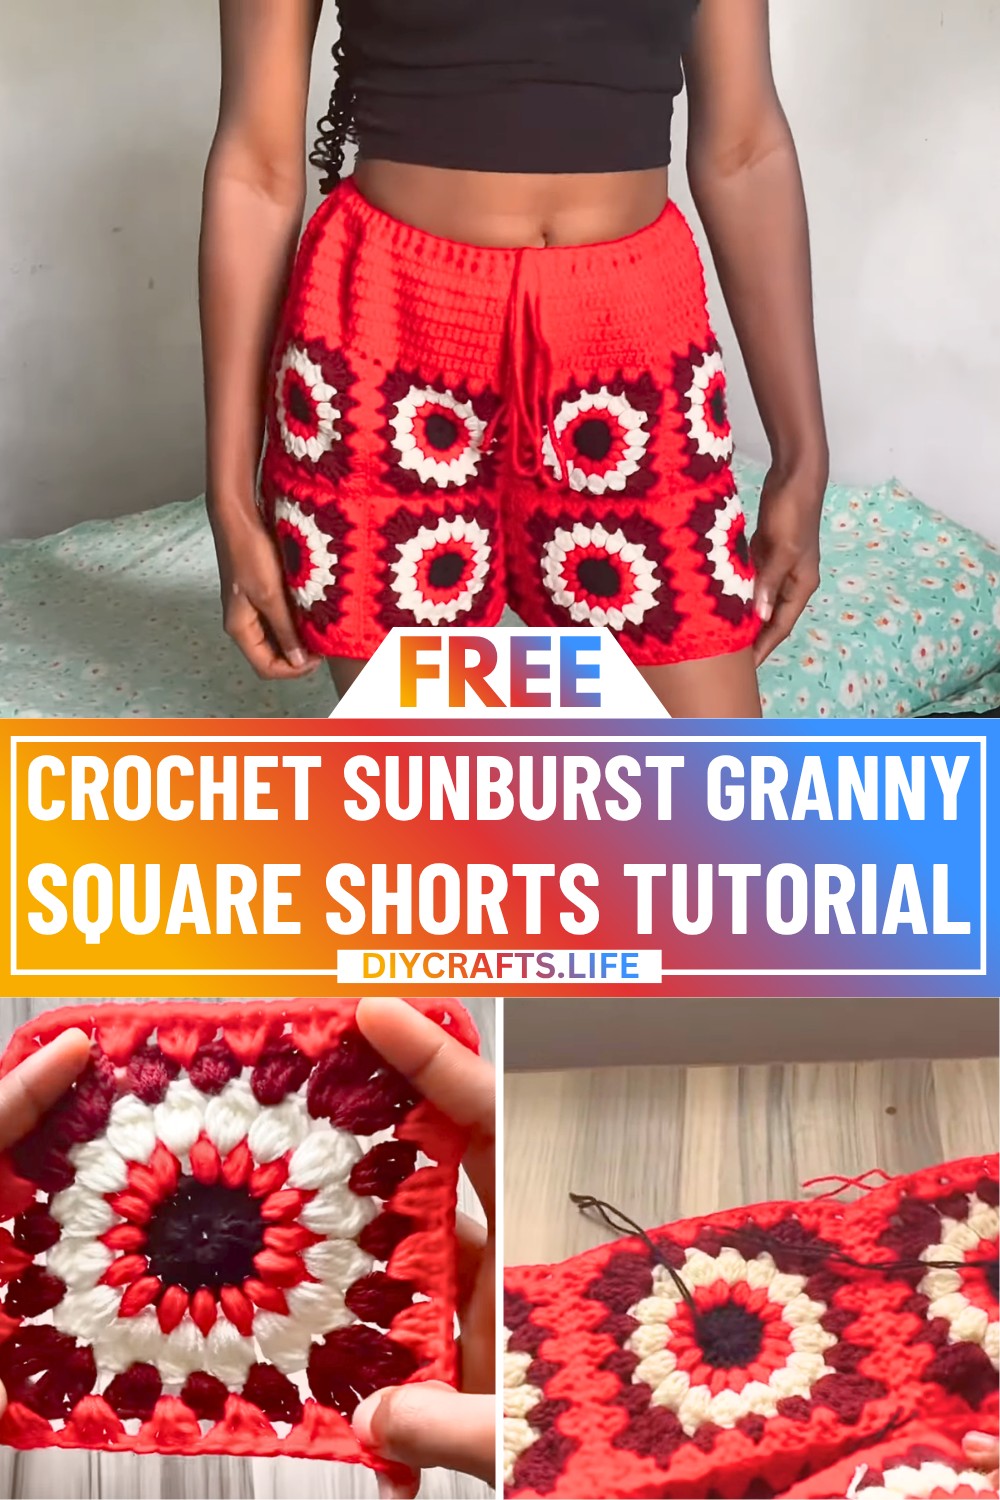
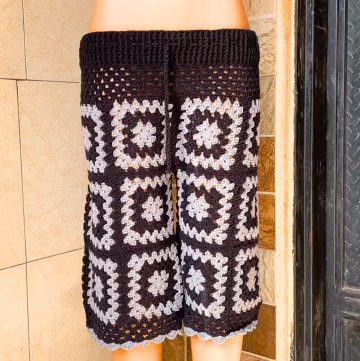
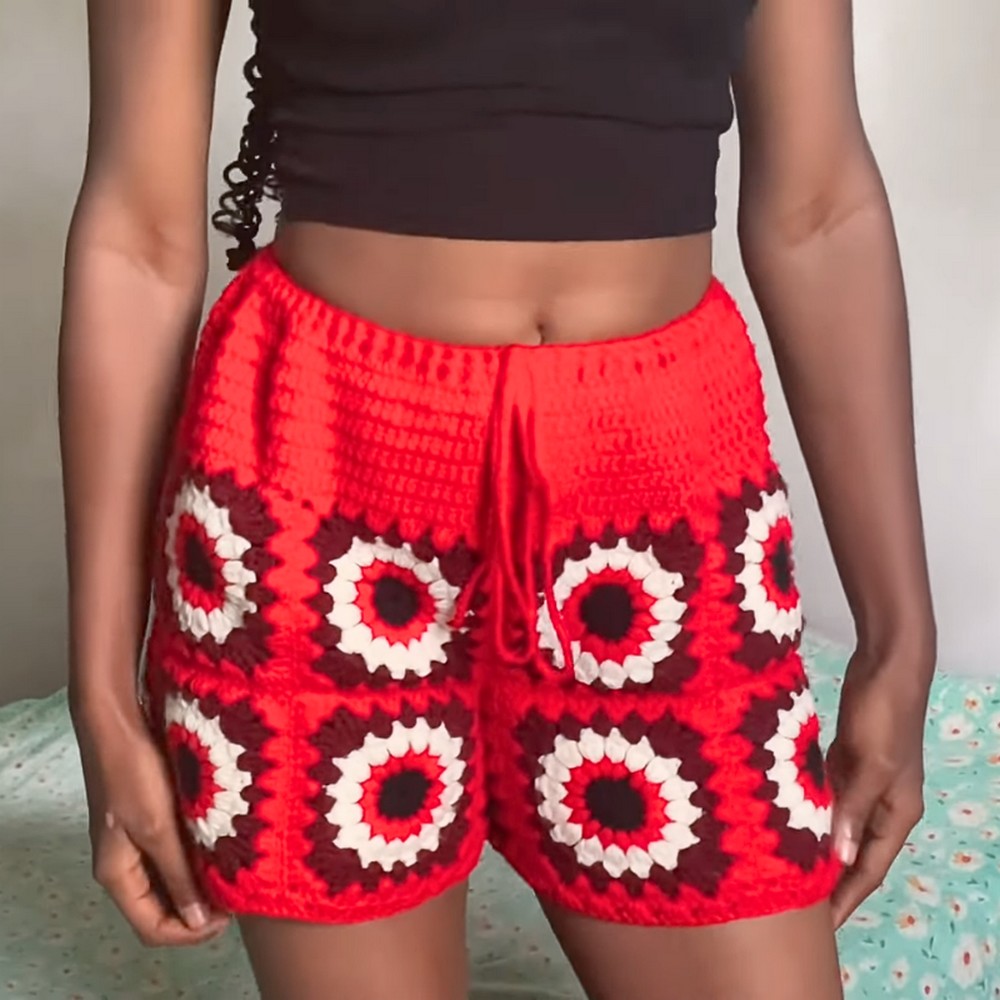
These crochet shorts blend vibrant colors, soft yarn, and creativity. Made using sunburst granny squares, they’re comfy, stylish, and perfect for sunny days. Whether you’re lounging at home, adding flair to your beachwear, or pairing them with a cute top, these shorts are both fun and practical. They’re easy to adjust for any size and can even be transformed into pants for extra versatility!
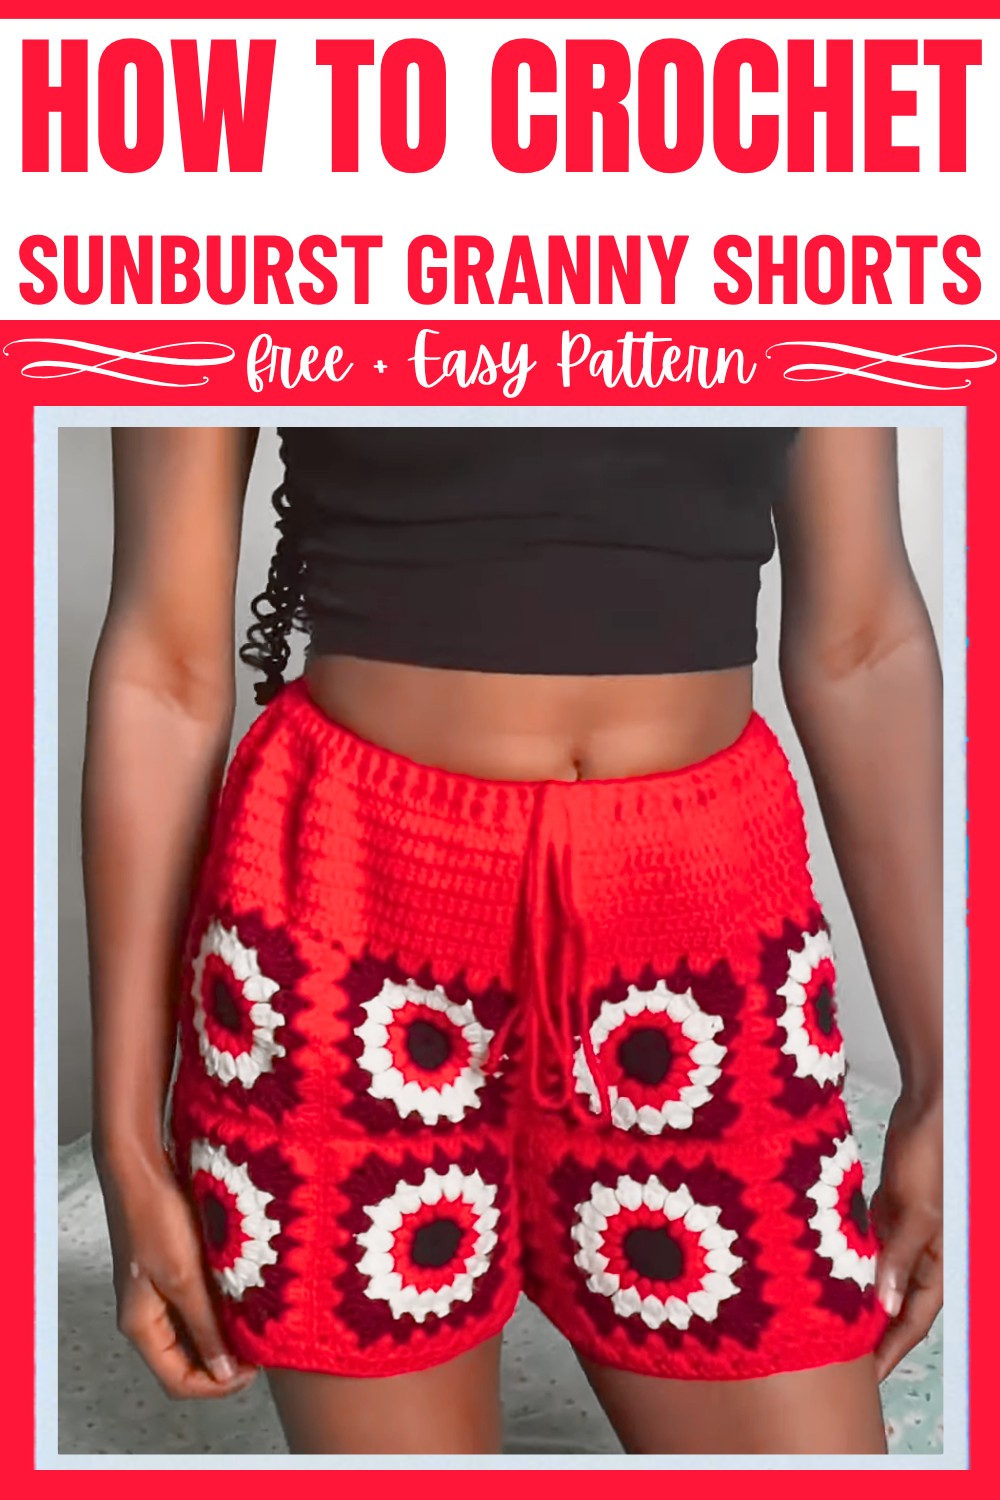
To make this, you’ll need colorful yarn, a 4.5 mm crochet hook, a darning needle, and some basic crochet knowledge. The sunburst granny squares are joined using a neat sewing method, and the stretchy waistband ensures a perfect fit. A neat border and an adjustable drawstring complete the design. These shorts are great for beginners wanting to try something stylish and those looking to add handmade charm to their wardrobe.
Credit Vicole Crochets
Materials & Tools Needed
- Yarn: 3-ply yarn (doubled to make it 6-ply for better thickness). Choose colors as seen in the video or customize as desired.
- Crochet Hook: 4.5 mm crochet hook.
- Tapestry (Darning) Needle: For sewing the squares together.
- Measuring Tape: To take your hip, length, and waist measurements. (The waistband is adjustable with a drawstring.)
- Scissors: For cutting yarn and trimming loose ends.
Finished Size & Customization Ideas
- The shorts can be customized to fit any size by adjusting:
- The number of granny squares (larger sizes require more squares).
- The placement of squares to increase height, width, or shaping.
- For example:
- 18 squares total were used in this pattern as per the tutorial.
- Add more squares to make the shorts into pants by extending the leg sections.
- Adjustable Waistband: Includes a drawstring for flexible fitting.
Pattern Abbreviations & Terminology
This tutorial is written in US crochet terms.
- YO: Yarn Over
- Ch: Chain
- Sl St: Slip Stitch
- SC: Single Crochet
- HDC: Half Double Crochet
- DC: Double Crochet
- TR: Treble Crochet
- Magic Ring: A loop to begin working stitches.
- Cluster: A group of stitches worked in the same space.
Step-by-Step Crochet Instructions
Part 1: Crochet the Sunburst Granny Square
Each sunburst granny square consists of 5 rounds. Use the following steps for each square:
Round 1: Center (Black Yarn)
- Make a magic ring.
- Ch 3 (counts as the first DC).
- DC 15 more into the magic ring. (16 DC total, including the starting Ch 3).
- Pull the magic ring tight to close the circle.
- Sl St into the top of the starting Ch 3 to close the round.
- Fasten off the black yarn and cut.
Round 2: Puff Stitch (New Color)
- Attach the new color to any DC from Round 1 with a Sl St.
- Ch 2 (does not count as a stitch, just a base for the puff).
- Work a Puff Stitch:
- YO, insert hook into the same stitch, pull up a loop (3 loops on your hook).
- Repeat 2 more times (7 loops on your hook).
- YO, pull through all 7 loops, Ch 1 to secure.
- Repeat Step 3 in each of the 16 stitches from Round 1. (16 puff stitches total).
- Sl St to the top of the first puff stitch. Fasten off and cut the yarn.
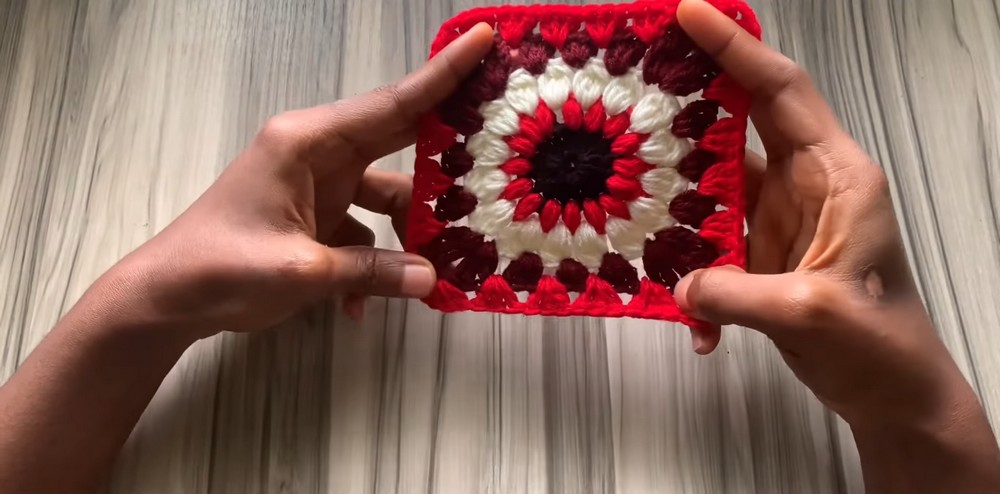
Round 3: Flattening the Circle
- Attach a new color to any Ch-1 space between puff stitches.
- Ch 3 (counts as a DC).
- Into the same space, work a DC Cluster:
- YO, insert hook into the space, pull up a loop, YO, pull through 2 loops.
- Repeat 2 more times, pulling through 2 loops each time (4 loops on your hook).
- YO, pull through all 4 loops.
- Ch 2.
- Repeat Step 3 in each Ch-1 space around, making 1 DC Cluster and Ch 2 in each. (16 DC clusters).
- Sl St into the top of the starting Ch 3. Fasten off and cut yarn.
Round 4: Forming the Square
- Attach a new color to any Ch-2 space.
- Ch 4 (counts as TR).
- In the same Ch-2 space, work 2 more TR stitches. Ch 2. Work 3 more TR stitches to form the first corner.
- In the next Ch-2 space, work:
- 3 DC stitches in the first Ch-2 space (side stitches).
- 3 HDC in the next Ch-2 space.
- 3 DC in the next Ch-2 space.
- Repeat Step 3 for the next corner (3 TR, Ch 2, 3 TR). Continue working sides like in Step 4.
- Complete the square by joining with a Sl St to the top of the starting Ch 4. Fasten off and cut yarn.
Round 5: Border
- Attach the final color to any space between 3-stitch clusters.
- Ch 3 (counts as DC).
- Work 2 more DC in the same space (3-DC cluster).
- Continue working 3 DC in each space and form corners with (3 DC, Ch 2, 3 DC) in each corner.
- Join with a Sl St to the starting Ch 3 and fasten off.
Make 18 Granny Squares
- Follow the steps above to create 18 sunburst granny squares.
- Steam Block Squares: Before assembling, gently steam block each square for a professional finish and uniform sizing.
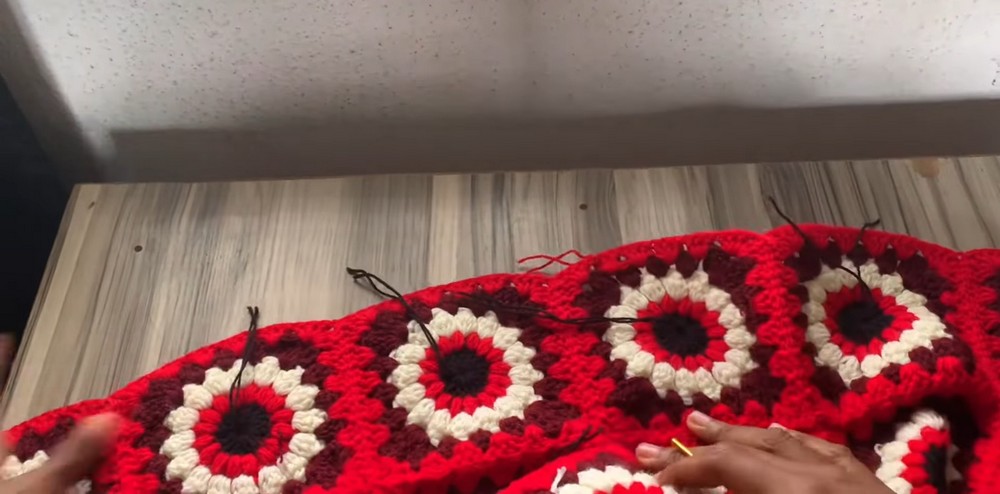
Part 2: Assembly
Layout
- Arrange the squares as follows:
- Front Panel: 4 squares wide by 2 squares high (8 squares total).
- Back Panel: Same as the front panel.
- Sides: Use additional squares to shape the hips and join the front and back panels.
- Crotch Area: Use 2 squares to join the inseams, forming the crotch.
Joining
- Place 2 squares with the wrong sides facing each other.
- Using the sewing method:
- Thread a yarn needle and use a whip stitch only through the back loops of each square.
- Continue until all squares are joined according to the layout.
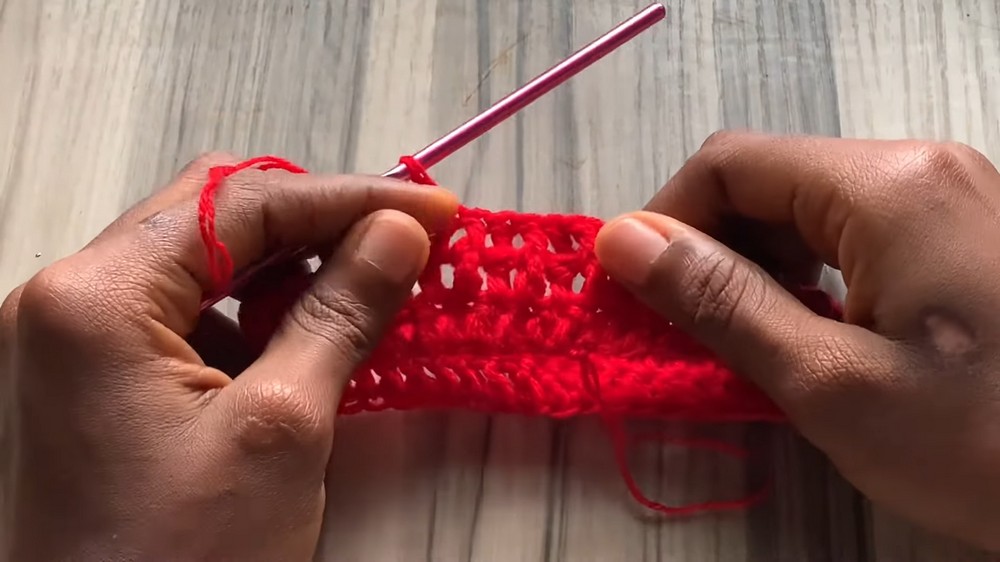
Part 3: Waistband
- Attach yarn to the top edge of the shorts.
- Ch 3, and work 1 DC into each stitch around.
- Continue working rows of DC for approximately 8 rounds.
- For the final round, alternate Front Post DC (FPDC) and Back Post DC (BPDC) to form a ribbed texture.
Part 4: Drawstring
- Ch 300 (or desired length).
- Weave the chain through the FPDC and BPDC row of the waistband.
Part 5: Leg Ribbing
- Attach yarn to the bottom edge of the leg opening.
- Work clusters of 3 DC into each space, joining with Sl St at the end of each round.
- Add as many rounds as necessary for a finished look.
Finishing
- Weave in all loose ends using the darning needle.
- Block the finished shorts (optional) for the best fit and appearance.
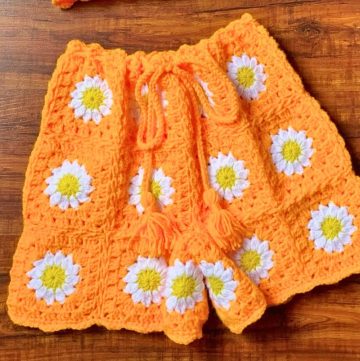
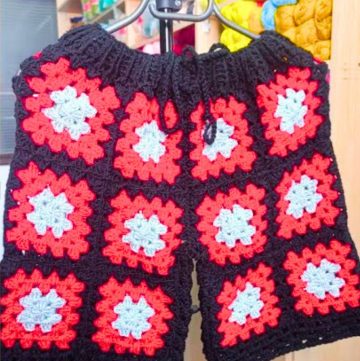
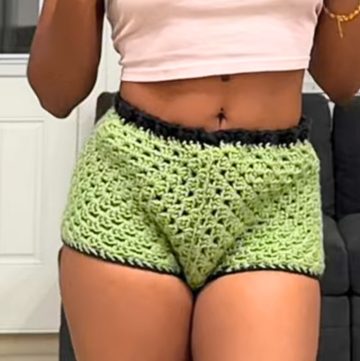
Customization Ideas
- Add more rows for the legs to make full-length pants.
- Play with colors for a gradient or striped effect.
- Add more granny squares for a looser fit or longer shorts.