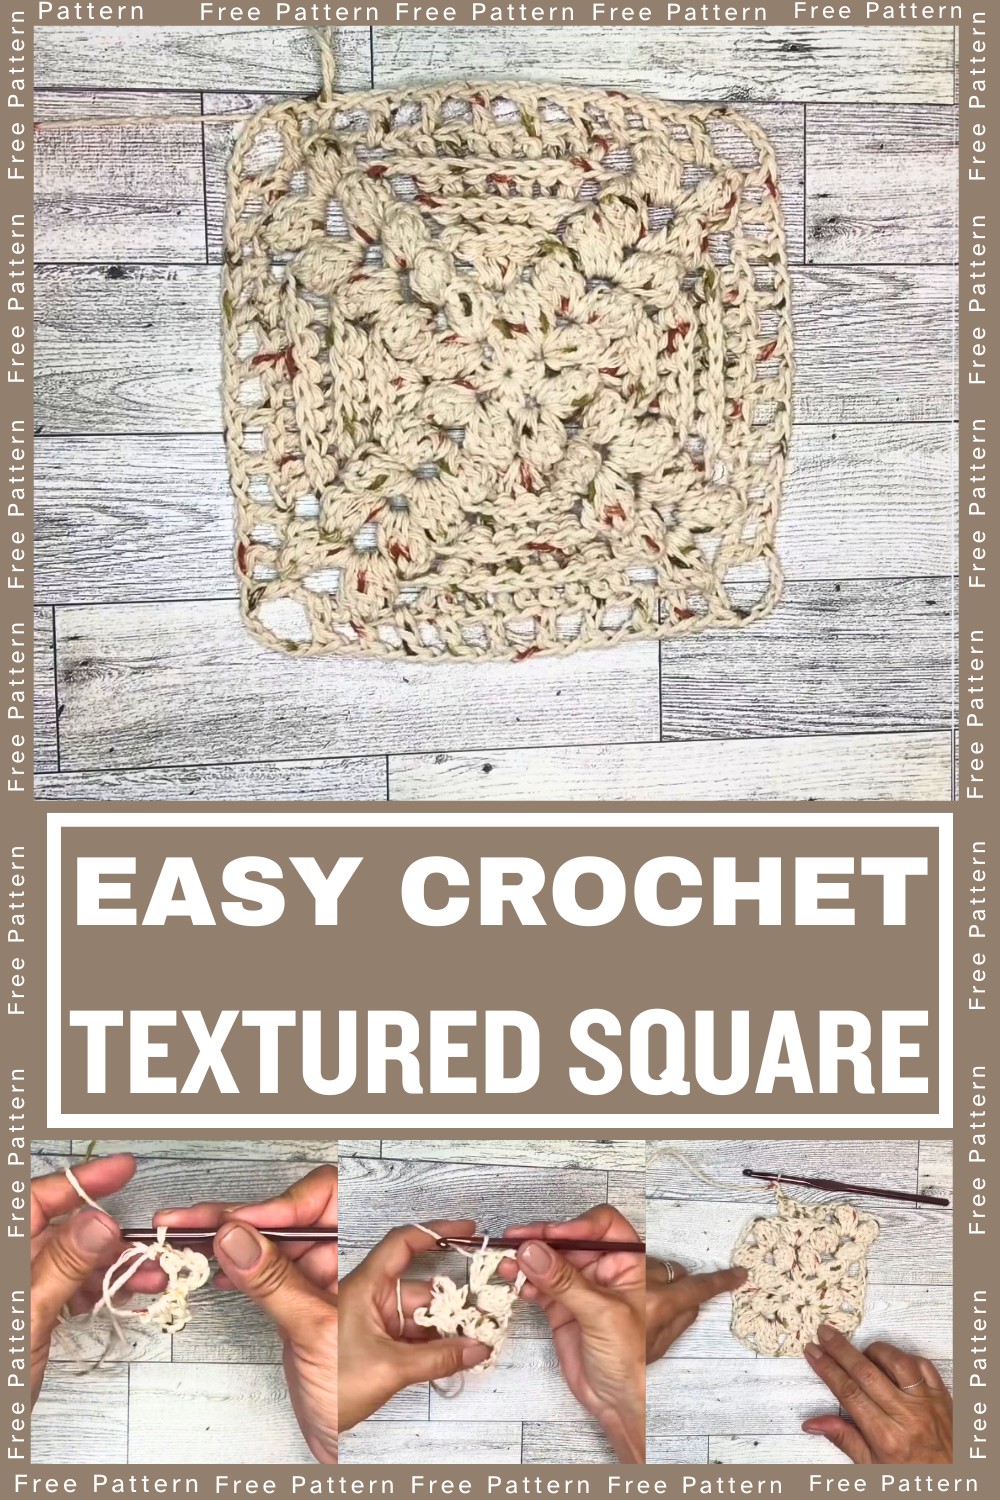
Discover the charm of the Crochet Textured Square—an eye-catching and versatile crochet pattern that's perfect for adding character to your projects. This square is textured, beautiful, and functional, making it ideal for creating blankets, cushions, or decorative accents.

The Crochet Textured Square is durable yet soft, offering long-lasting appeal for home décor or wearable applications. Its design creates a stylish texture while maintaining usability, making it perfect for statement pieces like throws, rugs, or even patchwork attachments.
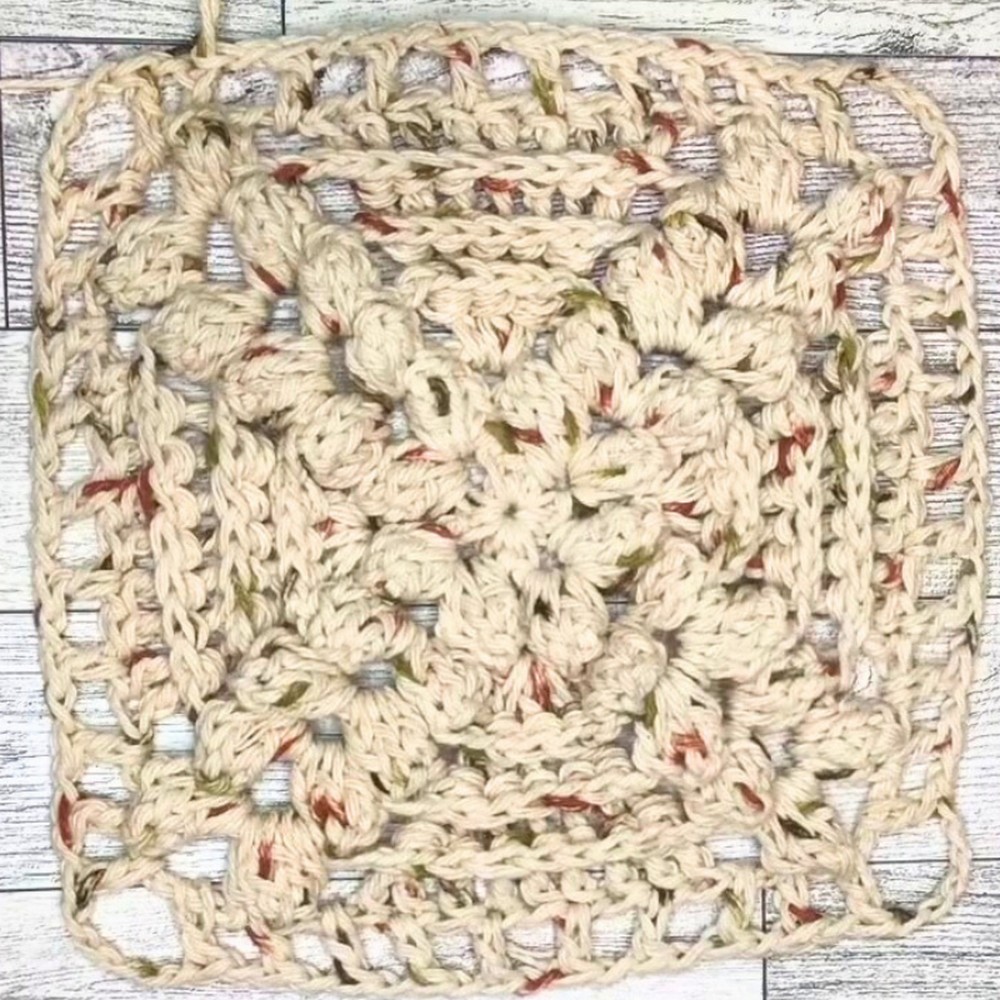
Crochet Textured Square
Crafting the Crochet Textured Square is a joy for beginners and experts alike. With its customizable design and endless creative possibilities, this project lets you experiment with colors, yarn types, and textures—an approachable and fun way to enhance your crochet skills.
Materials and Preparation
Materials:
- Yarn: Lily Sugar’n Cream (Color: Sonoma Print), 100% cotton, medium-weight (4).
- Crochet Hook: Size H/5mm.
- Additional Tools: Scissors, yarn needle for weaving in ends, and pins for blocking.
Yarn Weight Requirement:
Use medium-weight (4) yarn for optimal texture and structure. Substitute equivalent yarn if needed, ensuring it matches the weight.
Abbreviations and Notes
Abbreviations:
- MR – Magic Ring
- CH – Chain
- SC – Single Crochet
- DC – Double Crochet
- SL ST – Slip Stitch
- BPDC – Back Post Double Crochet
- Popcorn – 3 or 4 double crochets formed into a single cluster stitch
- YO – Yarn Over
Notes:
- This is an advanced beginner/intermediate project. Beginners might want to practice the popcorn stitch before starting the pattern.
- Each popcorn stitch is formed by working a set of double crochets, inserting the hook into the first stitch in the set, and pulling the yarn through to create the cluster.
- Always block the finished square to refine its shape and edges.
Gauge, Approximate Size, and Pattern Notes
Gauge:
The gauge is not essential for this textured square, as the project is relatively small and dimensional.
Approximate Size:
Finished square measures approximately 6 x 6 inches after blocking.
Special Techniques:
- Magic Ring: Used to start the square.
- Popcorn Stitch: Adds texture and creates corner structures.
- Back Post Double Crochet (BPDC): Used for vertical ridges between popcorn corners.
Gauge Swatch:
Not necessary for this project.
Step-by-Step Pattern
Round 1:
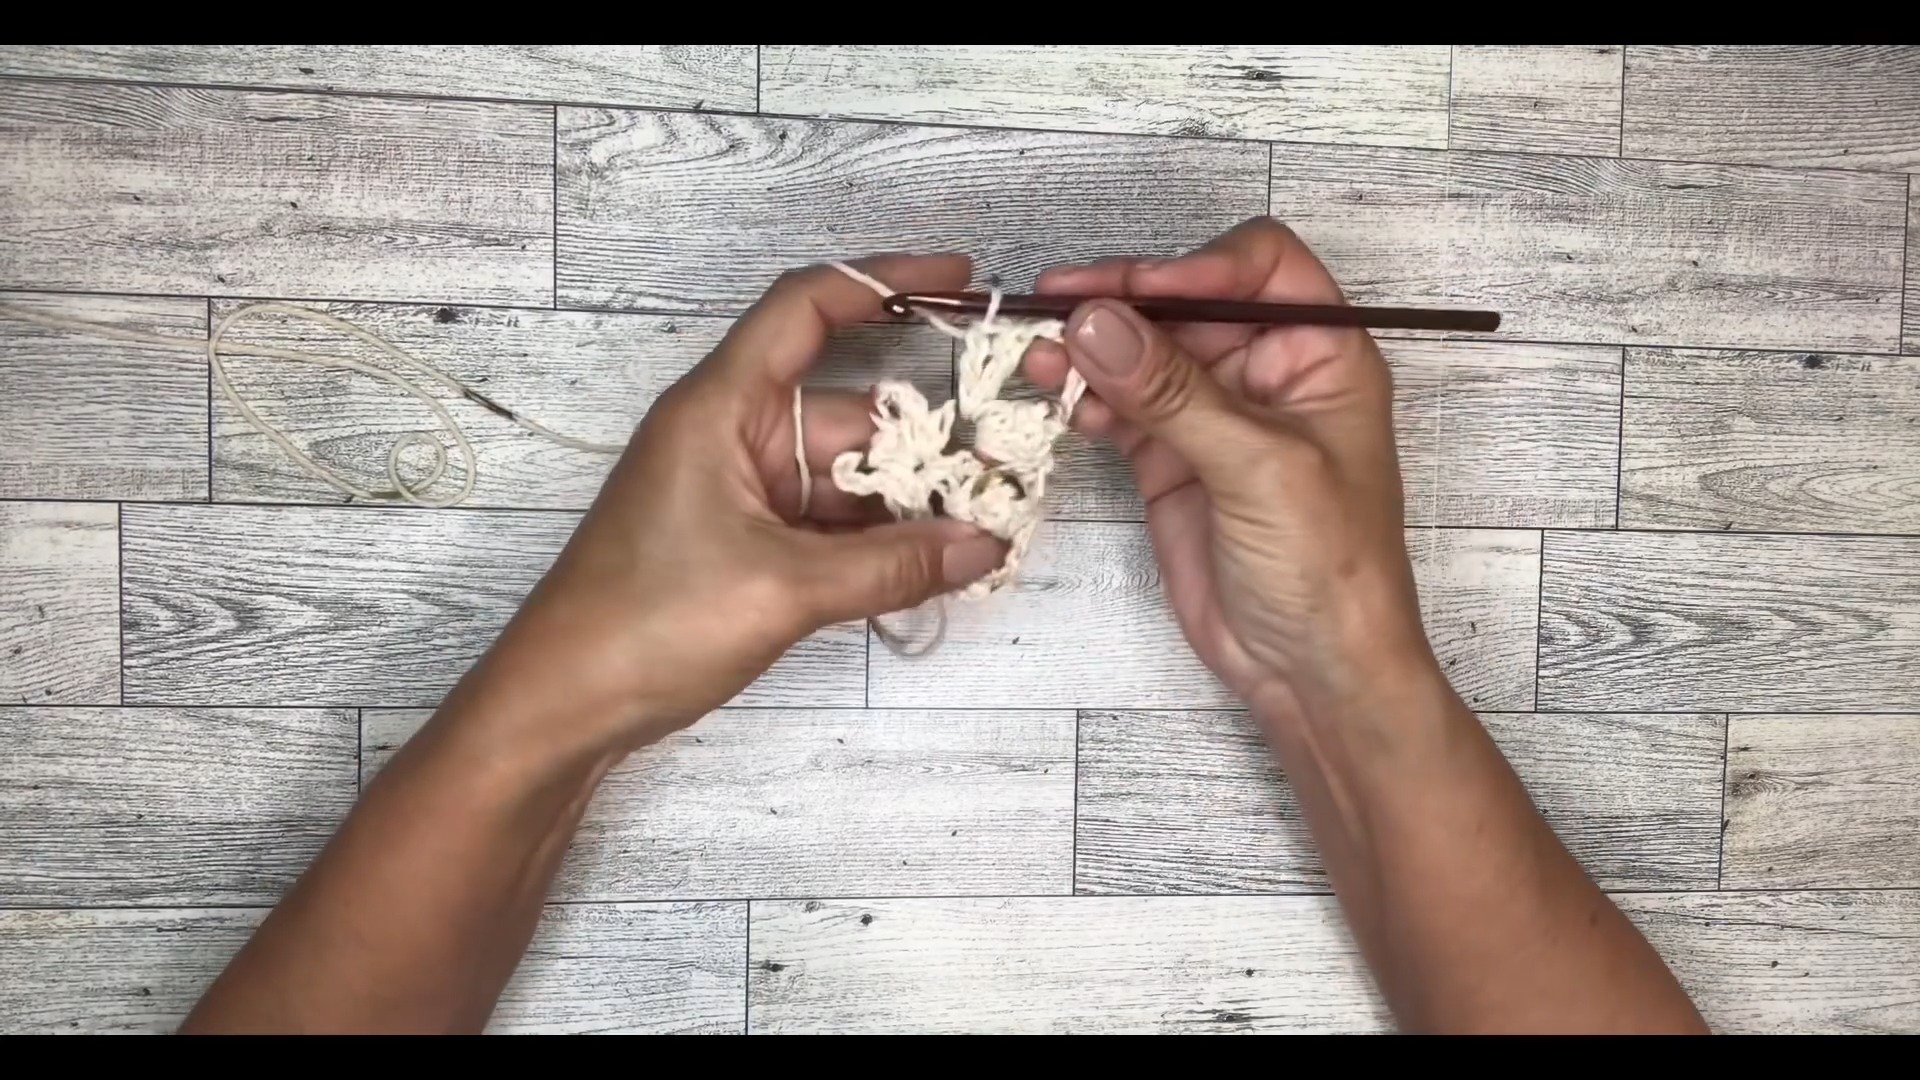
- Start with a Magic Ring.
- CH 1, work 1 SC into the ring.
- CH 4, 2 SC into the ring. Repeat CH 4 and 2 SC three more times (you should have four CH-4 loops).
- End with a SL ST into the first SC. Tighten the magic ring and weave in the tail if desired.
Round 2:
- SL ST into the first CH-4 space.
- CH 1, work 1 SC into the same CH-4 space.
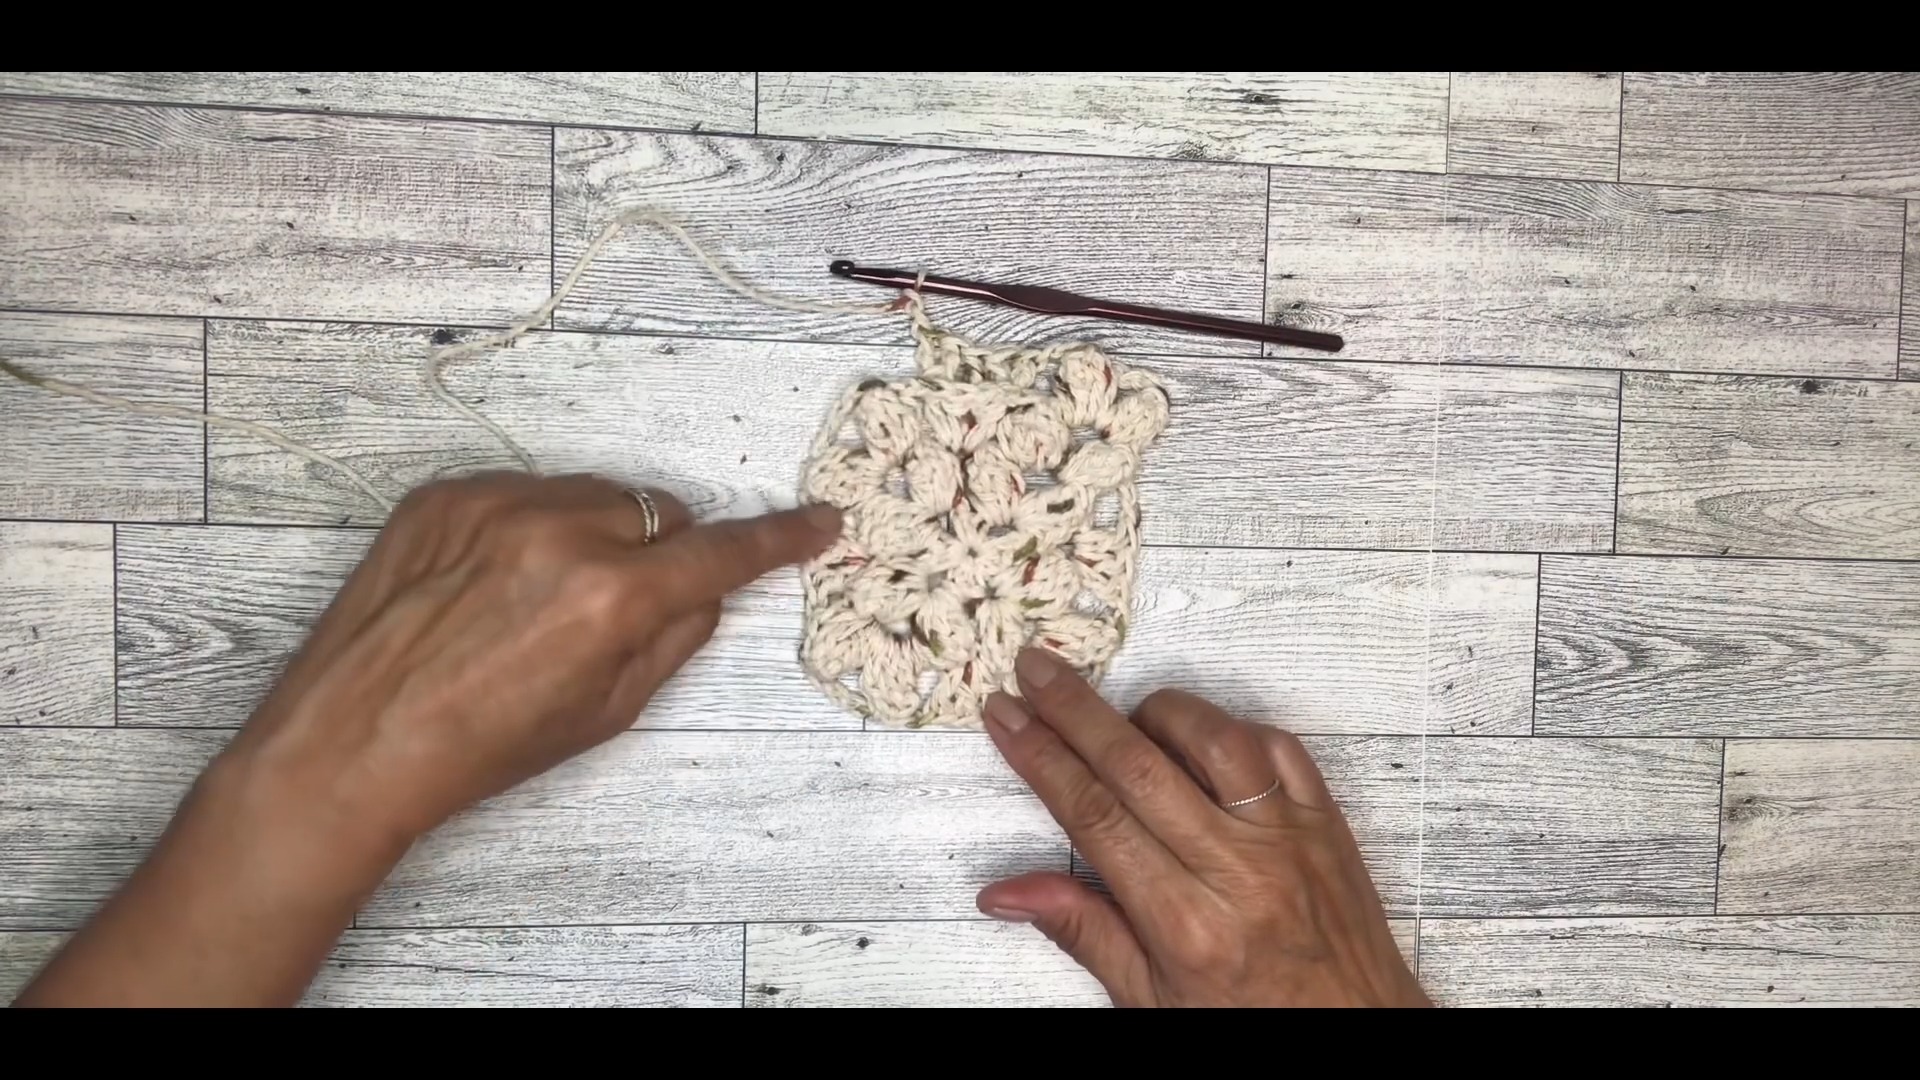
- Popcorn Stitch (3 DC): CH 2, work 3 DC into the same CH-4 space. Remove hook, insert into the first chain of the popcorn stitch, grab the dropped loop, and pull through. This is your first popcorn.
- CH 5, make a second popcorn in the same CH-4 space (using 4 DC).
- CH 2 to move to the next CH-4 space. Repeat this process (two popcorn stitches with CH-5 between them) in each CH-4 space to form corners.
- Complete the round by SL ST into the top of the first popcorn.
Round 3:
- SL ST into the first CH-5 space.
- CH 2 (counts as first DC), work 3 DC into the same CH-5 space, and form a popcorn.
- CH 5, work another popcorn in the same CH-5 space.
- CH 2, move to the next CH-2 space between popcorn corners. Work 3 DC into the space.
- CH 2, repeat the corner (two popcorns with CH-5 between) and the sides (one 3 DC cluster separated by CH-2) around.
- End the round with a SL ST into the top of the first popcorn.
Round 4:
- SL ST into the first CH-5 space.
- CH 2, work 3 DC into the same CH-5 space and make a popcorn.
- CH 5, work another popcorn in the same corner space.
- CH 2, begin working Back Post Double Crochet (BPDC) on the side clusters:
- Work 2 BPDC into the first DC.
- Work 1 BPDC into the middle DC.
- Work 2 BPDC into the last DC of the cluster.
- CH 2, proceed to the next corner and repeat the popcorn and BPDC sequences around.
- Finish the round with a SL ST into the top of the first popcorn.
Rounds 5-6:
- Continue repeating the pattern: Work two popcorn stitches with CH-5 between in each corner.
- For every side, increase the BPDC count as follows:
- Round 5: 7 BPDC stitches in total (work 2 BPDC on the first and last post stitches and 1 BPDC on the middle ones).
- Round 6: 9 BPDC stitches in total.
Final Round (Round 7):
- SL ST into the first CH-5 corner space.
- Work CH 3, and then one DC into the same CH-5 space.
- CH 5, work another DC into the CH-5 space (this forms the corner).
- CH 1, work 1 DC into the top of the popcorn stitch.
- CH 1, work 1 DC into the CH-2 space.
- CH 1, skip the first BPDC, work 1 DC into the next post stitch. Repeat this skip-and-double-crochet sequence across the BPDC section.
- Repeat steps 2-6 around the square.
- Finish the round with a SL ST into the second chain of the starting CH-3. Fasten off and weave in ends.
Finishing Notes
- Block the square to shape it evenly; pin it down and mist it with water for best results.
- The textured popcorn stitches and back post ridges create a visually striking square that works well for blankets, pillows, or standalone decor.
Pattern Question
Question: How do I adapt the size of the textured square for larger or smaller projects?
Answer: To adjust the square's size, simply add or reduce the foundation chain and repeat the textured pattern accordingly. Ensure the stitch count fits your project dimension needs.
Conclusion
The Crochet Textured Square is more than just a pattern—it's a creative canvas for endless possibilities. Whether you're making a cozy blanket or an artistic accent, this project is enjoyable, practical, and rewarding for any crocheter to try.


