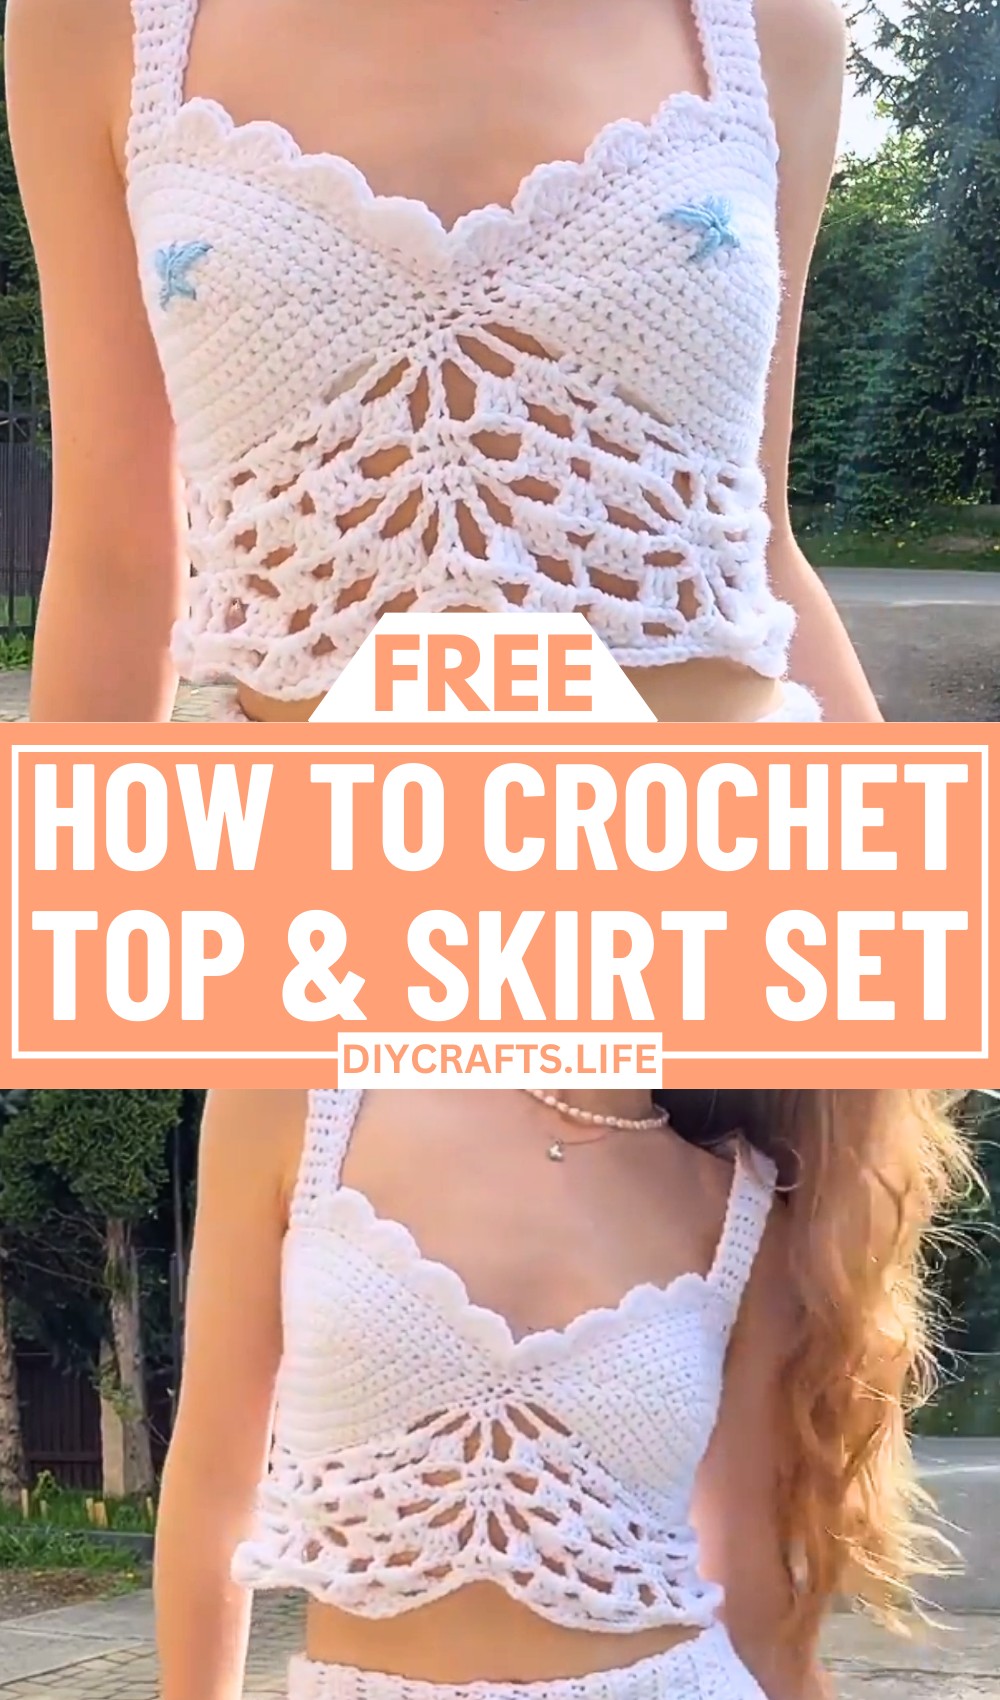
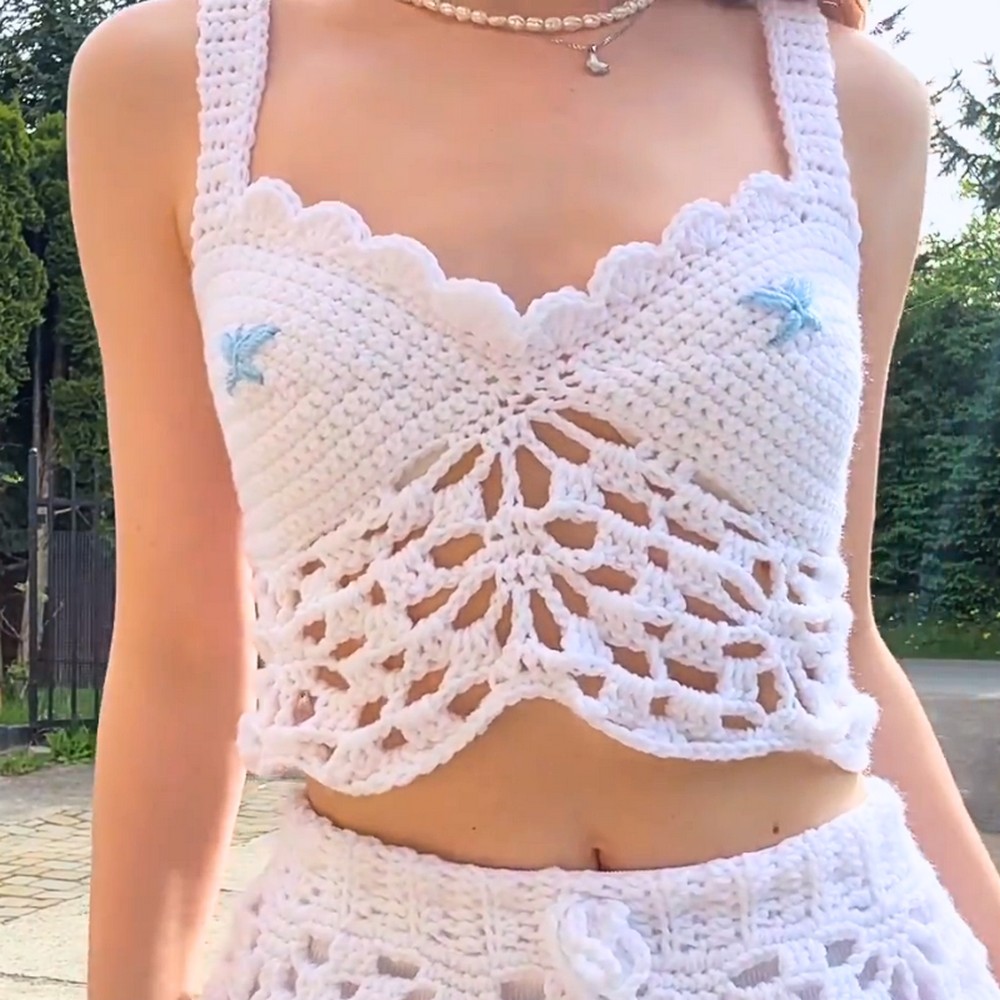
Create a stunning and stylish crochet top and skirt set that brings handmade elegance to your wardrobe. This set combines a flattering, textured top with a flowy, perfectly fitted skirt, making it an eye-catching outfit for any occasion. Whether you're looking for a casual summer look or a chic ensemble, this design is both practical and effortlessly charming.

Crochet Top and Skirt Set
The crochet top features adjustable details, beautiful edging, and room for personal touches to make it uniquely yours. The matching skirt offers a comfortable waistband, intricate patterns, and limitless options for customization, such as adding lining or decorative ties. This set allows you to play with colors and textures, giving you the freedom to create pieces that truly match your personality and style.
Credit WONDER NETTING
Materials & Tools Needed
- Yarn:
- 100% Acrylic Yarn (or you can opt for cotton for a lighter texture).
- Recommended size: 400g skein, 800m total length.
- One skein should be enough for the entire set (top and skirt).
- Crochet Hook:
- 5mm crochet hook (use the size recommended for your yarn to ensure proper tension).
- Additional Tools:
- Markers: To track increases, stitch patterns, and strap positioning.
- Scissors: To trim yarn ends.
- Tape Measure: To ensure the proper size and fit.
- Needle: For sewing, joining cups, and weaving in ends.
Finished Size & Customization Ideas
Approximate Size Details:
- Top:
- Suitable for sizes S/M.
- Cup width: ~13.5cm.
- Cup height: ~33.5cm.
- Skirt:
- Length: ~31cm without the belt.
- Width laid flat: ~51cm.
- Stretches to fit a 72cm waist or hip circumference.
Customization Ideas:
- Adjusting Size:
- Modify the number of foundation chains or rows for both the cups and the skirt waistband to suit your body measurements.
- For the top, adjust the chain length based on measuring from the center of your back to the nipple area.
- Changing Style:
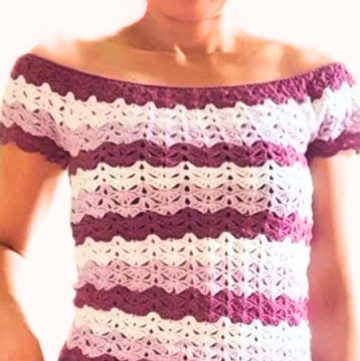
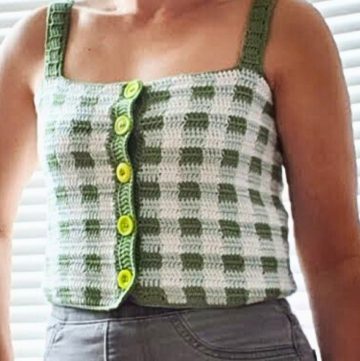
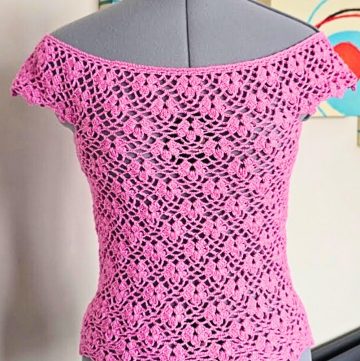
- Use different yarn weights for varying looks: Acrylic for stretch, cotton for a breathable summer outfit, or textured yarn for added flair.
- Play with color changes: Use stripes or gradient yarns for a unique set.
- Skip decorative details like butterflies for a minimalist look or add embroidery for personalization.
- Extras:
- Add a lining to the skirt using jersey fabric for modesty.
- Make longer straps for crisscross or halter designs.
- Include decorative ruffles or scalloped edging to enhance the look.
Pattern Abbreviations & Terminology
Below are the terms and abbreviations used in the pattern:
- Ch: Chain
- SC: Single Crochet
- DC: Double Crochet
- HDC: Half Double Crochet
- Sl St: Slip Stitch
- Increase: Make multiple stitches in one space to expand width.
- Skip: Skip a stitch.
- Back Loop: Work only into the back strand of a stitch.
- Arch: Refers to loops formed by a chain in the pattern.
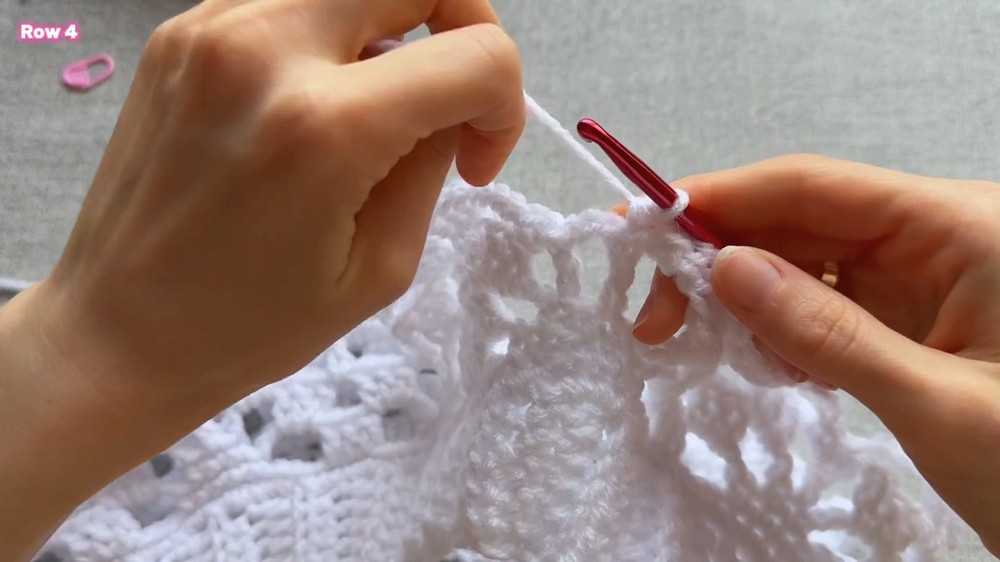
Step-by-Step Crochet Instructions
Top Instructions
Step 1: Crochet Cups
- Foundation Chain:
- Leave a ~100cm tail at the start (for ties).
- Create a chain of 38 stitches (or adjust based on your size).
- Chain should measure roughly 25cm (center of the back to the nipple).
- Row 1:
- Insert hook into the second chain from the hook, single crochet (SC) across the chain.
- At the end of the row, chain 1, turn your work.
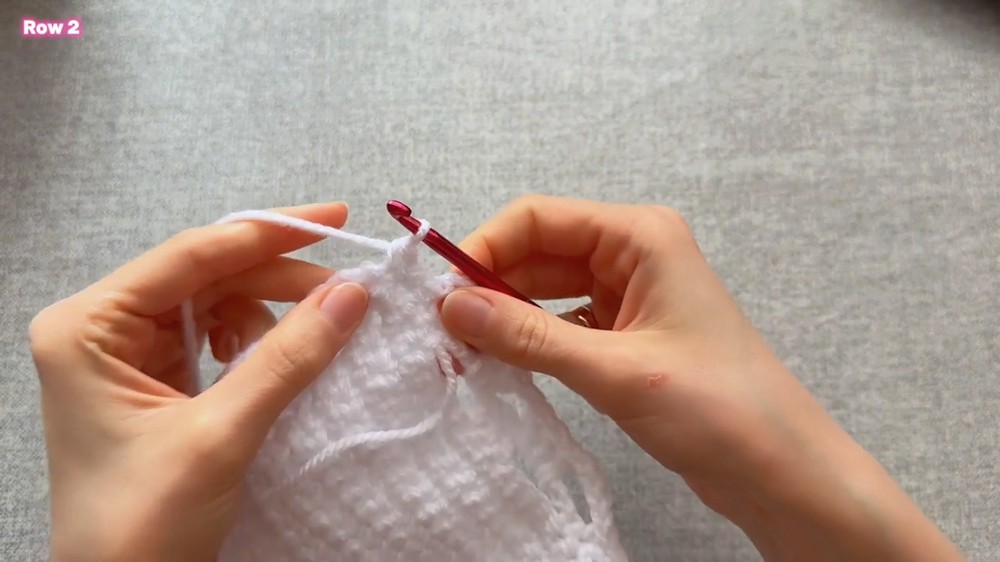
- Row 2:
- SC across the row.
- At the last stitch, make three SCs into one stitch to create the increase for cup shaping.
- Place a marker on the second stitch of the increase.
- Row 3-12:
- Turn your work. SC along the row until reaching the marker.
- At the marker, make three SCs into the marked stitch, then move the marker to the second stitch of each increase.
- SC along the opposite side and repeat.
Dimensions After 12 Rows:
- Width: ~13.5cm.
- Height: ~33.5cm.
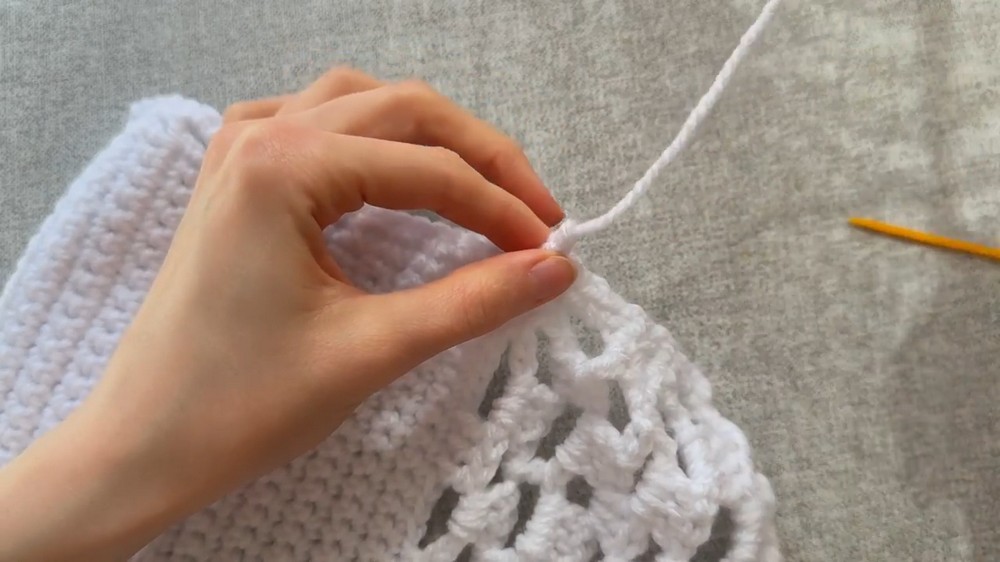
Step 2: Edging for Ties
- At the last stitch, make a SC, chain 1, skip one row, then SC into the next row.
- Repeat this pattern (SC, chain 1, skip one stitch) along the edge of the cup, creating holes for threading ties.
Step 3: Making the Second Cup
- Replicate the same steps for the second cup.
- Place a marker on different increase stitches for joining:
- Cup 1: Mark the first stitch of the increase.
- Cup 2: Mark the third stitch of the increase.
- Place a marker on different increase stitches for joining:
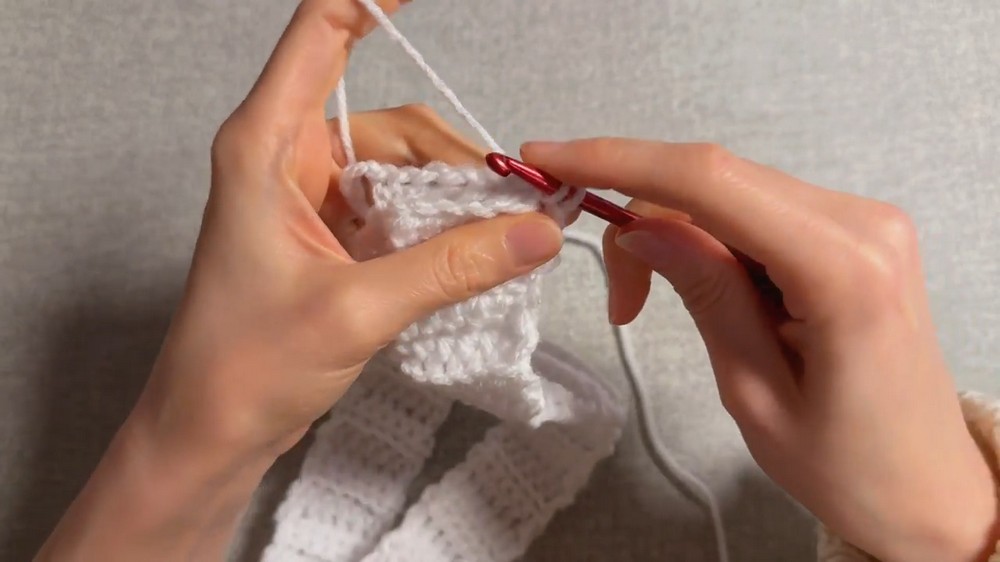
Step 4: Joining Cups and Pattern Underneath
- Start Pattern Under Cups: Count stitches from marker to edge; the total must be divisible by 16.
- Special Instructions: Adjust if necessary by skipping extra stitches at the start and end.
Step 5: Pattern Rows
- Following described stitch sequences (SC, chain 4, skip 4 stitches, DC in 3 stitches, etc.) to form decorative arches and repeats under cups.
- Continue rows until achieving desired length of the top decor.
Step 6: Straps & Finishing
- Make straps using decreases at edges for shaping. Adjust the strap length (~15 stitches wide), typically designed for back ties.
- Add edging and optional butterfly embroidery for decoration.
Skirt Instructions
Step 1: Waistband
- Foundation Chain:
- Create 8-10 chains, depending on your waistband width preference.
- Row 1:
- Begin with Half Double Crochet (HDC) into the third chain from the hook, and HDC until the end of the row.
- Row 2 (Ribbed Effect):
- Turn your work and make HDC into the back loop only.
- Continue for 48 rows or more (divisible by 16).
Step 2: Joining Edges
- Fold the waistband and seam the edges together using Slip Stitches or Single Crochet.
Step 3: Skirt Body
- Work along the belt, placing 3 SC into each row.
- Begin pattern repeat (SC, chain 4, skip stitches, DC sequences, etc.), ensuring your stitch count is divisible by 16.
- Follow decorative row sequences as outlined for the top decor pattern.
Step 4: Length Adjustment
- Continue repeating established rows until the desired length of the skirt is achieved (~31cm without belt).
- Optional: Steam/block the skirt to enhance texture and appearance.
Step 5: Add Ties
Create ties for the waistband using a long chain or single crochet row (~100-200cm) for a neat finish.
Final Touches
- Butterfly Embroidery: Follow tutorial steps (visual instructions provided in video).
- Lining: Add jersey fabric if modesty required.
- Steam and Block: Enhance texture and professional finish for your set.
Project Notes
- This set is beginner-friendly and can be made in less than two days.
- Ideal for casual summer wear or as a handmade gift. Enjoy experimenting with colors and personalized embellishments!