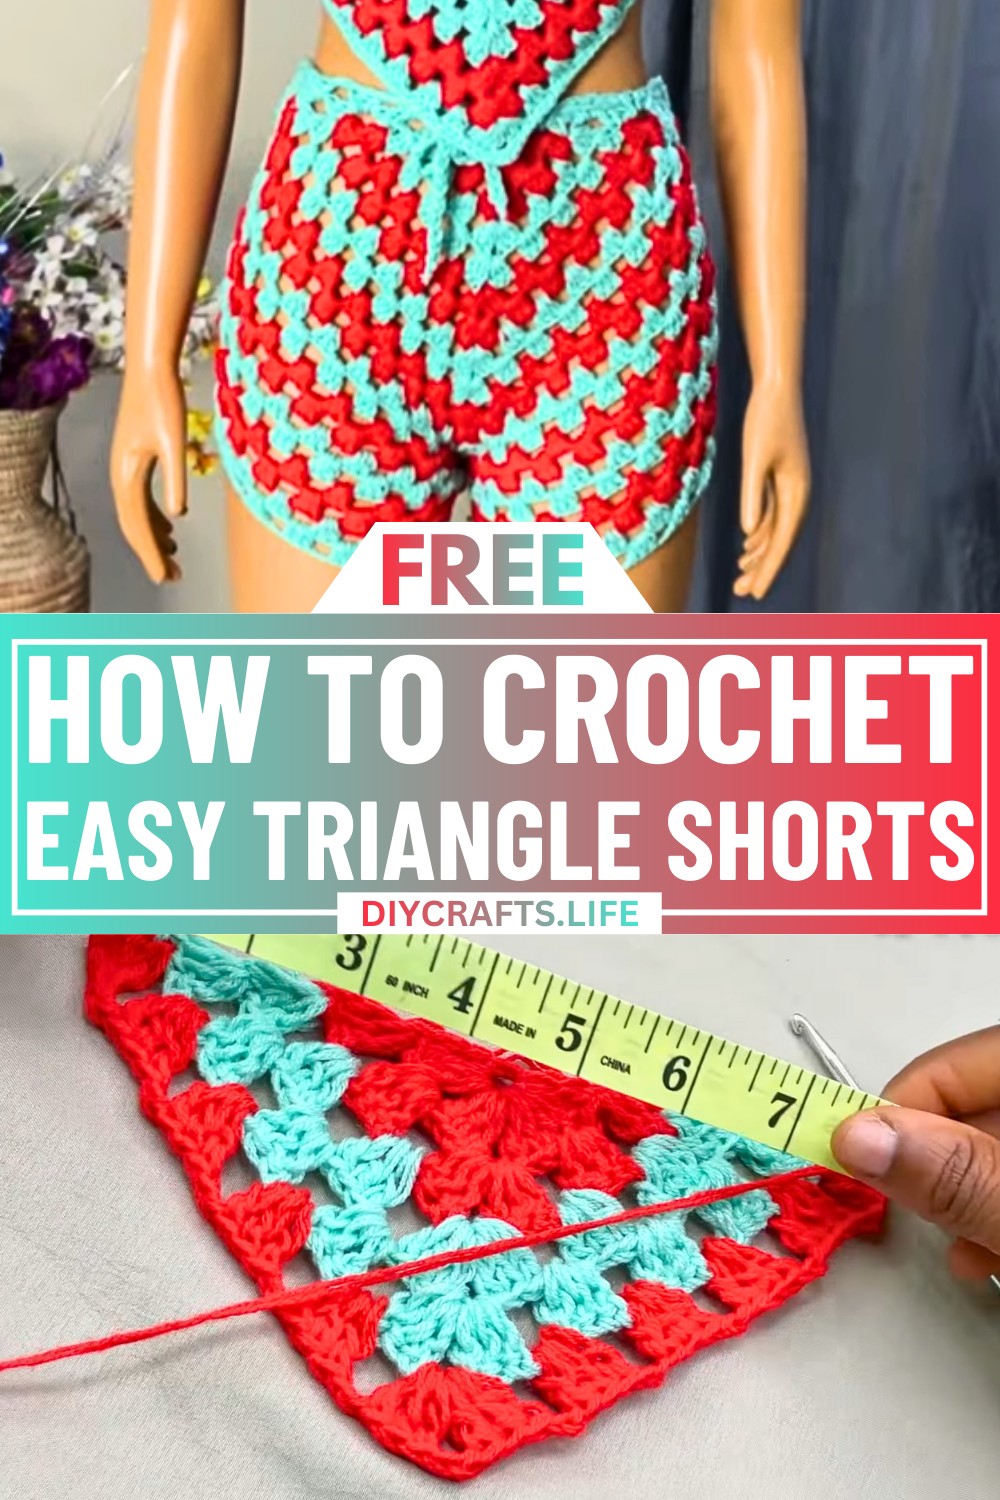
Looking for a crochet project that stands out? These Triangle Shorts are the perfect combination of bold design and playful style. Whether you're relaxing at home or heading out, this pattern brings a creative twist to your wardrobe with its unique shape and vibrant texture.
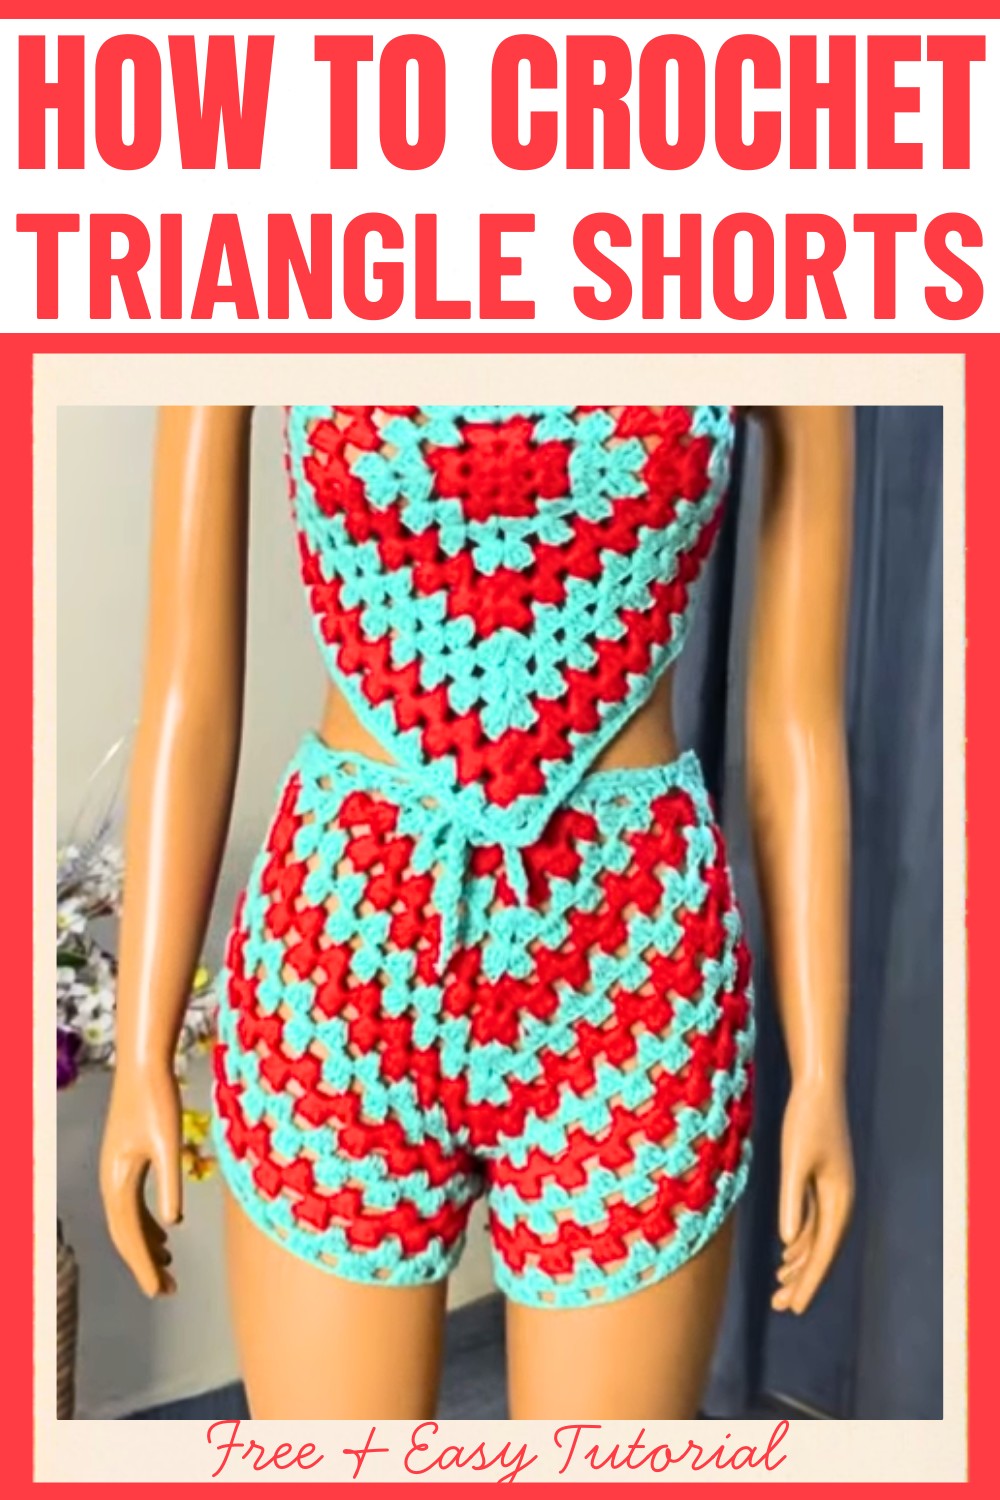
Crochet Triangle Shorts
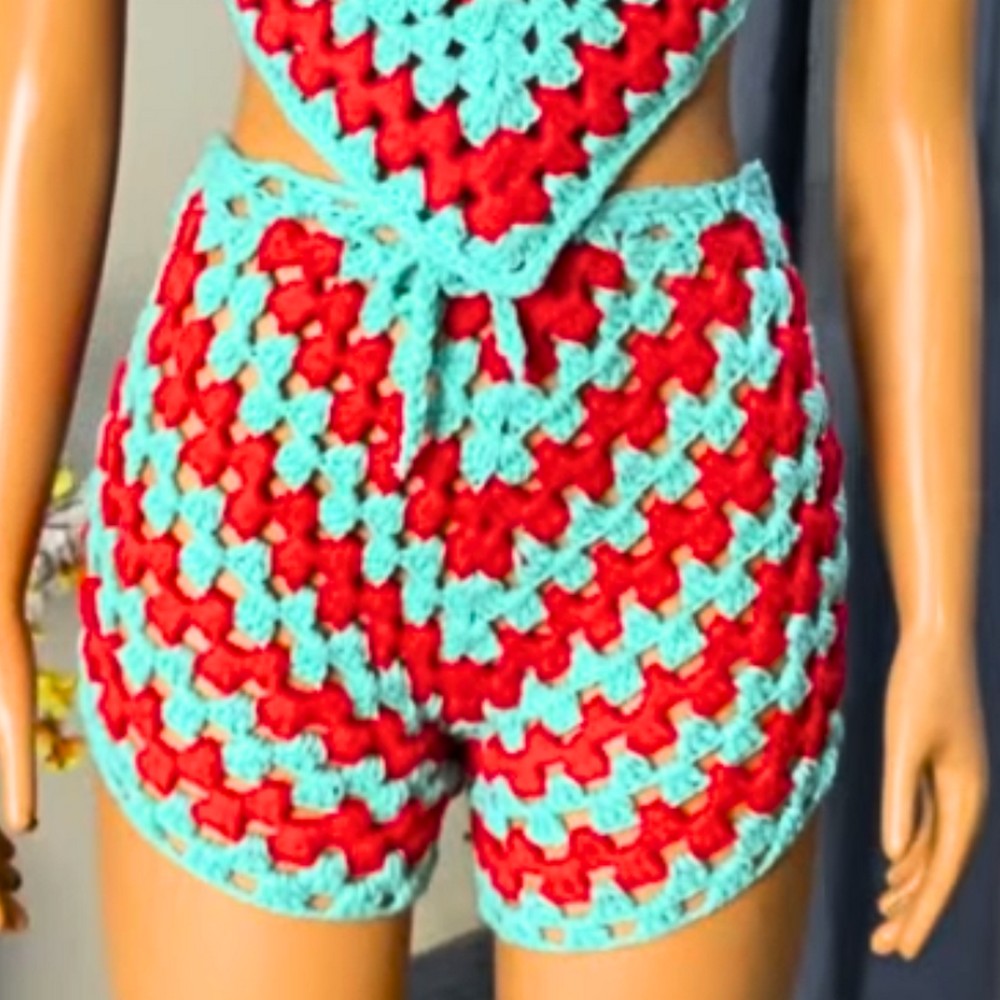
The Crochet Triangle Shorts are a fusion of comfort and artistry. The geometric design offers a trendy look, while the flexibility of crochet allows for customization in colors, patterns, and size. The eye-catching triangular panels and delicate stitching make these shorts extraordinary, blending individuality with practicality. A design like this showcases creativity while staying functional, making it a perfect project to show off your personality.
Credit BRcrochet
Materials:
- Yarn: Two or three color yarns (depending on your preference).
- Crochet hook: 4.0mm.
- Scissors.
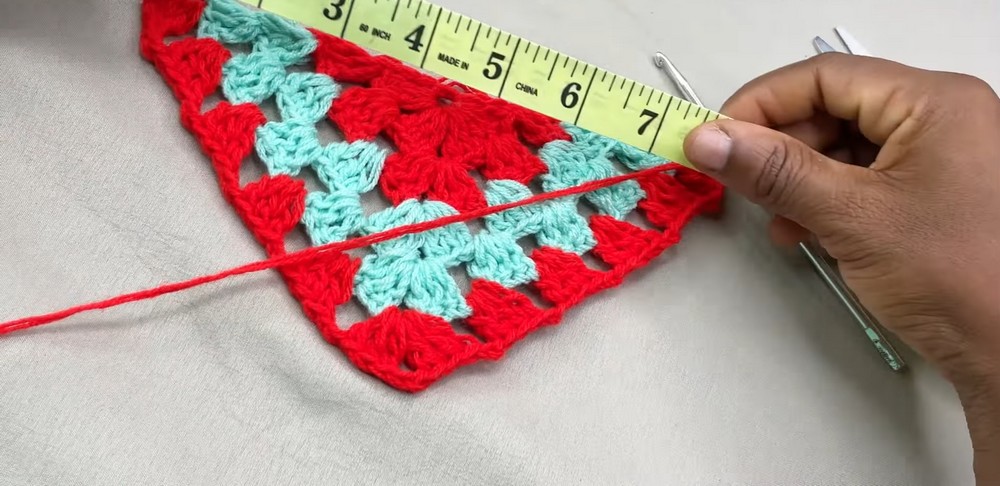
- Tape measure.
Step By Step Pattern
Instructions:
Starting the Pattern
- Slip Knot and Ring:
- Begin with a slip knot.
- Chain 4 stitches.
- Slip stitch into the first chain to form a ring.
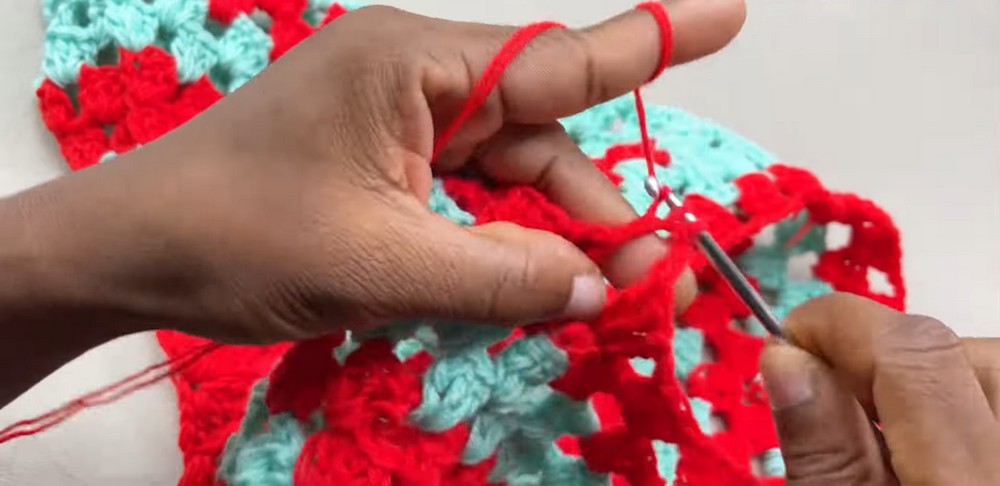
- First Round:
- Chain 3 (counts as the first double crochet).
- Make 3 double crochets (DC) into the ring.
- Chain 2, then make another 3 DCs into the ring.
- Repeat this two more times for a total of four sets of 3 DC clusters, separated by chain 2 spaces.
- Slip stitch to join and form the round.
Building Rows
- Row 2:
- Chain 3 (counts as a double crochet), turn.
- Into the same space, make 2 more double crochets (you now have 3 DC in total).
- Chain 2, then make 6 double crochets into the chain-2 corner space (3 DC, chain 2, 3 DC = corner fan stitch).
- Repeat this for each chain-2 corner space around.
- At the end of the row, slip stitch to join.
- Row 3 and Beyond:
- Change to a new yarn color if desired.
- Chain 3 and make 3 double crochets in every chain-2 space.
- In corner spaces, always make your corner fan stitch (3 DC, chain 2, 3 DC).
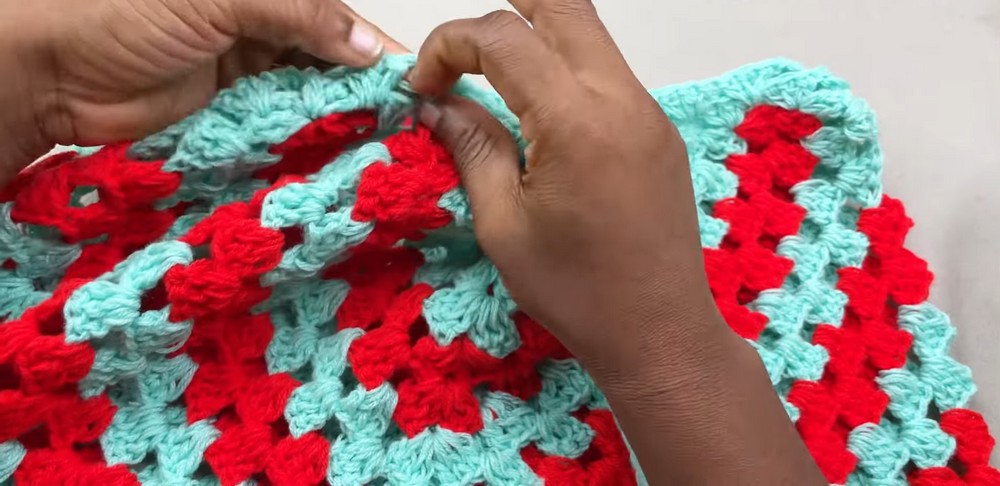
- Continue to work in this pattern as the rows increase. Your stitches will grow in width, forming a triangular shape. Stop when the panel is half of your hip measurement.
Joining for Shorts
- Front and Back Panels:
- Create two identical triangular panels. When folded together, the width should equal your hip measurement (example: For a 19-inch front panel and 19-inch back panel, your total hip measurement is 38 inches).
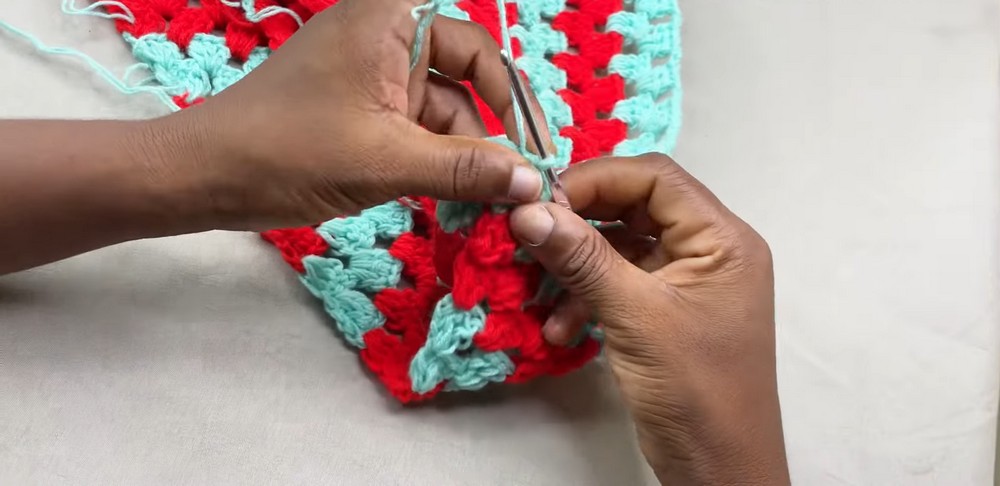
- Joining Panels:
- Place the two panels together (right sides facing out).
- Chain 2, then begin joining the edges using slip stitches or single crochet along the sides. Work along one side until you reach the crotch area.
- Crotch Area:
- To shape the crotch, work the edges individually.
- Use 3 DC clusters along the crotch edge, skipping stitches at the midpoint to taper the shorts.
Leg Openings
- Working the Legs:
- For each leg, attach yarn at the base.
- Work in continuous rounds of 3 DC clusters separated by chain-2 spaces.
- Decrease at the midpoint (skipping stitches) until you achieve your desired fit around the thigh.
- Rows for Decrease:
- You will decrease stitches for 7 rows on the legs. The goal is to make the shorts taper as you near the hems.
Waistband
- Adding the Waistband:
- Attach yarn at the waist seam.
- Begin with chain 3, and work 3 DC clusters, skipping one cluster in between (no chain space for skipping).
- Continue around the waistline until the measurement matches your desired waist measurement (e.g., 25 inches for a snug fit).
- Finishing the Waistband:
- After completing the waistband row, cut and secure your yarn.
Drawstring:
- Making the Drawstring:
- Using 4 strands of yarn, make a long chain of your desired drawstring length.
- Inserting the Drawstring:
- Weave the drawstring in and out of the waistband clusters.
Measurements Summary
- Ensure panels are half of your hip measurement before joining (e.g., 19 inches for a 38-inch hip).
- Leg edges should be ¼ of your hip measurement for each side (e.g., 9.5 inches if hip is 38 inches).
- The waist should match your desired waist size (use decreases to adjust as needed).
Final Touches
- Trim excess yarn.
- Check the fit of the shorts.
- Make any additional rows or adjustments for desired length or width.